Choosing the Right Materials
When embarking on the construction of a lattice privacy screen for your deck, selecting the appropriate materials is paramount to ensuring a durable and visually appealing end result. Here are the key materials you’ll need to consider:
- Lattice Panels: These form the core of your privacy screen and are available in various materials such as wood, vinyl, and composite. Wood lattice offers a natural aesthetic and can be stained or painted to complement your deck’s color scheme. Vinyl lattice, on the other hand, is low-maintenance and resistant to rot and decay, making it a durable choice for outdoor use. Composite lattice combines the benefits of both wood and vinyl, offering a natural look with enhanced durability and minimal maintenance requirements.
- Lumber: To construct the frame for your privacy screen, you’ll need sturdy lumber such as pressure-treated or cedar boards. Pressure-treated lumber is resistant to rot and insect damage, making it ideal for outdoor projects, while cedar boasts natural beauty and weather resistance.
- Fasteners: Choose corrosion-resistant screws or nails to secure the lattice panels and frame together. Stainless steel or galvanized fasteners are recommended for outdoor applications to prevent rust and corrosion, ensuring the longevity of your privacy screen.
- Finishing Materials: Depending on your design preferences, you may opt for paint, stain, or sealer to protect the wood components from the elements and enhance their visual appeal. Additionally, consider decorative elements such as post caps and trim pieces to add a polished look to your privacy screen.
By carefully selecting high-quality materials that align with your aesthetic preferences and environmental considerations, you can lay a solid foundation for the construction of a lattice privacy screen that not only enhances the seclusion of your deck but also contributes to its overall charm and functionality.
Measuring and Planning
Prior to diving into the construction phase, meticulous measuring and thoughtful planning are essential to ensure the successful implementation of your lattice privacy screen project. Here’s a comprehensive guide to this crucial phase:
- Assessing the Space: Begin by evaluating the area where the privacy screen will be installed. Take precise measurements of the length and height of the intended screen location to determine the amount of lattice panels and lumber required for the project. Consider the orientation of the sun and prevailing winds to strategically position the screen for optimal privacy and comfort.
- Sketching the Design: Create a rough sketch or use design software to visualize the layout and dimensions of your privacy screen. This step allows you to experiment with different configurations and proportions, ensuring that the final design harmonizes with your deck’s architecture and your desired level of seclusion.
- Reviewing Local Regulations: Check local building codes, homeowner’s association guidelines, and any necessary permits related to privacy screens or fencing. Adhering to these regulations is crucial to avoid potential issues in the future and ensure that your project complies with all relevant standards.
- Material Quantification: Based on your measurements and design, calculate the quantity of lattice panels, lumber, fasteners, and finishing materials needed for the project. It’s advisable to include a small surplus to account for any errors or adjustments during the construction phase.
By meticulously measuring the space, sketching the design, reviewing local regulations, and accurately quantifying the required materials, you lay a solid groundwork for the successful execution of your lattice privacy screen project. This preparatory phase sets the stage for a seamless transition to the construction phase, ensuring that your vision for an elegant and secluded deck space becomes a reality.
Building the Frame
The construction of a sturdy frame forms the backbone of your lattice privacy screen, providing structural support and a framework for attaching the lattice panels. Here’s a step-by-step guide to building the frame:
- Preparing the Lumber: Begin by cutting the lumber to the appropriate lengths based on your measurements and design. Use a saw equipped with a fine-tooth blade to ensure clean and precise cuts, which are essential for achieving a professional-looking result.
- Assembling the Vertical Posts: Position the vertical posts at the designated intervals along the perimeter of the privacy screen area. Use a level to ensure that the posts are perfectly plumb before securing them in place. Depending on your design, you may opt for decorative post caps to add a refined touch to the structure.
- Attaching the Horizontal Rails: Connect the horizontal rails between the vertical posts to create a sturdy framework. Secure the rails in place using corrosion-resistant fasteners, ensuring that they are evenly spaced and aligned to accommodate the lattice panels.
- Reinforcing the Corners: To enhance the structural integrity of the frame, consider reinforcing the corners with diagonal braces. This additional reinforcement minimizes the risk of the frame shifting or becoming unstable over time, especially in areas prone to strong winds or inclement weather.
By meticulously preparing the lumber, assembling the vertical posts, attaching the horizontal rails, and reinforcing the corners, you establish a robust foundation for your lattice privacy screen. This well-constructed frame not only ensures the structural integrity of the screen but also sets the stage for the seamless integration of the lattice panels, bringing you one step closer to the completion of your stylish and secluded deck space.
Attaching the Lattice
With the frame in place, the next crucial step in constructing your lattice privacy screen is securely attaching the lattice panels to create a visually appealing and effective barrier. Here’s a detailed guide to this pivotal phase:
- Positioning the Lattice Panels: Carefully position the lattice panels within the frame, ensuring a snug fit and proper alignment. Take into account any design elements or patterns in the lattice, orienting them according to your aesthetic preferences and ensuring uniformity across the entire screen.
- Securing the Panels: Using corrosion-resistant fasteners, such as screws or nails, secure the lattice panels to the frame. Start by affixing the panels at the corners and edges, then work inward to ensure a secure and even attachment. Be mindful of the spacing between fasteners to prevent warping or buckling of the lattice material.
- Customizing the Design: Depending on your design vision, consider incorporating decorative elements or trim pieces to enhance the visual appeal of the lattice screen. This could include adding cap molding along the top edge of the lattice or integrating decorative accents to infuse personality and style into the structure.
- Applying Finishing Touches: Once the lattice panels are firmly attached, inspect the entire screen for any protruding fasteners or rough edges. Use a file or sandpaper to smooth out any rough spots and ensure a polished, professional finish that prioritizes both aesthetics and safety.
By thoughtfully positioning the lattice panels, securely fastening them to the frame, customizing the design with decorative elements, and meticulously applying finishing touches, you bring your lattice privacy screen to life. This phase not only contributes to the functionality of the screen but also allows you to express your personal style, culminating in a visually striking and secluded deck space that reflects your unique taste and attention to detail.
Adding Finishing Touches
As you near the completion of your lattice privacy screen project, adding finishing touches elevates the visual appeal and durability of the structure, ensuring that it seamlessly integrates with your deck while maintaining its functionality. Here’s a comprehensive guide to this essential phase:
- Applying Protective Coatings: Prioritize the longevity of your privacy screen by applying a protective coating, such as paint, stain, or sealer, to the exposed wood components. This not only enhances the screen’s resistance to the elements but also allows you to coordinate its appearance with the overall aesthetic of your deck.
- Installing Decorative Accents: Consider incorporating decorative post caps, trim pieces, or lattice molding to add a touch of sophistication and visual interest to your privacy screen. These decorative elements serve as the perfect finishing details, elevating the overall look of the structure and creating a cohesive design with your deck’s architecture.
- Addressing Maintenance Needs: Implement a maintenance plan for your privacy screen to ensure its long-term beauty and functionality. Regular inspections, cleaning, and minor repairs, if necessary, will help preserve the integrity of the structure and extend its lifespan, allowing you to enjoy a secluded and stylish deck space for years to come.
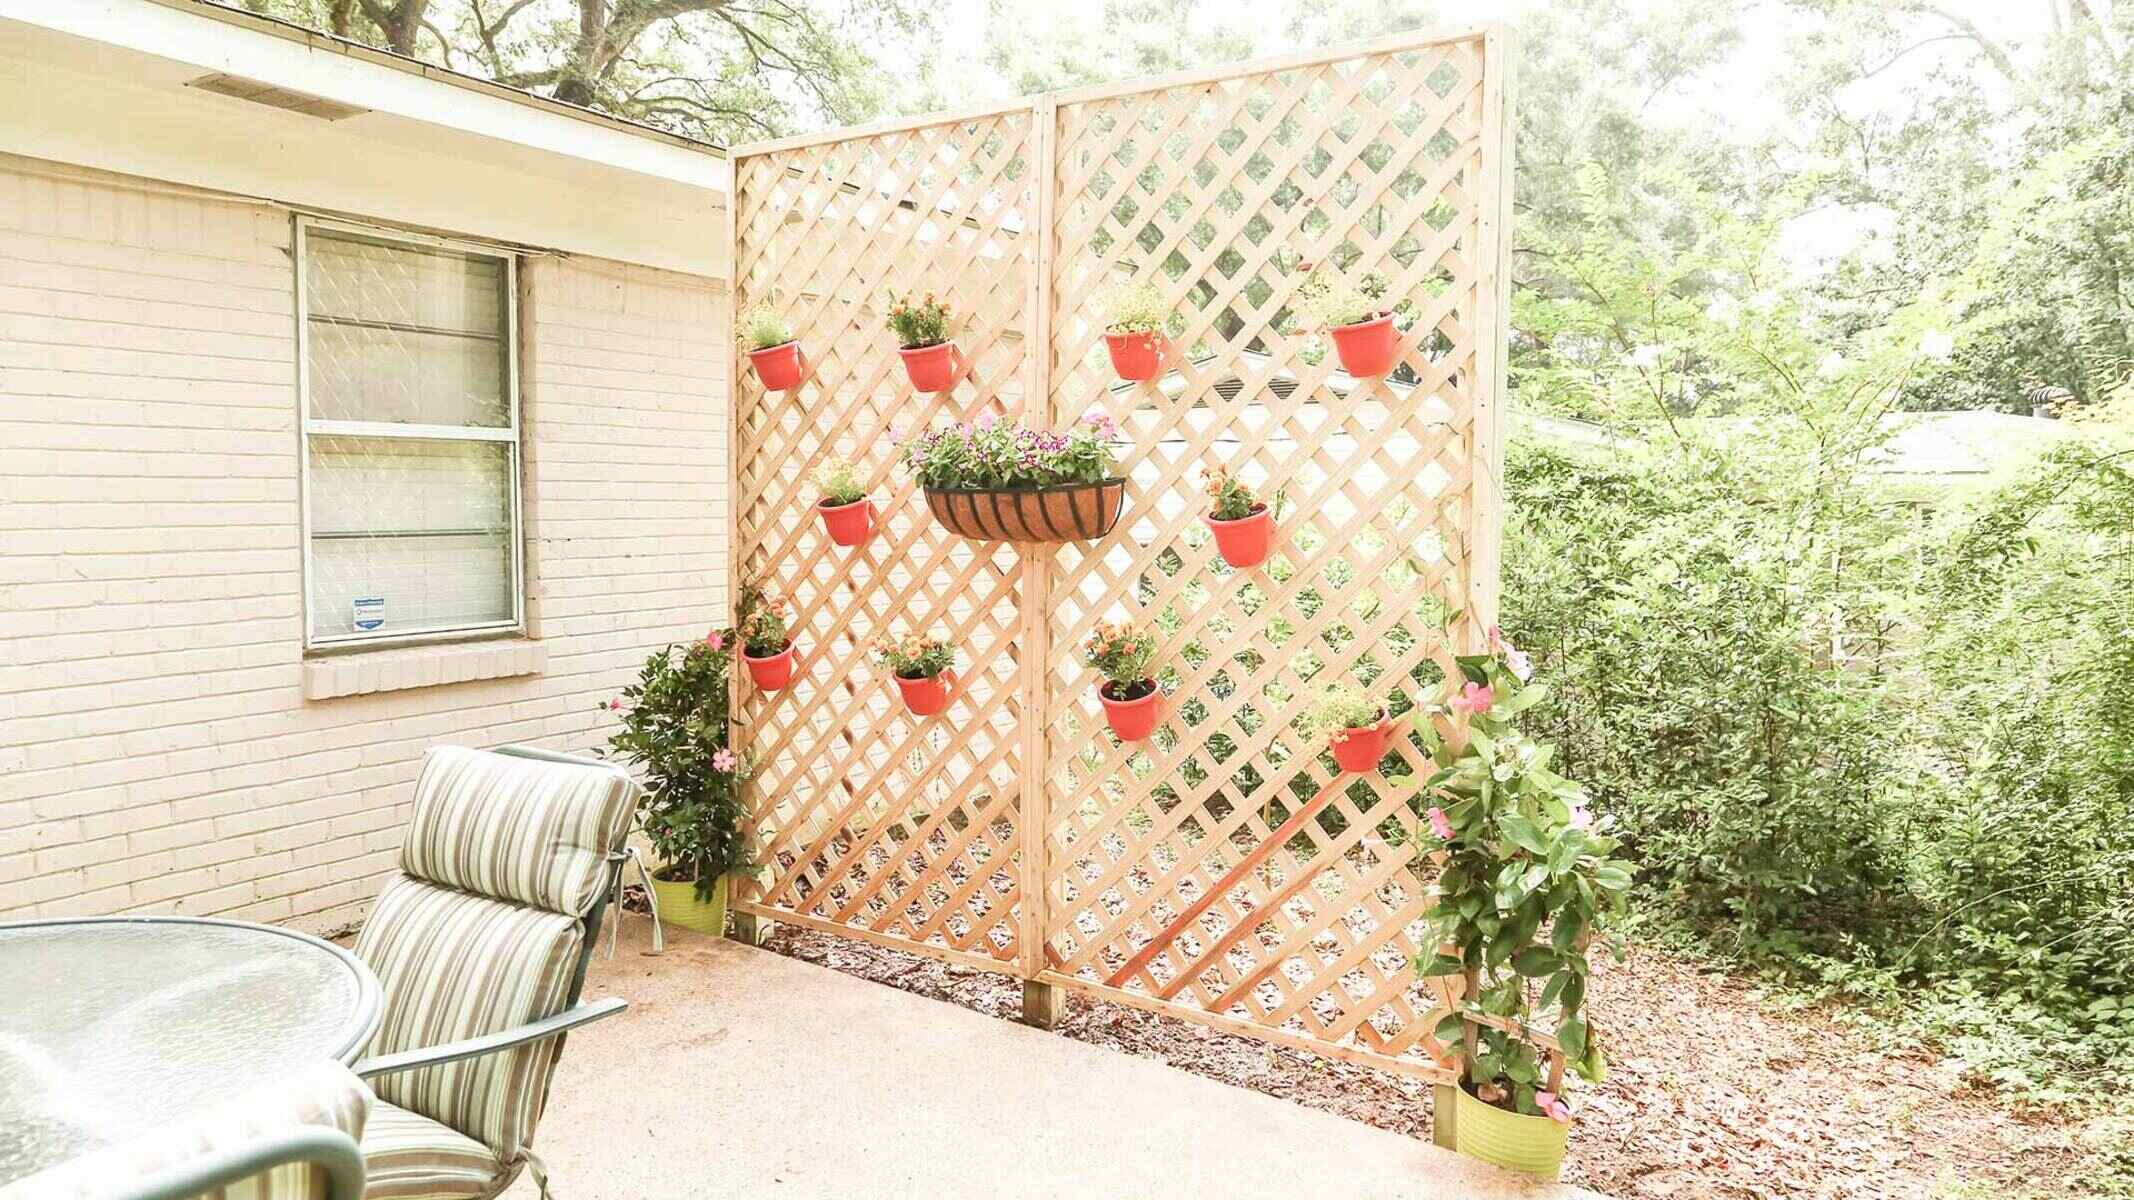
- Enhancing Privacy and Comfort: To further enhance the privacy and comfort of your deck area, consider integrating complementary elements such as outdoor curtains, potted plants, or comfortable seating arrangements. These additions not only contribute to the overall ambiance but also complement the functionality of your lattice privacy screen.
By applying protective coatings, installing decorative accents, addressing maintenance needs, and enhancing the privacy and comfort of your deck area, you put the finishing touches on your lattice privacy screen project. This phase not only adds visual appeal and durability to the structure but also ensures that it seamlessly integrates with your deck, creating a harmonious and inviting outdoor space that reflects your meticulous attention to detail and commitment to quality.