
Step 1: Charge Your JVC Wireless Earbuds
Before you can start enjoying your favorite tunes with your JVC wireless earbuds, it’s crucial to ensure that they are adequately charged. Follow these simple steps to power up your earbuds:
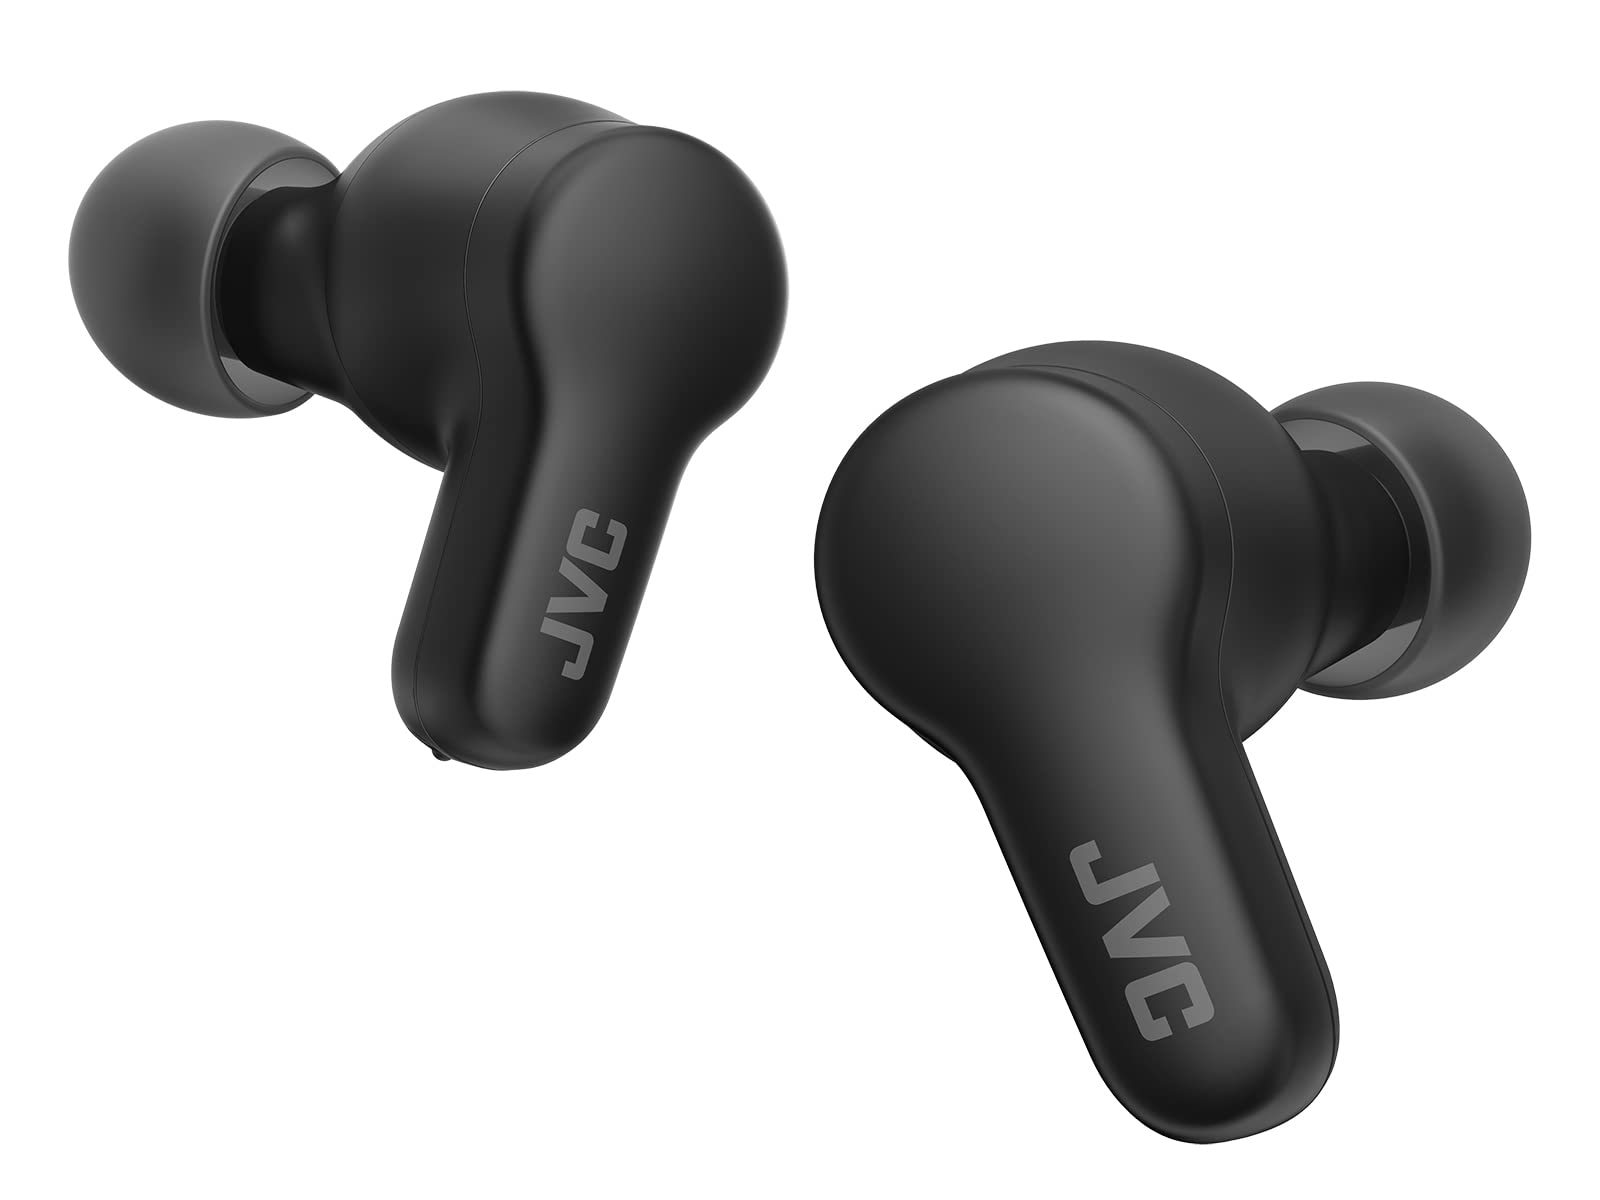
- Locate the Charging Case: Your JVC wireless earbuds come with a convenient charging case. Find the case and open it to reveal the charging slots for the earbuds.
- Insert the Earbuds into the Charging Case: Carefully place each earbud into its designated slot in the charging case. Ensure that they fit snugly to establish a proper connection for charging.
- Connect the Charging Cable: Using the provided USB cable, connect the charging case to a power source. This can be a USB port on your computer, a wall adapter, or a portable power bank.
- Monitor the Charging Status: Most JVC wireless earbuds feature indicator lights on the charging case to display the charging status. Keep an eye on these lights to gauge the progress of the charging process. Typically, a solid light indicates that the earbuds are fully charged, while a blinking light signifies that they are still charging.
- Allow Sufficient Charging Time: Depending on the specific model of your JVC wireless earbuds, it may take anywhere from 1 to 2 hours to fully charge them. Be patient and let the earbuds charge completely before moving on to the next step.
By following these steps, you can ensure that your JVC wireless earbuds are powered up and ready to provide you with an immersive and uninterrupted listening experience.
Step 2: Turn On Your JVC Wireless Earbuds
Once your JVC wireless earbuds are fully charged, the next step is to power them on. Here’s how you can do it:
- Remove the Earbuds from the Charging Case: Take the fully charged earbuds out of the charging case and ensure they are free from any obstructions or debris.
- Press and Hold the Power Button: Most JVC wireless earbuds are equipped with a power button. Press and hold this button for a few seconds until you see the indicator lights on the earbuds flashing or hear a power-on notification.
- Listen for the Power-On Confirmation: Some JVC earbuds emit a sound or voice prompt to indicate that they have been powered on successfully. If your earbuds have this feature, listen for the confirmation to ensure that they are ready to be paired with your device.
- Check the Indicator Lights: Keep an eye on the indicator lights of the earbuds. A steady or blinking light typically indicates that the earbuds are powered on and in pairing mode, ready to connect to your device.
By following these steps, you can easily power on your JVC wireless earbuds and prepare them for the pairing process. Once they are turned on, you can proceed to the next step to initiate the pairing with your preferred device.
Step 3: Put Your JVC Wireless Earbuds in Pairing Mode
Before you can connect your JVC wireless earbuds to your device, you need to put them in pairing mode. This allows your earbuds to be discovered and connected to your smartphone, tablet, or other compatible devices. Here’s how to do it:
- Ensure the Earbuds are Turned Off: If your earbuds are already on, turn them off by pressing and holding the power button until the indicator lights turn off or you hear a power-off notification.
- Activate Pairing Mode: Once the earbuds are turned off, press and hold the designated pairing button or power button for a few seconds. The indicator lights on the earbuds should start flashing, indicating that they are now in pairing mode.
- Listen for the Pairing Mode Confirmation: Some JVC wireless earbuds emit a specific sound or voice prompt to indicate that they have entered pairing mode. If your earbuds have this feature, listen for the confirmation to ensure that they are ready to be paired.
- Check the Indicator Lights: While in pairing mode, the indicator lights on the earbuds should be flashing at a consistent pace. This visual cue indicates that the earbuds are actively seeking a device to pair with.
By following these steps, you can easily put your JVC wireless earbuds in pairing mode, setting the stage for the seamless connection with your preferred device. Once the earbuds are in pairing mode, you can proceed to the next step to initiate the pairing process on your device.
Step 4: Open the Bluetooth Settings on Your Device
With your JVC wireless earbuds in pairing mode, the next step is to access the Bluetooth settings on your smartphone, tablet, or any other device you wish to pair with the earbuds. Here’s a simple guide to opening the Bluetooth settings:
- Unlock Your Device: If your device is locked, unlock it using your preferred method, such as a passcode, fingerprint, or facial recognition.
- Access the Settings Menu: Navigate to the home screen or app drawer and locate the settings app, typically represented by a gear or cogwheel icon. Tap on the settings app to open the device settings.
- Locate and Select Bluetooth: Within the settings menu, scroll through the options and look for the “Bluetooth” or “Connections” category. Tap on the Bluetooth option to access the Bluetooth settings.
- Enable Bluetooth: If Bluetooth is not already turned on, toggle the switch or button to enable Bluetooth functionality on your device. This action allows your device to search for and connect to nearby Bluetooth devices, including your JVC wireless earbuds.
- Wait for Device Discovery: Once Bluetooth is enabled, your device will start scanning for nearby Bluetooth-enabled devices. This process may take a few seconds to a minute, depending on your device’s scanning capabilities.
By following these steps, you can easily access the Bluetooth settings on your device, preparing it to discover and connect to your JVC wireless earbuds. Once you have opened the Bluetooth settings, you can proceed to the next step to initiate the pairing process and establish a connection with your earbuds.
Step 5: Select Your JVC Wireless Earbuds from the Available Devices List
After opening the Bluetooth settings on your device, the next step involves identifying and selecting your JVC wireless earbuds from the list of available devices. Here’s a straightforward guide to completing this step:
- Review the Available Devices: Once your device’s Bluetooth settings are open, it will display a list of nearby Bluetooth-enabled devices that are available for pairing. This list may include various types of devices, such as speakers, headphones, and other peripherals.
- Identify Your JVC Wireless Earbuds: Scan through the list of available devices and look for the name or model number associated with your JVC wireless earbuds. The name of your earbuds should be recognizable and may include the JVC brand or the specific model name.
- Select Your JVC Wireless Earbuds: Once you have located your JVC wireless earbuds in the list of available devices, tap on their name to initiate the pairing process. This action signals to your device that you want to establish a Bluetooth connection with the selected earbuds.
- Wait for Pairing Confirmation: After selecting your JVC wireless earbuds, your device will attempt to establish a connection with the earbuds. This process may take a few moments, during which your device and the earbuds will exchange pairing information and establish a secure connection.
By following these steps, you can seamlessly select your JVC wireless earbuds from the available devices list, paving the way for a successful pairing process. Once you have identified and selected your earbuds, you are ready to proceed to the next step to finalize the pairing and ensure a stable connection between your device and the earbuds.
Step 6: Complete the Pairing Process
After selecting your JVC wireless earbuds from the list of available devices, the final step involves completing the pairing process to establish a stable and secure connection between your device and the earbuds. Here’s a detailed guide to completing this crucial step:
- Wait for Pairing Confirmation: Once you have selected your JVC wireless earbuds from the available devices list, your device will initiate the pairing process. During this time, the earbuds and your device will exchange pairing information to establish a secure and stable Bluetooth connection.
- Follow On-Screen Prompts (if applicable): Depending on your device’s operating system and the specific Bluetooth pairing process, you may encounter on-screen prompts or instructions guiding you through the final steps of the pairing process. Follow these prompts carefully to ensure a successful connection.
- Confirm Pairing Success: After the pairing process is complete, your device will display a confirmation message indicating that the JVC wireless earbuds are successfully paired and connected. This confirmation may include a notification sound or an on-screen message.
- Test the Connection: To ensure that the pairing process was successful, play a brief audio clip or music track on your device. Listen for the sound to come through the JVC wireless earbuds, confirming that the connection is stable and the audio is being transmitted effectively.
By following these steps, you can seamlessly complete the pairing process, ensuring that your JVC wireless earbuds are successfully connected to your device and ready to deliver an immersive audio experience. Once the pairing is complete, you can proceed to the final step to test the connection and enjoy your favorite music or audio content with your newly paired earbuds.
Step 7: Test the Connection and Enjoy Your Music
Once the pairing process is complete, it’s time to test the connection between your device and the JVC wireless earbuds to ensure that everything is functioning as expected. Follow these steps to verify the connection and start enjoying your favorite music:
- Play a Test Audio Track: Open your preferred music or audio streaming app on your device and select a familiar track to play through the JVC wireless earbuds. This will allow you to assess the quality of the audio and confirm that the connection is stable.
- Listen for Clear Audio Output: As the audio track plays through the earbuds, pay attention to the clarity and richness of the sound. The JVC wireless earbuds are designed to deliver high-quality audio, so listen for the details in the music or audio content.
- Assess the Comfort and Fit: While enjoying the audio, take a moment to assess the comfort and fit of the JVC wireless earbuds. Ensure that they are securely in place and provide a comfortable listening experience, especially if you plan to use them for an extended period.
- Test the Wireless Range: Move around within the typical range of your connected device to test the wireless connectivity of the earbuds. A stable connection should allow you to move freely while maintaining clear audio playback without interruptions.
By following these steps, you can effectively test the connection between your device and the JVC wireless earbuds, ensuring that the pairing process was successful and that you are ready to enjoy your music or audio content without any issues. Once you have verified the connection and comfort of the earbuds, you can immerse yourself in an exceptional listening experience wherever you go.