Step 1: Unboxing and Charging
When you first lay your hands on the JLab wireless earbuds, the excitement of unboxing them is palpable. The sleek packaging opens to reveal the stylish earbuds nestled snugly within. Here’s a step-by-step guide to unboxing and charging your JLab wireless earbuds:
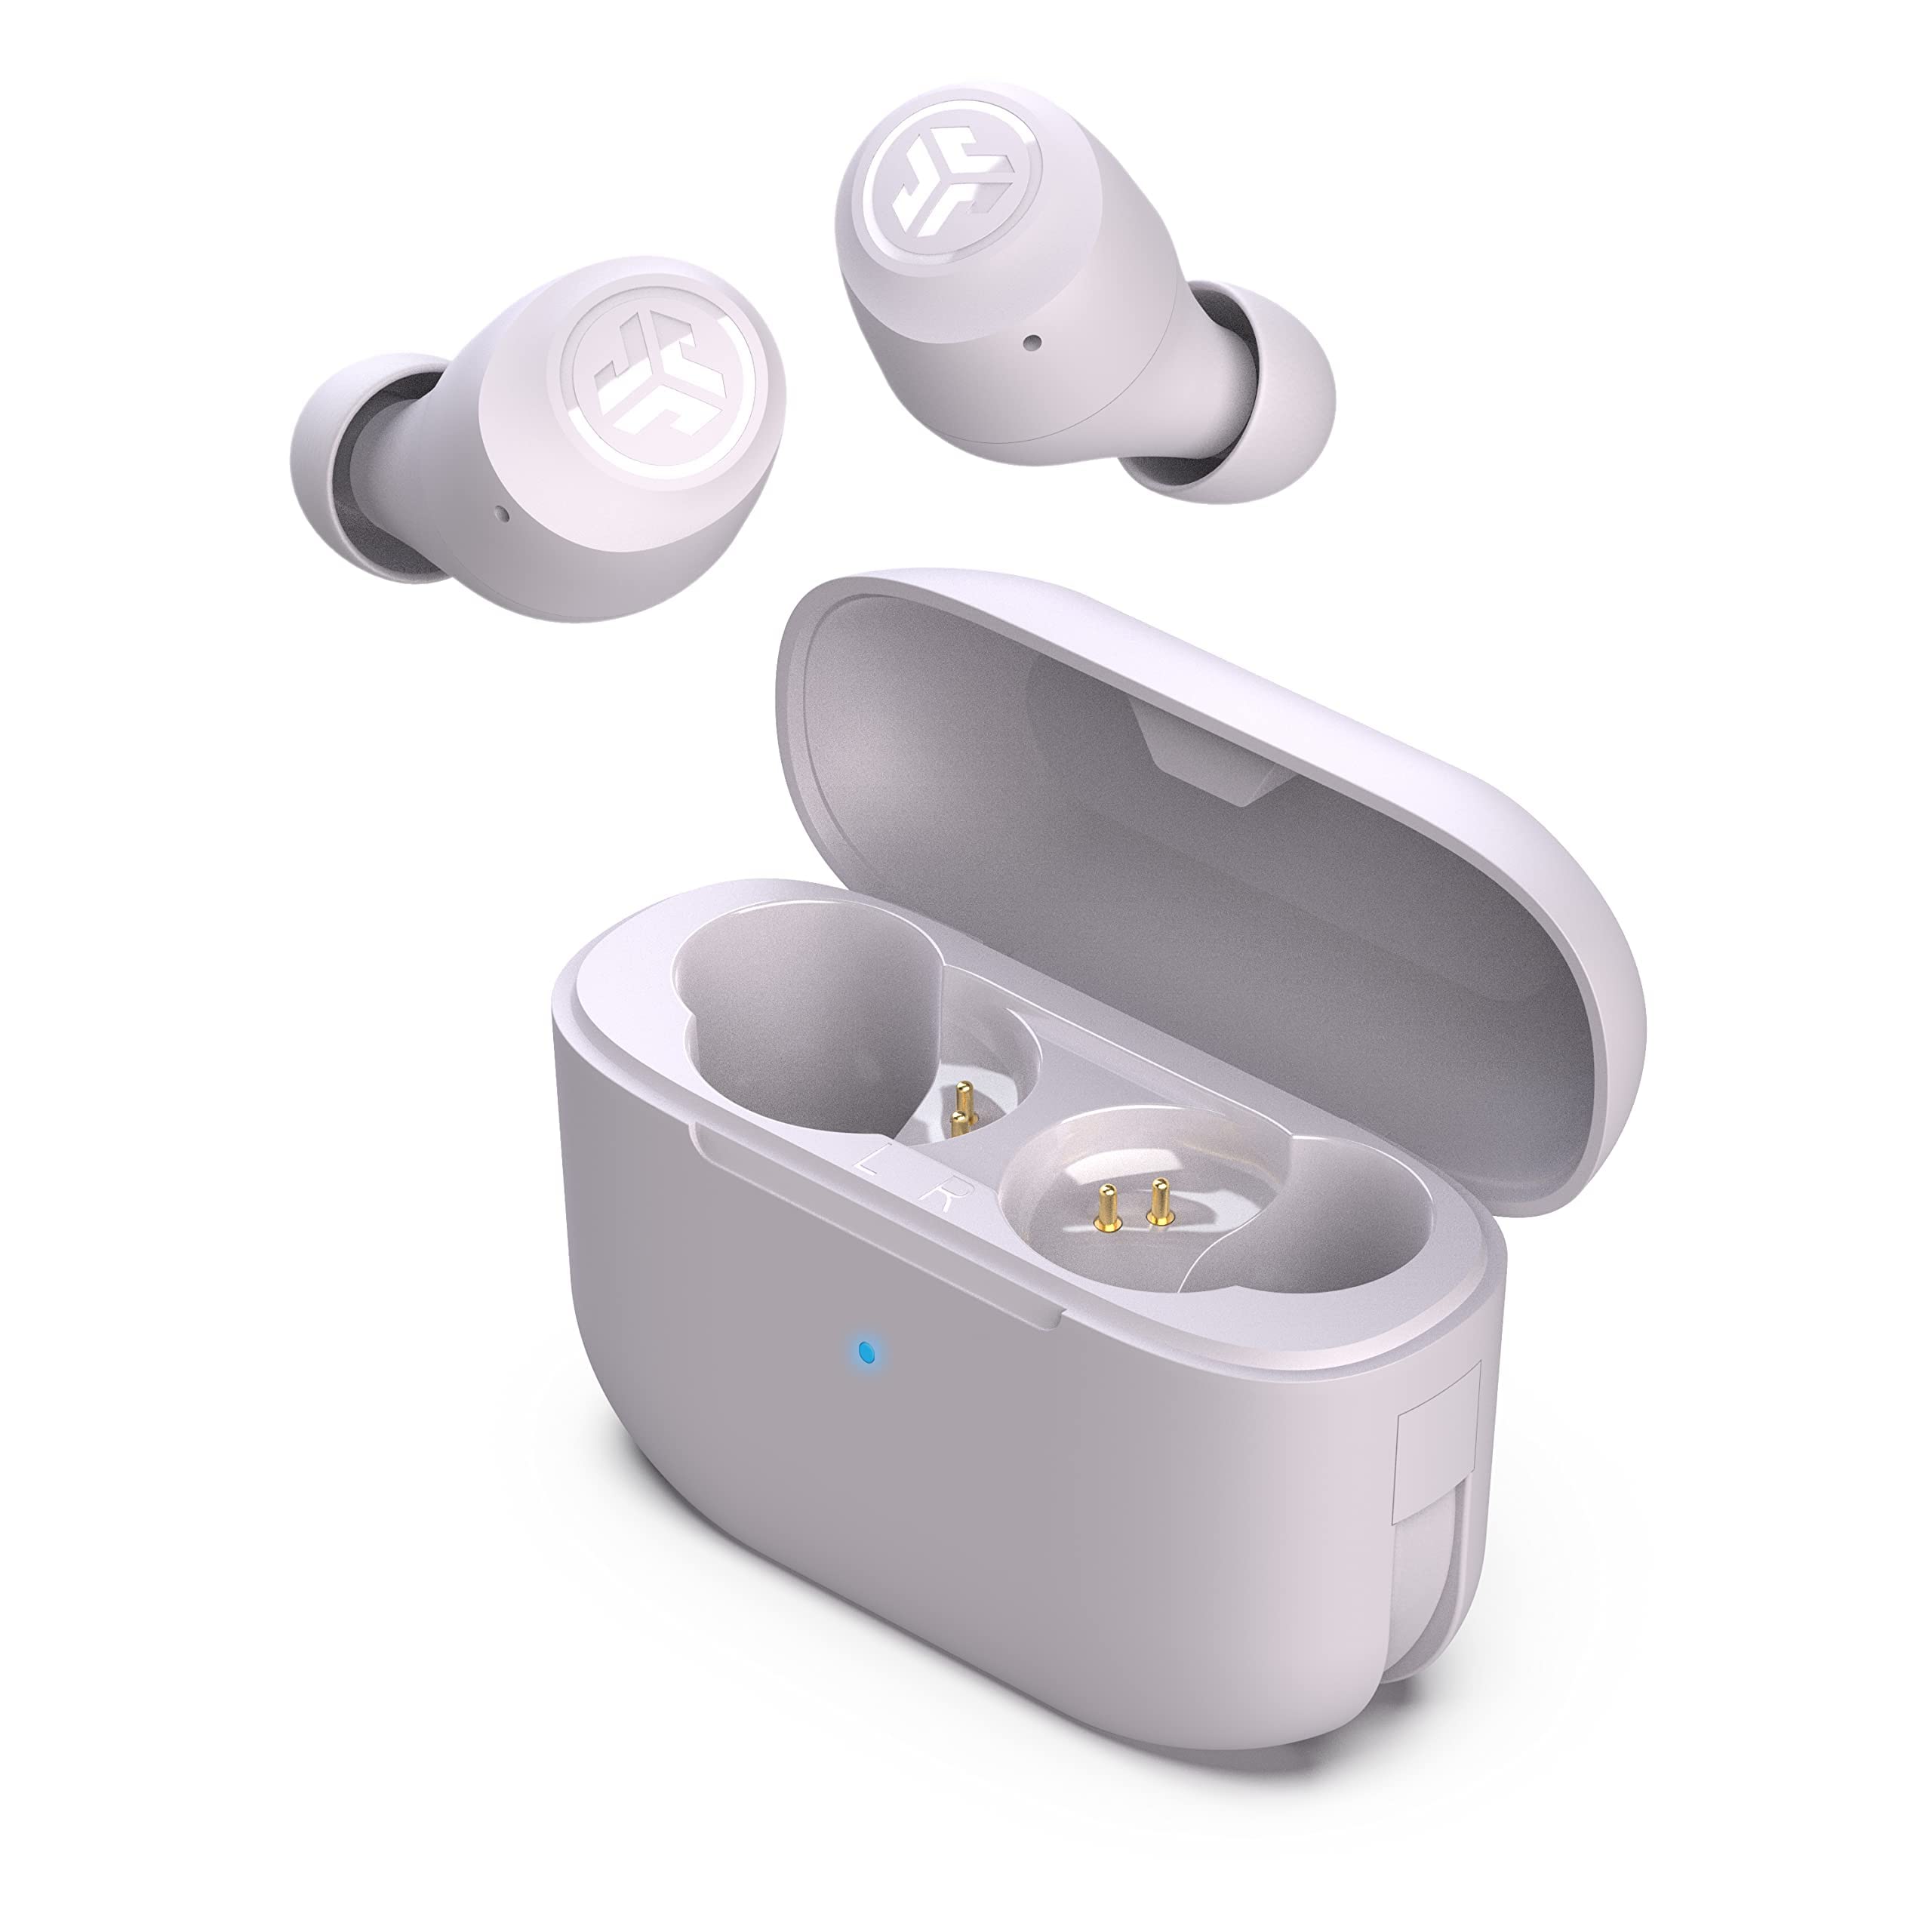
- Unboxing: Carefully open the box to reveal the JLab wireless earbuds, charging case, and any accompanying accessories. Take a moment to appreciate the modern design and compact nature of the earbuds and their case.
- Charging the Case: Before using the earbuds, it’s essential to ensure that the charging case is sufficiently powered. Connect the provided USB cable to the charging port on the case and plug the other end into a power source. The LED indicator on the case will illuminate, indicating that it’s charging. Once fully charged, the LED will turn solid.
- Charging the Earbuds: With the charging case powered up, place the earbuds into their respective slots in the case. The magnetic connectors will secure the earbuds in place, and they will begin charging automatically. As they charge, the LED indicators on the earbuds will glow, providing a visual cue of the charging status.
- Understanding the LED Indicators: The LED indicators on both the charging case and the earbuds serve as a helpful guide. They convey crucial information such as charging status, battery level, and connectivity. Familiarize yourself with the various LED patterns to make the most of your JLab wireless earbuds.
By following these simple steps, you can unbox and charge your JLab wireless earbuds with ease, setting the stage for an exceptional listening experience.
Step 2: Powering On the Earbuds
Once your JLab wireless earbuds are unboxed and charged, the next step is to power them on. Here’s a detailed guide to help you get started:
- Removing the Earbuds from the Case: Gently open the charging case and take out the earbuds. The magnetic connectors ensure that the earbuds are securely held in place and begin charging as soon as they are placed in the case.
- Powering On: To power on the earbuds, press and hold the multifunction button on each earbud. You will notice the LED indicators on the earbuds illuminate, indicating that they are powering on. Once powered on, the earbuds will automatically enter pairing mode, ready to be connected to your device.
- Understanding the Voice Prompts: As the earbuds power on, you may hear voice prompts that guide you through the process. These prompts provide valuable information about the earbuds’ status, battery level, and connectivity. Pay attention to these prompts to ensure seamless operation.
- Ensuring Proper Fit: Before diving into the pairing process, it’s important to ensure that the earbuds fit comfortably in your ears. Experiment with the various ear tip sizes provided to find the perfect fit, ensuring a secure and snug placement for optimal audio quality.
By following these steps, you can power on your JLab wireless earbuds effortlessly, paving the way for an immersive and enjoyable listening experience.
Step 3: Pairing with a Device
Pairing your JLab wireless earbuds with a device is a crucial step that sets the stage for seamless connectivity and immersive audio experiences. Follow these steps to effortlessly pair your earbuds with your preferred device:
- Entering Pairing Mode: After powering on the earbuds, they will automatically enter pairing mode. The LED indicators will flash, indicating that the earbuds are ready to be paired with a device. If they don’t enter pairing mode automatically, refer to the user manual for specific instructions to initiate the pairing process.
- Activating Bluetooth on Your Device: Ensure that the Bluetooth function on your smartphone, tablet, or other compatible device is activated. Navigate to the Bluetooth settings on your device to begin the pairing process.
- Selecting the Earbuds: In the list of available Bluetooth devices on your device, locate and select the JLab wireless earbuds. The earbuds will be identified by their unique name, which is typically indicated in the user manual or on the packaging.
- Confirming Pairing: Once you select the earbuds on your device, a prompt may appear to confirm the pairing. Accept the prompt to establish the connection between your device and the earbuds.
- Verifying Connection: After successfully pairing the earbuds with your device, the LED indicators on the earbuds will display a solid light, indicating a stable connection. You will also hear a confirmation sound, signaling that the pairing process is complete.
By following these steps, you can seamlessly pair your JLab wireless earbuds with your preferred device, unlocking a world of immersive audio experiences and convenient hands-free communication.
Step 4: Troubleshooting Connection Issues
While using your JLab wireless earbuds, you may encounter occasional connection issues that can disrupt your listening experience. Here are some troubleshooting steps to address common connection issues and ensure a seamless audio experience:
- Check Bluetooth Signal Strength: Ensure that your device and the earbuds are within the recommended range for optimal Bluetooth connectivity. Signal interference from other electronic devices or physical obstructions can weaken the connection. Adjust the positioning of your device to improve signal strength.
- Resetting the Earbuds: If you experience persistent connectivity issues, resetting the earbuds can often resolve the problem. Refer to the user manual for specific instructions on how to reset your JLab wireless earbuds. Typically, this involves powering off the earbuds and then holding the multifunction button for a few seconds to initiate the reset process.
- Clearing Paired Devices: Over time, your earbuds may have multiple devices stored in their memory, which can lead to connectivity conflicts. Clear the list of paired devices on the earbuds and re-pair them with your preferred device to establish a fresh connection.
- Updating Firmware: Check for firmware updates for your JLab wireless earbuds. Manufacturers often release updates to address connectivity issues and enhance the overall performance of the earbuds. Follow the provided instructions to update the firmware and ensure that your earbuds are running the latest software version.
- Seeking Professional Assistance: If persistent connection issues persist despite troubleshooting efforts, reach out to JLab’s customer support for expert assistance. Their dedicated support team can provide personalized guidance and solutions to address complex connectivity issues.
By following these troubleshooting steps, you can effectively address and resolve common connection issues, ensuring that your JLab wireless earbuds deliver a consistently reliable and immersive audio experience.
Step 5: Using the Earbuds for Calls and Music
Once your JLab wireless earbuds are successfully connected, you can seamlessly transition to using them for calls and music playback. Here’s a comprehensive guide to harnessing the full potential of your earbuds for both communication and entertainment:
- Answering Calls: When a call comes in while you’re wearing the earbuds, a simple tap on the multifunction button will allow you to answer the call effortlessly. The built-in microphone ensures clear and crisp voice transmission, enabling smooth communication without the need to remove your device from your pocket or bag.
- Controlling Music Playback: Enjoy complete control over your music playback with the intuitive touch controls on the earbuds. You can play, pause, skip tracks, and adjust the volume with simple taps or swipes, offering a convenient and hands-free listening experience.
- Activating Voice Assistants: Many JLab wireless earbuds feature voice assistant integration, allowing you to access your preferred voice assistant, such as Siri or Google Assistant, with a quick command. This hands-free functionality enhances convenience and accessibility, empowering you to manage tasks and retrieve information effortlessly.
- Exploring EQ Settings: Some JLab earbuds offer customizable EQ settings, enabling you to tailor the audio output to suit your preferences. Experiment with the available EQ presets or create a custom EQ profile to enhance your music listening experience with optimized sound quality.
- Ensuring Comfort and Stability: Throughout calls and extended music sessions, the ergonomic design of the earbuds ensures a comfortable and secure fit. The various ear tip sizes and secure fit wings provide stability, allowing you to enjoy uninterrupted communication and music playback without discomfort.
By leveraging these features and functionalities, you can make the most of your JLab wireless earbuds for calls and music, seamlessly integrating them into your daily routine for a truly immersive audio experience.
Step 6: Charging the Earbuds
Ensuring that your JLab wireless earbuds are adequately charged is essential for uninterrupted usage and optimal performance. Here’s a detailed guide to effectively charge your earbuds and maintain their longevity:
- Placing the Earbuds in the Case: When your earbuds are not in use, securely place them back in the charging case. The magnetic connectors will effortlessly guide the earbuds into position, ensuring proper alignment for charging.
- Monitoring the Charging Status: Upon placing the earbuds in the case, the LED indicators will illuminate, indicating that the charging process has commenced. The LED lights provide a visual cue of the charging status, allowing you to monitor the progress at a glance.
- Utilizing the Charging Case: The charging case serves a dual purpose by not only providing a secure storage solution for the earbuds but also serving as a portable charging station. The compact and lightweight design of the case makes it convenient to carry, ensuring that your earbuds remain charged while on the go.
- Checking Battery Levels: To ensure that your earbuds are always ready for use, periodically check the battery levels using the LED indicators on the charging case. This proactive approach allows you to anticipate when a recharge may be necessary, preventing unexpected interruptions during usage.
- Optimizing Charging Habits: To prolong the battery life of your JLab wireless earbuds, it’s advisable to follow best practices for charging. Avoid exposing the earbuds to extreme temperatures during charging and store them in a cool, dry place to maintain their overall health and performance.
By following these steps and incorporating mindful charging habits, you can ensure that your JLab wireless earbuds are consistently charged and ready to deliver an exceptional audio experience whenever you need them.