What is a Butt Connector?
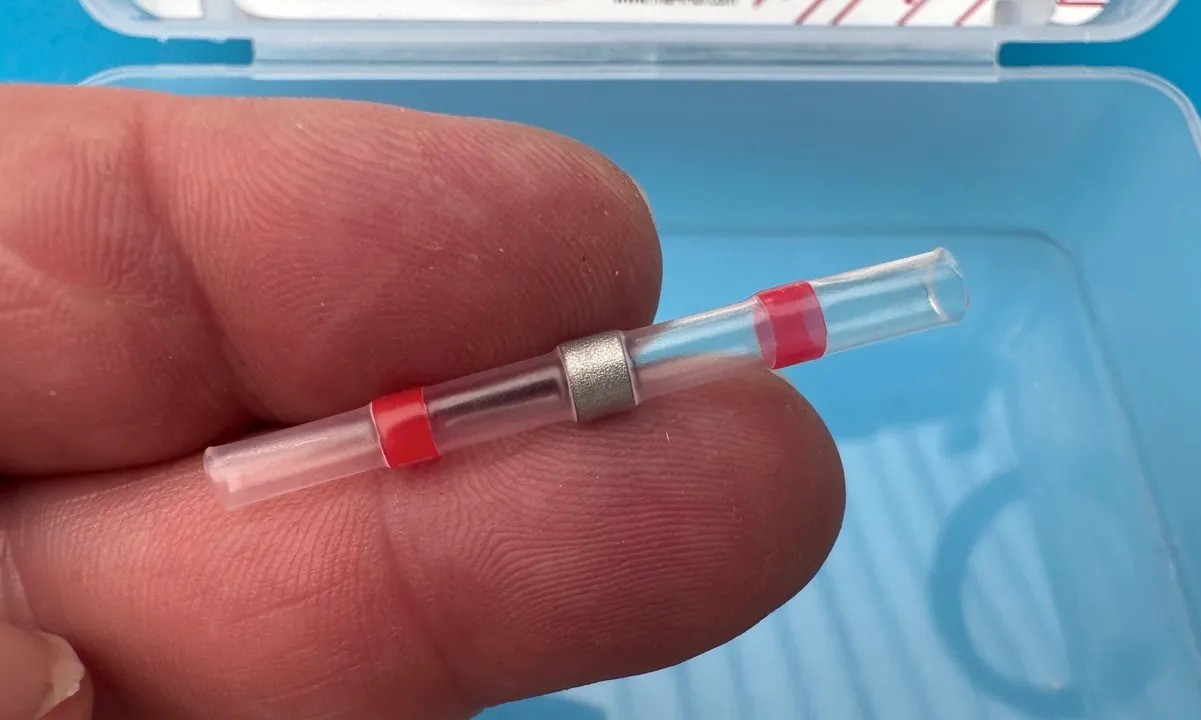
A butt connector is a simple yet essential electrical accessory used to join or terminate electrical wires. It is commonly utilized in automotive, marine, and home wiring projects. This small, cylindrical metal tube with a flared midsection is designed to connect the stripped ends of two or more wires securely, ensuring a reliable electrical connection. Butt connectors are available in various sizes to accommodate different wire gauges, making them versatile for a wide range of applications.
Butt connectors are typically made of materials such as copper, brass, or aluminum, providing excellent conductivity and durability. They are often insulated with vinyl, nylon, or heat-shrink materials to protect the connection from moisture, corrosion, and accidental short circuits. This insulation also provides additional safety by preventing accidental contact with live wires.
The simplicity and effectiveness of butt connectors make them a popular choice for both professional electricians and DIY enthusiasts. They offer a convenient and reliable way to create secure electrical connections without the need for soldering, making them ideal for quick repairs, installations, and modifications.
In the next sections, we will explore a step-by-step guide on how to use a butt connector effectively, ensuring a safe and durable electrical connection for your wiring projects. Whether you are a seasoned electrician or a novice DIY enthusiast, mastering the use of butt connectors is a valuable skill that can save time and effort while ensuring the integrity of your electrical connections.
Step 1: Gather Your Materials
Before beginning any electrical wiring project using butt connectors, it’s crucial to gather all the necessary materials and tools. This ensures a smooth and efficient process, minimizing interruptions and potential safety hazards. Here’s a list of essential items you’ll need:
- Butt connectors: Select the appropriate size and type of butt connectors based on the wire gauge and the specific requirements of your project. Insulated butt connectors are recommended for added safety.
- Electrical wires: Prepare the wires that need to be connected. Ensure they are clean, free from damage, and stripped to the appropriate length.
- Wire strippers: Use a quality pair of wire strippers to remove the insulation from the ends of the wires. This will expose the conductive metal for a proper connection.
- Crimping tool: A reliable crimping tool is essential for securing the butt connector onto the wires effectively. Choose a tool that matches the size of the butt connectors you are using.
- Wire cutter: A wire cutter will be handy for trimming the wires to the required length and ensuring clean, straight cuts.
- Heat source (if using heat-shrink butt connectors): If you opt for heat-shrink butt connectors, you’ll need a heat gun or a source of heat to activate the insulation and create a tight, protective seal around the connection.
- Safety gear: Always prioritize safety. Wear appropriate personal protective equipment, such as safety glasses and insulated gloves, especially when working with live electrical circuits.
By ensuring you have all the necessary materials and tools at hand, you can proceed with confidence, knowing that you are well-prepared to create secure and reliable electrical connections using butt connectors.
Step 2: Strip the Wire
Properly stripping the wire is a critical step in preparing it for a secure connection with a butt connector. Follow these steps to strip the wire effectively:
- Measure and Mark: Determine the length of insulation to be removed from the wire ends. Mark this length using a permanent marker or a pair of wire strippers with built-in measuring guides. Precision is key to ensure the exposed wire length matches the depth of the butt connector’s metal barrel.
- Secure the Wire: Hold the wire firmly in place, ensuring it does not move during the stripping process. This can be done using a vise, clamps, or a specialized wire-holding tool.
- Use the Wire Strippers: Choose the appropriate notch on the wire strippers that matches the gauge of the wire. Carefully position the wire within the stripping jaws, ensuring that only the insulation is cut while leaving the conductive wire untouched.
- Rotate and Pull: Gently rotate the wire strippers around the wire to score the insulation. Once scored, pull the insulation away from the wire. Take care to avoid nicking or damaging the underlying metal conductor.
- Inspect the Wire: After stripping, visually inspect the exposed wire to ensure there are no nicks, cuts, or stray wire strands. Any imperfections can compromise the quality of the electrical connection and should be addressed before proceeding.
By following these steps, you can effectively strip the wire, preparing it for a secure and reliable connection with the butt connector. Attention to detail and precision during this process is crucial to ensuring a successful and durable electrical connection.
Step 3: Insert the Wire into the Butt Connector
Once the wires are properly stripped, the next step is to insert them into the butt connector. This process ensures that the wires are securely housed within the connector, ready for the crimping process. Follow these steps to insert the wire into the butt connector effectively:
- Select the Correct Size: Ensure that the butt connector is of the appropriate size to accommodate the stripped wire. Using a connector that is too large or too small can result in a poor connection and potential electrical hazards.
- Insert the Wire: Gently insert the stripped end of the wire into the open end of the butt connector. Ensure that the wire is fully seated within the connector, with no exposed metal extending beyond the connector’s insulation.
- Check for Resistance: As you insert the wire, you may encounter slight resistance as the insulation meets the connector’s inner barrier. This resistance is normal and indicates that the wire is properly positioned within the connector.
- Tug Test: After inserting the wire, perform a gentle tug test to ensure that the wire is securely held within the connector. Any movement or slippage indicates that the wire may not be fully inserted and requires repositioning.
- Double-Check the Connection: Verify that the wire is fully inserted and secured within the butt connector. Visual confirmation of the wire’s position and a slight tug to ensure its stability are essential before proceeding to the crimping stage.
By following these steps, you can confidently insert the wire into the butt connector, setting the stage for the next crucial step: crimping the connector to create a secure and durable electrical connection.
Step 4: Crimp the Butt Connector
With the wire securely inserted into the butt connector, the next vital step is to crimp the connector onto the wire. Proper crimping ensures a robust and reliable electrical connection. Follow these steps to effectively crimp the butt connector:
- Choose the Right Tool: Select a high-quality crimping tool that matches the size of the butt connector being used. The tool should provide a secure and uniform crimp without damaging the connector or the wire.
- Position the Connector: Place the butt connector, with the wire inserted, into the appropriate crimping cavity of the tool. Ensure that the connector is fully seated within the crimping jaws to prevent slippage during the crimping process.
- Apply Even Pressure: Squeeze the crimping tool handles firmly and evenly to compress the connector’s metal barrel around the wire. The crimping process should be smooth and controlled, without any jerky or uneven movements.
- Inspect the Crimp: After crimping, visually inspect the connector to ensure that it has been uniformly compressed around the wire. There should be no visible gaps or irregularities in the crimped section, indicating a secure connection.
- Tug Test: Perform a gentle tug test to verify the integrity of the crimped connection. The wire should remain securely held within the connector, with no signs of slippage or movement.
By following these steps, you can confidently crimp the butt connector, creating a secure and durable electrical connection. Attention to detail and precision during the crimping process is crucial to ensuring the integrity and safety of the electrical joint.
Step 5: Test the Connection
After crimping the butt connector and completing the wiring process, it’s essential to thoroughly test the connection to ensure its reliability and safety. Follow these steps to effectively test the connection:
- Visual Inspection: Begin by visually inspecting the crimped butt connector and the surrounding area. Ensure that there are no exposed wires, loose connections, or signs of damage or irregularities. The connector should be securely fastened to the wire, with no visible gaps or deformities.
- Perform a Tug Test: Gently tug on the wires on either side of the butt connector to assess the strength of the connection. The wires should remain firmly held within the connector, with no signs of slippage or movement. Any movement or instability indicates a faulty connection that requires immediate attention.
- Conduct a Continuity Test: Use a multimeter or continuity tester to check for electrical continuity across the crimped connection. This test verifies that the electrical pathway is uninterrupted and that the connection is conducting electricity as intended.
- Check for Insulation Integrity: If heat-shrink butt connectors were used, ensure that the heat-shrink insulation has been properly activated and sealed around the crimped connection. This provides protection against moisture, corrosion, and accidental contact with live wires.
- Verify Electrical Functionality: If applicable, power up the circuit or system associated with the butt connector to confirm that the electrical connection is functioning as expected. This step is crucial for ensuring that the connection can carry current without issues.
By diligently testing the connection using these methods, you can have confidence in the reliability and safety of the electrical joint created with the butt connector. Thorough testing is essential for identifying and addressing any potential issues before the completion of the wiring project.