What is a SIM Card?
A SIM card, short for Subscriber Identity Module, is a small, removable card that is inserted into mobile devices, such as cell phones and tablets, to connect the device to a mobile network. It stores essential information, including the user’s identity, contact lists, and network authentication data. SIM cards are crucial for enabling communication services, such as voice calls, text messaging, and mobile data usage.
These tiny, thumbnail-sized cards are equipped with a microprocessor and memory to securely store data and facilitate communication between the mobile device and the network. The SIM card contains a unique serial number (ICCID) and an international mobile subscriber identity (IMSI), which are essential for identifying and authenticating the user on the network.
Furthermore, SIM cards also play a vital role in enabling users to switch devices while retaining their mobile service and personal data. By simply transferring the SIM card from one device to another, users can seamlessly access their contacts, messages, and other mobile services without any disruption.
It’s important to note that SIM cards come in various sizes, including standard SIM, micro SIM, and nano SIM, to accommodate different mobile device models. The evolution of SIM card technology has led to the development of embedded SIMs (eSIM), which are integrated directly into the device’s hardware, eliminating the need for a physical card.
In essence, a SIM card serves as the gateway to a mobile network, allowing users to stay connected and access essential communication services on their devices.
Why Save Numbers to SIM Card?
Saving numbers to a SIM card offers several practical advantages, making it a convenient and reliable method for preserving essential contacts. Here are compelling reasons to consider saving numbers to a SIM card:
- Portability: By storing contacts on a SIM card, users can easily transfer their contact list to a new device by simply moving the SIM card. This portability is especially useful when upgrading to a new phone or replacing a lost or damaged device.
- Backup: SIM card storage provides an additional backup for important contacts in case the device’s internal storage becomes inaccessible due to technical issues or damage. This redundancy ensures that critical contact information remains accessible even in unforeseen circumstances.
- Device Independence: Storing contacts on a SIM card allows users to access their contact list on any compatible device, regardless of the device’s make or model. This flexibility is particularly beneficial when using multiple devices or borrowing a phone in emergencies.
- Security: SIM cards offer a secure method of storing contact information, as the data is encrypted and protected by the mobile network’s authentication mechanisms. This adds an extra layer of security to sensitive contact details.
- Convenience: When traveling or using temporary devices, having contacts saved on a SIM card ensures that essential numbers are readily available without the need for complicated data transfers or syncing processes.
Overall, saving numbers to a SIM card provides a practical and versatile solution for managing and safeguarding contact information, offering users peace of mind and seamless accessibility to their important contacts across various devices.
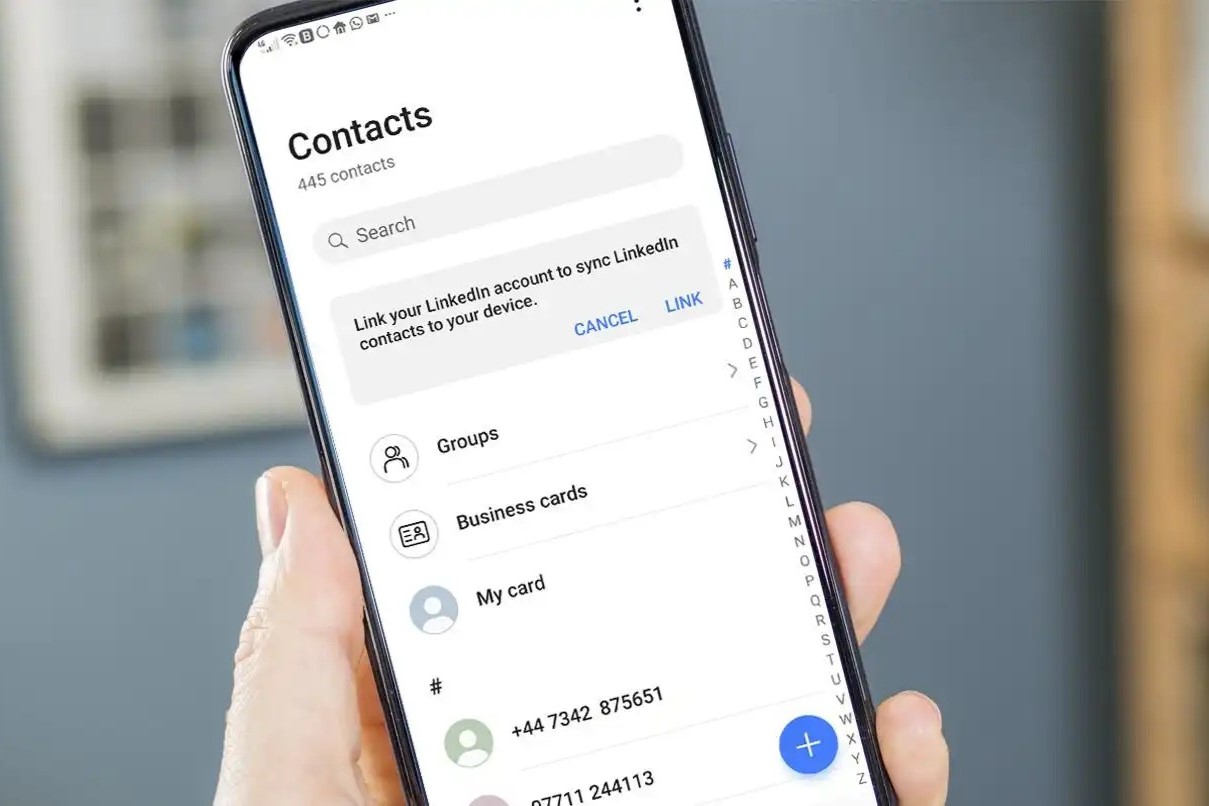
Step 1: Accessing the Phone’s Contacts
Before saving numbers to a SIM card, the first step is to access the phone’s contacts. This process may vary slightly depending on the device’s operating system (e.g., Android, iOS) and the specific user interface, but the general steps are as follows:
For Android Devices:
- Unlock the device and navigate to the home screen or the app drawer.
- Locate and tap the “Contacts” or “People” app icon, which typically features a silhouette or a head-and-shoulders symbol.
- Once the Contacts app is open, users can browse through their contact list, search for specific contacts, and access additional options for managing and organizing contacts.
For iOS Devices (iPhone or iPad):
- Unlock the device and locate the “Phone” app on the home screen, featuring a green handset icon. Tap the “Phone” app to open it.
- Within the “Phone” app, select the “Contacts” tab located at the bottom of the screen. This tab displays a list of saved contacts and provides options for searching and organizing contacts.
- Alternatively, users can access the “Contacts” app directly from the home screen if it is available as a separate app.
Once the contacts are accessible, users can proceed to the next steps in the process of saving selected contacts to the SIM card, as outlined in the following sections.
Accessing the phone’s contacts is the foundational step that enables users to review, select, and manage their contact list before initiating the process of saving specific contacts to the SIM card.
Step 2: Selecting the Contacts to Save
Once the phone’s contacts have been accessed, users can proceed to select the specific contacts they wish to save to the SIM card. This step involves identifying and choosing the contacts from the existing list. The process may vary slightly based on the device’s operating system and the user interface, but the general steps are as follows:
For Android Devices:
- Open the “Contacts” app and browse through the list to locate the contacts to be saved to the SIM card.
- Tap and hold the first contact to initiate the selection mode, then continue selecting additional contacts by tapping each one individually or using the available selection options.
- Once the desired contacts are selected, users can proceed to the next step of saving them to the SIM card.
For iOS Devices (iPhone or iPad):
- In the “Contacts” or “Phone” app, locate and tap on the individual contacts that need to be saved to the SIM card. This action opens the contact details, allowing users to view and edit the contact information.
- After opening a contact, users can scroll down to find the option to “Import/Export” or “Copy to SIM” for that specific contact. Tap on this option to initiate the saving process for the selected contact.
- Repeat this process for each contact that needs to be saved to the SIM card.
It is essential to ensure that the selected contacts are compatible with the SIM card’s storage capacity. Some SIM cards have limitations on the number of contacts that can be saved, so users should review the SIM card’s specifications to avoid exceeding its capacity.
By carefully selecting the contacts to be saved, users can tailor their SIM card’s contact list to include the most essential and frequently accessed contacts, ensuring that important numbers are readily available on the SIM card.
Step 3: Choosing the “Save to SIM Card” Option
After selecting the desired contacts, the next step involves choosing the “Save to SIM Card” option to initiate the process of transferring the selected contacts to the SIM card. The specific steps for this process may vary based on the device’s operating system and the user interface, as outlined below:
For Android Devices:
- Once the contacts are selected, users can tap the “More” or “Options” menu, typically represented by three vertical dots or lines, located in the top-right corner of the screen.
- From the menu that appears, users should look for an option related to “Export” or “Share,” which may include the option to “Export to SIM Card” or “Copy to SIM Card.” Tap on this option to proceed.
- Depending on the device and the specific interface, users may be prompted to confirm the action and select the SIM card as the destination for the selected contacts.
For iOS Devices (iPhone or iPad):
- After selecting the contacts, users should navigate to the contact details and locate the “Import/Export” or “Copy to SIM” option, typically found at the bottom of the contact details page.
- Tap on the “Import/Export” or “Copy to SIM” option, which prompts the device to initiate the process of saving the selected contact to the SIM card.
- Users may need to confirm the action and select the SIM card as the destination for the contacts before proceeding with the saving process.
It is important to follow the on-screen prompts and instructions provided by the device to ensure that the selected contacts are successfully saved to the SIM card. Users should also be mindful of any storage limitations or restrictions associated with the SIM card to avoid potential issues during the saving process.
By choosing the “Save to SIM Card” option, users can seamlessly transfer their selected contacts to the SIM card, enabling easy access to these contacts across various devices and ensuring a reliable backup of essential contact information.
Step 4: Confirming the Save
Once the “Save to SIM Card” option has been selected and the process of transferring the selected contacts to the SIM card has been initiated, users may be required to confirm the save to ensure the successful completion of the saving process. The confirmation step may vary based on the device’s operating system and the specific user interface, as outlined below:
For Android Devices:
- After selecting the “Export to SIM Card” or similar option, users may be prompted to confirm the action by tapping “OK” or “Confirm” to proceed with saving the selected contacts to the SIM card.
- Depending on the device and interface, users may also be provided with a summary of the contacts to be saved and given the opportunity to review and confirm the selection before finalizing the save to the SIM card.
- Upon confirmation, the device will proceed with the saving process, and users will receive a notification or confirmation message once the contacts have been successfully saved to the SIM card.
For iOS Devices (iPhone or iPad):
- After initiating the “Copy to SIM” process for the selected contacts, users may be required to confirm the action by tapping “OK” or “Confirm” to proceed with saving the contacts to the SIM card.
- Users may also receive a confirmation prompt displaying the number of contacts to be saved and providing the option to review and confirm the selection before finalizing the save to the SIM card.
- Upon confirmation, the device will execute the saving process, and users will receive a notification or confirmation message once the contacts have been successfully saved to the SIM card.
It is essential for users to carefully review the confirmation prompts and ensure that the selected contacts are accurately saved to the SIM card. Any discrepancies or errors in the confirmation details should be addressed before finalizing the save to prevent data loss or inaccuracies in the saved contacts.
By confirming the save, users can verify that the selected contacts have been successfully transferred to the SIM card, providing assurance that the essential contact information is securely stored and accessible on the SIM card.
Step 5: Checking the Saved Numbers on the SIM Card
After completing the process of saving contacts to the SIM card, users may want to verify that the selected numbers have been successfully stored on the SIM card. Checking the saved numbers on the SIM card allows users to confirm the integrity of the saved contacts and ensure that the transfer process was completed accurately. The steps for checking the saved numbers may vary based on the device’s operating system and the specific user interface, as outlined below:
For Android Devices:
- Open the “Contacts” app on the device and navigate to the app’s settings or options menu, typically accessible by tapping the three vertical dots or lines in the top-right corner of the screen.
- Within the settings or options menu, look for the “Manage contacts” or “Manage contacts on SIM card” option, which allows users to view and manage the contacts saved on the SIM card.
- Upon selecting the “Manage contacts on SIM card” option, users will be able to access and review the saved contacts, ensuring that the intended numbers have been successfully transferred and stored on the SIM card.
For iOS Devices (iPhone or iPad):
- Access the “Settings” app on the device and scroll down to find the “Contacts” or “Phone” settings.
- Within the “Contacts” or “Phone” settings, users can look for an option related to “Import/Export” or “SIM Applications,” which may provide access to the contacts saved on the SIM card.
- By selecting the appropriate option, users can review the contacts stored on the SIM card and verify that the intended numbers have been successfully saved and are accessible from the SIM card.
During the process of checking the saved numbers on the SIM card, users should ensure that all the intended contacts are visible and accurately stored. Any discrepancies or missing contacts should be promptly addressed to prevent potential data loss or inaccuracies in the SIM card’s saved contacts.
By confirming the presence of the saved numbers on the SIM card, users can gain assurance that the selected contacts have been successfully transferred and are readily available for use on the SIM card, providing a reliable backup and access to essential contact information.