
Checking Compatibility
Before you embark on setting up your MetroPCS SIM card, it's crucial to ensure that your device is compatible with the carrier's network. This step is essential to guarantee a seamless activation process and optimal functionality. Here's how to determine your device's compatibility:
-
Check Device Compatibility Online: Visit the MetroPCS website or use their official mobile app to access the compatibility checker tool. Input your device's details, such as the make, model, and serial number, to verify its compatibility with the MetroPCS network.
-
Verify LTE Band Support: MetroPCS operates on various LTE bands to deliver high-speed data connectivity. Check your device's specifications, either in the user manual or on the manufacturer's website, to confirm that it supports the LTE bands used by MetroPCS. This information is typically listed under the network and connectivity section.
-
Consult MetroPCS Customer Support: If you encounter any uncertainty regarding your device's compatibility, don't hesitate to reach out to MetroPCS customer support. Their knowledgeable representatives can provide valuable insights and guidance to help you determine whether your device is compatible with their network.
-
Consider Unlocking Requirements: If your device was previously locked to another carrier, ensure that it has been unlocked before attempting to use it with MetroPCS. Locked devices may not function properly with a MetroPCS SIM card unless they are unlocked to allow for seamless network access.
By thoroughly checking your device's compatibility with MetroPCS, you can set the stage for a successful SIM card setup and activation process. This proactive approach minimizes the risk of encountering compatibility issues and ensures that you can fully leverage the services offered by MetroPCS on your device.
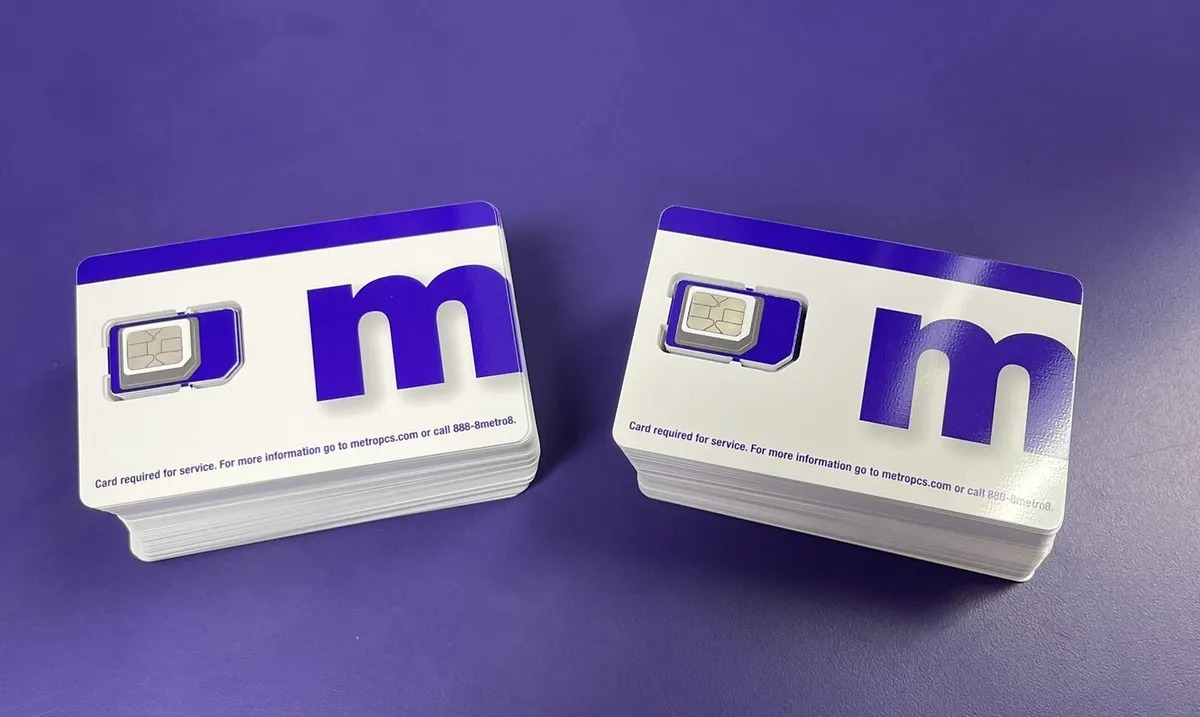
Purchasing a MetroPCS SIM Card
Once you have confirmed that your device is compatible with the MetroPCS network, the next step is to acquire a MetroPCS SIM card. This essential component is the gateway to accessing MetroPCS’s services on your device. Here’s a guide to purchasing a MetroPCS SIM card:
- Visit a MetroPCS Store: Locate a nearby MetroPCS store using their store locator tool or app. Visit the store in person to explore their range of SIM card options and select the one that best suits your needs. The store representatives can also provide valuable assistance and address any queries you may have regarding the SIM card purchase.
- Online Purchase: Alternatively, you can purchase a MetroPCS SIM card through their official website. Navigate to the SIM card section and choose the appropriate option based on your device and plan requirements. Complete the purchase process by providing the necessary details and proceed to checkout. The SIM card will be shipped to your designated address.
- Consider Starter Kit Options: MetroPCS offers starter kits that include a SIM card along with additional perks such as activation bonuses and promotional offers. Assess the available starter kit options to potentially benefit from cost-effective bundles that enhance your overall MetroPCS experience.
By obtaining a MetroPCS SIM card through an authorized channel, you can ensure the authenticity and reliability of the card, thereby paving the way for a smooth activation process. Additionally, purchasing a SIM card from MetroPCS directly allows you to tap into their support resources and warranty coverage, should the need arise.
Inserting the SIM Card
After acquiring your MetroPCS SIM card, the next step is to insert it into your device. Proper insertion ensures that your device can establish a connection with the MetroPCS network and access its array of services. Here’s a step-by-step guide to inserting the SIM card:
- Power Off Your Device: Before handling the SIM card, power off your device to prevent any potential damage to the card or the device itself.
- Locate the SIM Card Slot: Depending on your device model, the SIM card slot may be located on the side, back, or beneath the battery cover. Refer to your device’s user manual or the manufacturer’s website for specific instructions on locating the SIM card slot.
- Remove the Old SIM Card (If Applicable): If your device currently has a SIM card from a different carrier, carefully remove it from the SIM card slot and set it aside. Be mindful of the orientation of the old SIM card to ensure the correct placement of the MetroPCS SIM card.
- Insert the MetroPCS SIM Card: Align the MetroPCS SIM card with the designated slot, ensuring that the gold contacts on the card align with the corresponding contacts in the slot. Gently slide the SIM card into place, taking care not to apply excessive force that could potentially damage the card or the slot.
- Power On Your Device: Once the SIM card is securely inserted, power on your device and allow it to boot up. Your device should now recognize the MetroPCS SIM card and initiate the activation process, provided that the SIM card is compatible with your device.
By following these simple steps, you can seamlessly insert your MetroPCS SIM card, enabling your device to establish a connection with the MetroPCS network and begin enjoying the benefits of their services.
Activating the SIM Card
Upon successfully inserting the MetroPCS SIM card into your device, the next vital step is to activate it. Activation is a crucial process that enables your device to establish a functional connection with the MetroPCS network, allowing you to make calls, send messages, and access mobile data. Here’s a comprehensive guide to activating your MetroPCS SIM card:
- Access the Activation Page: Using a web browser on your device or a computer, navigate to the MetroPCS activation page. This page typically guides you through the activation process and may require you to input specific details, such as the SIM card number and your device’s IMEI number, to initiate the activation.
- Call Customer Support: If you encounter any difficulties with online activation, consider reaching out to MetroPCS customer support. Their representatives can assist you in activating your SIM card over the phone, guiding you through the necessary steps and addressing any potential issues that may arise during the process.
- Follow the On-Screen Instructions: If you opt for online activation, carefully follow the on-screen instructions provided on the activation page. Input the required details accurately and double-check the information before proceeding to ensure a smooth and error-free activation process.
- Wait for Confirmation: Upon completing the activation process, await confirmation that your MetroPCS SIM card has been successfully activated. This confirmation may be displayed on the activation page or conveyed to you via a text message or email, depending on the activation method you chose.
By diligently following these activation steps, you can ensure that your MetroPCS SIM card is fully activated, allowing you to harness the full spectrum of services offered by MetroPCS on your device.
Setting up your Phone’s APN Settings
After successfully activating your MetroPCS SIM card, configuring your phone’s Access Point Name (APN) settings is essential to enable data connectivity and ensure seamless internet access. The APN settings facilitate the communication between your device and the MetroPCS network, allowing you to utilize mobile data and access online services. Here’s a detailed guide to setting up your phone’s APN settings:
- Access the APN Settings: Navigate to your device’s settings menu and locate the “Network & Internet” or “Connections” section. Within this section, there should be an option to manage or edit the APN settings. Tap on this option to access the APN configuration interface.
- Add a New APN: If there are no existing APN configurations, you will need to add a new APN specifically for MetroPCS. Look for an option to add a new APN and input the required details, including the APN name, APN, MMSC, MMS proxy, MMS port, MCC, MNC, and APN type. These details can be obtained from MetroPCS’s official website or customer support.
- Save and Select the New APN: After entering the APN details, save the new configuration and ensure that it is selected as the active APN. In some cases, you may need to restart your device to apply the new APN settings effectively.
- Test Data Connectivity: Once the new APN settings are saved and activated, test the data connectivity on your device by accessing a website or using an app that requires an internet connection. If the data connection functions properly, it indicates that the APN settings have been configured correctly.
By meticulously configuring your phone’s APN settings in accordance with MetroPCS’s requirements, you can establish a robust data connection and unlock the full potential of your device on the MetroPCS network, enabling seamless access to online content and services.