
Understanding the Problem: Why Sand Gets Stuck in Your Phone Charger Port
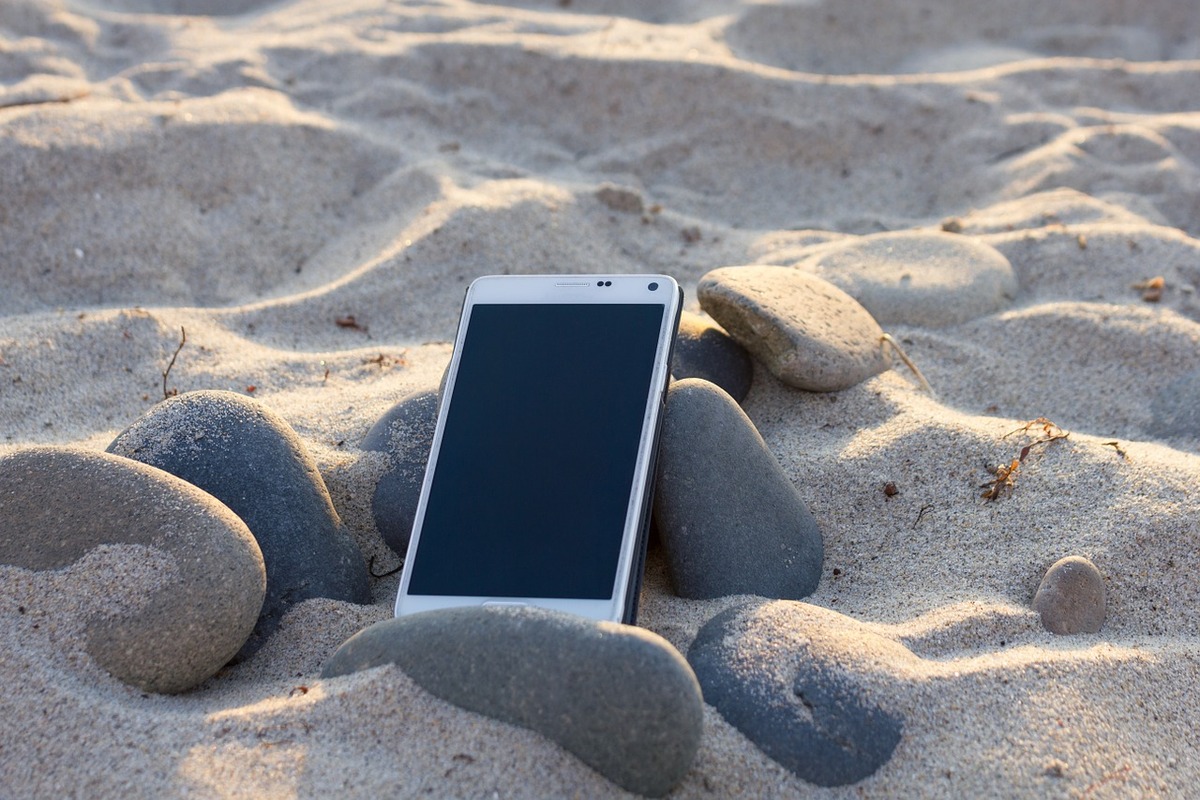
Picture this: you’re enjoying a relaxing day at the beach, the sun kissing your skin, the sound of waves lulling you into a state of bliss. As you reach for your phone to capture a perfect seaside selfie or to check your messages, you notice something alarming – sand has infiltrated your phone’s charger port. How did this happen?
It’s not uncommon for sand to find its way into your phone charger port, especially if you frequent beaches or sandy areas. The small, intricate design of the charging port makes it susceptible to sand intrusion. When your phone is in your pocket or bag at the beach, tiny grains of sand can easily sneak into the port, causing obstruction and potential damage.
Furthermore, the moisture in the air at beach locations can cause the sand to clump together, exacerbating the issue. Once sand has nestled into the port, it can hinder the proper connection between the charger and the phone, leading to charging difficulties and potential long-term damage if not addressed promptly.
Understanding the problem is the first step in effectively addressing it. By recognizing the factors that contribute to sand buildup in your phone’s charger port, you can take proactive measures to prevent it and learn the best methods for removing it when necessary.
Tools You’ll Need: Gathering the Right Equipment for Sand Removal
Before embarking on the mission to rid your phone charger port of sand, it’s essential to assemble the appropriate tools. Having the right equipment at your disposal will make the process smoother and more effective. Here are the essential tools you’ll need:
- Compressed Air: A can of compressed air is a valuable asset for dislodging sand particles from the charger port. The force of the air can help blow out the stubborn grains without causing damage to the delicate components of your phone.
- Toothpick or Soft Brush: A toothpick or a soft-bristled brush, such as a clean, dry paintbrush, can be used to gently dislodge and remove sand from the port without causing damage.
- Isopropyl Alcohol and Cotton Swab: Isopropyl alcohol, with a concentration of 90% or higher, and a cotton swab are effective for deeper cleaning. The alcohol helps dissolve any residual sand or debris, and the cotton swab allows for precise application.
- Vacuum Cleaner with Small Nozzle Attachment: A vacuum cleaner with a small, narrow nozzle attachment can be used to suction out the sand particles from the charger port, providing a thorough cleaning.
Having these tools readily available will equip you to tackle the task of removing sand from your phone charger port with confidence and precision. With the right tools in hand, you’ll be prepared to restore your phone’s functionality and prevent potential damage caused by sand buildup.
Method 1: Using Compressed Air to Blow Out the Sand
When it comes to dislodging sand from your phone charger port, utilizing compressed air is a popular and effective method. Here’s a step-by-step guide on how to use this method:
- Prepare the Area: Find a well-lit and clean workspace to perform the cleaning. Ensure that you are working in a controlled environment to prevent the spread of sand or dust.
- Hold the Phone Securely: Hold your phone firmly and orient the charger port downward to allow the dislodged sand to fall out easily.
- Use the Compressed Air: With the nozzle of the compressed air can held a short distance away from the charger port, gently administer short bursts of air into the port. Be cautious not to hold the can too close to the port, as excessive pressure may cause damage.
- Inspect the Port: After using the compressed air, visually inspect the charger port to ensure that the sand has been dislodged. If necessary, repeat the process until the port appears clear of debris.
- Test the Connection: Once you are satisfied that the sand has been removed, test the connection by plugging in a charger to verify that it fits securely and charges your phone without issues.
Using compressed air is a gentle yet effective way to remove sand from your phone’s charger port without causing damage. By following these steps, you can restore the functionality of your charger port and prevent potential charging problems caused by sand obstruction.
Method 2: Using a Toothpick or Soft Brush to Gently Remove the Sand
When dealing with stubborn sand particles in your phone’s charger port, employing a toothpick or a soft brush can be an effective and delicate approach. Here’s a detailed guide on how to use this method:
- Inspect the Port: Begin by visually inspecting the charger port to assess the extent of sand accumulation. Identify any visible sand particles that may be obstructing the port.
- Choose the Tool: Select a toothpick or a soft-bristled brush, such as a clean, dry paintbrush, to gently dislodge the sand. Ensure that the tool you choose is clean and free of any debris that could further obstruct the port.
- Gently Remove the Sand: Carefully insert the toothpick or softly brush the bristles against the sand particles in the port, using light pressure. Avoid applying excessive force to prevent damage to the port’s delicate components.
- Clear the Debris: As you dislodge the sand, tilt the phone to allow the particles to fall out of the port. Be mindful of the direction in which the debris is dislodged to prevent it from spreading to other areas of the phone.
- Verify the Cleanliness: After using the toothpick or brush, visually inspect the port to ensure that the sand has been effectively removed. If needed, repeat the process to achieve a thorough cleaning.
Using a toothpick or soft brush provides a gentle and precise method for removing sand from your phone’s charger port. By following these steps, you can maintain the integrity of the port while effectively eliminating sand buildup, restoring the proper functionality of your phone’s charging connection.
Method 3: Using Isopropyl Alcohol and a Cotton Swab for Deeper Cleaning
For a more thorough cleaning of your phone’s charger port, utilizing isopropyl alcohol and a cotton swab can effectively dissolve and remove stubborn sand particles. Here’s a comprehensive guide on how to use this method:
- Mix the Isopropyl Alcohol: Pour a small amount of isopropyl alcohol into a container or onto a clean surface. Ensure that the concentration of the alcohol is 90% or higher for optimal effectiveness.
- Dip the Cotton Swab: Dip one end of a cotton swab into the isopropyl alcohol, allowing it to absorb a small amount of the solution. Be cautious not to oversaturate the swab to prevent excess liquid from entering the charger port.
- Clean the Charger Port: Gently insert the dampened end of the cotton swab into the charger port, maneuvering it to reach areas where sand may be lodged. Use a delicate touch to avoid damaging the port’s components.
- Dissolve the Sand: The isopropyl alcohol will work to dissolve any remaining sand particles, facilitating their removal from the port. Allow the alcohol to penetrate the affected areas for a brief period to maximize its cleaning efficacy.
- Inspect the Port: After cleaning with the alcohol-soaked swab, visually inspect the charger port to ensure that the sand has been effectively dissolved and removed. If necessary, repeat the process to achieve a thorough cleaning.
Utilizing isopropyl alcohol and a cotton swab provides a deeper cleaning method for removing stubborn sand from your phone’s charger port. By following these steps, you can effectively dissolve and eliminate trapped sand particles, ensuring a clear and unobstructed charging connection for your phone.
Method 4: Using a Vacuum Cleaner with a Small Nozzle Attachment
When facing a more substantial accumulation of sand in your phone’s charger port, employing a vacuum cleaner with a small nozzle attachment can provide a thorough and efficient cleaning solution. Here’s a detailed guide on how to use this method:
- Prepare the Vacuum Cleaner: Ensure that the vacuum cleaner is equipped with a small, narrow nozzle attachment that can effectively target the charger port. Adjust the vacuum’s settings to a low or moderate suction level to prevent damage to the port.
- Hold the Phone Securely: Securely hold your phone, ensuring that the charger port is easily accessible and positioned for the vacuum’s nozzle attachment to reach it without obstruction.
- Direct the Nozzle: Gently insert the small nozzle attachment of the vacuum cleaner into the charger port, ensuring a snug and secure fit. Exercise caution to avoid applying excessive pressure that could potentially damage the port.
- Activate the Vacuum: Turn on the vacuum cleaner and carefully maneuver the nozzle within the charger port, allowing the suction to dislodge and extract the trapped sand particles. Use gentle and controlled movements to avoid causing any harm to the port.
- Inspect the Port: After using the vacuum, visually inspect the charger port to ensure that the majority of the sand has been effectively removed. If necessary, repeat the process to achieve a thorough cleaning.
Using a vacuum cleaner with a small nozzle attachment offers a powerful and precise method for removing a substantial amount of sand from your phone’s charger port. By following these steps, you can efficiently extract trapped sand particles, restoring the port to a clean and unobstructed state for optimal charging functionality.
Preventing Future Sand Buildup: Tips for Keeping Your Phone Charger Port Clean
After diligently removing the sand from your phone’s charger port, it’s essential to implement preventive measures to minimize the risk of future buildup. By incorporating these practical tips into your routine, you can maintain a clean and functional charger port, ensuring uninterrupted charging for your device.
- Protective Covers: Consider using a protective cover or case for your phone that includes port covers or flaps. These covers act as a barrier, preventing sand and debris from infiltrating the charger port when the phone is not in use.
- Storage Practices: When visiting sandy environments, store your phone in a secure and sealed pouch or compartment to shield it from sand exposure. Avoid placing your phone in pockets or bags that are susceptible to sand ingress.
- Regular Inspections: Routinely inspect your phone’s charger port for any signs of sand or debris accumulation, especially after visiting sandy locations. Promptly address any buildup to prevent it from impeding the charging connection.
- Avoid Direct Exposure: Minimize direct exposure of your phone to sand by refraining from placing it on sandy surfaces or near areas where sand is prevalent. Additionally, avoid using your phone with sandy hands to prevent the transfer of sand to the charger port.
- Gentle Cleaning: Periodically perform gentle cleaning of the charger port using the aforementioned methods, such as using compressed air or a soft brush, to dislodge any minor sand particles and maintain port cleanliness.
By integrating these preventive measures into your phone care regimen, you can significantly reduce the likelihood of sand buildup in your charger port. Proactive maintenance and protective practices will contribute to the longevity and optimal functionality of your phone’s charging interface, ensuring a reliable and unobstructed connection for efficient charging.