
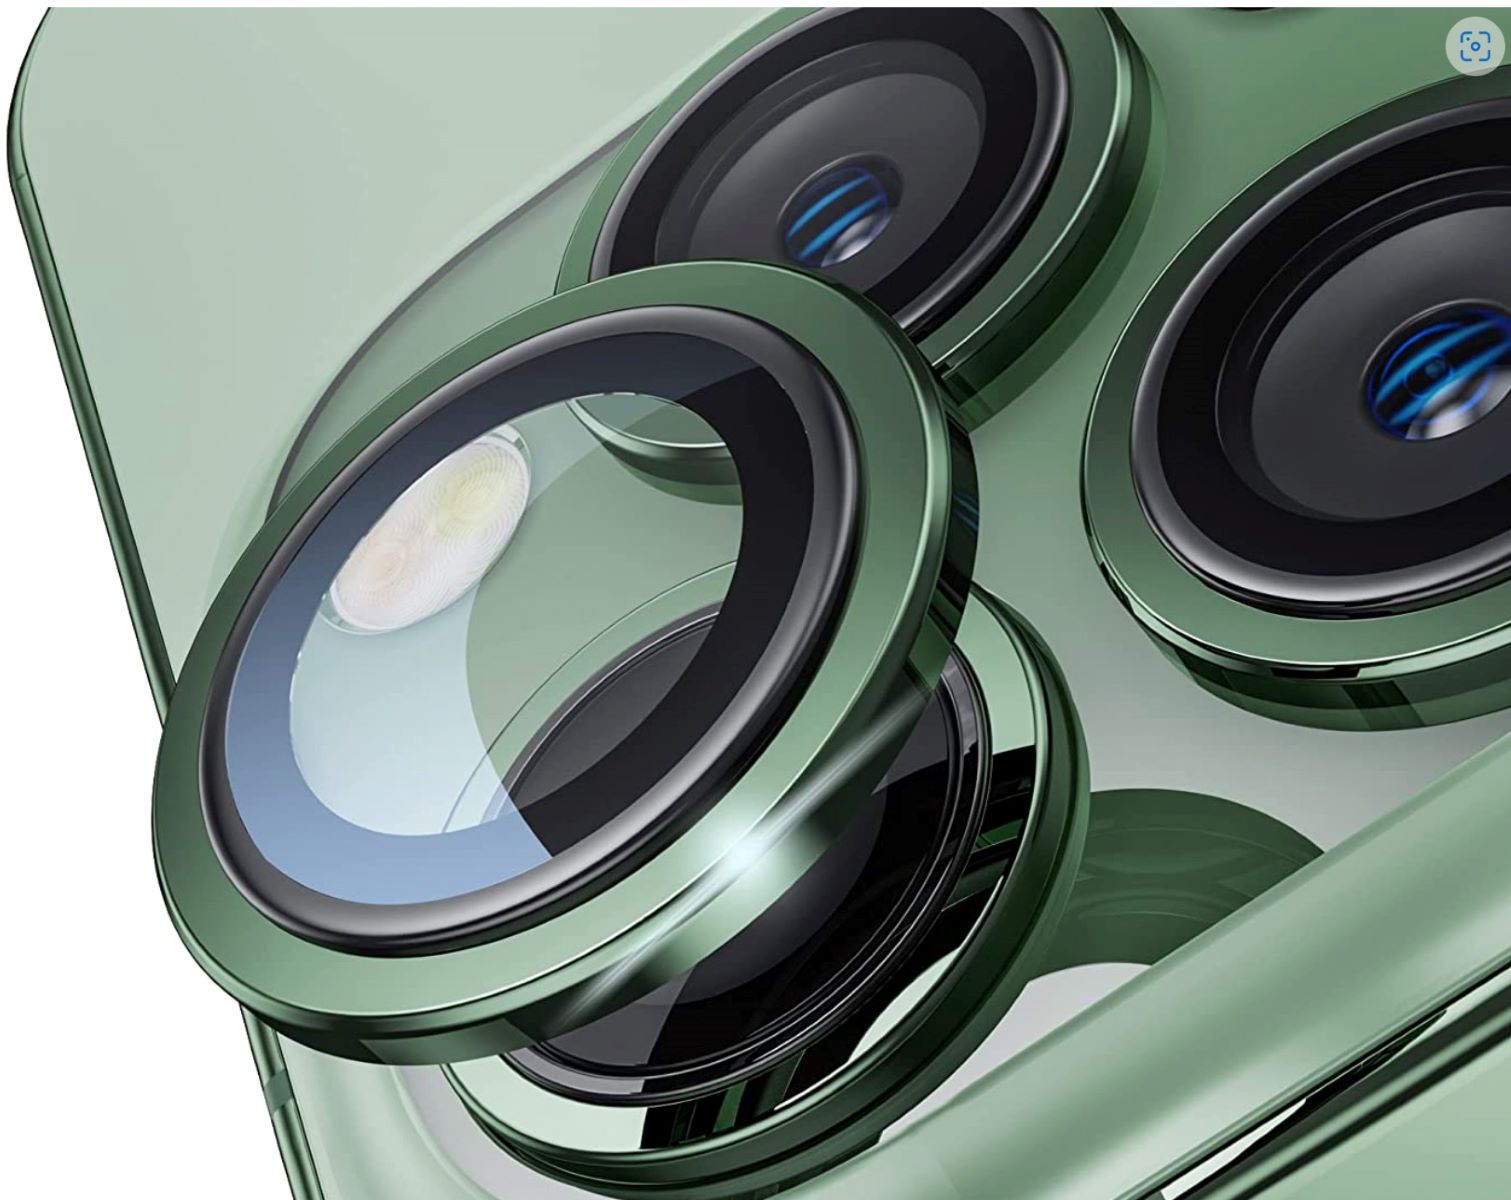
Why Use a Camera Lens Protector?
The camera lens on your iPhone 13 is a crucial component that allows you to capture stunning photos and videos. However, its exposure to various environmental factors, such as dust, dirt, and scratches, can significantly impact the quality of your shots. This is where a camera lens protector comes into play, offering a range of benefits that safeguard your device's lens and enhance its longevity.
-
Protection Against Scratches: The camera lens protector acts as a durable shield, preventing scratches and abrasions from affecting the lens. Whether your phone accidentally comes into contact with rough surfaces or sharp objects, the protector serves as a barrier, preserving the pristine condition of the lens.
-
Resistance to Dust and Debris: In everyday use, your iPhone 13 is susceptible to accumulating dust and debris, which can settle on the camera lens and compromise image clarity. By utilizing a lens protector, you create a barrier that minimizes the accumulation of such particles, ensuring that your lens remains clean and free from obstructions.
-
Enhanced Durability: The lens protector adds an extra layer of defense to your iPhone 13's camera, bolstering its overall durability. This is particularly beneficial for individuals who frequently use their phones in outdoor or rugged environments, as the protector mitigates the risk of impact-related damage to the lens.
-
Preservation of Image Quality: With a camera lens protector in place, you can maintain the optimal image quality of your iPhone 13. By shielding the lens from potential harm, the protector enables you to consistently capture sharp, clear, and vibrant photos and videos without any distortions caused by scratches or smudges.
-
Aesthetic Maintenance: Beyond its functional benefits, a camera lens protector contributes to the aesthetic upkeep of your iPhone 13. By safeguarding the lens from unsightly blemishes, the protector helps preserve the sleek and professional appearance of your device, ensuring that it continues to make a positive impression.
In essence, the utilization of a camera lens protector for your iPhone 13 is a proactive measure that safeguards the lens from physical damage, environmental contaminants, and wear and tear. By investing in this protective accessory, you can prolong the lifespan of your device's camera, maintain its visual appeal, and consistently produce high-quality photographic content.
Steps to Safely Remove the Camera Lens Protector
Removing the camera lens protector from your iPhone 13 requires precision and care to avoid any damage to the lens or the device itself. Follow these steps to safely and effectively remove the protector:
-
Prepare a Clean Workspace: Find a well-lit and clean area to work on. It's essential to have good visibility and a dust-free environment to ensure a smooth removal process.
-
Power Off Your iPhone: Before proceeding, power off your iPhone 13 to prevent any accidental activation of the camera or disruption during the removal process.
-
Inspect the Protector: Carefully examine the camera lens protector for any signs of damage or wear. If the protector is cracked, chipped, or shows signs of adhesive failure, it's crucial to handle it with extra caution to prevent any fragments from coming into contact with the lens.
-
Use a Microfiber Cloth: Gently wipe the camera lens and the surrounding area with a clean microfiber cloth to remove any dust, fingerprints, or debris. This step ensures that the lens is free from any particles that could interfere with the removal process.
-
Apply Gentle Pressure: Using your fingertip, apply gentle pressure to one corner of the camera lens protector. Slowly lift the edge of the protector, being mindful not to use excessive force that could potentially damage the lens or the protector itself.
-
Peel Off the Protector: Once you have successfully lifted the edge of the protector, carefully peel it off using your fingertips. Maintain a steady and controlled motion to prevent any residual adhesive from sticking to the lens.
-
Inspect the Lens: After removing the protector, inspect the camera lens for any remaining adhesive or debris. If necessary, use a clean microfiber cloth to gently wipe the lens and ensure that it is free from any residue.
-
Dispose of the Protector: Properly dispose of the removed camera lens protector according to local waste disposal guidelines. If the protector is recyclable, consider recycling it in an appropriate manner.
By following these steps, you can safely remove the camera lens protector from your iPhone 13 without causing any damage to the lens or the device. It's important to proceed with patience and attention to detail to ensure a successful and risk-free removal process.
Tips for Removing the Camera Lens Protector
When removing the camera lens protector from your iPhone 13, it's essential to approach the process with caution and attention to detail. Here are some valuable tips to ensure a smooth and successful removal:
-
Utilize Adhesive Remover: If the camera lens protector is firmly adhered to the lens, consider using a specialized adhesive remover. This product can help dissolve the adhesive, making it easier to lift off the protector without leaving any residue on the lens.
-
Warm the Protector: Applying gentle heat to the camera lens protector can soften the adhesive, facilitating an easier removal process. You can use a hairdryer on a low setting to warm the protector, making it more pliable for peeling off.
-
Avoid Using Sharp Tools: Refrain from using sharp or pointed tools to pry off the camera lens protector, as this can pose a risk of scratching or damaging the lens. Opt for gentle fingertip pressure or non-abrasive tools specifically designed for removing screen protectors.
-
Work in a Controlled Environment: Choose a well-lit and stable workspace to ensure optimal visibility and minimize the risk of accidental slips or mishandling. A controlled environment also reduces the likelihood of dust or debris interfering with the removal process.
-
Seek Professional Assistance if Necessary: If you encounter challenges or uncertainties during the removal process, consider seeking assistance from a professional technician or a reputable phone repair service. They have the expertise and tools to safely remove the protector without compromising the integrity of the lens.
-
Inspect for Residual Adhesive: After removing the camera lens protector, carefully inspect the lens for any remaining adhesive residue. If necessary, use a mild adhesive remover or a clean microfiber cloth to gently eliminate any lingering adhesive without causing damage to the lens.
-
Exercise Patience: Take your time when removing the camera lens protector, as rushing the process can lead to accidental damage or residue left on the lens. Proceed with patience and a steady hand to ensure a successful and thorough removal.
By incorporating these tips into the removal process, you can effectively navigate the removal of the camera lens protector from your iPhone 13 while minimizing the risk of damage to the lens and maintaining its pristine condition.
What to Do After Removing the Camera Lens Protector
After successfully removing the camera lens protector from your iPhone 13, it's essential to take a few additional steps to ensure that the lens remains in optimal condition and ready for immediate use. Here's what you should do after completing the removal process:
Clean the Lens Thoroughly
Using a clean microfiber cloth, gently wipe the camera lens to remove any residual adhesive, dust, or debris that may have accumulated during the removal process. It's crucial to ensure that the lens surface is completely clean and free from any particles that could affect the quality of your photos and videos.
Inspect for Damage
Carefully inspect the camera lens for any signs of damage or scratches that may have been concealed by the protector. If you notice any imperfections or blemishes on the lens, it's advisable to address them promptly to prevent any impact on the quality of your captured images.
Test the Camera Functionality
Power on your iPhone 13 and access the camera app to verify that the lens is functioning correctly. Take a few test shots to assess the clarity and focus of the images, ensuring that the removal of the protector has not affected the camera's performance.
Consider Applying a New Protector
If you prefer to maintain an additional layer of protection for your camera lens, consider applying a new camera lens protector. Ensure that the new protector is compatible with your iPhone 13 model and follow the manufacturer's instructions for a proper and secure installation.
Store the Removed Protector
If the camera lens protector is reusable or if you anticipate needing it in the future, store it in a safe and clean location. Proper storage helps preserve the integrity of the protector and ensures that it remains free from dust and damage until it is needed again.
Maintain Regular Cleaning
Going forward, make it a habit to regularly clean the camera lens using a microfiber cloth to prevent the accumulation of dust, fingerprints, or smudges. This practice helps maintain the clarity and quality of your photos and videos while prolonging the lifespan of the camera lens.
By following these post-removal steps, you can effectively complete the process of removing the camera lens protector from your iPhone 13 and ensure that the lens remains in optimal condition for continued use. Taking these additional measures contributes to the preservation of your device's camera functionality and the quality of your captured memories.