
Checking for Stylus Compatibility
If you own a Chromebook and are eager to unleash the full potential of its touch screen, you might be considering the use of a stylus. Before embarking on the quest to retrieve the stylus from your Chromebook, it’s crucial to ensure that your device is compatible with a stylus. Not all Chromebooks are designed to support stylus input, so it’s essential to verify compatibility before proceeding.
Here are the steps to check for stylus compatibility:
- Refer to the Manufacturer’s Specifications: The first and most reliable source of information regarding stylus compatibility is the manufacturer’s specifications. Consult the user manual or visit the official website of your Chromebook’s manufacturer to determine whether your specific model supports stylus input. Look for details about stylus compatibility, supported stylus models, and any specific requirements for using a stylus with your Chromebook.
- Check the Settings Menu: Navigate to the settings menu on your Chromebook and look for options related to stylus or pen input. Some Chromebooks have a dedicated section in the settings menu that provides information about stylus compatibility and allows you to configure stylus settings. If you find relevant options in the settings menu, it indicates that your Chromebook is designed to support stylus input.
- Research Online: If you’re unable to find conclusive information about stylus compatibility through the manufacturer’s specifications or settings menu, consider conducting online research. Look for forums, community discussions, or official support channels where other Chromebook users share their experiences with stylus compatibility. Keep in mind that user feedback and experiences can provide valuable insights into stylus compatibility, especially for specific Chromebook models.
By following these steps, you can confidently determine whether your Chromebook is compatible with a stylus. Once you’ve confirmed compatibility, you can proceed to retrieve the stylus and begin exploring the exciting possibilities of stylus input on your Chromebook.
Locating the Stylus Slot
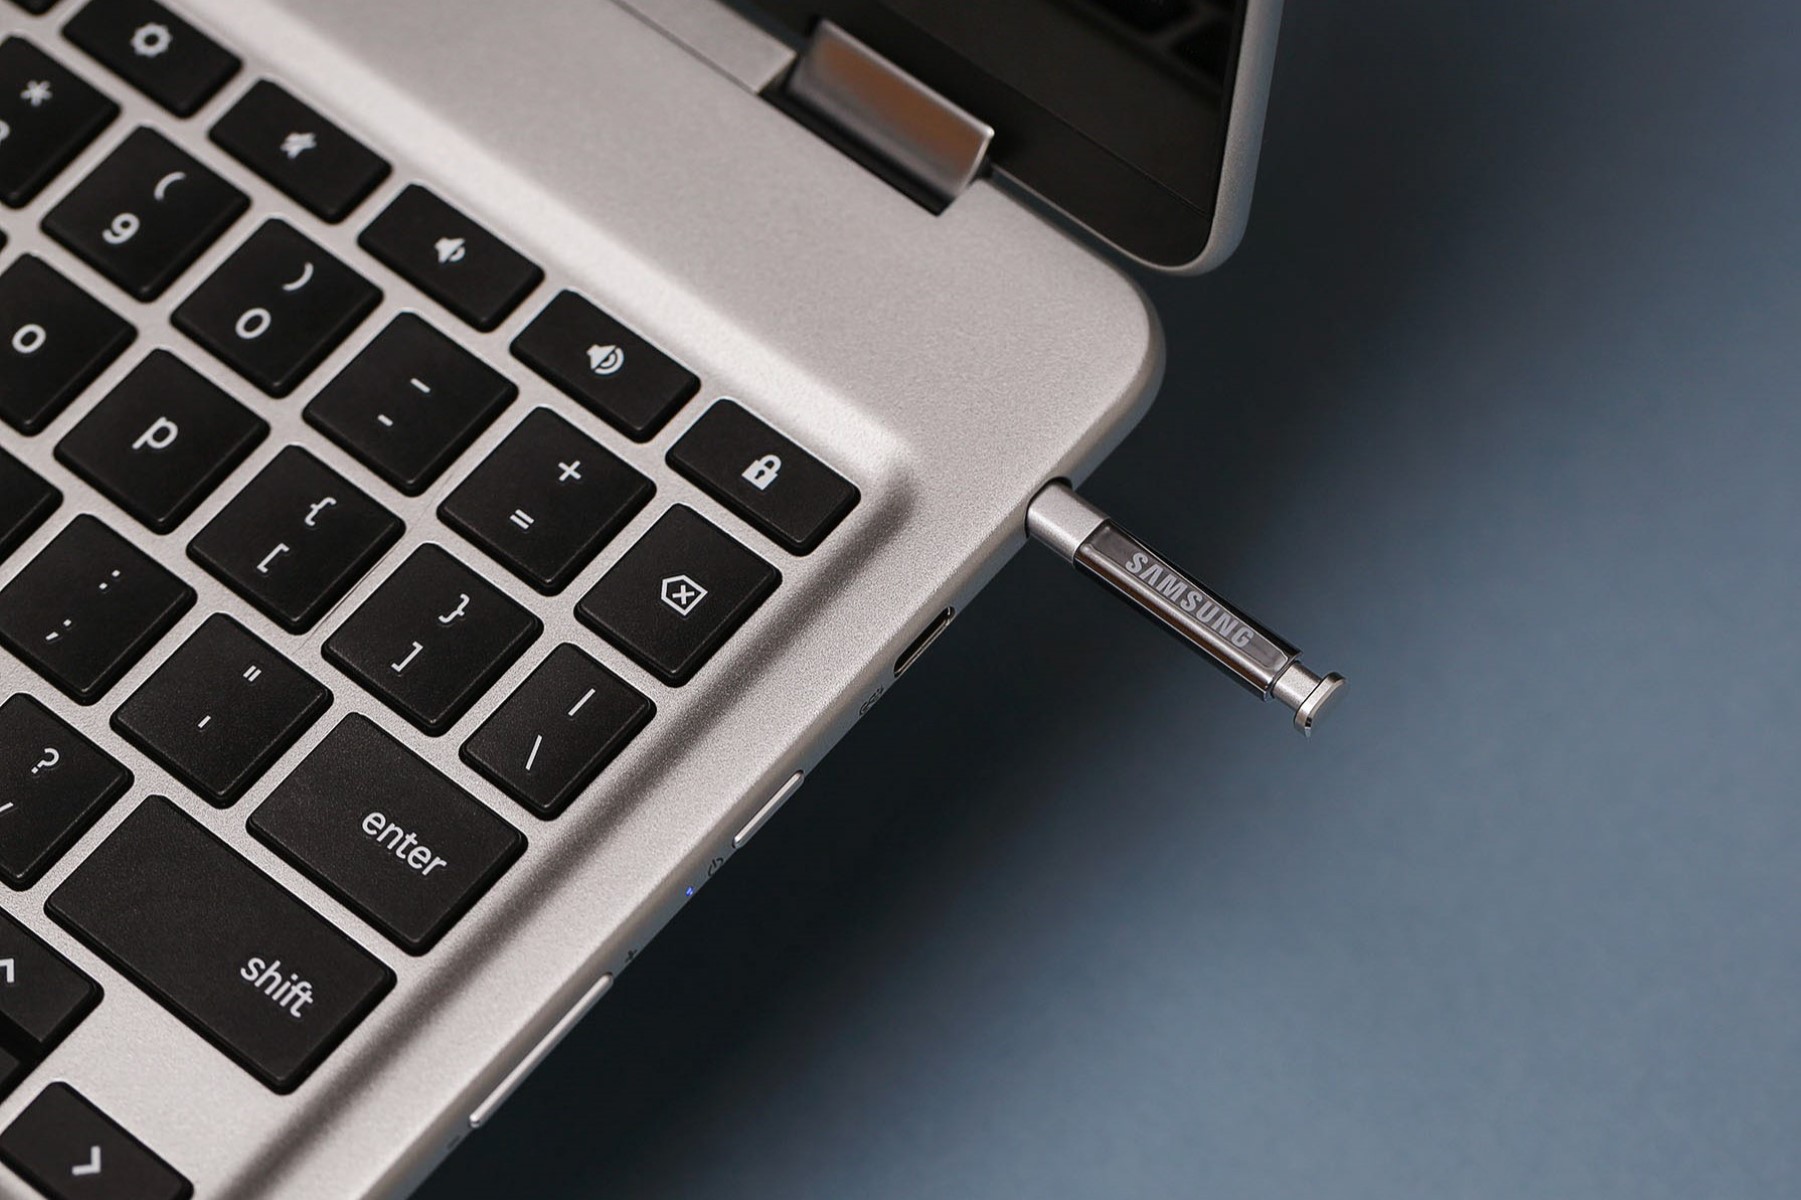
Once you’ve confirmed that your Chromebook is compatible with a stylus, the next step is to locate the stylus slot where the stylus is securely housed when not in use. The stylus slot is designed to keep the stylus easily accessible while ensuring that it remains safely stored when not in use. Here’s how you can locate the stylus slot on your Chromebook:
- Consult the User Manual: The user manual for your Chromebook is a valuable resource for locating the stylus slot. It often contains detailed illustrations and descriptions of the physical features of the device, including the stylus slot. Refer to the table of contents or index to quickly locate the section that provides information about the stylus slot.
- Inspect the Exterior of the Chromebook: Take a close look at the exterior of your Chromebook, paying attention to any visible slots, compartments, or recessed areas where the stylus might be stored. Some Chromebooks have the stylus slot positioned along the edges or near the hinge, while others may have a designated slot on the device’s body.
- Check for Iconography or Labels: Manufacturers often incorporate visual cues to indicate the location of the stylus slot. Look for stylus-related icons, labels, or embossed markings on the Chromebook’s exterior that can guide you to the stylus slot. These visual indicators are designed to make it easier for users to identify the stylus slot without relying solely on the user manual.
- Refer to Online Resources: If you’re unable to locate the stylus slot using the user manual or visual inspection, consider searching for online resources specific to your Chromebook model. Community forums, instructional videos, and official support documentation may offer insights and tips for finding the stylus slot on your particular Chromebook model.
By following these steps, you can successfully locate the stylus slot on your Chromebook, ensuring that you’re ready to retrieve the stylus and make the most of its functionality. Once you’ve identified the stylus slot, you’re one step closer to seamlessly integrating stylus input into your Chromebook experience.
Using the Stylus Removal Tool
Some Chromebook models are equipped with a stylus removal tool, which is specifically designed to facilitate the safe and effortless extraction of the stylus from its slot. The stylus removal tool is a small, often retractable, implement that allows users to securely grasp the stylus and gently remove it from its storage slot. Here’s a step-by-step guide on how to use the stylus removal tool:
- Identify the Stylus Removal Tool: Begin by identifying the stylus removal tool, which is typically housed within the Chromebook itself, either adjacent to the stylus slot or within a designated compartment. The removal tool may resemble a miniature pair of tweezers, a slender hook, or a specialized clip designed to grip the stylus securely.
- Extend or Uncover the Tool: If the stylus removal tool is retractable or concealed within a compartment, carefully extend or uncover the tool to make it accessible for use. Take care to handle the removal tool with caution, as it is designed to delicately extract the stylus without causing any damage to the device or the stylus itself.
- Grasp the Stylus: Once the stylus removal tool is ready for use, position it near the stylus slot and gently maneuver it to grip the stylus securely. Exercise patience and precision to ensure that the removal tool firmly grasps the stylus, allowing for a controlled and steady removal process.
- Apply Even Pressure: With the stylus removal tool securely gripping the stylus, apply even pressure to gradually disengage the stylus from its slot. Avoid sudden or forceful movements, as the goal is to smoothly release the stylus from its storage position without causing any jarring or impact on the device.
- Retrieve the Stylus: As the stylus becomes disengaged from the slot, carefully guide it out using the stylus removal tool. Maintain a steady and controlled motion to prevent any accidental slippage or mishandling during the retrieval process.
By following these steps, you can effectively utilize the stylus removal tool to safely retrieve the stylus from its slot, allowing you to seamlessly transition to using the stylus for various tasks and interactions on your Chromebook.
Removing the Stylus Manually
If your Chromebook does not include a stylus removal tool or if you prefer to remove the stylus manually, it’s important to proceed with caution to avoid any potential damage to the stylus or the device. Manual removal of the stylus requires a delicate touch and careful handling to ensure a smooth and safe extraction. Here’s a guide on how to remove the stylus manually:
- Assess the Stylus Slot: Before attempting to remove the stylus, take a moment to inspect the stylus slot and the surrounding area. Ensure that there are no obstructions or debris that may impede the smooth extraction of the stylus. Clearing any potential obstacles can help facilitate the manual removal process.
- Securely Grip the Stylus: With a gentle and steady hand, carefully grasp the exposed portion of the stylus that is housed within the slot. It’s essential to maintain a firm yet gentle grip to avoid applying excessive force or causing any unnecessary strain on the stylus or the slot.
- Apply Even Pressure: Once you have a secure hold on the stylus, apply even and gradual pressure to slowly disengage the stylus from its slot. Avoid sudden or jerky movements, as the goal is to release the stylus smoothly and steadily without causing any disruption to the device or the stylus itself.
- Guide the Stylus Out: As the stylus begins to detach from the slot, carefully guide it out using a consistent and controlled motion. Pay close attention to any resistance or sticking, adjusting your approach as needed to ensure a seamless extraction without any abrupt movements.
- Inspect for Damage: Once the stylus has been successfully removed, take a moment to inspect both the stylus and the slot for any signs of damage or wear. Ensure that the stylus is free from any deformities or stress, and that the slot remains in optimal condition for future storage of the stylus.
By following these steps, you can manually remove the stylus from its slot with care and precision, allowing you to access the stylus for your creative and interactive pursuits on your Chromebook.