
Checking the Connection
Before delving into more complex troubleshooting steps, it’s essential to start with the basics. Ensuring that the headset is properly connected is the first step in resolving any technical issues. Here’s how to go about it:
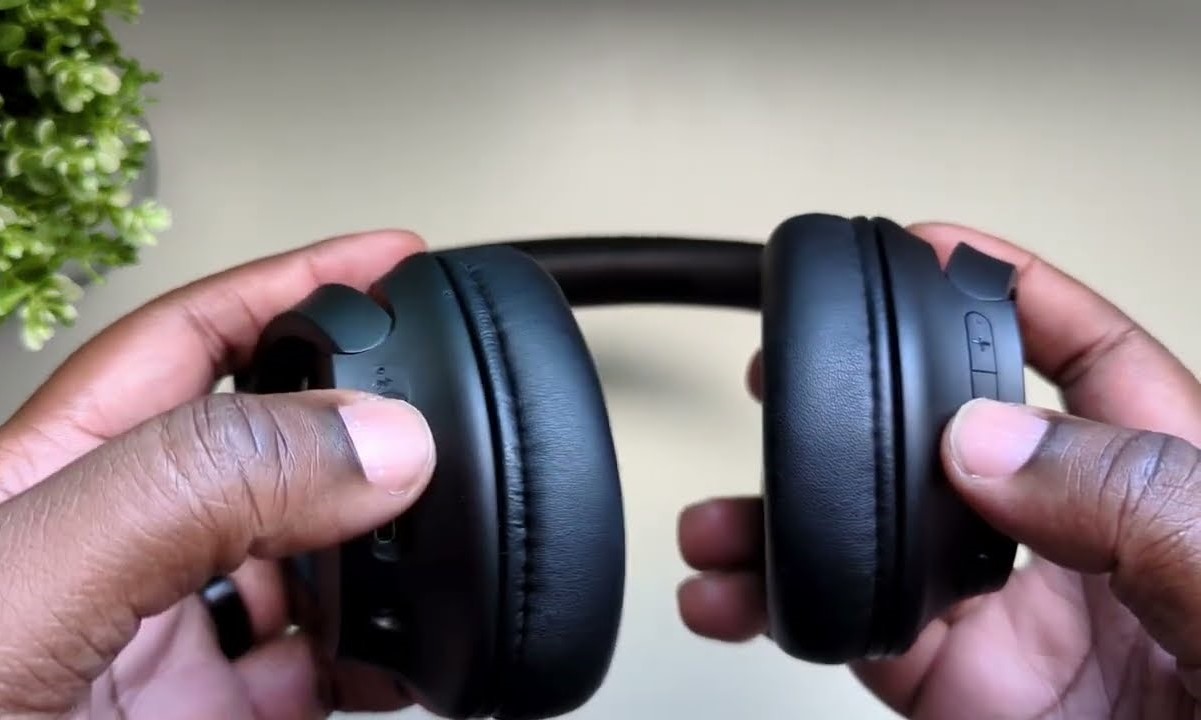
- Physical Connection: Begin by checking the physical connection of the headset. Inspect the cable for any signs of damage or wear and tear. If the headset is wireless, make sure it’s within the recommended range and that there are no obstructions interfering with the signal.
- Device Compatibility: Verify that the headset is compatible with the device it’s being used with. Some headsets are designed for specific platforms or devices, so compatibility issues may arise if they are used with incompatible devices.
- Port and Settings: Ensure that the headset is plugged into the correct port on the device. Additionally, check the audio settings on the device to confirm that the headset is selected as the default audio output.
- Driver Installation: For USB headsets, check if the necessary drivers are installed on the device. Sometimes, driver issues can lead to connectivity problems.
By meticulously examining these fundamental aspects, you can eliminate common connectivity issues and move on to more advanced troubleshooting measures if necessary.
Power Cycling the Headset
When encountering technical glitches with a headset, power cycling can often serve as a simple yet effective solution. This process involves completely powering off the headset and then turning it back on. Here’s a closer look at how to perform a power cycle:
- Unplugging the Headset: If the headset is wired, disconnect it from the device it’s connected to. For wireless headsets, turn off the power or remove the batteries, if applicable.
- Wait Period: After disconnecting the headset, allow it to remain unpowered for a brief period. This interval provides ample time for residual power to dissipate from the headset’s components.
- Reconnecting or Powering On: After the waiting period, reconnect the headset to the device or power it on, depending on the type of headset. Ensure that the connection is secure and that the headset powers on successfully.
- Test the Functionality: Once the headset is powered back on, test its functionality by playing audio or engaging in a call. Assess whether the previous issues have been resolved.
Power cycling can effectively address various issues, including audio distortion, connectivity problems, and software glitches. It’s a quick and uncomplicated troubleshooting method that can often restore the headset to normal functioning.
Updating Firmware
Headsets, especially those with advanced features, often rely on firmware to operate optimally. Firmware serves as the internal software that controls the headset’s functionalities. If the headset is experiencing persistent issues, updating its firmware may provide a resolution. Here’s a guide on updating the firmware:
- Manufacturer’s Website: Visit the official website of the headset’s manufacturer. Look for the “Support” or “Downloads” section, where firmware updates are typically made available for download.
- Check Compatibility: Ensure that the firmware update is compatible with the specific model of the headset. Using an incompatible firmware version can lead to further complications.
- Follow Instructions: Download the firmware update and carefully follow the provided instructions for installing it on the headset. This may involve connecting the headset to a computer or following specific steps to initiate the update process.
- Backup and Precautions: Before initiating the firmware update, back up any important settings or configurations on the headset, if possible. Additionally, ensure that the headset has sufficient battery or power to prevent interruptions during the update process.
- Verify Update Completion: Once the firmware update is installed, verify its successful completion. Some headsets may display a confirmation message or indicator light to signify that the update has been applied.
Updating the firmware can introduce enhancements, bug fixes, and improved compatibility with devices, potentially resolving persistent issues with the headset’s performance. It’s an essential maintenance step to ensure the headset operates with the latest software optimizations.
Resetting to Factory Settings
When all other troubleshooting measures fail to rectify persistent issues with a headset, performing a factory reset can often serve as the ultimate solution. This process restores the headset to its original factory state, eliminating any software or configuration issues that may be causing malfunctions. Here’s a comprehensive guide on resetting a headset to factory settings:
- Locate the Reset Button: Many headsets feature a dedicated reset button or pinhole. Refer to the headset’s user manual or the manufacturer’s website to identify the precise location of the reset mechanism.
- Power Off the Headset: Ensure that the headset is powered off before initiating the reset process. If the headset has a removable battery, take it out to ensure a complete power down.
- Perform the Reset: Using a small pin or paperclip, press and hold the reset button for the specified duration, typically around 10-15 seconds. This action initiates the factory reset process.
- Observe Reset Confirmation: After performing the reset, observe any visual or audible cues from the headset that indicate the reset was successful. This may include indicator lights flashing or a reset confirmation message, if applicable.
- Reconfigure the Headset: Following the factory reset, the headset returns to its original settings. Reconfigure the headset as necessary, including reconnecting it to devices and adjusting any personalized settings.
Resetting a headset to factory settings eradicates persistent software issues, configuration conflicts, and erratic behavior. It essentially provides a clean slate for the headset, often resolving complex and stubborn technical issues.