
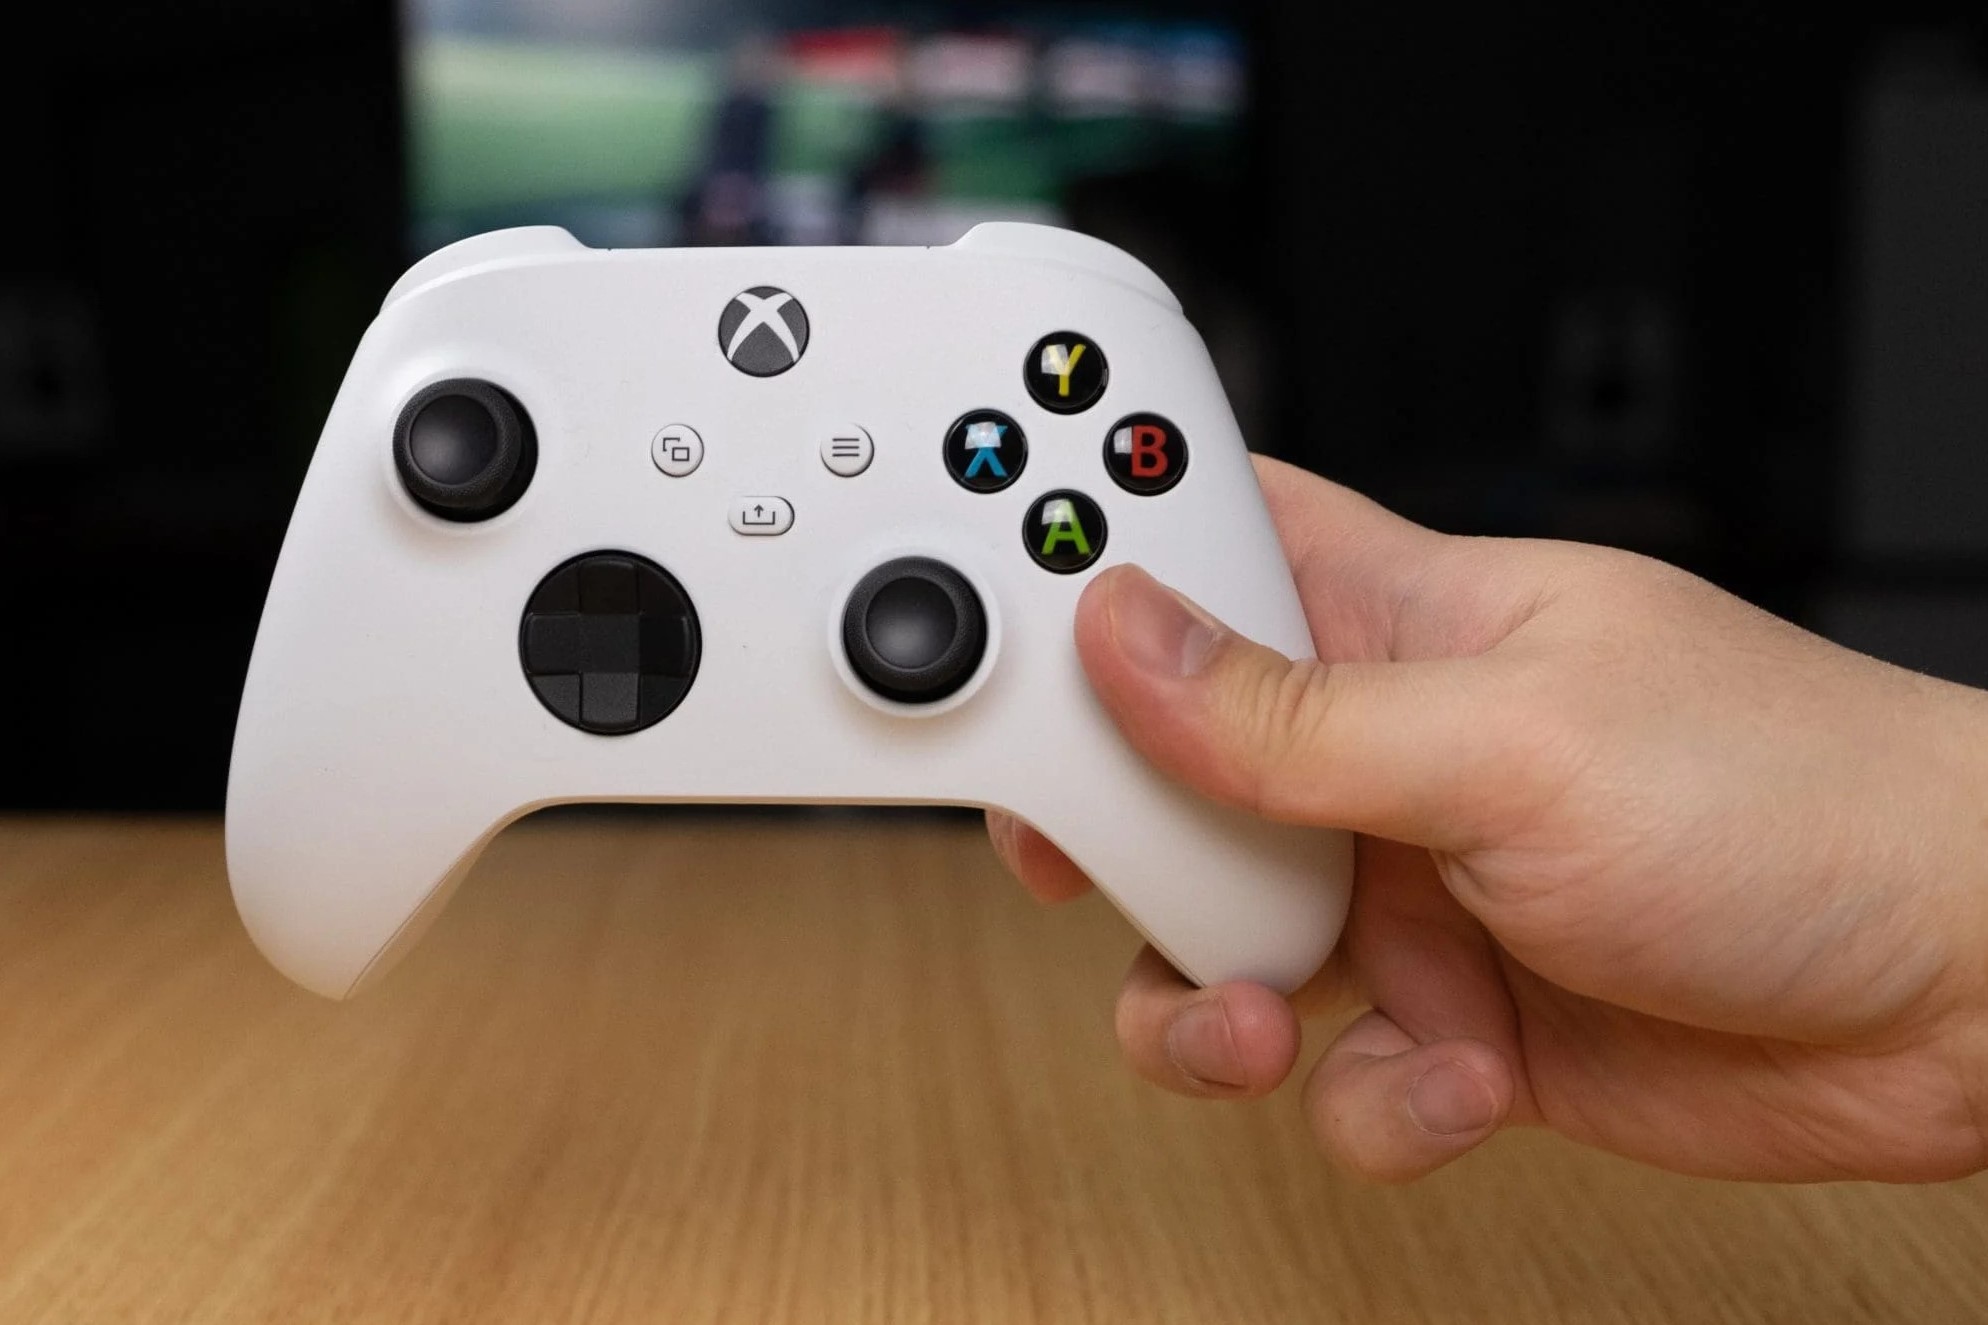
Understanding the Joystick Repositioning Issue
One of the most common issues encountered by Xbox One gamers is the repositioning of the joystick on the controller. This problem arises when the joystick becomes loose or shifts from its original placement, leading to an inconsistent gaming experience. The joystick’s repositioning can significantly impact gameplay, causing frustration and hindering precise control over in-game characters and actions.
Several factors contribute to the joystick repositioning issue, including prolonged and intense usage of the controller, physical impacts or drops, and wear and tear over time. Additionally, excessive force applied to the joystick during gameplay can expedite its displacement, resulting in a compromised gaming experience.
Understanding the underlying causes of this issue is crucial for gamers seeking to rectify the problem and restore their controller to optimal functionality. By recognizing the potential triggers for joystick repositioning, gamers can take proactive measures to address the issue and prevent its recurrence, ultimately enhancing their gaming experience and prolonging the lifespan of their Xbox One controllers.
Tools Required for Repositioning the Joystick
Before embarking on the process of repositioning the joystick on your Xbox One controller, it is essential to gather the necessary tools to ensure a successful outcome. The following tools are indispensable for this undertaking:
- Replacement Joystick: Acquire a compatible replacement joystick designed for the Xbox One controller model you own. It is crucial to select a high-quality replacement joystick to guarantee optimal performance and longevity.
- Phillips Head Screwdriver: A small Phillips head screwdriver is essential for disassembling the controller and accessing the internal components, including the joystick mechanism.
- Plastic Opening Tools: Utilize plastic opening tools to carefully pry open the controller casing without causing damage. These tools are instrumental in gaining access to the internal components while minimizing the risk of cosmetic or structural impairment to the controller.
- Tweezers: Fine-tipped tweezers are invaluable for handling small components and cables within the controller. They facilitate precision and dexterity during the repositioning process, ensuring that delicate components are manipulated with care.
- Cleaning Cloth and Isopropyl Alcohol: A soft cleaning cloth and isopropyl alcohol are essential for cleaning the internal surfaces of the controller and removing any debris or residue that may impede the repositioning process.
By assembling these tools, you can effectively prepare for the task of repositioning the joystick on your Xbox One controller, setting the stage for a seamless and successful repair process.
Step-by-Step Guide to Repositioning the Joystick
Repositioning the joystick on your Xbox One controller requires a systematic approach and careful handling of the internal components. Follow these step-by-step instructions to effectively address the joystick repositioning issue:
- Prepare the Workspace: Select a clean, well-lit workspace and gather all the necessary tools and replacement components, ensuring that you have ample space to maneuver and organize the controller’s internal parts.
- Remove the Battery: Power off the Xbox One controller and remove the battery pack or disconnect the controller from any power source to prevent electrical mishaps during the repair process.
- Unscrew the Casing: Using a Phillips head screwdriver, carefully remove the screws securing the controller’s casing. Keep the screws organized to facilitate reassembly and prevent misplacement.
- Open the Controller Casing: Gently pry open the controller casing using plastic opening tools, taking care not to force or damage the plastic components. Exercise patience and precision during this step.
- Access the Joystick Module: Once the controller casing is removed, locate the joystick module and identify the screws or fasteners securing it in place. Carefully detach any cables or connectors linked to the module.
- Replace the Joystick: If a replacement joystick is required, carefully install the new joystick in the designated slot, aligning it properly and securing it according to the manufacturer’s guidelines.
- Reassemble the Controller: Reconnect any detached cables, fasten the joystick module, and carefully reattach the controller’s casing, ensuring that all components fit snugly and securely.
- Test the Controller: Power on the controller and test the repositioned joystick to ensure smooth and precise functionality. Calibrate the joystick if necessary and verify that it responds accurately to input.
By meticulously following these steps, you can effectively reposition the joystick on your Xbox One controller, restoring optimal functionality and enhancing your gaming experience.
Testing the Repositioned Joystick
After successfully repositioning the joystick on your Xbox One controller, it is imperative to conduct thorough testing to ensure that the joystick functions optimally and delivers a seamless gaming experience. The following steps outline the testing process for the repositioned joystick:
- Functional Testing: Power on your Xbox One console and navigate to a game or application that requires joystick input. Test the repositioned joystick by executing various in-game movements and actions to assess its responsiveness and accuracy.
- Range of Motion: Verify that the repositioned joystick offers a full range of motion without any hindrance or dead zones. Test its movement in all directions to confirm that it registers input consistently and smoothly.
- Precision and Sensitivity: Evaluate the joystick’s precision and sensitivity by engaging in tasks that demand nuanced control, such as aiming, character movement, or vehicle operation within games. Note any instances of erratic behavior or imprecise input.
- Calibration Check: Access the controller settings on your Xbox One console and calibrate the joystick if necessary. Follow the on-screen instructions to fine-tune the joystick’s sensitivity and dead zones, optimizing its performance for different gaming scenarios.
- Extended Gameplay Testing: Engage in an extended gaming session to thoroughly assess the repositioned joystick’s durability and comfort during prolonged use. Monitor its performance and comfort levels to ensure that it enhances rather than hinders your gaming experience.
By meticulously testing the repositioned joystick across various parameters, you can ascertain its reliability and functionality, providing the assurance that your Xbox One controller has been restored to its optimal state for immersive and enjoyable gaming sessions.
Tips for Preventing Joystick Repositioning Issue
To mitigate the likelihood of encountering the joystick repositioning issue in the future and prolong the longevity of your Xbox One controller, consider implementing the following preventive measures:
- Moderate Joystick Pressure: Avoid exerting excessive force on the joystick during gameplay, as this can accelerate wear and looseness. Practice gentle and controlled movements to minimize strain on the joystick mechanism.
- Regular Maintenance: Periodically clean and inspect your Xbox One controller, paying particular attention to the joystick area. Remove any debris or residue that may impede the joystick’s movement and functionality, ensuring that it remains in optimal condition.
- Invest in Quality Joysticks: When replacing joysticks or purchasing additional controllers, prioritize high-quality, durable joysticks that are designed to withstand prolonged use. Opting for reputable and reliable brands can contribute to a more resilient gaming setup.
- Store Controllers Safely: Store your Xbox One controllers in a secure and stable location, protecting them from accidental drops or impacts that could displace the joysticks. Utilize controller cases or designated storage areas to minimize the risk of damage.
- Rotate Controller Usage: If feasible, rotate the usage of multiple controllers to distribute the wear and tear across different devices. This can alleviate strain on individual controllers and extend their operational lifespan.
- Address Early Signs of Wear: Promptly address any initial indications of joystick looseness or irregularities in performance. Early intervention, such as cleaning, lubrication, or minor adjustments, can prevent the issue from escalating.
By incorporating these preventive strategies into your gaming routine and controller maintenance practices, you can proactively safeguard your Xbox One controllers against the joystick repositioning issue, promoting prolonged reliability and uninterrupted gaming enjoyment.