
Gather the Necessary Tools and Replacement Screen
Before embarking on the task of replacing the screen on your Moto G Stylus, it’s essential to gather the required tools and the replacement screen. Having the right tools at hand will streamline the process and ensure a successful screen replacement.
Here’s a list of tools and materials you’ll need:
- Replacement screen for Moto G Stylus
- Small Phillips screwdriver
- Plastic opening tools or spudger
- Heat gun or hair dryer
- Adhesive strips or adhesive glue
- Tweezers
- Clean cloth
- Sim eject tool
When obtaining the replacement screen, ensure that it is compatible with the Moto G Stylus model to guarantee a perfect fit and functionality. It’s advisable to purchase a high-quality replacement screen from a reputable supplier to ensure durability and optimal performance.
Additionally, prepare a clean and well-lit workspace to carry out the screen replacement. A clutter-free environment will help prevent misplacement of small components and facilitate a smooth and organized repair process.
By gathering the necessary tools and replacement screen beforehand, you’ll be well-prepared to tackle the screen replacement task efficiently and with confidence.
Power Off the Moto G Stylus
Before beginning the screen replacement process, it’s crucial to power off the Moto G Stylus to prevent any potential electrical hazards and ensure the safety of the device and the individual performing the repair.
Here’s a step-by-step guide to power off the Moto G Stylus:
- Press and hold the power button located on the right side of the device.
- After pressing and holding the power button, a menu will appear on the screen.
- Tap “Power off” or “Turn off” on the displayed menu.
- Wait for the device to power down completely.
- Verify that the device is powered off by ensuring the screen is blank and no LED indicators are illuminated.
Ensuring that the Moto G Stylus is powered off before commencing the repair process is crucial to prevent any potential damage to the device’s internal components and to guarantee the safety of the individual performing the screen replacement.
By following these steps to power off the Moto G Stylus, you’ll be ready to proceed with the subsequent stages of the screen replacement process, knowing that the device is safely powered down and ready for repair.
Remove the SIM Card Tray
Prior to disassembling the Moto G Stylus for screen replacement, it’s necessary to remove the SIM card tray to prevent any damage to the tray or the SIM card itself. Here’s a step-by-step guide to removing the SIM card tray:
- Locate the SIM card tray slot on the upper left side of the device.
- Insert the SIM eject tool into the small pinhole next to the SIM card tray slot.
- Gently push the eject tool into the pinhole until the SIM card tray begins to protrude.
- Once the tray is partially ejected, carefully pull it out from the device using your fingers.
- Place the SIM card and the tray in a safe location to prevent misplacement or damage during the screen replacement process.
Removing the SIM card tray ensures that it remains undamaged during the subsequent disassembly and reassembly of the device. Additionally, safeguarding the SIM card is essential to prevent any potential data loss or damage to the card.
By following these steps to remove the SIM card tray, you’ll be ready to proceed with the next stages of the screen replacement process, knowing that the SIM card and tray have been safely removed and set aside for reinstallation after the screen replacement is complete.
Heat and Separate the Back Cover
Before delving into the intricate process of replacing the screen on your Moto G Stylus, it’s essential to heat and separate the back cover to gain access to the device’s internal components. This step requires patience and precision to avoid damaging the back cover or the components housed within the device.
Follow these steps to heat and separate the back cover:
- Use a heat gun or hair dryer to gently heat the edges of the back cover. This helps soften the adhesive securing the cover to the device.
- Hold the heat source a few inches away from the back cover and move it in a sweeping motion to evenly distribute the heat.
- After heating the back cover for approximately 2-3 minutes, use a plastic opening tool or a spudger to carefully pry the edges of the cover, starting from the SIM card tray side.
- Gradually work your way around the edges, applying gentle and consistent pressure to separate the adhesive and release the back cover from the device.
- Once the back cover is loosened, lift it slowly to avoid damaging the attached fingerprint sensor or any connected cables.
Heating and separating the back cover requires a delicate touch and patience to avoid causing any damage to the device. Take your time and ensure that the adhesive is adequately softened before attempting to pry the cover off.
By following these steps to heat and separate the back cover, you’ll gain access to the internal components of the Moto G Stylus, setting the stage for the subsequent steps in the screen replacement process.
Disconnect the Battery
Before proceeding further with the screen replacement on your Moto G Stylus, it’s crucial to disconnect the battery to ensure the safety of the device and prevent any potential electrical mishaps during the repair process.
Follow these steps to disconnect the battery:
- Locate the battery connector on the device’s motherboard. It is usually secured with a plug and a socket.
- Use a pair of tweezers or a plastic opening tool to carefully disconnect the battery plug from its socket on the motherboard. Apply gentle and even pressure to avoid damaging the connector.
- After disconnecting the battery, verify that the device’s screen remains unresponsive by attempting to power it on. This step confirms that the battery has been successfully disconnected.
Disconnecting the battery is a critical safety measure to prevent any potential electrical mishaps during the screen replacement process. It ensures that the device’s components are safeguarded and that the repair can be carried out without risk of electrical damage.
By following these steps to disconnect the battery, you’ll be ready to proceed with the subsequent stages of the screen replacement process, knowing that the device is safely powered down and the battery is disconnected, ensuring a secure repair process.
Remove the Motherboard Shield and Disconnect Components
As you progress with the screen replacement on your Moto G Stylus, the next crucial step involves removing the motherboard shield and disconnecting various components to access the screen assembly and facilitate its replacement.
Follow these steps to remove the motherboard shield and disconnect components:
- Identify and remove any screws securing the motherboard shield in place using a small Phillips screwdriver. Keep the screws organized to ensure they are returned to their original positions during reassembly.
- Gently lift and remove the motherboard shield to expose the components and connectors underneath. Take care not to apply excessive force to avoid damaging the shield or the components.
- Identify the connectors linking the screen assembly to the motherboard and carefully disconnect them using a plastic opening tool or your fingertips. Apply even pressure and avoid pulling on the cables directly to prevent damage.
- Inspect the exposed components and connectors to ensure that no cables or components are trapped or obstructed before proceeding with the screen removal.
Removing the motherboard shield and disconnecting the components is a critical step in preparing the Moto G Stylus for the screen replacement process. It grants access to the screen assembly and allows for the safe disconnection of components without causing damage to the delicate connectors.
By following these steps to remove the motherboard shield and disconnect components, you’ll be one step closer to successfully replacing the screen on your Moto G Stylus, with the necessary components safely disconnected and the motherboard shield removed for easy access.
Remove the Broken Screen
With the necessary preparations and disconnections completed, the next pivotal step in replacing the screen on your Moto G Stylus is the removal of the broken screen. This step requires precision and caution to ensure that the screen is safely detached from the device without causing damage to other components.
Follow these steps to remove the broken screen:
- Carefully lift the broken screen assembly from the device, ensuring that no cables or components are snagged or obstructed during the process.
- Inspect the edges of the screen assembly to identify any remaining adhesive or securing clips that may need to be detached before fully removing the screen.
- Gently separate any remaining adhesive or clips securing the broken screen to the device, taking care not to apply excessive force to avoid damaging the surrounding components.
- Once all adhesive and securing clips are detached, lift the broken screen assembly away from the device and set it aside in a safe location to prevent any accidental damage or injuries.
Removing the broken screen is a critical phase in the screen replacement process, and it requires meticulous attention to detail to prevent any damage to the device’s internal components and ensure a smooth transition to installing the new screen.
By following these steps to remove the broken screen, you’ll be ready to proceed with the installation of the new screen on your Moto G Stylus, knowing that the broken screen has been safely detached and set aside for disposal or recycling.
Install the New Screen and Reassemble the Device
Now that the broken screen has been successfully removed, it’s time to install the new screen and reassemble your Moto G Stylus. This phase of the process is crucial in ensuring that the device functions optimally and that the new screen is securely integrated.
Follow these steps to install the new screen and reassemble the device:
- Position the new screen assembly onto the device, aligning it with the corresponding connectors and mounting points.
- Gently press the new screen into place, ensuring that it sits flush and securely on the device’s frame.
- If the new screen assembly includes adhesive strips, carefully remove the backing and firmly press the screen onto the device to secure it in place.
- Reconnect the components and cables that were disconnected earlier, including those linking the screen assembly to the motherboard.
- Replace the motherboard shield and secure it with the previously removed screws, ensuring that it is snug but not over-tightened.
- Carefully reposition the back cover, ensuring that the fingerprint sensor and any other attached components align correctly.
- Apply gentle pressure to the edges of the back cover to secure it in place, ensuring that any residual adhesive makes full contact with the device’s frame.
Installing the new screen and reassembling the device requires meticulous attention to detail and precision to ensure that the components are securely integrated and the device functions optimally.
By following these steps to install the new screen and reassemble the Moto G Stylus, you’ll be one step closer to completing the screen replacement process, with the device ready to be powered on and tested.
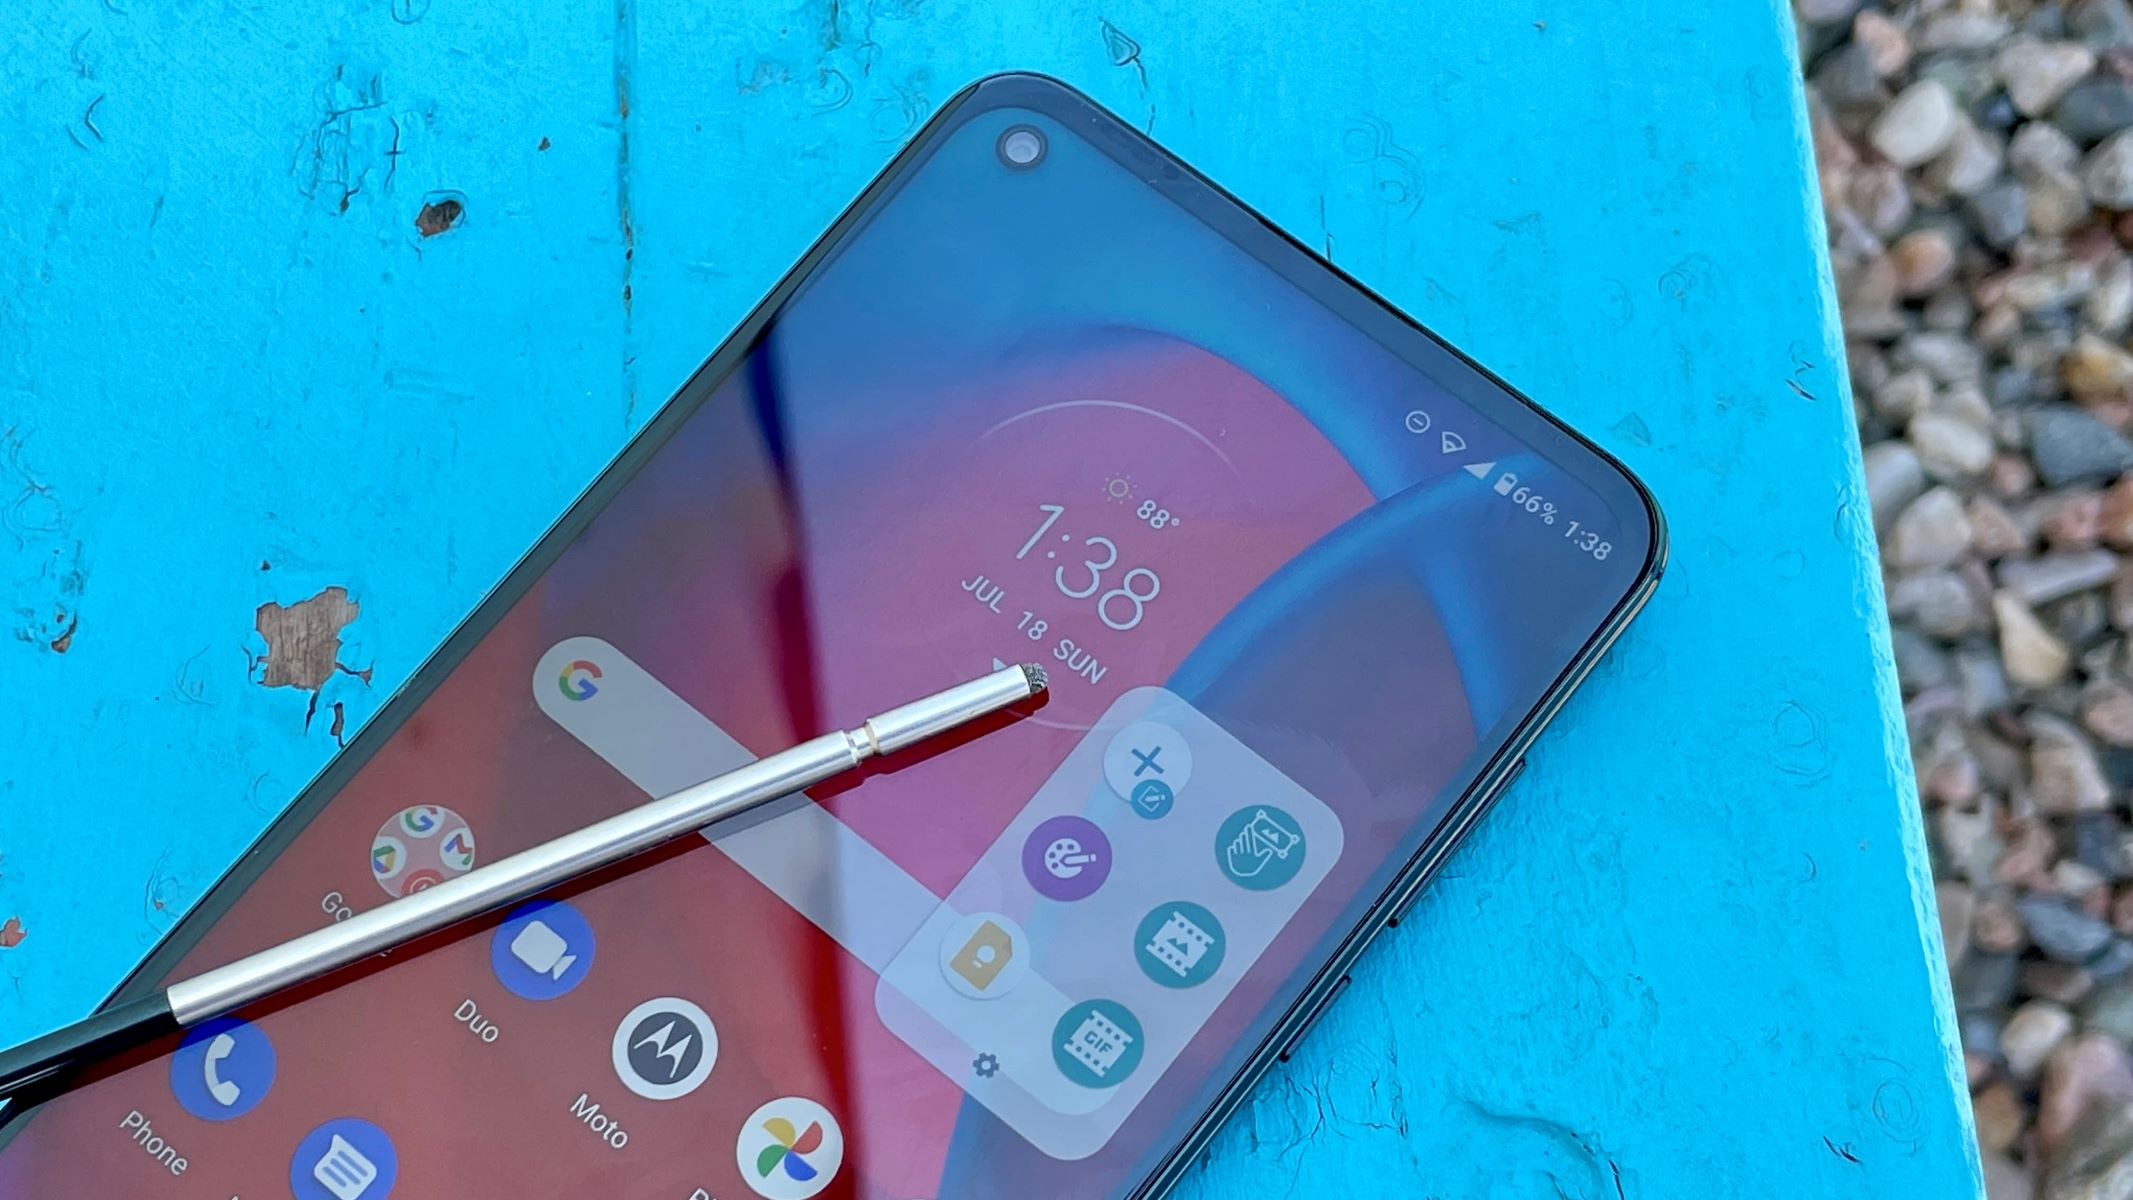
Power On and Test the Moto G Stylus
With the new screen installed and the device reassembled, the final step in the screen replacement process is to power on and test the Moto G Stylus to ensure that the new screen functions properly and that the device operates as expected.
Follow these steps to power on and test the Moto G Stylus:
- Press and hold the power button to turn on the device.
- Observe the screen for any signs of abnormal display, such as dead pixels, discoloration, or unresponsive areas.
- Verify the touch functionality of the new screen by navigating through the device’s interface and testing various touch gestures.
- Check the device’s cameras, speakers, and other features to ensure that they are functioning correctly.
- If the device powers on and the new screen operates without any issues, the screen replacement process is successful.
Powering on and testing the Moto G Stylus is a crucial final step to confirm that the new screen functions as intended and that the device’s overall functionality is restored. It ensures that the screen replacement process has been completed successfully and that the device is ready for use.
By following these steps to power on and test the Moto G Stylus, you’ll have the satisfaction of knowing that the screen replacement process has been carried out effectively, and the device is now fully operational with a new, functional screen.