
Checking the Waterproof Rating of Your Phone
Checking the Waterproof Rating of Your Phone
Before delving into the process of replacing the battery in your waterproof phone, it’s crucial to verify the device’s waterproof rating. This rating indicates the depth and duration for which the phone can remain submerged in water without sustaining damage. Typically, waterproof phones are assigned an IP (Ingress Protection) rating, which consists of two digits. The first digit represents the phone’s protection against solid particles, while the second digit denotes its resistance to water. For instance, a phone with an IP67 rating can withstand immersion in water up to 1 meter for 30 minutes.
To determine your phone’s waterproof rating, refer to the device’s manual or visit the manufacturer’s website. Alternatively, you can conduct a quick online search using the model number to access this information. Understanding the waterproof capabilities of your phone is fundamental, as it ensures that the replacement process is carried out with caution and that the phone’s integrity is preserved.
Gathering the Necessary Tools
Gathering the Necessary Tools
Before embarking on the battery replacement process, it’s essential to gather the requisite tools to facilitate a smooth and efficient procedure. The following items are typically needed:
- Replacement Battery: Ensure that the replacement battery is compatible with your specific phone model. It’s advisable to acquire a high-quality, manufacturer-recommended battery to maintain optimal performance.
- Small Phillips Screwdriver: This tool is essential for removing the screws securing the phone’s casing and battery compartment.
- Plastic Spudger or Opening Tool: To avoid damaging delicate components, a plastic spudger or opening tool is employed to carefully pry open the phone’s casing.
- Tweezers: Precision tweezers aid in handling small components and connectors with accuracy and dexterity.
- Adhesive Strips or Glue: Depending on the phone model, adhesive strips or glue may be necessary to reseal the phone after the battery replacement.
- Clean Cloth: A lint-free cloth is useful for wiping any dust or debris from the phone’s interior during the process.
- Container or Magnetic Mat: Utilize a container or magnetic mat to organize and store the screws and small components removed from the phone, preventing loss or misplacement.
By ensuring that these tools are readily available, you can streamline the battery replacement process and minimize the risk of encountering unexpected obstacles. Additionally, maintaining a well-organized workspace contributes to a more efficient and stress-free experience.
Powering Off and Opening the Phone
Powering Off and Opening the Phone
Before initiating the battery replacement, it’s imperative to power off the phone to prevent any potential electrical hazards and ensure a safe working environment. To power off the device, press and hold the designated power button until the shutdown prompt appears on the screen. Follow the on-screen instructions to power down the phone completely.
Once the phone is powered off, it’s time to open the device to access the battery compartment. The process of opening a waterproof phone varies based on the specific model, and it’s essential to consult the phone’s manual or online resources for detailed instructions. In general, the following steps are typically involved:
- Locate the Screws: Using a small Phillips screwdriver, carefully remove the screws securing the phone’s casing. It’s crucial to keep track of the screws and their placement to facilitate reassembly.
- Utilize Opening Tools: Employ a plastic spudger or opening tool to gently pry open the phone’s casing. Exercise caution to avoid damaging the delicate components within the device.
- Separate the Casing: Once the casing is loosened, carefully separate it from the phone to reveal the internal components, including the battery.
Throughout this process, patience and precision are paramount to prevent any accidental damage to the phone’s components. It’s essential to work in a well-lit and organized space, minimizing the risk of misplacing small screws or components. By following these steps diligently, you can safely access the battery compartment and proceed with the subsequent stages of the battery replacement process.
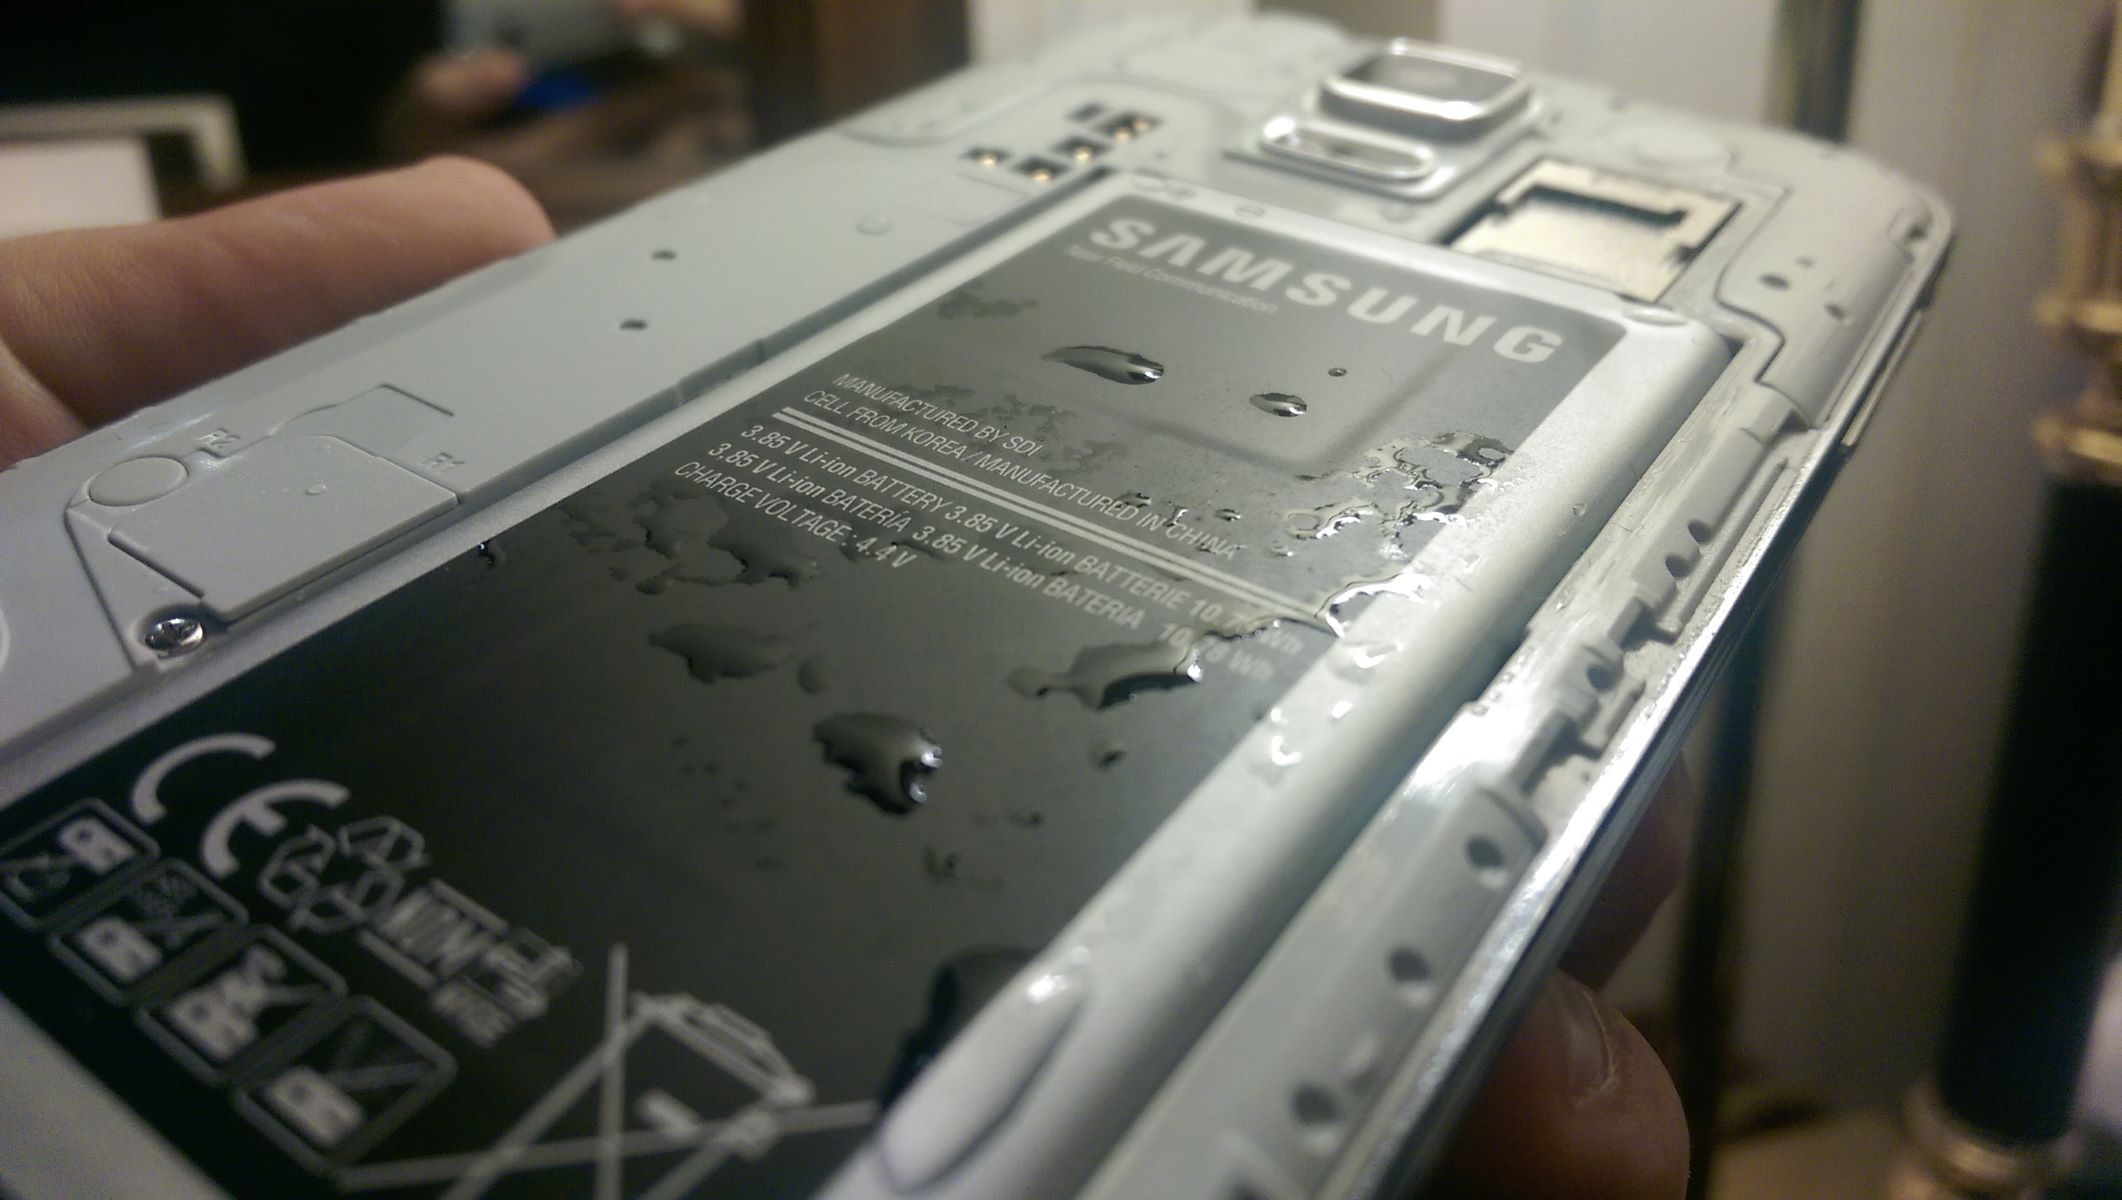
Removing the Old Battery
Removing the Old Battery
With the phone’s casing open and the internal components exposed, the next crucial step in the battery replacement process is the careful removal of the old battery. It’s essential to proceed with precision and attentiveness to avoid damaging any surrounding components. The following steps outline the process of removing the old battery from your waterproof phone:
- Identify the Battery: Locate the battery within the phone’s internal structure. In most cases, the battery is prominently positioned and connected to the device’s circuitry.
- Disconnect the Battery: Depending on the phone model, the battery is typically secured with adhesive or held in place by connector cables. Carefully detach any connector cables linking the battery to the phone’s circuit board. Exercise caution and use precision tweezers if necessary to avoid damaging the delicate connectors.
- Release Adhesive Bonds: If the battery is affixed with adhesive, gently loosen the adhesive bonds using a plastic spudger or opening tool. Take care to apply even pressure to avoid bending or warping the battery.
- Remove the Battery: Once the adhesive bonds and connectors are released, carefully lift the old battery from its position within the phone. Handle the battery with care and avoid bending or puncturing it during removal.
Throughout this process, it’s crucial to maintain a steady hand and exercise patience. Rushing the removal of the old battery can lead to unintended damage to the phone’s internal components, potentially complicating the subsequent installation of the new battery. By methodically following these steps, you can safely extract the old battery from your waterproof phone, paving the way for the seamless installation of its replacement.
Installing the New Battery
As you embark on the installation of the new battery in your waterproof phone, meticulous attention to detail and precision are paramount to ensure a successful and reliable outcome. The following steps outline the process of installing the new battery:
- Verify Compatibility: Before proceeding, confirm that the replacement battery is compatible with your specific phone model. Ensuring the right fit is essential for optimal performance and safety.
- Position the New Battery: Carefully seat the new battery in the designated compartment, aligning it with the corresponding connectors and ensuring a secure fit within the phone’s structure.
- Reconnect the Battery: If the new battery features connector cables, delicately reconnect them to the phone’s circuit board, ensuring a firm and secure attachment without exerting excessive force.
- Secure the Battery: If the new battery requires adhesive for fixation, apply gentle pressure to secure it in place, ensuring that it is properly aligned within the compartment.
- Replace the Casing: Once the new battery is securely installed, carefully reposition the phone’s casing, aligning it meticulously to facilitate a seamless closure. Ensure that no cables or components are pinched or obstructed during reassembly.
- Reassemble the Phone: Using a small Phillips screwdriver, reinsert and tighten the screws to secure the phone’s casing, ensuring that each screw is placed in its designated position.
Throughout the installation process, it’s crucial to handle the new battery with care and precision, avoiding unnecessary bending or pressure that could compromise its integrity. By methodically following these steps and exercising patience, you can successfully install the new battery in your waterproof phone, setting the stage for the subsequent sealing and testing of the device.
Sealing and Testing the Phone
Following the successful installation of the new battery, the final stages of the process involve sealing the phone to restore its waterproof integrity and conducting thorough testing to ensure the functionality of the device. The following steps outline the crucial sealing and testing procedures:
- Apply Adhesive or Sealant: If the phone’s waterproof design necessitates adhesive or sealant to maintain its water-resistant properties, carefully apply the recommended adhesive along the seams and edges of the phone’s casing. Ensure that the adhesive is evenly distributed and that excess is removed to prevent interference with the phone’s functionality.
- Secure the Casing: With the adhesive or sealant applied, firmly press and secure the phone’s casing, ensuring that it aligns seamlessly with the device’s structure. Apply gentle pressure to promote adhesion, taking care not to exert excessive force that could damage internal components.
- Perform Waterproof Testing: Subsequent to sealing the phone, conduct comprehensive waterproof testing to validate the effectiveness of the resealing process. This may involve submerging the phone in a controlled environment or utilizing specialized equipment to simulate exposure to water. Verify that the phone remains completely dry internally and that no water ingress occurs during the testing phase.
- Functional Testing: Once the waterproof integrity is confirmed, power on the phone and conduct thorough functional testing to ensure that all features, including the charging capability and battery performance, are fully operational. Verify that the phone responds as expected to touch input and that all essential functions are unaffected by the battery replacement process.
- Final Inspection: Carefully examine the phone for any signs of adhesive residue, irregularities in the casing closure, or unexpected changes in performance. Address any discrepancies promptly to guarantee the phone’s optimal functionality and waterproof resilience.
By meticulously adhering to these sealing and testing procedures, you can ensure that your waterproof phone retains its water-resistant properties and functions reliably following the battery replacement. Thorough testing and attention to detail are essential to safeguard the phone against potential water damage and maintain its performance at the highest standard.