
Checking the Connection
When your headset’s microphone starts to malfunction, the first step is to check its connection. A loose or faulty connection can often be the culprit behind the issue. Follow these steps to ensure that the connection is secure and functioning properly:
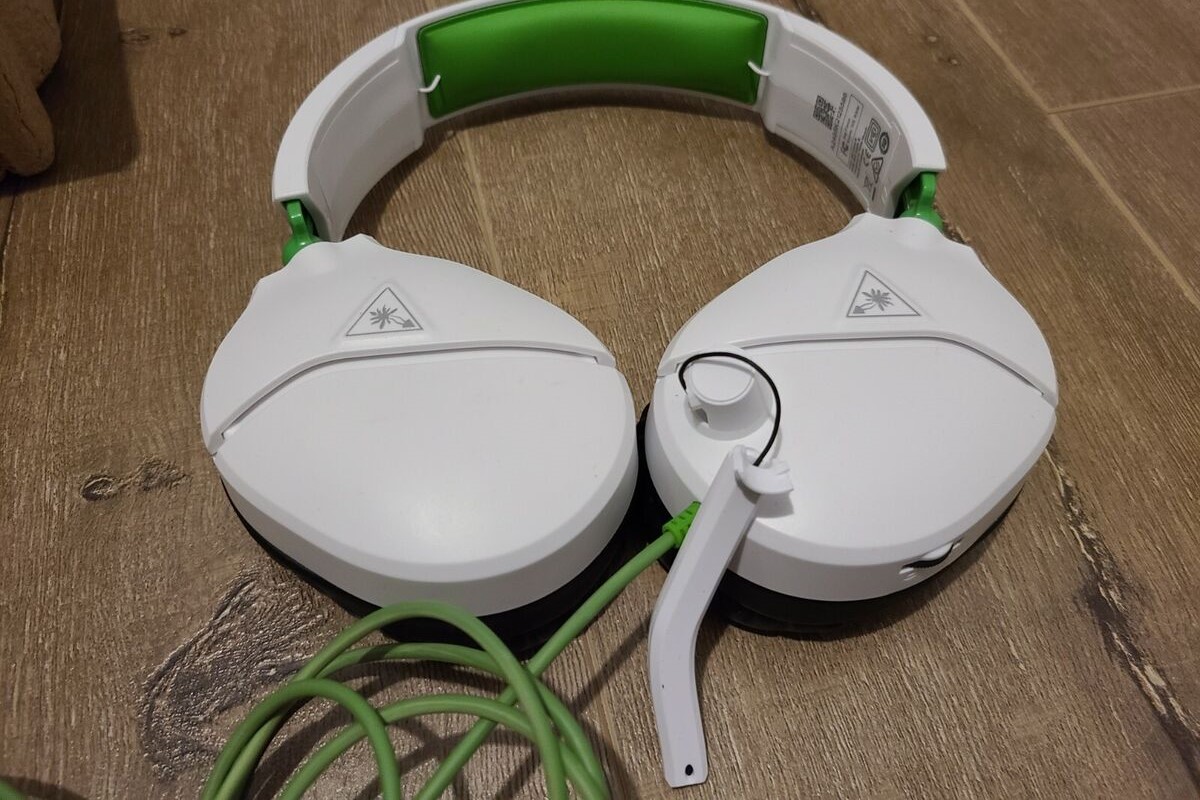
- Inspect the Physical Connection: Begin by examining the physical connection of the headset to the device. If it’s a wired headset, ensure that the cable is firmly plugged into the appropriate port. For wireless headsets, check that the wireless receiver is properly connected to the device and that the headset is adequately charged.
- Try a Different Port: If the headset is connected via a wired connection, try plugging it into a different port on your device. Sometimes, a faulty port can be the root cause of the microphone issue.
- Test with Another Device: To rule out device-specific problems, test the headset on another device. If the microphone works on a different device, the issue might be related to the original device’s settings or hardware.
By following these steps, you can quickly determine if the microphone issue is related to the headset’s connection. If the problem persists after checking the connection, proceed to the next troubleshooting step.
Cleaning the Microphone
Over time, dust, debris, and even moisture can affect the performance of your headset’s microphone. Cleaning the microphone can often resolve issues related to muffled or distorted sound. Here’s how to properly clean your headset’s microphone:
- Use Compressed Air: Begin by using compressed air to gently blow away any dust or debris that may have accumulated around the microphone. Be sure to hold the can of compressed air upright to prevent any liquid from escaping.
- Inspect the Microphone Mesh: Carefully examine the microphone’s mesh cover for any clogging or blockage. If you notice any buildup, use a soft-bristled brush or a clean, dry toothbrush to gently remove the debris. Avoid using excessive force to prevent damaging the microphone.
- Wipe Down the Microphone: Use a soft, lint-free cloth lightly dampened with isopropyl alcohol to wipe down the exterior of the microphone. This will help remove any oils or residue that may be affecting the microphone’s performance.
- Avoid Harsh Cleaning Agents: Refrain from using harsh cleaning agents, such as bleach or ammonia-based solutions, as they can damage the microphone and its components.
Regularly cleaning your headset’s microphone can help maintain its performance and extend its lifespan. Once the microphone is clean, test it to see if the issue has been resolved. If the problem persists, proceed to the next troubleshooting step.
Adjusting the Settings
Sometimes, issues with a headset’s microphone can be attributed to incorrect settings on the device or within the software. Adjusting these settings can often rectify the problem without the need for physical repairs. Here’s how to troubleshoot and adjust the settings for your headset’s microphone:
- Check Input Device Settings: Access the settings on your computer or device to ensure that the correct input device (the headset’s microphone) is selected. Verify that the input volume is appropriately adjusted and not muted.
- Software Settings: If your headset comes with dedicated software or drivers, open the corresponding application and review the microphone settings. Ensure that the microphone is set as the default recording device and that the input levels are properly configured.
- Operating System Settings: Navigate to the sound settings in your device’s operating system and verify that the microphone is recognized and enabled. Adjust the input levels and microphone boost settings as needed.
- Disable Exclusive Mode: In the sound settings of your device, disable any “exclusive mode” options that may be enabled. Exclusive mode can prevent other applications from accessing the microphone, leading to functionality issues.
After making adjustments to the settings, test the microphone to see if the issue has been resolved. If the problem persists, it may be necessary to proceed to the next troubleshooting step to further address the underlying cause of the microphone malfunction.
Updating the Drivers
Outdated or corrupted drivers can often lead to issues with a headset’s microphone. Updating the drivers for the headset can resolve compatibility issues and ensure that the microphone functions properly. Follow these steps to update the drivers for your headset:
- Identify the Headset Model: Determine the specific model of your headset. This information can usually be found on the headset itself or in the product documentation.
- Visit the Manufacturer’s Website: Go to the official website of the headset’s manufacturer and navigate to the support or downloads section. Look for the latest drivers available for your headset model.
- Download and Install the Drivers: Locate the appropriate drivers for your operating system and download them to your computer. Follow the manufacturer’s instructions to install the updated drivers.
- Restart the Device: After installing the new drivers, restart your computer or device to ensure that the changes take effect.
Updating the drivers for your headset can often address compatibility issues and improve the overall performance of the microphone. Once the drivers are updated, test the microphone to see if the problem has been resolved. If the issue persists, consider the next troubleshooting step to further diagnose and address the underlying cause of the microphone malfunction.
Replacing the Microphone
If all previous troubleshooting steps have been exhausted and the headset’s microphone still fails to function properly, it may be time to consider replacing the microphone component. This step is particularly relevant for detachable or modular microphones that can be replaced individually. Here’s how to go about replacing the microphone:
- Check Warranty and Support: If your headset is still under warranty, contact the manufacturer or retailer to inquire about the possibility of a replacement microphone. Many manufacturers offer support for faulty components within the warranty period.
- Order a Replacement: If the warranty has expired or does not cover the microphone issue, search for a replacement microphone specifically designed for your headset model. Ensure that the replacement component is compatible with your headset.
- Follow Replacement Instructions: Once you have the replacement microphone, carefully follow the instructions provided with the component to detach the old microphone and install the new one. Pay close attention to any specific installation steps or requirements.
- Test the New Microphone: After installing the replacement microphone, test it to ensure that it functions as expected. Verify that the sound quality and recording capabilities meet your requirements.
Replacing the microphone can breathe new life into a headset that has been plagued by persistent microphone issues. By following the proper replacement procedures, you can restore the full functionality of your headset’s microphone and continue enjoying clear communication and audio recording. If the replacement process proves successful, you can confidently resume using your headset with its newly installed microphone.