
Checking SIM Card Compatibility
Before inserting a SIM card into your iPhone 14 Pro, it's crucial to ensure that the SIM card is compatible with the device. This step is essential to prevent any potential issues with connectivity and functionality. Here's how to check the SIM card compatibility:
-
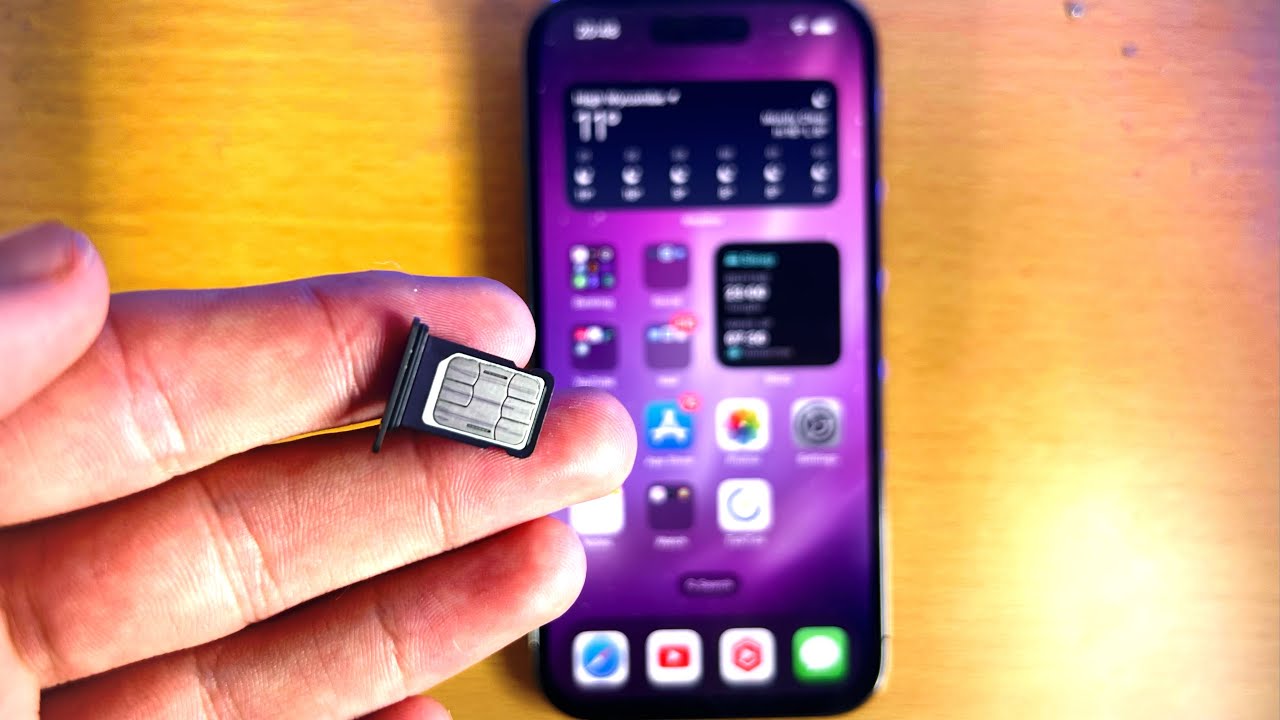
Check the SIM Card Size: The iPhone 14 Pro requires a nano-SIM card. If your current SIM card is larger, such as a micro-SIM or standard SIM, you will need to obtain a nano-SIM card from your mobile service provider. Most providers offer SIM card replacement services, often at no additional cost.
-
Verify Network Compatibility: Different mobile carriers operate on various network technologies, such as GSM or CDMA. Ensure that your SIM card and carrier network are compatible with the iPhone 14 Pro's supported network technologies. This information can typically be found on the carrier's website or by contacting their customer support.
-
Check for SIM Lock: If your iPhone 14 Pro was purchased from a specific carrier and is locked to that carrier's network, you will need a SIM card from the same carrier or have the device unlocked. To check for a SIM lock, you can insert a SIM card from a different carrier. If the device displays an error message or prompts for an unlock code, it is likely locked to the original carrier.
-
Confirm SIM Activation: Ensure that the SIM card is activated and in good standing with your mobile carrier. If the SIM card is new or has been inactive for a while, it may need to be activated before it can be used in the iPhone 14 Pro. Activation processes vary by carrier and can typically be completed online or by contacting customer support.
By following these steps to check SIM card compatibility, you can ensure a seamless and trouble-free experience when inserting the SIM card into your iPhone 14 Pro. It's important to address any compatibility issues beforehand to avoid potential disruptions to your mobile connectivity.
Preparing the SIM Card Ejector Tool
Before proceeding with the insertion of a SIM card into your iPhone 14 Pro, it's essential to prepare the SIM card ejector tool. This small, specialized tool is designed to safely and efficiently remove the SIM card tray from the device, allowing for the seamless insertion of the SIM card. Here's a detailed guide on preparing the SIM card ejector tool:
-
Locate the SIM Card Ejector Tool: The SIM card ejector tool is typically included in the iPhone 14 Pro's packaging, nestled within the documentation and accessories. It is a small, metallic pin with a narrow, pointed end, specifically crafted for ejecting the SIM card tray. If the tool is not readily visible, carefully check the contents of the packaging to ensure it is not overlooked.
-
Inspect the Ejector Tool: Once the SIM card ejector tool is located, take a moment to inspect it for any damage or deformities. Ensure that the pointed end is straight and free from any bends or irregularities, as this could impede its effectiveness when used to eject the SIM card tray.
-
Handle the Ejector Tool with Care: Due to its small size, it's important to handle the SIM card ejector tool with care to avoid misplacement or damage. Keep it in a secure location, such as the iPhone 14 Pro's packaging or a designated accessories compartment, to prevent it from being misplaced when not in use.
-
Familiarize Yourself with the Tool: Take a moment to familiarize yourself with the SIM card ejector tool and its functionality. While it may seem straightforward, understanding how to properly grip and utilize the tool will streamline the process of ejecting the SIM card tray when the time comes.
-
Keep the Tool Accessible: As you prepare to insert the SIM card into your iPhone 14 Pro, ensure that the SIM card ejector tool is readily accessible. Having it within reach will eliminate the need to search for it when it's time to eject the SIM card tray, saving valuable time and minimizing the risk of misplacement.
By diligently preparing the SIM card ejector tool, you are setting the stage for a smooth and hassle-free SIM card insertion process. This small yet crucial accessory plays a pivotal role in facilitating the seamless installation of the SIM card into your iPhone 14 Pro, ensuring that you can swiftly proceed with establishing mobile connectivity on your device.
Locating the SIM Card Tray
The next step in the process of inserting a SIM card into your iPhone 14 Pro is to locate the SIM card tray. This small yet crucial component of the device houses the SIM card and facilitates its secure integration with the iPhone's hardware. Here's a detailed guide on locating the SIM card tray:
-
Identify the SIM Card Tray Slot: The SIM card tray slot is typically situated on the side of the iPhone 14 Pro. To locate it, examine the sides of the device for a small, recessed compartment with a tiny pinhole. This pinhole indicates the presence of the SIM card tray and serves as the entry point for the SIM card ejector tool.
-
Position of the SIM Card Tray Slot: On the iPhone 14 Pro, the SIM card tray slot is often located on the right-hand side of the device, adjacent to the volume buttons. It is essential to handle the device gently and with precision to avoid any accidental damage to the SIM card tray slot or surrounding components.
-
Orientation of the SIM Card Tray: The SIM card tray slot is designed to accommodate the SIM card tray in a specific orientation. It's crucial to observe the positioning of the slot and take note of the alignment of the tray within it. This attention to detail will ensure that the SIM card is inserted correctly, minimizing the risk of any installation errors.
-
Understanding the Tray Ejection Mechanism: The SIM card tray slot is equipped with an ejection mechanism that allows for the safe removal and reinsertion of the tray. This mechanism is activated using the SIM card ejector tool, which is gently inserted into the pinhole to initiate the ejection process. Familiarizing yourself with this mechanism will streamline the subsequent steps of the SIM card insertion process.
-
Exercise Caution and Precision: When locating the SIM card tray, exercise caution and precision to avoid applying excessive force or causing any damage to the device. The SIM card tray slot is a delicate component that requires gentle handling to ensure the integrity of both the tray and the device itself.
By carefully locating the SIM card tray and understanding its positioning within the iPhone 14 Pro, you are laying the groundwork for the seamless insertion of the SIM card. This preparatory step sets the stage for the subsequent insertion process, ensuring that the SIM card is integrated securely and accurately, allowing you to harness the full functionality of your iPhone 14 Pro's mobile connectivity.
Inserting the SIM Card
With the SIM card tray located and the SIM card ejector tool prepared, you are now ready to proceed with the pivotal step of inserting the SIM card into your iPhone 14 Pro. This process requires precision and attention to detail to ensure the seamless integration of the SIM card with the device's hardware. Here's a comprehensive guide on how to insert the SIM card:
-
Power Off the Device: Before initiating the SIM card insertion process, it is advisable to power off your iPhone 14 Pro. This precautionary step minimizes the risk of any potential disruptions during the insertion process and ensures the safety of both the device and the SIM card.
-
Prepare the SIM Card: Prior to inserting the SIM card, carefully remove it from its packaging or the previous device. Handle the SIM card with care, avoiding any contact with the metal contacts or delicate circuitry. Verify the orientation of the SIM card, ensuring that it aligns with the SIM card tray's configuration.
-
Access the SIM Card Tray Slot: Using the SIM card ejector tool, gently insert the pointed end into the pinhole of the SIM card tray slot. Apply light pressure to activate the ejection mechanism, causing the SIM card tray to protrude from the device. Once the tray is partially ejected, carefully remove it from the iPhone 14 Pro, taking care not to dislodge the SIM card already inserted in the tray.
-
Position the SIM Card: Examine the SIM card tray to identify the designated area for the SIM card. Place the SIM card into the tray, ensuring that it fits snugly and aligns with the tray's contours. The SIM card should rest securely within the tray, with no protruding edges or misalignments.
-
Reinsert the SIM Card Tray: Once the SIM card is positioned within the tray, carefully realign the tray with the SIM card tray slot on the device. Gently slide the tray back into the slot, ensuring a smooth and precise insertion. Exercise caution to avoid any resistance or misalignment during this step.
-
Power On the Device: With the SIM card successfully inserted, power on your iPhone 14 Pro to initiate the device's startup sequence. As the device initializes, it will establish connectivity with the inserted SIM card, enabling you to access mobile network services and communication features.
By meticulously following these steps, you have effectively completed the process of inserting the SIM card into your iPhone 14 Pro. This pivotal step sets the stage for harnessing the full spectrum of mobile connectivity and communication capabilities offered by your device.
Replacing the SIM Card Tray
After successfully inserting the SIM card into your iPhone 14 Pro, the final step involves replacing the SIM card tray, securing the SIM card within the device and ensuring its seamless integration with the iPhone's hardware. This critical step requires precision and care to avoid any potential damage to the SIM card or the device itself. Here's a detailed guide on how to replace the SIM card tray:
-
Align the SIM Card Tray: Before reinserting the SIM card tray, ensure that the SIM card is securely positioned within it. Verify that the SIM card rests flat and is aligned with the tray's contours, minimizing any potential misalignments that could impede the tray's insertion.
-
Position the SIM Card Tray: With the SIM card securely in place, carefully position the SIM card tray adjacent to the SIM card tray slot on the iPhone 14 Pro. Align the tray with the slot, ensuring that it is oriented correctly and poised for a smooth insertion.
-
Gently Insert the Tray: Holding the iPhone 14 Pro with care, gently slide the SIM card tray back into the slot. Exercise caution to avoid applying excessive force or encountering any resistance during the insertion process. The tray should seamlessly glide into the slot, indicating its proper alignment.
-
Verify Secure Placement: Once the SIM card tray is fully inserted, verify that it sits flush with the device's exterior, with no protruding edges or misalignments. A secure and seamless placement of the tray indicates the successful completion of the SIM card insertion process.
-
Power On the Device: After replacing the SIM card tray, power on your iPhone 14 Pro to initiate the device's startup sequence. As the device initializes, it will establish connectivity with the inserted SIM card, enabling you to access mobile network services and communication features.
By meticulously following these steps, you have effectively completed the process of replacing the SIM card tray in your iPhone 14 Pro. This final step ensures the secure integration of the SIM card within the device, allowing you to harness the full spectrum of mobile connectivity and communication capabilities offered by your iPhone 14 Pro.