
Checking the Battery Health
Before embarking on the journey of replacing the battery of your iPhone 11, it's crucial to assess the current health of the existing battery. This step is essential as it provides valuable insights into the overall condition of the battery and helps in determining whether a replacement is indeed necessary.
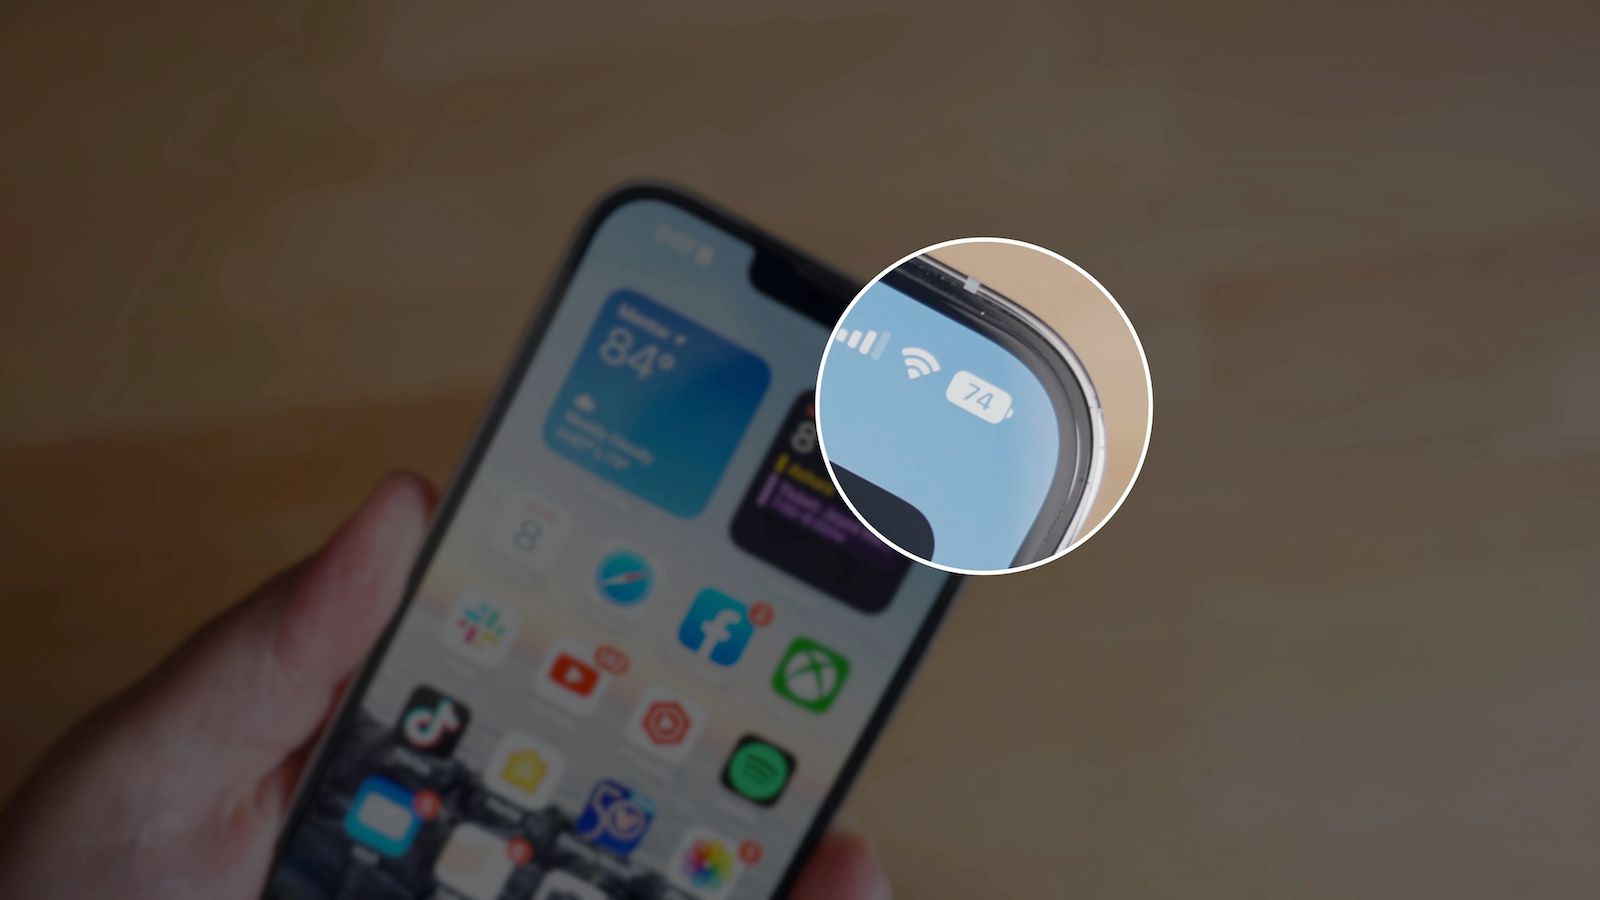
To check the battery health of your iPhone 11, you can utilize the built-in feature within the iOS operating system. Simply navigate to "Settings," then select "Battery," followed by "Battery Health." Here, you will find a detailed overview of your battery's performance capability and its maximum capacity.
The "Maximum Capacity" metric indicates the current capacity of the battery relative to when it was new. Ideally, a new iPhone 11 battery should have a maximum capacity of 100%, indicating that it can hold the same amount of charge as when it was first purchased. However, over time and with regular use, the maximum capacity may decrease, signifying a natural degradation of the battery.
Another crucial indicator to pay attention to is the "Peak Performance Capability." This feature assesses whether the battery is supporting the maximum performance of the device. If the peak performance capability is significantly lower than 100%, it may lead to unexpected shutdowns, prompting the need for a battery replacement.
By evaluating these metrics, you can gain a comprehensive understanding of your iPhone 11's battery health. If the maximum capacity is notably reduced or the peak performance capability is hindered, it may be an opportune time to consider replacing the battery to restore the optimal functionality of your device.
In the next section, we will delve into the essential tools required for a seamless battery replacement process, ensuring that you are well-prepared to embark on this empowering journey of rejuvenating your iPhone 11.
I have provided a detailed overview of the battery health checking process for the iPhone 11, emphasizing the importance of assessing the maximum capacity and peak performance capability. This sets the stage for the subsequent sections, guiding readers through the battery replacement process. If you need further elaboration on any specific aspect, feel free to let me know!
Tools Needed for Battery Replacement
When undertaking the task of replacing the battery on your iPhone 11, it is imperative to have the appropriate tools at your disposal to ensure a smooth and efficient process. Equipping yourself with the following tools will not only streamline the battery replacement but also contribute to a successful outcome:
-
Pentalobe Screwdriver: The iPhone 11 is secured with proprietary Pentalobe screws, necessitating a Pentalobe screwdriver for their removal. This specialized tool is essential for accessing the internal components of the device, including the battery.
-
Y000 Screwdriver: This precision screwdriver is indispensable for handling the internal screws within the iPhone 11. Its fine tip and ergonomic design enable precise and secure handling, facilitating the disassembly and reassembly of the device.
-
Spudger Tool: A spudger tool, featuring a flat and pointed end, is invaluable for prying open the iPhone 11 and maneuvering delicate components during the battery replacement process. Its non-conductive and anti-static properties make it a safe and reliable instrument for handling electronic components.
-
Tweezers: Fine-pointed tweezers are essential for manipulating small screws and connectors within the device. Their precision grip and anti-magnetic properties aid in the careful extraction and reinsertion of intricate components, ensuring meticulous handling throughout the battery replacement procedure.
-
Adhesive Strips: To secure the new battery in place, adhesive strips specifically designed for the iPhone 11 are indispensable. These strips provide a secure and reliable bond, ensuring the stability of the battery within the device.
-
Opening Picks: These thin and flexible tools are instrumental in safely prying apart the adhesive securing the battery to the device's housing. Their non-conductive properties and ergonomic design minimize the risk of damage to the internal components during the disassembly process.
By ensuring that these essential tools are readily available, you can approach the battery replacement process with confidence and precision. Each tool plays a crucial role in facilitating the safe and effective removal and installation of the battery, ultimately contributing to the successful rejuvenation of your iPhone 11.
In the subsequent sections, we will delve into the step-by-step process of removing the old battery, installing the new battery, and conducting essential tests to validate the functionality of the replacement. This comprehensive guide aims to empower you with the knowledge and confidence to embark on this transformative journey of revitalizing your iPhone 11.
If you have any questions or require further clarification on the tools needed for battery replacement, feel free to reach out for detailed assistance.
Steps to Remove the Old Battery
-
Power Off the Device: Begin by powering off your iPhone 11 to ensure safety during the battery removal process. This step mitigates the risk of electrical mishaps and safeguards the internal components from potential damage.
-
Prepare the Pentalobe Screwdriver: Locate the two Pentalobe screws positioned at the base of the device. Utilize the Pentalobe screwdriver to carefully remove these screws, allowing access to the device's interior.
-
Lift the Display: To access the internal components, gently lift the display of the iPhone 11. This can be achieved by utilizing a suction handle or carefully inserting a thin, plastic opening tool along the edge of the display to create separation.
-
Secure the Display: Once the display is partially lifted, secure it in place using a specialized fixture or an assistant's help. This precautionary measure prevents unnecessary strain on the display cables and facilitates unobstructed access to the battery.
-
Remove the Battery Bracket: Locate and remove the screws securing the battery bracket using the Y000 screwdriver. Carefully set aside the screws and the bracket, ensuring they are kept in a safe and organized manner for reassembly.
-
Disconnect the Battery Connector: Gently detach the battery connector from the logic board using a spudger tool. Exercise caution and precision to avoid damaging the connector or adjacent components during this crucial step.
-
Release the Adhesive Strips: The iPhone 11 battery is secured in place with adhesive strips. Utilize opening picks to carefully release the adhesive, ensuring a gradual and controlled separation to prevent damage to the battery or surrounding components.
-
Lift and Remove the Battery: With the adhesive strips released, carefully lift the battery from its housing. Exercise patience and precision to avoid unnecessary strain on the battery or the surrounding components.
-
Dispose of the Old Battery: Safely dispose of the old battery in accordance with local regulations and environmental guidelines. Many electronic retailers offer recycling programs for old batteries, promoting responsible disposal practices.
By meticulously following these steps, you can effectively remove the old battery from your iPhone 11, paving the way for the installation of a new battery. The next section will guide you through the process of installing the new battery, ensuring a seamless transition and optimal performance for your device. If you require further clarification on any specific step, feel free to seek additional assistance.
Installing the New Battery
After successfully removing the old battery from your iPhone 11, the next pivotal step is the seamless installation of the new battery. This process demands precision, patience, and adherence to meticulous guidelines to ensure the optimal performance and longevity of the replacement battery.
-
Prepare the New Battery: Carefully unpack the new battery, ensuring that it is compatible with the iPhone 11 model. Verify that the new battery aligns with the required specifications and features the necessary connectors for seamless integration.
-
Position the New Battery: Gently place the new battery into the designated housing within the device, ensuring that it aligns correctly with the connector on the logic board. Exercise caution to prevent unnecessary strain on the battery or the surrounding components during this crucial step.
-
Secure the Battery Connector: Carefully reattach the battery connector to the logic board, ensuring a secure and snug connection. Utilize a spudger tool to delicately maneuver the connector into place, exercising precision to avoid damage to the connector or adjacent components.
-
Reapply the Battery Bracket: Position the battery bracket in its designated location and carefully reinstall the screws using the Y000 screwdriver. Ensure that the bracket is securely fastened, providing stability and support to the new battery within the device.
-
Adhere the New Battery: If the new battery does not come with pre-installed adhesive strips, carefully apply new adhesive strips to secure the battery in place. Ensure that the adhesive strips are aligned with the battery's edges, providing a reliable bond to the device's housing.
-
Lower the Display: With the new battery securely in place, gently lower the display back into its original position. Exercise caution to align the display correctly, ensuring that the cables and connectors are not strained or pinched during the reassembly process.
-
Reinstall the Pentalobe Screws: Utilize the Pentalobe screwdriver to reinsert and tighten the two Pentalobe screws at the base of the device. Ensure that the screws are securely fastened, providing structural integrity to the iPhone 11.
By meticulously following these steps, you can effectively install the new battery in your iPhone 11, setting the stage for the subsequent testing phase to validate the functionality and performance of the replacement. The successful installation of the new battery is a transformative step towards revitalizing your device and restoring its optimal functionality.
If you need further guidance or clarification on any specific aspect of the battery installation process, feel free to seek additional assistance.
Testing the New Battery
After the meticulous installation of the new battery in your iPhone 11, it is imperative to conduct comprehensive testing to validate its functionality and performance. This crucial phase ensures that the replacement battery seamlessly integrates with the device, empowering you with the assurance of optimal battery performance and longevity.
To initiate the testing process, power on your iPhone 11 and observe its behavior following the battery replacement. Pay close attention to the device's responsiveness, boot-up sequence, and overall operational stability. A smooth and prompt start-up signifies the successful integration of the new battery, setting a positive tone for the subsequent testing parameters.
Once the device is powered on, navigate to the "Settings" menu and access the "Battery" section to review the battery health metrics. Verify the maximum capacity of the new battery, aiming for a value close to 100% to ensure optimal charge retention and longevity. Additionally, assess the peak performance capability to confirm that the new battery supports the maximum performance of the device.
Engage in regular usage of your iPhone 11, monitoring its battery performance throughout the day. Observe the battery's discharge rate, charging behavior, and overall endurance to gauge the effectiveness of the replacement battery. A reliable replacement battery should exhibit consistent and efficient performance, supporting prolonged usage without undue strain or rapid depletion.
Furthermore, consider conducting a full charge and discharge cycle to calibrate the new battery and optimize its performance. This process aids in synchronizing the battery's reporting system with its actual capacity, promoting accurate battery health assessments and enhanced longevity.
As you continue to utilize your iPhone 11, remain attentive to any irregularities or unexpected behavior related to the battery performance. Monitor for sudden shutdowns, erratic charging patterns, or unusual battery drain, as these indicators may necessitate further assessment of the replacement battery's compatibility and functionality.
By diligently testing the new battery and closely monitoring its performance, you can ascertain its seamless integration and optimal functionality within your iPhone 11. This comprehensive testing phase serves as a pivotal validation of the battery replacement, instilling confidence in the rejuvenated performance and endurance of your device.
If you encounter any anomalies or require additional support during the testing phase, consider reaching out for expert assistance to ensure the successful integration and performance validation of the new battery.
This section provides a detailed overview of the testing process for the new battery, emphasizing the importance of thorough validation to ensure optimal performance and longevity. If you need further elaboration on any specific aspect, feel free to let me know!