Importance of Regular Cleaning
Regular cleaning of your joystick is essential for maintaining its precision and longevity. Over time, dust, dirt, and debris can accumulate within the mechanism, leading to reduced responsiveness and accuracy. This is particularly crucial for gamers and professionals who rely on precise joystick movements for optimal performance.
Continuous use of the joystick can also lead to the buildup of sweat, oils, and grime on the surface, which not only affects the aesthetic appeal but also hinders smooth operation. Additionally, neglecting to clean the joystick can result in increased friction within the mechanism, potentially causing premature wear and tear.
By incorporating regular cleaning into your maintenance routine, you can ensure that your joystick operates at its peak performance level. This not only enhances the overall gaming or professional experience but also minimizes the risk of malfunctions or inaccuracies during critical moments. Furthermore, a well-maintained joystick is less likely to develop issues that may require costly repairs or replacements, ultimately saving you time and money in the long run.
Tools and Materials Needed
Before embarking on the cleaning process, it is imperative to gather the necessary tools and materials. Here’s what you will need:
- Clean, dry cloth: Use a soft, lint-free cloth to wipe down the surface of the joystick and remove any visible dirt or residue.
- Cotton swabs: These are ideal for reaching small crevices and corners that may be challenging to clean with a cloth.
- Isopropyl alcohol: A solution of isopropyl alcohol and water can effectively dissolve grime and grease on the joystick’s surface.
- Lubricant: A suitable lubricant, such as silicone-based or joystick-specific lubricant, is essential for ensuring smooth movement and reducing friction within the mechanism.
- Small screwdriver: Depending on the joystick model, you may need a screwdriver to access internal components for thorough cleaning and maintenance.
- Canned air: This can be used to blow away dust and debris from hard-to-reach areas without causing damage to delicate components.
Having these tools and materials readily available will streamline the cleaning process and enable you to effectively address various aspects of the joystick’s maintenance.
Step 1: Preparing the Joystick
Before delving into the cleaning process, it is crucial to prepare the joystick to ensure a thorough and effective maintenance routine. Follow these steps to prepare the joystick for cleaning:
- Disconnect the Joystick: If the joystick is connected to a gaming console or computer, safely disconnect it to prevent accidental input during the cleaning process.
- Remove Batteries (If Applicable): For wireless joysticks, remove the batteries to avoid any electrical mishaps and to facilitate unrestricted access to all areas of the device.
- Refer to the User Manual: Consult the user manual or manufacturer’s guidelines for specific instructions on disassembling or accessing internal components, if necessary.
- Prepare the Cleaning Area: Find a well-lit and spacious area to work in, preferably with a clean, flat surface to lay out the components and tools.
- Organize Components: If the joystick can be disassembled, carefully organize and label the components to ensure seamless reassembly later on.
By meticulously preparing the joystick and its surrounding environment, you set the stage for a systematic and effective cleaning process, ultimately contributing to the overall precision and longevity of the device.
Step 2: Removing Dust and Debris
Removing accumulated dust and debris is a crucial aspect of maintaining the precision and functionality of your joystick. Follow these steps to effectively eliminate dust and debris:
- Use Canned Air: Holding the joystick steady, use canned air to blow away dust and debris from the surface and crevices. Ensure that the canned air is held upright to prevent any moisture from being released onto the joystick.
- Target Small Openings: Direct the nozzle of the canned air into small openings and around buttons to dislodge hidden particles that may affect the joystick’s performance.
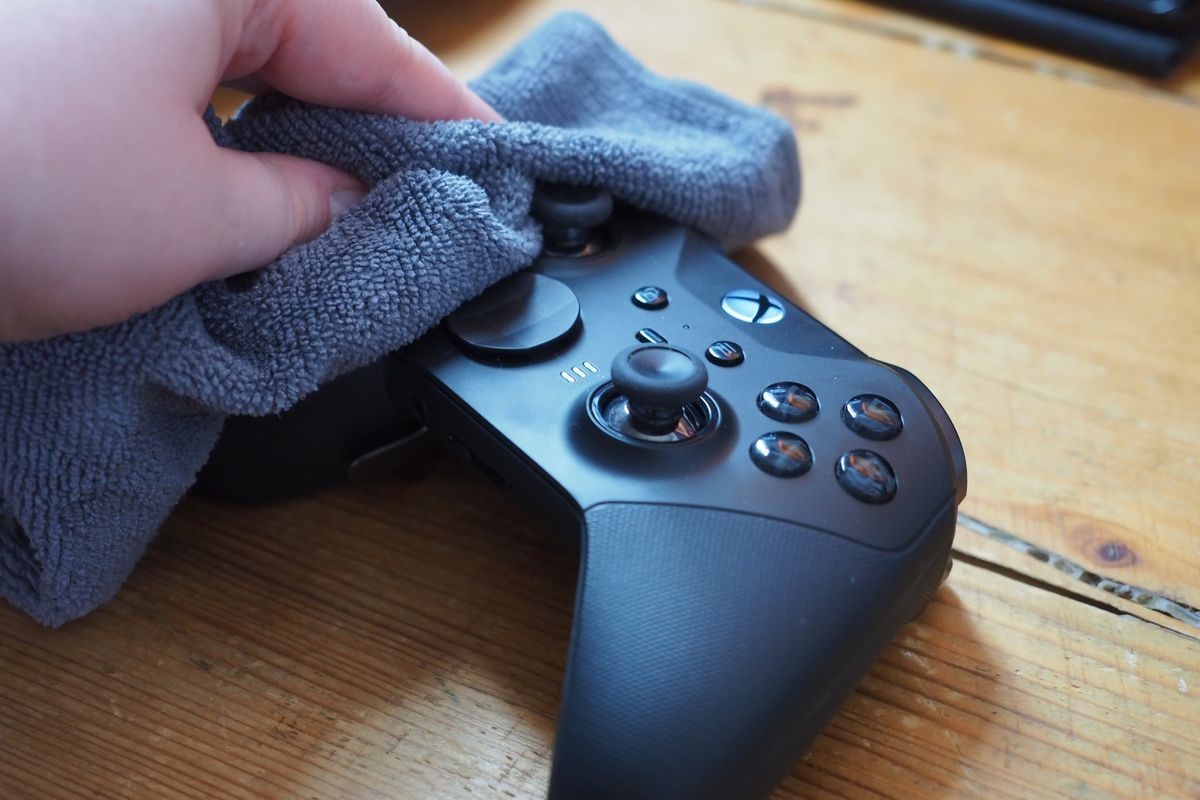
- Wipe Down the Surface: Gently wipe the surface of the joystick with a clean, dry cloth to remove any remaining loose particles and ensure a clean starting point for the subsequent cleaning steps.
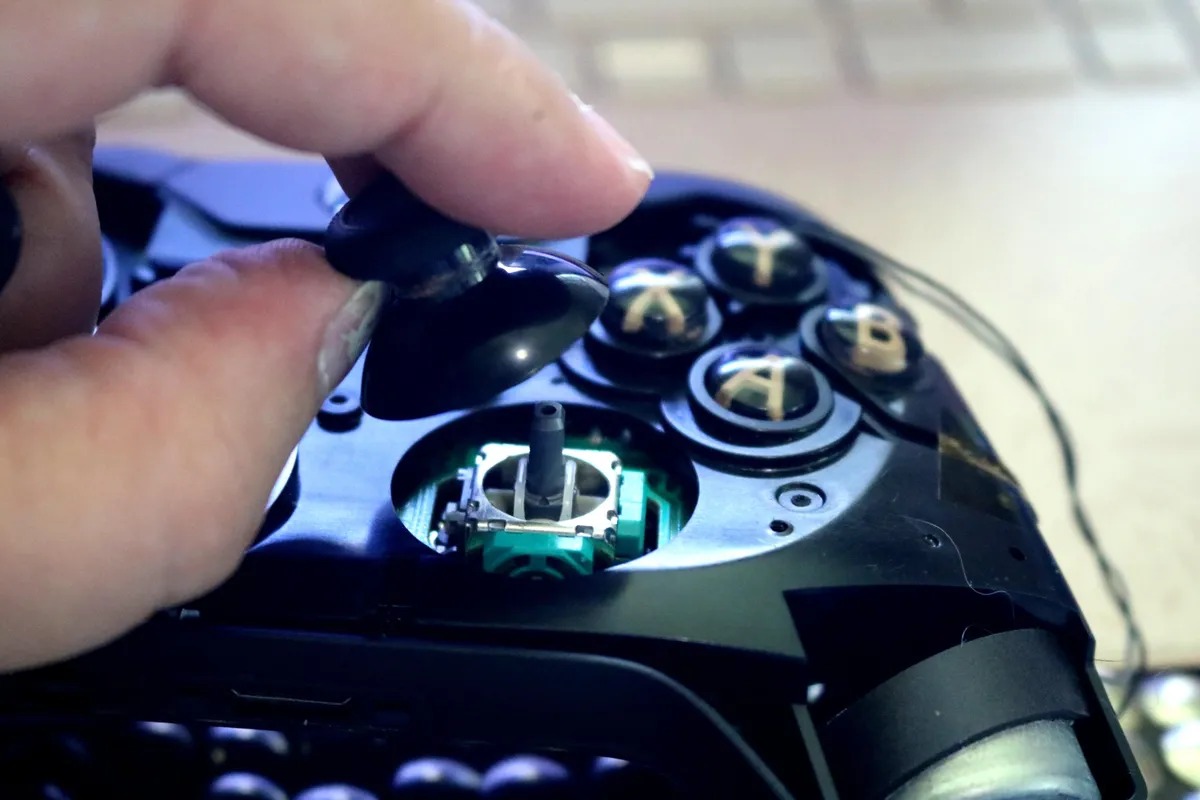
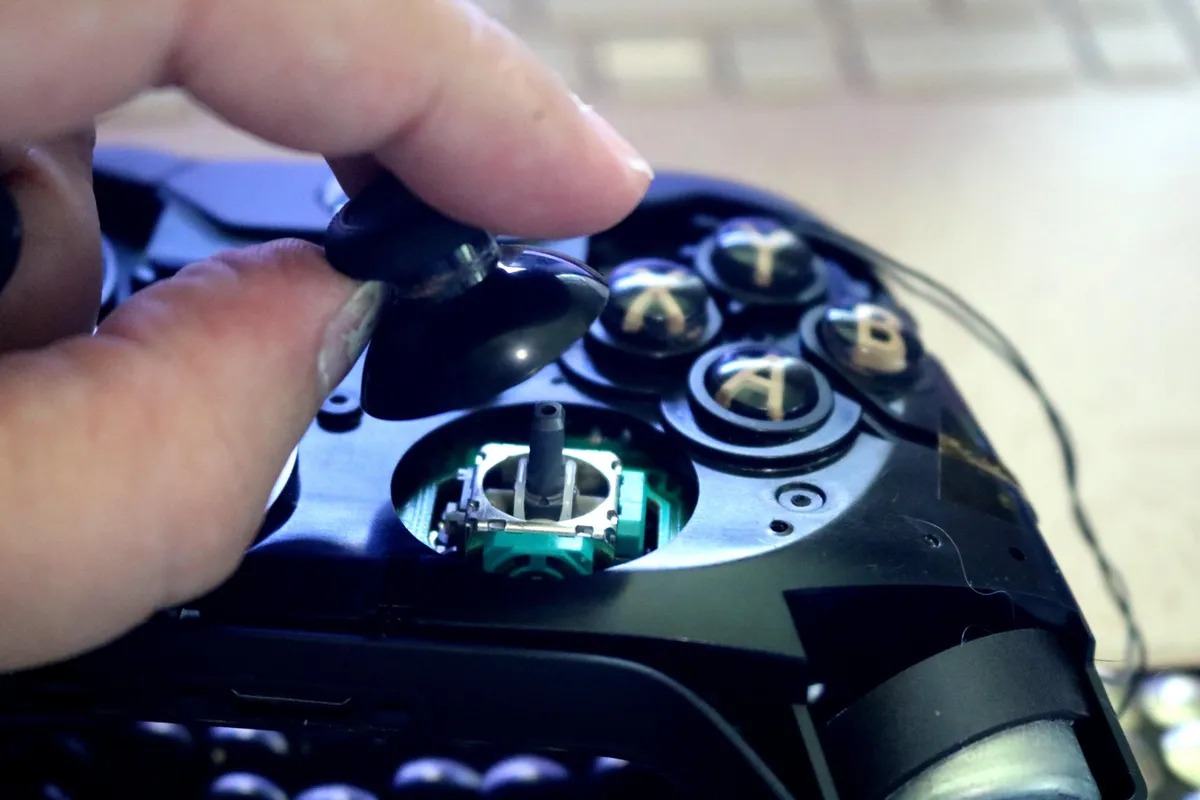
- Inspect Internal Components: If the joystick can be disassembled, carefully inspect the internal components for any visible dust or debris. Use a cotton swab to gently remove any buildup without damaging delicate parts.
By diligently removing dust and debris, you pave the way for a more thorough cleaning process, ultimately contributing to the precision and longevity of your joystick.
Step 3: Cleaning the Surface
Ensuring that the surface of your joystick is free from grime and residue is essential for maintaining its precision and tactile feel. Here’s how to effectively clean the surface:
- Prepare a Cleaning Solution: Mix isopropyl alcohol and water in a 1:1 ratio to create a gentle yet effective cleaning solution. Dampen a portion of the clean, dry cloth with the solution.
- Wipe Down the Surface: Gently wipe the entire surface of the joystick with the dampened cloth, paying close attention to areas with visible grime or residue. Avoid excessive moisture, and ensure that no liquid seeps into the internal components.
- Focus on Buttons and Crevices: Use a cotton swab dipped in the cleaning solution to meticulously clean around buttons, thumbsticks, and other intricate areas where dirt and oils tend to accumulate.
- Dry the Surface: Once the surface has been thoroughly cleaned, use a dry portion of the cloth to wipe away any residual moisture and ensure that the joystick is completely dry before proceeding.
By meticulously cleaning the surface of the joystick, you not only maintain its visual appeal but also contribute to the overall smooth and responsive operation of the device, enhancing the precision and user experience.
Step 4: Lubricating the Mechanism
Lubricating the internal mechanism of your joystick is crucial for ensuring smooth and precise movements, as well as minimizing friction and wear. Follow these steps to effectively lubricate the mechanism:
- Identify Lubrication Points: Refer to the user manual or manufacturer’s guidelines to identify the specific points within the joystick mechanism that require lubrication. These may include pivot points, gears, and sliding components.
- Use the Appropriate Lubricant: Select a suitable lubricant, such as a silicone-based or joystick-specific lubricant, recommended by the manufacturer for optimal performance and compatibility with the joystick’s materials.
- Apply the Lubricant: Apply a small amount of lubricant to the designated points within the mechanism, ensuring even coverage and avoiding excess buildup that may attract dust and debris.
- Work the Mechanism: After applying the lubricant, work the joystick through its full range of motion several times to distribute the lubricant evenly and ensure that it operates smoothly.
By properly lubricating the mechanism, you can maintain the precision and responsiveness of your joystick, while also prolonging its overall lifespan and minimizing the risk of mechanical issues.
Step 5: Reassembling the Joystick
After completing the cleaning and maintenance tasks, it’s essential to reassemble the joystick accurately to ensure its proper functioning. Follow these steps to reassemble the joystick:
- Refer to the User Manual: Consult the user manual or manufacturer’s guidelines to ensure that you reassemble the joystick components in the correct order and orientation.
- Organize the Components: If you disassembled the joystick, carefully retrieve the labeled components and position them for reassembly.
- Secure Internal Components: If any internal components were removed, ensure they are securely reattached according to the manufacturer’s specifications.
- Reattach External Components: Carefully reattach any external parts, such as buttons, thumbsticks, or panels, ensuring they are properly aligned and secured in place.
- Test the Joystick: Once reassembled, test the joystick to ensure that all buttons, triggers, and thumbsticks function as intended, and that the overall movement is smooth and responsive.
By meticulously reassembling the joystick, you can ensure that it functions optimally and maintains its precision and reliability, ultimately enhancing your gaming or professional experience.
Tips for Maintaining Precision
Maintaining the precision of your joystick involves more than just periodic cleaning. Here are some valuable tips to help you uphold the optimal performance and longevity of your joystick:
- Store Properly: When not in use, store the joystick in a clean and dust-free environment, preferably in a protective case or cover to prevent the accumulation of debris.
- Handle with Care: Avoid subjecting the joystick to unnecessary force or impacts, as rough handling can disrupt the internal mechanisms and lead to decreased precision.
- Regular Inspections: Periodically inspect the joystick for any signs of wear, loose components, or irregularities in movement, addressing any issues promptly to prevent further damage.
- Follow Manufacturer’s Guidelines: Adhere to the maintenance recommendations provided by the manufacturer, including specific cleaning instructions and lubrication intervals.
- Minimize Exposure to Extreme Conditions: Protect the joystick from exposure to extreme temperatures, humidity, or direct sunlight, as these factors can affect its performance and longevity.
- Update Firmware and Software: If applicable, ensure that the joystick’s firmware and accompanying software are kept up to date, as manufacturers often release updates to improve performance and compatibility.
- Use Protective Covers: Consider using protective covers or skins designed for your specific joystick model to safeguard it from scratches, spills, and other potential damage.
By implementing these tips and incorporating them into your maintenance routine, you can significantly prolong the precision and functionality of your joystick, ensuring a reliable and enjoyable experience for years to come.