
Choosing the Right Length
When it comes to lanyards, one size doesn’t fit all. The ideal length of a lanyard depends on its intended use and the wearer’s preferences. Whether you’re shortening an existing lanyard or creating a new one, getting the length just right is crucial for comfort and functionality.
Consider the purpose of the lanyard. If it’s meant for holding an ID badge, a shorter length that keeps the badge visible without dangling too low is preferable. On the other hand, a lanyard designed for carrying keys or small tools may benefit from a slightly longer length to allow for easier access.
Next, take the wearer’s height and build into account. Taller individuals may find a longer lanyard more comfortable, while shorter individuals might prefer a shorter one to prevent the lanyard from hanging too low or getting in the way.
Furthermore, the type of attachment or hardware at the end of the lanyard should also be considered. For example, a bulky attachment may require a longer lanyard to ensure it hangs comfortably without feeling restrictive.
Lastly, think about any specific activities or movements the wearer will be engaged in while wearing the lanyard. For active individuals or those performing physical tasks, a shorter lanyard that stays close to the body may be more practical and prevent interference.
By carefully considering these factors, you can determine the most suitable length for the lanyard, ensuring both comfort and functionality for the wearer.
Tools and Materials Needed
Before embarking on the lanyard shortening process, it’s essential to gather the necessary tools and materials. Having the right equipment at hand will streamline the task and ensure a successful outcome.
- Scissors: A sharp pair of scissors is crucial for cleanly cutting through the lanyard material without causing fraying or unraveling.
- Lighter or Heat Source: To seal the cut ends of the lanyard and prevent them from fraying, a lighter or heat source such as a candle or heat gun is required.
- Measuring Tape: Accurately measuring the desired length of the lanyard is essential for achieving the perfect fit.
- Clamp or Binder Clip: These tools can be used to secure the lanyard in place during the cutting and sealing process, preventing any shifting or slippage.
- Lanyard Hardware: If the lanyard requires new hardware attachments, such as a swivel hook or badge reel, ensure these are readily available for attachment after shortening.
Additionally, it’s advisable to have a clean work surface to lay out the lanyard and perform the necessary steps. Clearing the area of any obstructions or clutter will facilitate a smooth and efficient process.
By assembling these tools and materials beforehand, you’ll be well-prepared to tackle the lanyard shortening task with confidence and precision.
Step 1: Measure and Mark
Accurate measurement is the cornerstone of successfully shortening a lanyard. To begin, lay the lanyard out on a flat surface and straighten it to its full length. Use a measuring tape to determine the desired new length of the lanyard based on the considerations outlined in the previous section. It’s crucial to account for any hardware or attachments that will be added to the lanyard, ensuring the final length accommodates these additions.
Once the desired length is determined, carefully mark the spot where the lanyard will be cut. A small, discreet mark using a pen or marker will suffice, ensuring it’s visible and easily identifiable for the cutting stage.
It’s important to double-check the marked spot and the measured length to avoid any errors before proceeding to the cutting stage. Taking the time to ensure precision at this stage will contribute to a polished and professional end result.
By meticulously measuring and marking the lanyard, you set the stage for the subsequent steps, laying the groundwork for a tailored and perfectly sized lanyard that meets the wearer’s needs and preferences.
Step 2: Cut the Lanyard
With the lanyard accurately measured and marked, it’s time to proceed with the cutting process. Using a sharp pair of scissors, carefully cut the lanyard at the marked spot. It’s essential to employ steady and even pressure to ensure a clean and precise cut without causing any fraying or unraveling of the lanyard material.
When making the cut, it’s advisable to use a single, swift motion to minimize any potential fraying at the edges. If the lanyard material has a tendency to fray, consider using a small piece of clear tape to secure the area around the cut before proceeding to the next step.
After the cut is made, take a moment to inspect the edges to ensure they are neat and free from fraying. If any fraying is present, carefully trim the affected area to maintain a clean and professional appearance.
Once the lanyard is successfully cut to the desired length, the stage is set for the subsequent steps, bringing you closer to the completion of the lanyard shortening process.
Step 3: Seal the Ends
After cutting the lanyard to the desired length, it’s crucial to seal the ends to prevent fraying and ensure the longevity of the lanyard. This step involves using a heat source, such as a lighter or candle, to carefully melt the cut ends of the lanyard material.
Hold the cut end of the lanyard a safe distance from the flame to avoid scorching or discoloration, while allowing the heat to slightly melt and fuse the fibers together. It’s important to exercise caution and avoid prolonged exposure to the heat source to prevent damage to the lanyard material.
As the fibers begin to melt, gently press them together to form a sealed and secure end. This process effectively prevents fraying and ensures the lanyard maintains a tidy and professional appearance over time.
It’s advisable to repeat the sealing process on both ends of the lanyard to guarantee uniformity and durability. Take care to allow the sealed ends to cool and solidify before handling the lanyard to avoid any accidental damage or deformation.
By meticulously sealing the ends of the lanyard, you enhance its overall quality and longevity, ensuring it remains a reliable and functional accessory for the wearer’s needs.
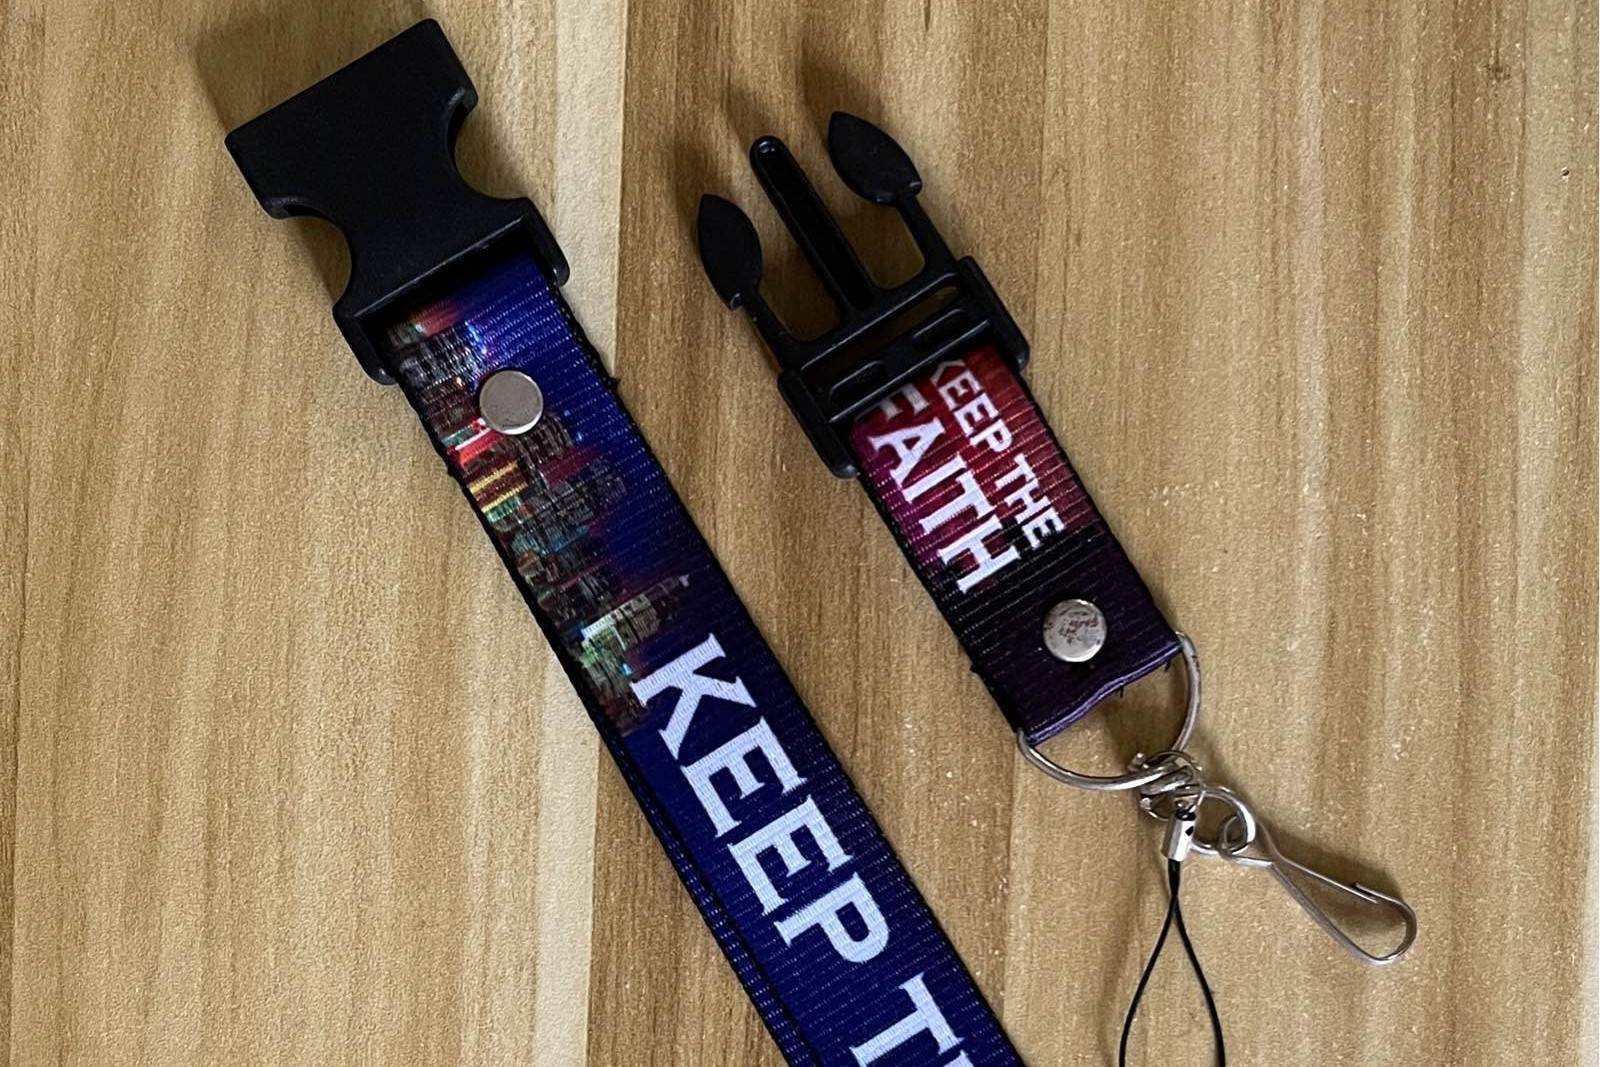
Step 4: Attach Hardware
With the lanyard’s ends securely sealed, the next step involves attaching any necessary hardware or accessories to complete the shortening process. Depending on the lanyard’s intended use, this may include adding a swivel hook, badge reel, or other attachments to accommodate specific items or identification needs.
Begin by selecting the appropriate hardware for the lanyard. Ensure that the attachments are compatible with the lanyard’s width and design, providing a secure and functional connection. If the hardware requires any assembly or additional components, carefully follow the manufacturer’s instructions to ensure proper attachment.
Once the hardware is ready, position it at the end of the lanyard and follow the designated method for attachment. This may involve threading the lanyard through a loop or slot, using a crimping tool to secure the attachment, or employing any specialized techniques based on the hardware’s design.
After attaching the hardware, inspect the connection to verify its strength and stability. Gently tug on the lanyard and hardware to ensure a secure fit, confirming that the attachment remains steadfast and reliable.
By proficiently attaching the necessary hardware, you finalize the lanyard shortening process, creating a customized and functional accessory tailored to the wearer’s specific needs and preferences.
Step 5: Test and Adjust
Upon completing the lanyard shortening process and attaching the necessary hardware, it’s essential to conduct a thorough evaluation to ensure the lanyard meets the desired specifications and functionality. Testing the lanyard allows for any necessary adjustments to be made, ensuring optimal comfort and usability.
Begin by placing the lanyard around your neck or wrist, depending on its intended use, and assess its length and fit. Ensure that the lanyard hangs at the desired height and remains comfortable during wear. Additionally, test any attached hardware to confirm its functionality and ease of use.
Consider the practical aspects of the lanyard’s performance. If it’s intended for holding an ID badge, verify that the badge remains visible and easily accessible. For lanyards designed to carry keys or small tools, confirm that the attachments can be utilized effortlessly without hindrance.
During the testing phase, pay attention to any potential areas for improvement. If the lanyard feels too long or short, consider making minor adjustments to achieve the perfect fit. This may involve revisiting the sealing process or repositioning the hardware attachments to optimize comfort and functionality.
By meticulously testing and assessing the lanyard, you ensure that it aligns with the wearer’s needs and preferences, providing a customized and reliable accessory for daily use.