
Checking Your SIM Card
Before you can start using your new iPhone 11, it's crucial to ensure that your SIM card is properly inserted and functioning. The SIM card is a small, removable card that identifies your device on the mobile network. Here's how to check your SIM card:
-
Locate the SIM Card Tray: The SIM card tray is usually located on the side of the iPhone 11. You can find it by looking for a small pinhole with a tiny ejector tool or a paperclip.
-
Eject the SIM Card Tray: Gently insert the ejector tool or paperclip into the pinhole and apply a small amount of pressure. The SIM card tray should pop out slightly, allowing you to pull it out with your fingers.
-
Inspect the SIM Card: Once the SIM card tray is removed, carefully inspect the SIM card to ensure it's not damaged. Look for any signs of physical damage or corrosion on the metal contacts.
-
Check the SIM Card Orientation: Before reinserting the SIM card, take note of the orientation. Most SIM cards have a corner cut off, which aligns with a corresponding notch in the SIM card tray. Make sure the SIM card is positioned correctly to avoid any issues.
-
Reinsert the SIM Card: Place the SIM card back into the tray, ensuring it fits snugly. Slide the tray back into the iPhone 11 until it clicks into place.
-
Power On Your iPhone 11: Once the SIM card is securely in place, power on your iPhone 11 by pressing and holding the side button until the Apple logo appears.
-
Check for Signal: After your iPhone 11 boots up, check for a signal bar in the top-right corner of the screen. If you see signal bars, it indicates that your SIM card is recognized and your device is connected to the mobile network.
By following these steps to check your SIM card, you can ensure that your iPhone 11 is ready to be activated and used with your mobile carrier. If you encounter any issues with the SIM card, such as it not being recognized, it's advisable to contact your mobile carrier for further assistance.
Remember, a properly functioning SIM card is essential for making calls, sending texts, and accessing mobile data on your iPhone 11. Ensuring that your SIM card is in good condition and correctly inserted will set the stage for a smooth activation process.
Turning on Your iPhone 11
Turning on your new iPhone 11 is an exciting moment, marking the beginning of your journey with this cutting-edge device. Whether you're unboxing it for the first time or upgrading from a previous model, the process of powering on your iPhone 11 is straightforward and sets the stage for the initial setup.
To turn on your iPhone 11, locate the side button, which is positioned on the right side of the device. This button serves multiple functions, including powering the device on and off, taking screenshots, and initiating emergency calls. Press and hold the side button until the Apple logo appears on the screen. This iconic symbol signifies that your iPhone 11 is booting up and initializing its operating system.
As the device powers on, you'll be greeted by the vibrant Liquid Retina display, which showcases the Apple logo before transitioning to the setup screen. This screen prompts you to select your language, region, and connect to a Wi-Fi network, laying the groundwork for customizing your iPhone 11 according to your preferences.
The initial boot-up process typically takes a few moments, during which the device performs system checks and prepares to guide you through the setup steps. Once the setup screen appears, you're ready to embark on the journey of personalizing your iPhone 11 to suit your needs and style.
It's worth noting that the first boot-up of your iPhone 11 is a pivotal moment, as it signifies the integration of advanced hardware and software that powers this remarkable device. From the A13 Bionic chip to the innovative camera system and the seamless iOS interface, each component comes to life as your iPhone 11 springs into action.
As the setup screen beckons, you're on the cusp of exploring the myriad features and capabilities of your iPhone 11, from the intuitive Face ID or Touch ID authentication to the powerful camera and the wealth of apps available on the App Store. This moment marks the beginning of a seamless and immersive experience that Apple devices are renowned for delivering.
In essence, turning on your iPhone 11 is more than a mere technical step; it's a gateway to a world of possibilities, creativity, and connectivity. It's the moment when your iPhone 11 transforms from a sleek piece of hardware into a personalized digital companion, ready to enrich your daily life in countless ways.
So, as you power on your iPhone 11 for the first time, savor the anticipation of the experiences that lie ahead, knowing that you're about to embark on a journey with a device that seamlessly blends innovation and elegance.
By following these steps, you can ensure that your iPhone 11 is ready to be activated and used with your mobile carrier. If you encounter any issues with the SIM card, such as it not being recognized, it's advisable to contact your mobile carrier for further assistance.
Remember, a properly functioning SIM card is essential for making calls, sending texts, and accessing mobile data on your iPhone 11. Ensuring that your SIM card is in good condition and correctly inserted will set the stage for a smooth activation process.
Connecting to Wi-Fi
Connecting your iPhone 11 to a Wi-Fi network is a fundamental step in the activation process, enabling you to access the internet, download apps, and enjoy a seamless online experience. Here's a detailed guide on how to connect your iPhone 11 to Wi-Fi:
-
Accessing Settings: To begin, unlock your iPhone 11 and navigate to the home screen. Locate and tap the "Settings" app, which is represented by a gear icon. This will open the settings menu, where you can manage various aspects of your device.
-
Selecting Wi-Fi: Within the Settings menu, tap on the "Wi-Fi" option. This will display a list of available Wi-Fi networks in your vicinity. If Wi-Fi is currently disabled, you can toggle the switch at the top of the screen to enable it.
-
Choosing a Network: From the list of available networks, select the Wi-Fi network you wish to connect to by tapping on its name. If the network is secured with a password, you will be prompted to enter the password to establish the connection.
-
Entering the Password: When prompted, carefully enter the password for the selected Wi-Fi network. Take note of uppercase and lowercase letters, as well as any special characters, to ensure the accuracy of the password entry.
-
Connecting to the Network: After entering the correct password, tap the "Join" button. Your iPhone 11 will then attempt to connect to the selected Wi-Fi network. Once the connection is established, a checkmark will appear next to the network name, indicating a successful connection.
-
Verifying the Connection: To confirm that your iPhone 11 is connected to the Wi-Fi network, look for the Wi-Fi icon in the top-right corner of the screen. This icon resembles three curved lines and signifies that your device is connected to a Wi-Fi network.
By following these steps, you can seamlessly connect your iPhone 11 to a Wi-Fi network, unlocking a world of online possibilities and ensuring that your device is ready for the next stages of activation and customization. With a stable Wi-Fi connection, you can proceed to set up Face ID or Touch ID, sign in to your Apple ID, and personalize your iPhone 11 according to your preferences.
Ensuring a reliable Wi-Fi connection is essential for a smooth activation process and enables you to leverage the full potential of your iPhone 11, from accessing cloud services and streaming content to enjoying seamless app downloads and software updates. With Wi-Fi connectivity established, your iPhone 11 becomes a powerful gateway to the digital world, offering unparalleled convenience and connectivity.
In essence, connecting your iPhone 11 to Wi-Fi is a pivotal step that sets the stage for a rich and immersive user experience, empowering you to harness the full capabilities of this advanced device. With a stable Wi-Fi connection in place, you're poised to unlock the myriad features and functionalities that make the iPhone 11 a true technological marvel.
Setting Up Face ID or Touch ID
Setting up Face ID or Touch ID on your iPhone 11 is a pivotal step in personalizing the device to suit your preferences and enhancing its security features. Both Face ID and Touch ID offer convenient and secure methods for unlocking your iPhone, authorizing app purchases, and accessing sensitive information. Here's a comprehensive guide on how to set up Face ID or Touch ID:
Setting Up Face ID
- Accessing Settings: Begin by unlocking your iPhone 11 and navigating to the "Settings" app on the home screen.
- Selecting Face ID & Passcode: Within the Settings menu, tap on "Face ID & Passcode." You will be prompted to enter your device passcode to proceed.
- Enrolling Your Face: Tap on "Set Up Face ID" to initiate the enrollment process. Position your face within the designated frame on the screen and follow the on-screen prompts to move your head in a circular motion. This allows the TrueDepth camera system to capture a detailed 3D map of your face.
- Completing the Process: Once the initial Face ID scan is complete, tap "Continue" to perform a second scan. This ensures that Face ID accurately recognizes your facial features from various angles. After the second scan, Face ID setup is complete.
Setting Up Touch ID
- Accessing Settings: Unlock your iPhone 11 and navigate to the "Settings" app on the home screen.
- Selecting Touch ID & Passcode: Within the Settings menu, tap on "Touch ID & Passcode." You will be prompted to enter your device passcode to proceed.
- Enrolling Your Fingerprint: Tap on "Add a Fingerprint" to begin enrolling your fingerprint. Follow the on-screen instructions to place your finger on the Touch ID sensor repeatedly, allowing the device to capture different aspects of your fingerprint.
- Completing the Process: Once the fingerprint enrollment is complete, tap "Continue" to finalize the setup. You can choose to add additional fingerprints if desired.
By setting up Face ID or Touch ID, you enhance the security and convenience of using your iPhone 11. Face ID leverages advanced facial recognition technology, while Touch ID offers seamless fingerprint authentication. Both methods provide a secure and efficient way to access your device and authorize various actions, ensuring a personalized and protected user experience.
With Face ID or Touch ID configured, your iPhone 11 becomes uniquely tailored to your biometric characteristics, offering a seamless and secure means of unlocking the device and safeguarding your sensitive data. Whether you opt for the facial recognition capabilities of Face ID or the tactile convenience of Touch ID, your iPhone 11 is now equipped with a sophisticated layer of security that aligns with your individual preferences and lifestyle.
Setting up Face ID or Touch ID is a testament to Apple's commitment to user-centric design and cutting-edge security, empowering you to interact with your iPhone 11 in a manner that seamlessly integrates with your daily routine and prioritizes your privacy and convenience.
Signing in to Your Apple ID
Signing in to your Apple ID on the iPhone 11 is a pivotal step that unlocks a myriad of features and functionalities, seamlessly integrating your device with the Apple ecosystem. Your Apple ID serves as a gateway to a host of services, including the App Store, iCloud, Apple Music, and more. By signing in to your Apple ID, you gain access to personalized content, secure cloud storage, and seamless synchronization across your Apple devices.
To sign in to your Apple ID on your iPhone 11, follow these steps:
-
Accessing Settings: Unlock your iPhone 11 and navigate to the "Settings" app on the home screen. The Settings app is represented by a gear icon and serves as the central hub for managing your device's configuration.
-
Locating Apple ID: Within the Settings menu, tap on your name at the top of the screen. This will take you to the Apple ID, iCloud, iTunes & App Store settings.
-
Signing In: Tap on "Sign in to your iPhone." You will be prompted to enter your Apple ID and password. If you don't have an Apple ID, you can create one by selecting the "Don't have an Apple ID or forgot it?" option.
-
Two-Factor Authentication: Depending on your security settings, you may be required to verify your identity using two-factor authentication. This adds an extra layer of security by confirming your identity through a trusted device or phone number.
-
Agreeing to Terms and Conditions: After successfully signing in, you may be prompted to review and agree to Apple's terms and conditions. This step ensures that you understand and consent to the usage terms associated with your Apple ID.
-
Accessing Apple Services: Once signed in, you gain access to a wealth of Apple services, including the App Store, iCloud Drive, Apple Music, and more. Your Apple ID seamlessly integrates with these services, allowing you to download apps, access cloud storage, and enjoy personalized content recommendations.
By signing in to your Apple ID on the iPhone 11, you establish a personalized and secure connection to the Apple ecosystem, enabling seamless access to a wide array of services and features. Your Apple ID serves as a digital passport, unifying your Apple devices and ensuring a cohesive and integrated user experience across the iOS ecosystem.
With your Apple ID signed in, you can leverage the full potential of your iPhone 11, from downloading apps and games to securely storing your photos and documents in iCloud. This seamless integration fosters a cohesive and interconnected digital experience, empowering you to harness the power of Apple's ecosystem while enjoying the convenience of personalized services and content recommendations.
In essence, signing in to your Apple ID on the iPhone 11 is a foundational step that aligns your device with the broader Apple ecosystem, ensuring that you can seamlessly access and enjoy the full spectrum of Apple's innovative services and features.
Restoring from iCloud or iTunes Backup
Restoring your new iPhone 11 from an iCloud or iTunes backup is a seamless and efficient way to transfer your existing data, settings, and preferences to your new device. Whether you're upgrading from a previous iPhone or setting up a replacement device, the restoration process ensures that your iPhone 11 mirrors the familiar environment of your previous device, allowing for a smooth transition and continuity of your digital experience.
Restoring from iCloud Backup
If you've previously backed up your data to iCloud, you can easily restore your iPhone 11 from this cloud-based backup. Here's how to initiate the restoration process:
-
Initial Setup: During the initial setup of your iPhone 11, you will encounter the "Apps & Data" screen. Select the "Restore from iCloud Backup" option to proceed.
-
Sign in to iCloud: Enter your Apple ID and password to sign in to your iCloud account. This step is essential to access your iCloud backup and initiate the restoration process.
-
Select Backup: After signing in, you will be presented with a list of available iCloud backups associated with your Apple ID. Choose the most relevant backup based on the backup date and size.
-
Restoration Process: Once you select the desired iCloud backup, the restoration process begins. Your iPhone 11 will download the selected backup from iCloud and proceed to restore your apps, settings, photos, and other data.
-
Completion: Depending on the size of the backup and your internet connection speed, the restoration process may take some time to complete. Ensure that your device remains connected to a stable Wi-Fi network and a power source until the restoration is finished.
Restoring from iTunes Backup
If you prefer to restore your iPhone 11 from an iTunes backup stored on your computer, follow these steps:
-
Connect to Computer: Use a USB cable to connect your iPhone 11 to the computer where your iTunes backup is stored.
-
Launch iTunes: Open the iTunes application on your computer and ensure that it is updated to the latest version.
-
Select Device: Once your iPhone 11 is connected, it should appear in the iTunes interface. Click on your device to access its summary screen.
-
Initiate Restore: In the "Summary" tab, locate the "Restore Backup" option. Select this option and choose the relevant iTunes backup from the list of available backups.
-
Confirmation: After selecting the backup, click "Restore" to initiate the restoration process. iTunes will proceed to restore your iPhone 11 from the selected backup, transferring your data and settings to the new device.
-
Completion: Once the restoration process is complete, your iPhone 11 will reboot and display the familiar environment from your previous device, ensuring a seamless transition.
By restoring your iPhone 11 from an iCloud or iTunes backup, you can effortlessly carry over your existing data, settings, and preferences to your new device. This streamlined process minimizes the need for manual setup and configuration, allowing you to pick up where you left off and continue your digital journey with ease.
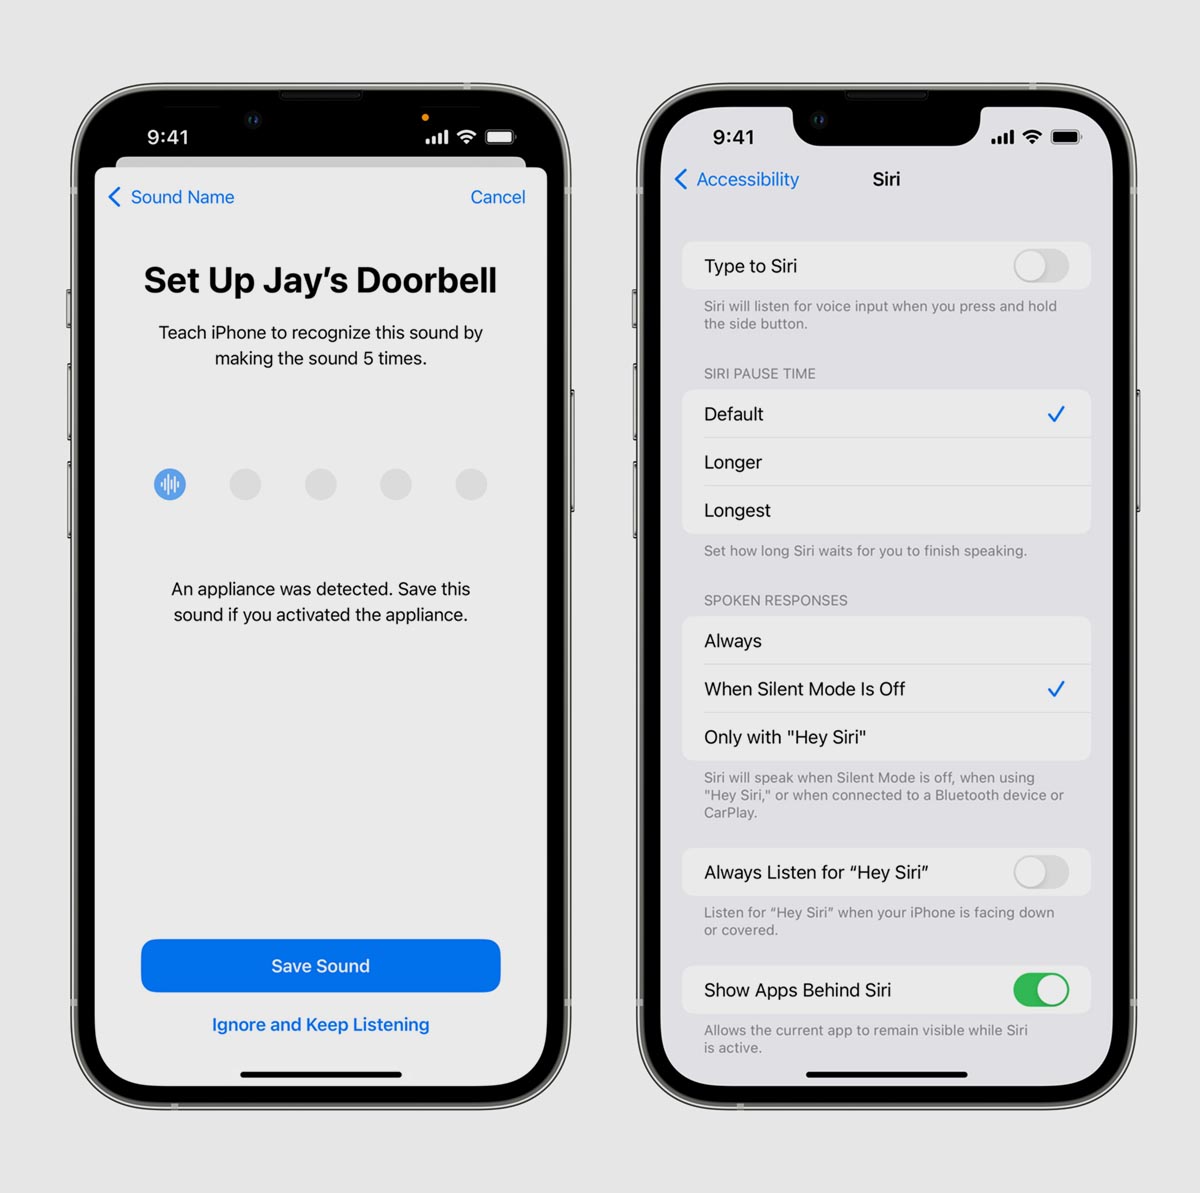
Setting Up Siri
Setting up Siri on your iPhone 11 introduces you to a world of voice-activated convenience and personalized assistance. Siri, Apple's intelligent virtual assistant, is designed to understand natural language commands and perform a wide range of tasks, from setting reminders and sending messages to providing real-time information and controlling smart home devices. Here's a comprehensive guide on how to set up Siri and tailor its functionality to suit your preferences.
-
Accessing Settings: Begin by unlocking your iPhone 11 and navigating to the "Settings" app on the home screen. The Settings app serves as the central hub for customizing various aspects of your device's functionality.
-
Selecting Siri & Search: Within the Settings menu, tap on "Siri & Search." This section allows you to configure Siri's behavior, language, voice feedback, and more.
-
Enabling Siri: Toggle the switch next to "Listen for 'Hey Siri'" to enable the hands-free activation of Siri using voice commands. This feature allows you to summon Siri without pressing any buttons, enhancing the accessibility and convenience of the virtual assistant.
-
Setting Up Voice Recognition: If desired, you can set up voice recognition by tapping on "Set Up Now" under the "Hey Siri" section. This process involves speaking a series of commands to allow Siri to recognize your voice accurately.
-
Choosing Siri's Voice: Under the "Siri Voice" section, you can select the gender and accent of Siri's voice. Apple offers a variety of voices to cater to diverse preferences and linguistic nuances.
-
Customizing Siri Suggestions: In the "Siri Suggestions" section, you can specify the apps and services from which Siri can provide proactive suggestions based on your usage patterns. This feature enhances Siri's ability to anticipate your needs and streamline your interactions with the device.
-
Configuring App Support: Explore the "App Support" settings to enable Siri's integration with specific apps installed on your iPhone 11. This allows Siri to perform tasks within supported third-party apps, extending its functionality beyond native iOS features.
By setting up Siri according to your preferences, you unlock the full potential of this intelligent virtual assistant, transforming your iPhone 11 into a versatile and responsive digital companion. Whether you rely on Siri for managing your daily tasks, seeking information, or controlling smart home devices, customizing its settings ensures a tailored and seamless user experience.
In essence, setting up Siri on your iPhone 11 empowers you to harness the power of voice commands and personalized assistance, seamlessly integrating Siri into your daily routine and enhancing the overall usability of your device. With Siri configured to align with your preferences, you can enjoy a more intuitive and efficient interaction with your iPhone 11, leveraging the capabilities of this advanced virtual assistant to streamline various aspects of your digital life.
Customizing Your Home Screen
Customizing your home screen on the iPhone 11 allows you to personalize the visual layout, access essential apps with ease, and create an environment that reflects your unique style and preferences. With a myriad of customization options at your fingertips, you can transform your home screen into a functional and aesthetically pleasing interface that enhances your daily interaction with the device.
Rearranging App Icons
To begin customizing your home screen, long-press any app icon until the icons start jiggling. This signifies that you're in editing mode, allowing you to rearrange app icons by dragging them to different positions on the screen. This flexibility enables you to prioritize frequently used apps, group related apps together, and create a layout that aligns with your usage patterns.
Creating App Folders
Organizing your apps into folders is a practical way to declutter your home screen and streamline app access. To create a folder, simply drag one app icon onto another, prompting the device to automatically generate a folder. You can then customize the folder name and add additional apps to it, creating a categorized structure that simplifies app navigation.
Adding Widgets
Widgets offer at-a-glance information and quick access to app features directly from the home screen. By long-pressing an empty area of the home screen and tapping the "+" icon, you can browse and add widgets that provide real-time updates, weather forecasts, calendar events, and more. This dynamic feature enhances the functionality of your home screen, delivering relevant information and shortcuts to key app functions.
Customizing Wallpaper
Personalizing the wallpaper on your home screen allows you to infuse your device with a touch of individuality and visual flair. Navigate to the "Wallpaper" settings to choose from a diverse range of dynamic, still, and live wallpapers. You can also set a personalized photo as the wallpaper, adding a personal touch to your home screen and creating a visually captivating backdrop for your apps and widgets.
Utilizing App Library
The App Library, accessible by swiping to the rightmost home screen page, automatically organizes your apps into categories, providing a convenient way to access less frequently used apps without cluttering the main home screen. This feature streamlines app management and ensures that your home screen remains focused on essential apps and widgets.
By customizing your home screen on the iPhone 11, you can curate a personalized and efficient digital environment that aligns with your usage habits and aesthetic preferences. This tailored approach enhances the overall user experience, empowering you to interact with your device in a manner that reflects your individuality and optimizes productivity.
Activating Your iPhone 11
Activating your iPhone 11 is the pivotal final step that brings your device to life, enabling you to harness its full potential and immerse yourself in the seamless iOS experience. The activation process ensures that your iPhone 11 is ready to make calls, send messages, access mobile data, and leverage a myriad of features that define the Apple ecosystem.
To activate your iPhone 11, follow these essential steps:
-
Initial Setup: Upon turning on your iPhone 11, you will be greeted by the setup screen, prompting you to select your language, region, and connect to a Wi-Fi network. This foundational step lays the groundwork for the activation process and sets the stage for customizing your device according to your preferences.
-
SIM Card Recognition: If you haven't already checked your SIM card during the initial setup, ensure that it is properly inserted and recognized by your mobile carrier. A functioning SIM card is essential for activating your iPhone 11 and establishing connectivity with the mobile network.
-
Apple ID Sign-In: If you haven't signed in to your Apple ID during the initial setup, navigate to the Settings app and sign in to your Apple ID to access a wide array of services and features seamlessly integrated with the iOS ecosystem.
-
Face ID or Touch ID Configuration: If you haven't set up Face ID or Touch ID, take this opportunity to configure these biometric authentication methods, enhancing the security and convenience of unlocking your iPhone 11 and authorizing various actions.
-
Siri Setup: Customize Siri's settings to align with your preferences, enabling the intelligent virtual assistant to provide personalized assistance and streamline your interactions with the device.
-
Customization: Tailor your home screen layout, add widgets, and organize apps to create a personalized and efficient digital environment that reflects your individual style and usage patterns.
By following these steps, you can ensure that your iPhone 11 is fully activated and primed for seamless integration into your daily routine. The activation process marks the culmination of unboxing and setting up your device, ushering in a new chapter of connectivity, productivity, and creativity within the iOS ecosystem.