
Identifying the Type of Hose Connector
Identifying the Type of Hose Connector
Before embarking on the task of removing a hose connector, it is crucial to identify the specific type of connector you are dealing with. This step is essential as different connectors may require distinct removal techniques to ensure a safe and successful disconnection.
-
Threaded Connectors: These connectors feature threads on both the hose and the water source, allowing them to be screwed together. To identify a threaded connector, look for the presence of visible threads on both the hose and the water source.
-
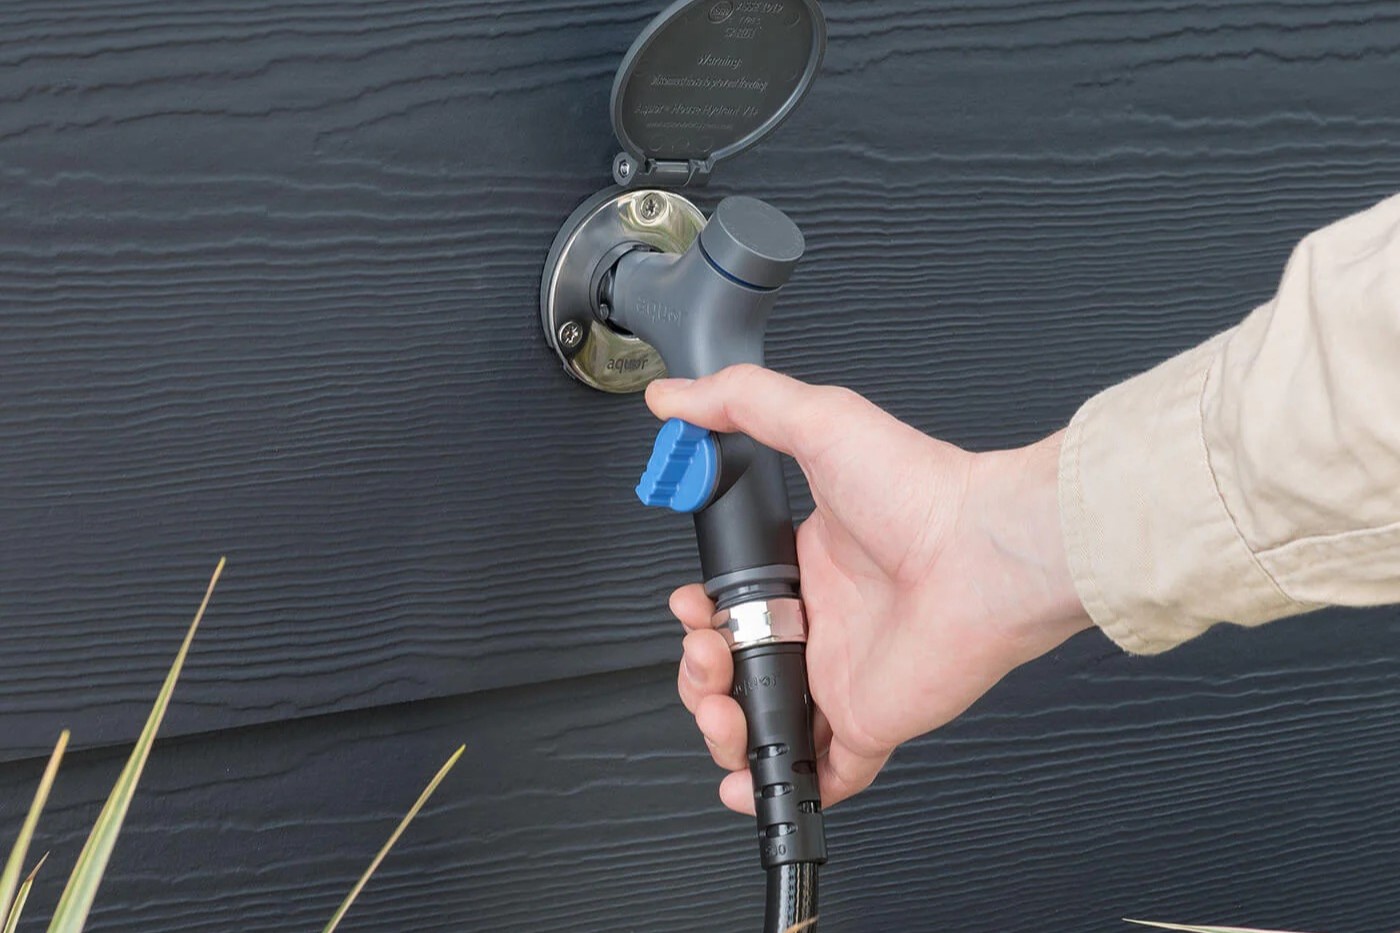
Quick-Release Connectors: Quick-release connectors are designed for effortless detachment and reattachment. They typically feature a locking mechanism that can be easily released to disconnect the hose. Look for a button or lever that can be pressed or pulled to release the connector.
-
Push-Fit Connectors: These connectors are characterized by their push-and-seal mechanism, where the hose is simply pushed into the connector for a secure fit. To identify a push-fit connector, look for a collar or ring that needs to be pulled back to release the hose.
-
Bayonet Connectors: Bayonet connectors are commonly found in garden hoses and feature a twisting mechanism for attachment and removal. To identify a bayonet connector, observe the presence of lugs or tabs that require a twisting motion to disconnect the hose.
By accurately identifying the type of hose connector, you can proceed with the removal process with confidence, knowing that you are employing the appropriate technique for the specific connector in question.
Understanding the unique characteristics of each connector type is essential for executing the removal process effectively and safely. Whether it's a threaded, quick-release, push-fit, or bayonet connector, being able to identify the type of hose connector sets the stage for a successful disconnection and ensures that the subsequent steps are carried out with precision.
Turning Off the Water Supply
Before proceeding with the removal of a hose connector, it is imperative to turn off the water supply to prevent any potential leaks or water wastage. This crucial step ensures a safe and controlled environment for disconnecting the hose without encountering pressurized water.
Locating the water shut-off valve is the first step in this process. The valve is typically situated near the area where the hose is connected to the water source. In some cases, it may be located indoors, such as in a basement or utility room, while in others, it might be outdoors, near the hose attachment point. Once the valve is located, turn it in a clockwise direction to shut off the water supply. It is essential to ensure that the valve is fully closed to prevent any residual water from flowing through the hose.
After shutting off the water supply, it is advisable to relieve any remaining pressure in the hose by gently squeezing the spray nozzle or opening the hose nozzle to allow the water to drain out. This step helps to minimize the risk of residual water spurting out when the connector is removed, reducing the likelihood of water spillage and ensuring a cleaner disconnection process.
Turning off the water supply is a fundamental precautionary measure that not only promotes safety during the removal of the hose connector but also helps prevent potential water damage and wastage. By following this essential step, you create a controlled environment for disconnecting the hose, minimizing the risk of water-related mishaps and ensuring a smooth and efficient removal process.
Draining the Hose
Before proceeding with the removal of a hose connector, it is essential to drain the hose to minimize the risk of water spillage and ensure a cleaner disconnection process. Draining the hose not only prevents water wastage but also reduces the likelihood of encountering residual water when removing the connector, promoting a safer and more efficient disconnection.
To drain the hose effectively, start by disconnecting any attachments, such as spray nozzles or sprinklers, from the hose. This allows for unobstructed water flow during the draining process. Next, straighten the hose to create a clear pathway for the water to exit. Holding one end of the hose at a downward angle, walk along its length, gently guiding any trapped water toward the open end. By allowing gravity to assist in draining the hose, you can efficiently remove the majority of the water within it.
If the hose is particularly long or has multiple bends, it may be beneficial to elevate one end of the hose to facilitate drainage. This can be achieved by hanging the hose over a railing or draping it over a raised surface, allowing the water to flow freely from the lower end. Additionally, gently tapping along the length of the hose can help dislodge any trapped water, aiding in the drainage process.
By thoroughly draining the hose, you create a more controlled environment for removing the connector, reducing the risk of water spillage and minimizing the cleanup required after the disconnection. This proactive step not only promotes a safer removal process but also contributes to water conservation by preventing unnecessary wastage.
Releasing the Connector
Once the water supply has been turned off and the hose has been drained, the next step in safely removing a hose connector is releasing the connector from the water source or attachment point. The method of releasing the connector may vary depending on the type of connector in use, so it is essential to approach this step with a clear understanding of the specific connector type.
If dealing with a threaded connector, use a pair of adjustable pliers to grip the connector securely, and then rotate it in a counterclockwise direction to unscrew it from the water source. It is important to exercise caution and avoid applying excessive force, as this may damage the connector or the water source. Slow and steady movements are key to successfully releasing a threaded connector.
For quick-release connectors, locate the release button or lever and depress or pull it, depending on the design of the connector. This action should disengage the locking mechanism, allowing the connector to be separated from the water source with ease. Pay attention to any specific instructions provided by the manufacturer for releasing the connector, as different models may have unique release mechanisms.
When dealing with push-fit connectors, locate the collar or ring near the attachment point and pull it back to release the hose from the connector. This action should create enough clearance to gently remove the hose from the connector, ensuring a smooth disconnection without causing damage to the components.
Bayonet connectors require a twisting motion to release the hose. Look for the lugs or tabs on the connector and twist them in the designated direction to unlock the connector. Once released, carefully separate the hose from the connector, ensuring that the twisting action is carried out in the correct direction to avoid any resistance.
By understanding the specific release mechanisms for different connector types, you can approach the disconnection process with confidence and precision. Adhering to the recommended release methods for each connector type minimizes the risk of damage and ensures a smooth and successful removal process.
Inspecting the Connector and Hose for Damage
Upon successfully removing the hose connector, it is imperative to conduct a thorough inspection of both the connector and the hose to identify any signs of damage or wear. This critical step serves to assess the condition of the components and determine if any maintenance or replacement is necessary to ensure optimal performance and safety.
Begin by examining the connector for any visible cracks, corrosion, or deformities that may compromise its integrity. Check the sealing surfaces and threads for signs of wear or damage, as these areas are essential for maintaining a secure and watertight connection. If the connector exhibits any structural flaws or deterioration, it is advisable to replace it with a new, undamaged connector to prevent potential leaks or malfunctions.
Similarly, inspect the hose for any indications of wear, such as cracks, kinks, or bulges. Pay close attention to the hose ends and coupling areas, as these are common sites for wear and stress. If the hose shows signs of aging or damage, consider replacing it to maintain efficient water flow and prevent potential leaks or bursts during future use.
Furthermore, check the interior of the hose for any debris or blockages that may impede water flow or cause damage to the hose over time. Flushing the hose with water and inspecting the water that flows out can help identify any contaminants or foreign objects that may have accumulated within the hose, allowing for timely cleaning and maintenance.
Inspecting the connector and hose for damage is a proactive measure that promotes the longevity and reliability of the watering system. By identifying and addressing any issues promptly, you can prevent potential water leaks, minimize the risk of equipment failure, and ensure the continued efficiency of the hose and connector assembly.
Regular inspection and maintenance of hose connectors and hoses are essential practices for preserving the functionality and safety of the watering system. By staying vigilant and addressing any signs of damage or wear, you can uphold the performance and longevity of the components, contributing to a reliable and trouble-free watering experience.