
Tools and Materials Needed
Before you begin installing a twist-on coax connector, it’s important to gather the necessary tools and materials to ensure a smooth and efficient process. Here’s a list of what you’ll need:
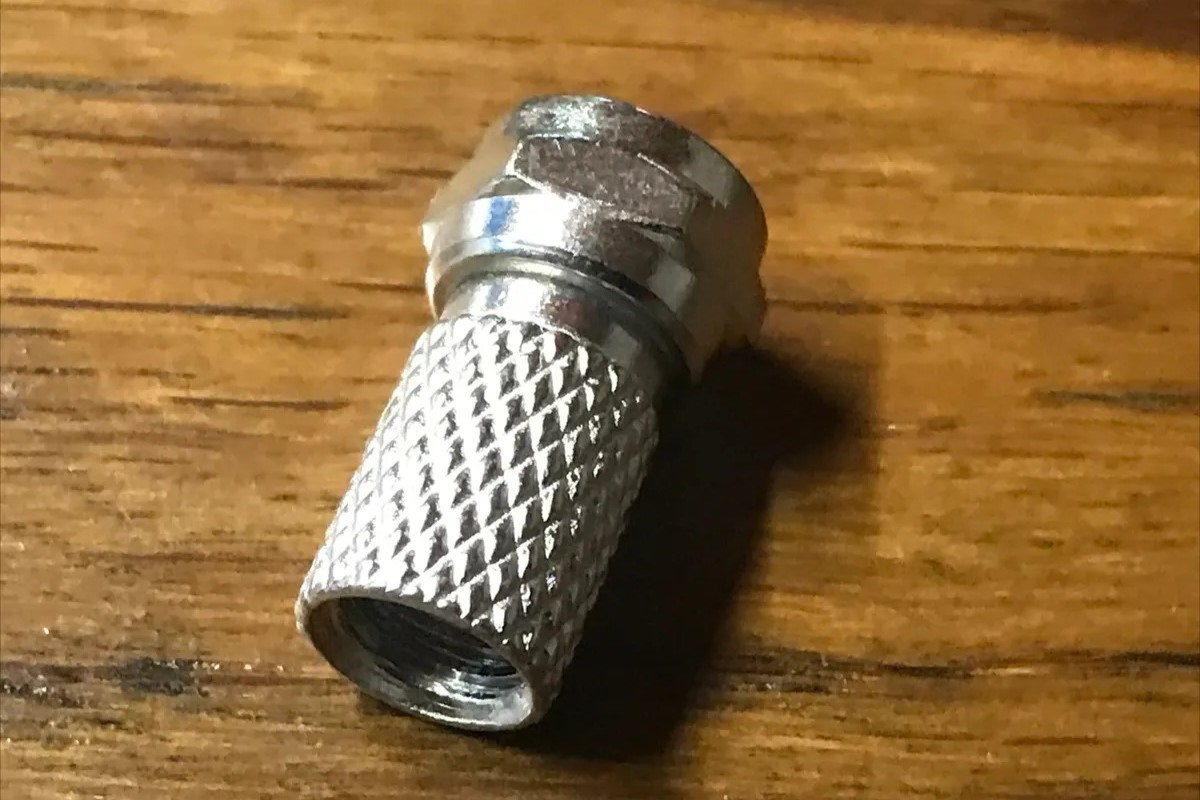
- Twist-On Coax Connector: This is the main component that will securely attach to the coaxial cable, ensuring a stable and reliable connection.
- Coaxial Cable: Ensure you have the appropriate length of coaxial cable for your specific installation needs. It’s essential to use high-quality cable to maintain signal integrity.
- Wire Strippers: A reliable pair of wire strippers will make the process of preparing the coaxial cable much easier and more precise.
- Coaxial Cable Cutter: This tool is essential for cleanly cutting the coaxial cable to the desired length without causing any damage to the inner conductors.
- Connector Crimping Tool (Optional): If you prefer a crimp-style coax connector, you’ll need a connector crimping tool to properly secure the connector to the cable.
- Work Surface: It’s important to have a stable work surface where you can comfortably work on the cable and connector without any obstructions.
- Light Source: Adequate lighting is crucial for ensuring precision during the installation process. A well-lit work area will help you avoid any potential errors.
- Connector Removal Tool (Optional): If you’re replacing an existing coax connector, a removal tool can make the process much easier and prevent damage to the cable.
By gathering these tools and materials beforehand, you can streamline the installation process and ensure that you have everything you need to successfully install a twist-on coax connector.
Step 1: Prepare the Coax Cable
Before you can install a twist-on coax connector, it’s crucial to properly prepare the coaxial cable to ensure a secure and reliable connection. Follow these steps to prepare the cable:
- Measure and Cut: Begin by measuring the coaxial cable to the desired length using a coaxial cable cutter. Ensure that the cut is clean and precise to maintain the integrity of the cable.
- Inspect the Cable: After cutting the cable, carefully inspect the exposed ends to ensure that there is no damage to the inner conductor or the dielectric insulator. Any nicks or cuts could compromise the quality of the connection.
- Remove Any Obstructions: If there are any obstructions such as debris or excess insulation along the exposed ends of the cable, gently remove them using a cable stripping tool or a utility knife. It’s important to ensure that the exposed ends are clean and free from any obstructions.
- Check the Shielding: Inspect the shielding of the coaxial cable to ensure that it is intact and free from any damage. The shielding plays a critical role in maintaining signal integrity, so it’s essential to verify its condition before proceeding.
- Trim the Shielding (If Necessary): In some cases, the shielding may extend beyond the dielectric insulator. If this is the case, carefully trim the excess shielding to ensure that it is flush with the dielectric insulator.
By carefully preparing the coaxial cable, you can ensure that it is in optimal condition for the installation of the twist-on coax connector. Attention to detail during this preparation phase will contribute to a successful and reliable connection.
Step 2: Strip the Coax Cable
Stripping the coax cable is a crucial step in the process of installing a twist-on coax connector. This step ensures that the inner conductor and dielectric insulator are properly exposed for a secure connection. Follow these steps to strip the coax cable:
- Select the Right Tool: Choose a wire stripping tool that is appropriate for the gauge of your coaxial cable. Using the correct tool will help prevent damage to the inner conductor and ensure a clean strip.
- Measure the Stripping Length: Refer to the connector manufacturer’s instructions to determine the appropriate length for stripping the coaxial cable. This length is crucial for achieving a proper connection and maintaining signal integrity.
- Secure the Cable: Hold the coaxial cable securely in place, ensuring that it does not move during the stripping process. This will help prevent any accidental damage to the cable or inner conductor.
- Strip the Cable: Carefully position the wire stripping tool at the predetermined stripping length and apply gentle pressure to remove the outer insulation. Take care to avoid nicking or damaging the underlying layers of the cable.
- Inspect the Strip: After stripping the outer insulation, inspect the exposed layers of the cable to ensure that the inner conductor and dielectric insulator are intact and undamaged. Any irregularities should be addressed before proceeding.
- Remove Any Residual Material: If there are any residual materials or debris on the exposed layers of the cable, carefully remove them using a clean, dry cloth or compressed air. It’s essential to ensure that the stripped layers are clean and free from any obstructions.
By following these steps to strip the coax cable, you will prepare it for the next phase of the installation process, setting the stage for a successful connection with the twist-on coax connector.
Step 3: Insert the Coax Cable into the Connector
Once the coaxial cable has been properly prepared and stripped, the next step is to insert it into the twist-on coax connector. This step is critical for establishing a secure and reliable connection. Follow these guidelines to insert the coax cable into the connector:
- Select the Correct Connector: Ensure that you have chosen a twist-on coax connector that is compatible with the gauge and type of your coaxial cable. Using the correct connector is essential for a proper fit and reliable connection.
- Prepare the Connector: If the twist-on coax connector has an insulating washer, ensure that it is in place before inserting the cable. This washer helps maintain the integrity of the connection and provides additional insulation.
- Insert the Cable: Gently insert the stripped end of the coaxial cable into the twist-on connector, ensuring that the inner conductor makes full contact with the connector’s pin. It’s important to avoid any kinks or bends in the cable during this process.
- Apply Gentle Pressure: Once the cable is inserted, apply gentle pressure to ensure that it is fully seated within the connector. This step helps establish a secure connection and minimizes the risk of signal loss or interference.
- Verify Proper Insertion: After inserting the cable, visually inspect the connector to ensure that the inner conductor is properly aligned with the connector’s pin. Any misalignment should be corrected before proceeding.
- Check for Secure Fit: Verify that the cable is securely held in place by the connector. A secure fit is essential for maintaining the integrity of the connection and preventing any signal disruptions.
By carefully following these steps to insert the coax cable into the twist-on connector, you can establish a solid foundation for the subsequent stages of the installation process, ensuring a reliable and stable connection.
Step 4: Twist On the Connector
After inserting the coaxial cable into the twist-on connector, the next crucial step is to securely twist on the connector to establish a reliable connection. Follow these guidelines to effectively twist on the connector:
- Hold the Cable and Connector: Grasp the connector and the coaxial cable securely, ensuring that they are held in a stable position. This will prevent any unnecessary strain on the cable during the twisting process.
- Begin Twisting: Start twisting the connector onto the coaxial cable in a clockwise direction. Apply steady and even pressure to ensure a smooth and secure attachment. Avoid over-tightening, as this could potentially damage the connector or the cable.
- Monitor the Progress: As you twist on the connector, monitor the alignment and ensure that the cable remains properly seated within the connector. This will help prevent any misalignments or disruptions to the connection.
- Verify a Tight Seal: Once the connector is fully twisted onto the cable, verify that it forms a tight seal without any gaps or looseness. A secure and snug fit is essential for maintaining the integrity of the connection.
- Avoid Over-Tightening: It’s important to exercise caution and avoid over-tightening the connector, as this could potentially damage the cable or the connector threads. A firm, yet gentle, twist is sufficient to establish a secure connection.
- Inspect the Connection: After twisting on the connector, visually inspect the connection to ensure that it is secure and properly aligned. Any irregularities should be addressed before proceeding.
By carefully following these steps to twist on the connector, you can establish a secure and reliable connection between the coaxial cable and the twist-on connector, setting the stage for successful signal transmission and minimal interference.
Step 5: Test the Connection
After completing the installation of the twist-on coax connector, it’s crucial to test the connection to ensure that it is secure and capable of transmitting signals effectively. Follow these steps to test the connection:
- Visual Inspection: Begin by visually inspecting the twist-on coax connector and the cable connection to verify that they are securely attached and properly aligned. Look for any signs of looseness or misalignment that may indicate an insecure connection.
- Signal Transmission Test: Use appropriate testing equipment to verify the transmission of signals through the coaxial cable and the twist-on connector. This test will help ensure that the connection is capable of transmitting signals without any disruptions or interference.
- Check for Signal Integrity: Verify that the signals transmitted through the connection maintain their integrity and clarity. Any distortions or disruptions may indicate a faulty connection that requires further inspection and adjustment.
- Perform a Tug Test: Gently tug on the coaxial cable to verify the strength and stability of the connection. A secure twist-on connector should hold the cable firmly without any signs of loosening or detachment.
- Inspect for Interference: Monitor the signal transmission for any signs of interference or disruptions. Common sources of interference include electromagnetic interference (EMI) and radio frequency interference (RFI), which can degrade signal quality.
- Verify Continuity: Use a continuity tester to verify that the connection between the coaxial cable and the twist-on connector is continuous and free from any breaks or interruptions. This test ensures the integrity of the electrical connection.
By meticulously testing the connection after the installation of the twist-on coax connector, you can ensure that the connection is secure, reliable, and capable of transmitting signals without any disruptions or interference, thereby guaranteeing optimal performance.