
Types of SIM Cards for Tablets
When it comes to using a SIM card with your tablet, it's essential to understand the different types available and their compatibility with your device. Here's a comprehensive guide to help you navigate the world of SIM cards for tablets.
Standard SIM Cards
The standard SIM card, also known as a mini-SIM, was the first generation of SIM cards used in mobile devices. While these SIM cards are less common today, some older tablets may still require them. The standard SIM card measures 15x25mm and is not as widely used as its smaller counterparts.
Micro SIM Cards
Micro SIM cards, introduced as a smaller alternative to standard SIM cards, measure 12x15mm. Many tablets, particularly those released between 2010 and 2013, were designed to accommodate micro SIM cards. It's important to check your tablet's specifications to determine if it requires a micro SIM card.
Nano SIM Cards
The nano SIM card, the smallest of the three, measures 8.8×12.3mm. Most modern tablets, including popular models from leading manufacturers, utilize nano SIM cards. These tiny yet powerful cards are the standard for many new tablets, offering a compact and efficient solution for connectivity.
Understanding the type of SIM card your tablet requires is crucial for seamless integration and functionality. Before purchasing a SIM card, consult your tablet's user manual or specifications to identify the appropriate SIM card size. By selecting the correct SIM card type, you can ensure a smooth and hassle-free setup process for your tablet's cellular connectivity.
Whether your tablet requires a standard, micro, or nano SIM card, ensuring compatibility with your device is the first step toward enjoying reliable mobile data and communication on the go.
Checking Tablet Compatibility with SIM Cards
Before inserting a SIM card into your tablet, it’s crucial to verify its compatibility with cellular connectivity. Here are essential steps to determine whether your tablet supports SIM card usage:
Reviewing Tablet Specifications
Start by reviewing your tablet’s specifications provided by the manufacturer. Look for details related to cellular connectivity, SIM card compatibility, and supported network bands. This information can typically be found in the user manual, on the manufacturer’s website, or within the tablet’s settings menu.
Consulting with Your Mobile Carrier
Contact your mobile carrier to confirm whether your tablet model supports SIM card usage. Provide them with the tablet’s make and model, and they can verify its compatibility with their network. Additionally, inquire about any specific requirements or settings needed to enable cellular connectivity on your tablet.
Online Research and Community Forums
Engage in online research and visit community forums dedicated to your tablet model. Often, users share their experiences with SIM card usage, network compatibility, and any troubleshooting tips. This can provide valuable insights into the SIM card compatibility of your specific tablet model.
Testing with a SIM Card
If possible, borrow a SIM card from a friend or family member, or obtain a prepaid SIM card from your mobile carrier. Insert the SIM card into your tablet and follow the activation process. If the tablet recognizes the SIM card and connects to the network, it indicates compatibility with SIM card usage.
By thoroughly assessing your tablet’s compatibility with SIM cards through manufacturer specifications, carrier consultation, online research, and practical testing, you can confidently proceed with the insertion and activation of a SIM card, ensuring seamless connectivity and communication on your tablet.
Locating the SIM Card Slot in Your Tablet
Before embarking on the process of inserting a SIM card into your tablet, it’s essential to locate the SIM card slot. The placement of the SIM card slot varies among different tablet models, so here’s how you can find it:
Consult the User Manual
Refer to the user manual that came with your tablet. Manufacturers often provide detailed instructions on the physical layout of the device, including the location of the SIM card slot. The user manual may contain diagrams or descriptions that pinpoint the exact placement of the SIM card slot within the tablet.
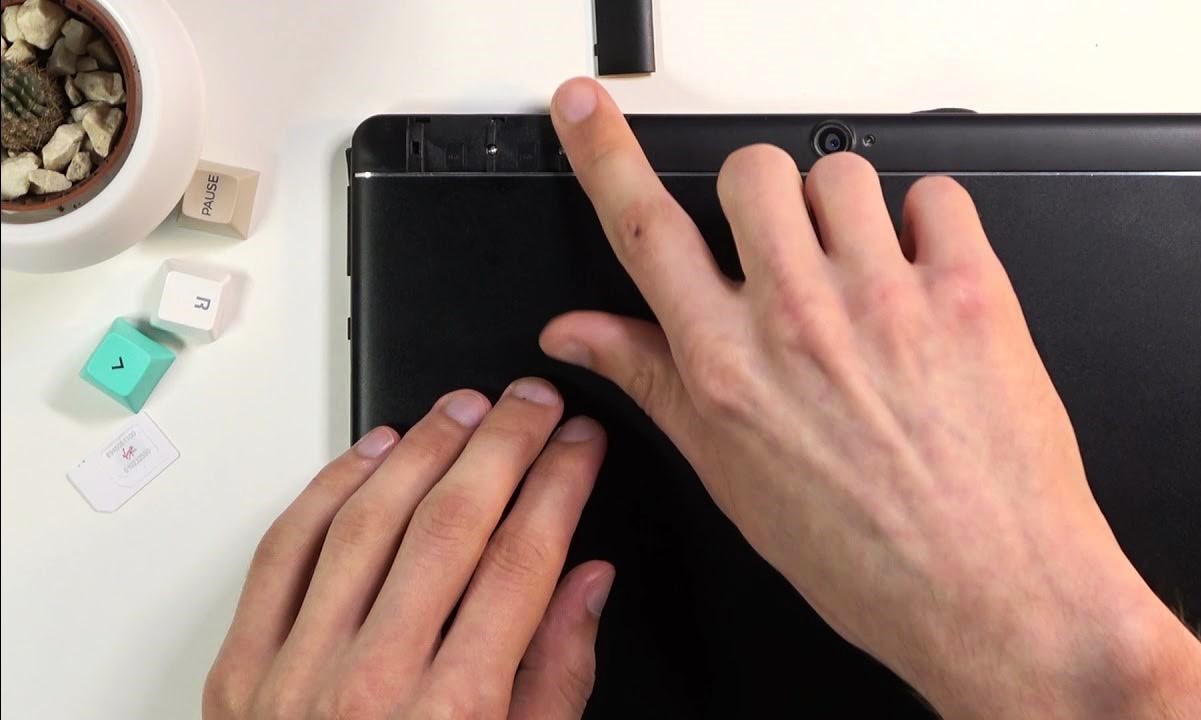
Examine the Exterior
Inspect the exterior of your tablet for a small, often concealed, tray or slot. The SIM card slot is typically located along the edge of the tablet and may be accompanied by a small pinhole. This pinhole is used to eject the SIM card tray, allowing for easy removal and insertion of the SIM card.
Online Resources and Support
If you’re unable to locate the SIM card slot using the aforementioned methods, consider visiting the manufacturer’s official website or contacting their customer support. Many manufacturers offer online resources, such as visual guides or instructional videos, to assist users in finding the SIM card slot in their specific tablet model.
Community Forums and Tutorials
Engage with the tablet user community through forums and tutorials dedicated to your tablet model. Often, experienced users share insights and tips on various aspects of tablet usage, including locating the SIM card slot. Their firsthand experiences and guidance can be invaluable in identifying the SIM card slot in your tablet.
By leveraging the user manual, examining the tablet’s exterior, seeking online resources, and tapping into the knowledge of the user community, you can confidently pinpoint the SIM card slot in your tablet, setting the stage for the seamless insertion and activation of a SIM card.
Removing the SIM Card Tray
Before inserting or replacing a SIM card in your tablet, you’ll need to access the SIM card tray. This involves safely removing the tray from the tablet, and the process may vary slightly depending on the specific model. Here’s a general guide on how to remove the SIM card tray from your tablet:
Power Off the Tablet
Ensure that your tablet is powered off before attempting to remove the SIM card tray. This precautionary step prevents any potential damage to the device or the SIM card slot during the removal process.
Locate the SIM Card Slot
Identify the SIM card slot on your tablet. It is usually located along the edge of the device and may be accompanied by a small pinhole. The pinhole allows for the insertion of a tool, such as the SIM ejector tool or a paperclip, to release the SIM card tray.
Use the SIM Ejector Tool
Insert the SIM ejector tool into the pinhole and apply gentle pressure. This action triggers the release mechanism, causing the SIM card tray to partially protrude from the tablet. If you don’t have a SIM ejector tool, a small, unfolded paperclip can serve as an alternative for releasing the tray.
Remove the SIM Card Tray
Gently pull the SIM card tray out of the tablet using your fingers or the SIM ejector tool. Exercise caution to avoid applying excessive force, as this may cause damage to the tray or the tablet. Once the tray is fully extended, carefully remove it from the tablet, ensuring that the SIM card, if present, remains securely in place.
Handle the SIM Card Tray and SIM Card
Handle the SIM card tray and the SIM card with care. Avoid touching the metal contacts on the SIM card, as this can interfere with its functionality. Place the SIM card tray on a stable surface, ensuring it remains free from dust or debris that may affect the SIM card’s performance.
By following these steps, you can safely remove the SIM card tray from your tablet, paving the way for the insertion or replacement of a SIM card with precision and ease.
Inserting the SIM Card into the Tablet
Once you have located the SIM card slot and removed the SIM card tray from your tablet, the next step is to insert the SIM card. Here’s a detailed guide on how to properly insert a SIM card into your tablet:
Inspect the SIM Card
Prior to insertion, carefully examine the SIM card for any signs of damage or misalignment. Ensure that the gold contacts on the SIM card are clean and free from any obstructions, which can impede proper connectivity.
Positioning the SIM Card
Align the SIM card with the designated area on the SIM card tray. Most SIM card trays have a specific outline or markings indicating the correct positioning of the SIM card. Place the SIM card gently on the tray, ensuring that it fits snugly within the allocated space without any forceful manipulation.
Inserting the SIM Card Tray
Once the SIM card is securely positioned on the tray, carefully slide the tray back into the SIM card slot on the tablet. Apply gentle pressure to ensure that the tray smoothly re-enters the device without any resistance. Avoid using excessive force to prevent any potential damage to the SIM card or the tablet.
Securing the SIM Card Tray
Ensure that the SIM card tray is fully inserted into the tablet, with no portion of the tray protruding from the device. A flush and secure fit indicates that the SIM card is correctly positioned within the tablet, establishing a stable connection for cellular functionality.
Power On the Tablet
Power on your tablet and allow it to recognize the newly inserted SIM card. Depending on the tablet model and carrier requirements, you may need to follow specific activation steps to enable cellular connectivity and associated services.
By meticulously following these steps, you can effectively insert a SIM card into your tablet, setting the stage for seamless connectivity and enhanced mobility with your device.
Replacing the SIM Card Tray
After successfully inserting the SIM card into your tablet, the next crucial step is to securely replace the SIM card tray. This process ensures the proper alignment and connectivity of the SIM card within the tablet. Here’s a step-by-step guide on how to replace the SIM card tray in your tablet:
Aligning the SIM Card Tray
Position the SIM card tray in line with the SIM card slot on your tablet. Ensure that the tray is oriented correctly, with the SIM card facing the designated area within the device. Proper alignment is essential to prevent any potential damage to the SIM card or the tablet’s internal components.
Inserting the SIM Card Tray
Gently insert the SIM card tray back into the SIM card slot, applying light pressure to facilitate a smooth re-entry. Be mindful of the tray’s orientation and avoid any abrupt or forceful movements that may disrupt the positioning of the SIM card within the tablet.
Verifying the Secure Fit
Once the SIM card tray is fully inserted, ensure that it sits flush with the tablet’s exterior, without any protrusions or misalignments. A secure fit indicates that the SIM card is properly seated within the device, establishing a stable connection for cellular functionality.
Testing the Tray Lock
Gently press on the SIM card tray to verify that it is securely locked in place. The tray should remain stable, with no wobbling or movement, indicating that it is correctly positioned and secured within the tablet. This step ensures that the SIM card remains stable during tablet usage.
Power On the Tablet
Power on your tablet and allow it to recognize the SIM card. Upon successful recognition, your tablet should be ready to utilize cellular connectivity and associated services, enabling seamless communication and data access.
By carefully following these steps, you can confidently replace the SIM card tray in your tablet, ensuring the optimal positioning and functionality of the SIM card within the device.
Activating the SIM Card on Your Tablet
Once the SIM card is inserted and the tray securely replaced, the next crucial step is to activate the SIM card on your tablet. Activation enables the tablet to establish a connection with the mobile carrier’s network, allowing you to utilize cellular services. Here’s a comprehensive guide on how to activate the SIM card on your tablet:
Power On the Tablet
Ensure that your tablet is powered on and ready for activation. Once powered on, the tablet will recognize the newly inserted SIM card and prompt you to proceed with the activation process.
Follow the Activation Prompt
Upon recognizing the SIM card, your tablet may display an activation prompt or guide you through the activation process. Follow the on-screen instructions provided by your mobile carrier or the tablet’s settings menu to initiate the activation procedure.
Enter Activation Details
During the activation process, you may be required to enter specific details, such as the SIM card’s unique identifier (ICCID), your mobile number, and any relevant activation codes provided by your carrier. Ensure that the information entered is accurate to expedite the activation process.
Network Registration
Once the activation details are submitted, your tablet will initiate the network registration process. It will establish a connection with the mobile carrier’s network, enabling access to voice, messaging, and data services associated with your cellular plan.
Confirmation of Activation
Upon successful activation, your tablet will display confirmation messages indicating that the SIM card is now active and ready for use. You may also receive a notification confirming the activation of cellular services on your tablet.
Testing Cellular Connectivity
Verify the functionality of the activated SIM card by placing a test call, sending a text message, or accessing mobile data services. Testing the connectivity ensures that the SIM card is fully operational, allowing you to seamlessly communicate and access data on your tablet.
By diligently following these steps, you can effectively activate the SIM card on your tablet, unlocking the full potential of cellular connectivity and enhancing the versatility of your device.
Troubleshooting SIM Card Issues in Tablets
While inserting and activating a SIM card in your tablet typically proceeds smoothly, occasional issues may arise that hinder proper functionality. Here are some troubleshooting steps to address common SIM card-related issues in tablets:
Check SIM Card Compatibility
Ensure that the SIM card is compatible with your tablet and the mobile carrier’s network. Verify that the SIM card size matches the requirements of your tablet’s SIM card slot and that it is activated for use with your tablet’s specific model.
Inspect SIM Card Placement
Remove the SIM card tray and carefully inspect the positioning of the SIM card. Ensure that it is correctly aligned and securely seated within the tray, without any visible damage to the card or the tray. Reinsert the tray and verify that it fits snugly into the tablet.
Restart the Tablet
Perform a soft reset or restart of your tablet to refresh its system and re-establish connections with the SIM card and the mobile network. This simple action can resolve temporary software glitches that may be affecting the SIM card’s functionality.
Network Settings Verification
Access the tablet’s network settings to verify that the SIM card is recognized and configured correctly. Ensure that the preferred network mode is selected, and the tablet is set to use the SIM card for cellular data and voice services.
Carrier Assistance
If persistent issues persist, contact your mobile carrier’s customer support for assistance. They can verify the status of your SIM card, troubleshoot network connectivity issues, and provide specific guidance tailored to your tablet and carrier settings.
Consider SIM Card Replacement
If all troubleshooting steps fail to resolve the issue, consider obtaining a replacement SIM card from your mobile carrier. A faulty or damaged SIM card can impede proper connectivity, and a new card may rectify the issue and restore seamless functionality to your tablet.
By systematically addressing potential SIM card issues through compatibility checks, placement verification, system restarts, network settings review, carrier assistance, and potential replacement, you can effectively troubleshoot and resolve SIM card-related issues in your tablet, ensuring uninterrupted cellular connectivity and optimal performance.