
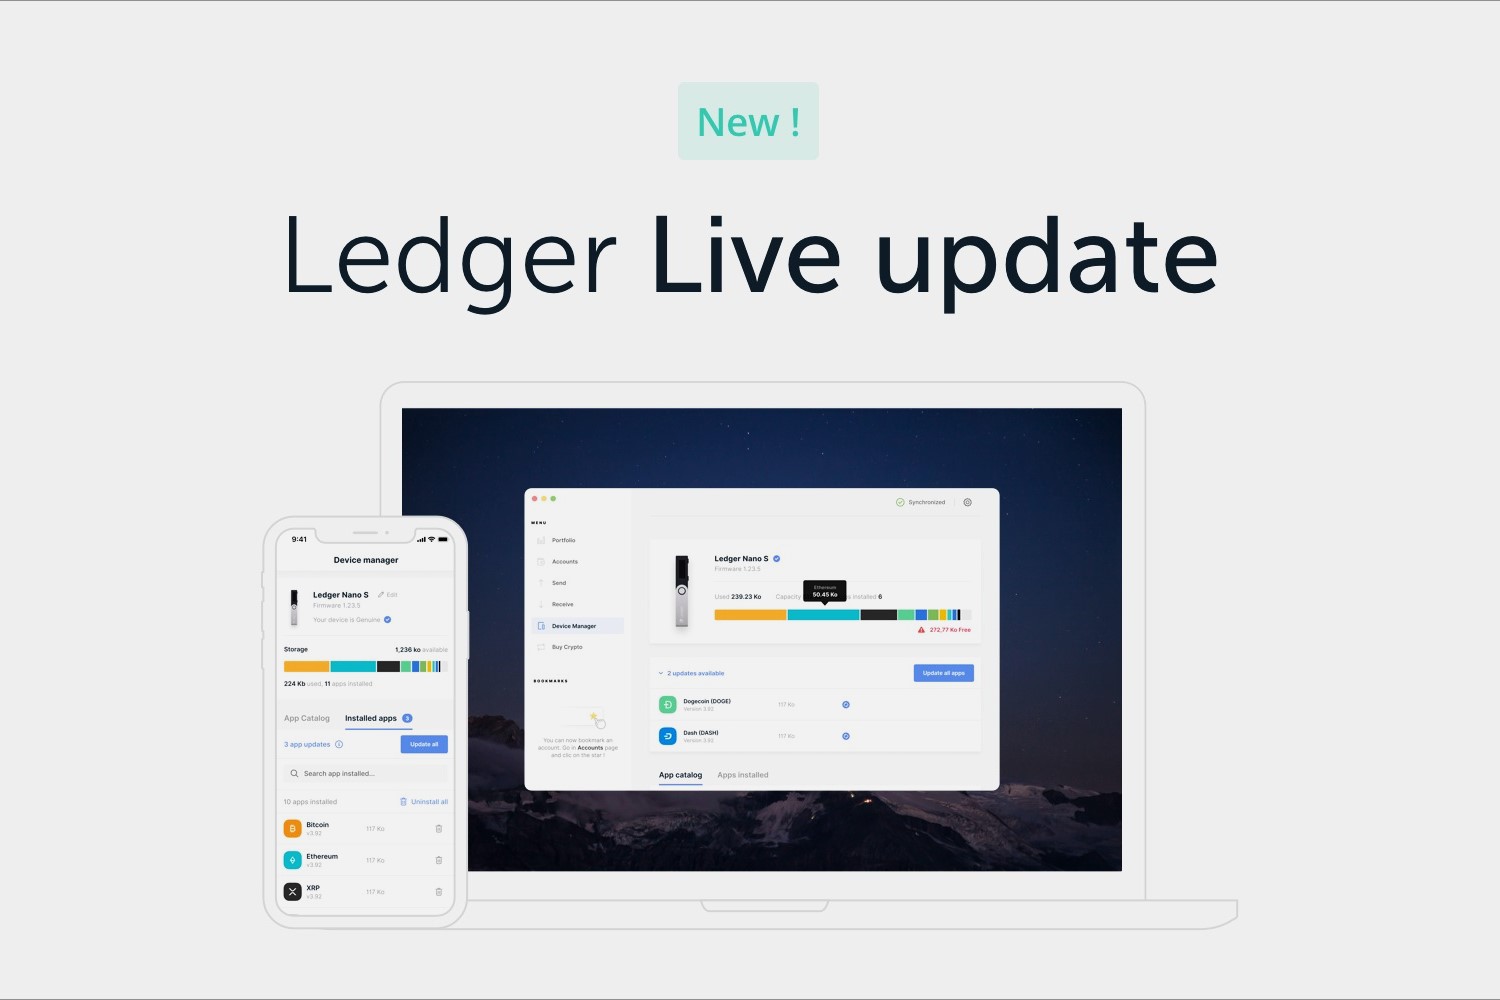
Installing Ledger Live and Connecting the Ledger Nano S
Setting up two instances of Ledger Live for one Ledger Nano S allows you to conveniently manage multiple accounts and track your digital assets more effectively. Follow these steps to install Ledger Live and connect your Ledger Nano S:
- Download Ledger Live: Visit the official Ledger website and download the latest version of Ledger Live that is compatible with your operating system. Install the application by following the on-screen instructions.
- Connect your Ledger Nano S: Use the USB cable provided with your Ledger Nano S to connect it to your computer. Ensure the device is powered on and enter your PIN code on the Ledger Nano S if prompted.
- Create a new account: Launch Ledger Live and click on “Create a new account” option. Follow the prompts to set up your first Ledger Live account.
Once you have completed these steps, your Ledger Nano S will be successfully connected to Ledger Live and you can proceed to create and manage multiple accounts within the application.
It’s important to note that each instance of Ledger Live will be recognized as a separate application on your computer, allowing you to run two instances simultaneously. This enables you to have two Ledger Live interfaces open side by side, where you can manage different sets of accounts and transactions.
By installing two Ledger Lives for one Ledger Nano S, you gain greater flexibility and convenience in managing your digital assets. Now let’s proceed to the next step of creating multiple accounts within Ledger Live.
Creating Multiple Accounts in Ledger Live
With two instances of Ledger Live installed and your Ledger Nano S connected, you can now proceed to create multiple accounts within each Ledger Live interface. Here’s how:
- Launch the first instance: Open one instance of Ledger Live and enter your PIN code on the respective Ledger Nano S to unlock it.
- Add a new account: Within the Ledger Live interface, click on the “Accounts” tab and then select “Add Account.” Follow the prompts to create a new account. You can choose from a wide range of supported cryptocurrencies, such as Bitcoin, Ethereum, or Litecoin.
- Repeat the process: Close the first instance of Ledger Live and launch the second one. Enter the PIN code for the Ledger Nano S connected to this instance. Click on the “Accounts” tab and select “Add Account” to create additional accounts.
By creating multiple accounts within each Ledger Live instance, you can organize and manage different sets of cryptocurrencies separately. This allows for better asset tracking, streamlined transactions, and improved overall portfolio management.
It’s important to remember that each account you create within Ledger Live will have a unique set of public and private keys associated with it. This ensures the security and integrity of your digital assets.
Now that you have created multiple accounts within both Ledger Live instances, you can proceed to the next step of importing accounts between the two Ledger Lives.
Importing Accounts from Ledger Live
If you already have existing accounts in one instance of Ledger Live and want to import them into the other instance, you can easily do so by following these steps:
- Launch the destination instance: Open the Ledger Live interface where you want to import the accounts.
- Connect your Ledger Nano S: Use the USB cable to connect your Ledger Nano S to the computer and enter the PIN code.
- Import existing accounts: In the Ledger Live interface, click on the “Settings” tab and select “Accounts.” Click on “Import Accounts” and follow the prompts to import the accounts from the other Ledger Live instance.
By importing accounts from one Ledger Live instance to another, you can easily manage all of your accounts in a single interface without the need to switch between multiple instances.
It’s important to note that when importing accounts, the balances and transaction history associated with those accounts will also be imported. This ensures that you have a complete and up-to-date view of your digital assets across both Ledger Live instances.
Keep in mind that importing accounts from one Ledger Live instance to another does not transfer the ownership of the accounts or the underlying assets. It simply allows you to consolidate and manage your accounts more efficiently.
With the ability to import accounts between two Ledger Lives, you have greater control and convenience in managing your digital asset portfolio. Next, let’s explore the process of switching between Ledger Lives in the Manager App.
Switching between Ledger Lives in the Manager App
To switch between the two instances of Ledger Live on your computer, you can make use of the Manager App. The Manager App allows you to access and manage different Ledger Live interfaces seamlessly. Follow these steps to switch between Ledger Lives:
- Open the Manager App: Locate the Manager App either in your computer’s applications or on the Ledger website. Launch the Manager App to proceed.
- Connect your Ledger Nano S: Use the USB cable to connect your Ledger Nano S to the computer and enter the PIN code to unlock it.
- Select the Ledger Live instance: In the Manager App, you will see a list of connected Ledger devices. Choose the Ledger Nano S that corresponds to the Ledger Live instance you want to switch to.
- Switch to the desired Ledger Live: After selecting the appropriate Ledger Nano S, the Manager App will prompt you to choose the desired Ledger Live interface. Select the instance you wish to switch to.
Once you have completed these steps, the Manager App will establish the connection with the desired Ledger Live instance, and you can now access and manage your accounts within that instance.
Switching between Ledger Lives in the Manager App allows you to easily transition between different interfaces without the need to disconnect and reconnect your Ledger Nano S. This streamlines the management of multiple accounts and ensures a smooth experience.
Now that you know how to switch between Ledger Lives, let’s move on to exploring the process of transferring assets between the two instances.
Transferring Assets between the Two Ledger Lives
Once you have multiple accounts set up in both instances of Ledger Live, you may need to transfer assets between them. Whether you want to consolidate funds, allocate assets to different accounts, or simply manage your digital assets efficiently, transferring assets between Ledger Lives is a straightforward process:
- Open the source Ledger Live: Launch the Ledger Live interface that contains the account with the assets you want to transfer.
- Connect your Ledger Nano S: Use the USB cable to connect your Ledger Nano S to the computer and enter the PIN code to unlock it.
- Select the source account: In the Ledger Live interface, navigate to the account containing the assets you wish to transfer and select it.
- Click on the “Send” button: Within the account details, click on the “Send” button to initiate the transfer of assets.
- Enter the destination account details: Provide the necessary information, including the recipient’s address, the amount to transfer, and any additional transaction details required.
- Confirm and finalize the transaction: Review the transaction details carefully and verify that everything is accurate. Then, follow the prompts to confirm and send the assets to the destination account.
By following these steps, you can easily transfer assets between the two instances of Ledger Live. The transferred assets will be reflected in the respective destination account, allowing you to manage them separately in each Ledger Live interface.
It’s important to note that when transferring assets, double-check all the details to ensure accuracy, as transactions in the blockchain are irreversible. Additionally, consider the transaction fees and network conditions when determining the timing of the transfer.
Now that you know how to transfer assets between Ledger Lives, let’s explore how you can enable and disable apps on each instance.
Enabling and Disabling Apps on Each Ledger Live
Enabling and disabling apps on each instance of Ledger Live is crucial for managing and accessing specific blockchain applications. By following these steps, you can configure the apps according to your requirements:
- Launch the desired Ledger Live instance: Open the Ledger Live interface for the Ledger Nano S you wish to work with.
- Connect your Ledger Nano S: Use the USB cable to connect your Ledger Nano S to the computer and enter the PIN code to unlock it.
- Access the Manager App: Click on the “Manager” tab in Ledger Live to access the Manager App.
- Enable and disable apps: In the Manager App, you will see a list of available apps for your Ledger Nano S. Toggle the switch next to the app name to enable or disable it according to your preferences.
Enabling an app allows you to access and interact with that specific blockchain’s functionalities using Ledger Live. Disabling an app removes it from the Ledger Live interface, preventing you from managing or using it in the Ledger Live environment.
By enabling and disabling apps on each Ledger Live instance, you can customize your user experience and adapt to different blockchain ecosystems. This flexibility allows you to focus on the specific apps and assets that are relevant to each Ledger Live instance, streamlining your workflow.
It’s important to note that enabling and disabling apps does not remove or uninstall them from your Ledger Nano S. The apps remain on the device and can be re-enabled or disabled as needed.
Now that you are familiar with enabling and disabling apps on each Ledger Live instance, let’s explore the process of managing security and privacy settings for each Ledger Live.
Managing Security and Privacy Settings for Each Ledger Live
Managing security and privacy settings for each instance of Ledger Live is crucial to ensure the safety of your digital assets and personal information. By following these steps, you can customize the security and privacy settings according to your preferences:
- Launch the desired Ledger Live instance: Open the Ledger Live interface for the Ledger Nano S you want to manage.
- Access the Settings: Click on the “Settings” tab in Ledger Live to access the settings menu.
- Manage security settings: In the settings menu, you can configure various security options such as enabling the passphrase feature, setting up a PIN code, or enabling the Two-Factor Authentication (2FA) feature.
- Configure privacy settings: In the settings menu, you can customize privacy options like enabling or disabling the usage tracking feature or clearing your transaction history.
By managing security settings, you can add additional layers of protection to your Ledger Live accounts and transactions. Features like passphrases, PIN codes, and 2FA help safeguard your assets from unauthorized access.
On the other hand, privacy settings allow you to control the information stored and tracked by Ledger Live. This includes clearing transaction history, disabling usage tracking, and protecting your privacy while managing your digital assets.
Managing security and privacy settings for each Ledger Live instance allows you to tailor the level of protection and privacy according to your needs and preferences. It is important to regularly review and update these settings to ensure the utmost security and privacy of your digital assets.
Now that you are familiar with managing security and privacy settings in Ledger Live, let’s explore how to check transaction history and balances in each Ledger Live instance.
Checking Transaction History and Balances in Each Ledger Live
Checking your transaction history and balances within each instance of Ledger Live allows you to stay updated with your digital asset movements. Follow these steps to easily access this information:
- Launch the desired Ledger Live instance: Open the Ledger Live interface for the Ledger Nano S you want to check the transaction history and balances.
- Connect your Ledger Nano S: Use the USB cable to connect your Ledger Nano S to the computer and enter the PIN code to unlock it.
- Access the Accounts tab: Click on the “Accounts” tab in Ledger Live to see the list of accounts associated with the Ledger Nano S.
- View transaction history: In the Accounts tab, select the account for which you want to view the transaction history. You will see a list of previous transactions with details such as date, time, amount, and transaction status.
- Check balances: Alongside each account, Ledger Live displays the current balance of assets held in that account. The balance is automatically updated based on incoming and outgoing transactions.
By regularly checking your transaction history, you can ensure the accuracy and integrity of your digital asset movements. This allows you to reconcile your records, track incoming and outgoing transactions, and verify the status of specific transfers.
Checking balances in each Ledger Live instance allows you to monitor the value of your digital assets held in different accounts. This provides you with an up-to-date overview of your asset portfolio and helps you make informed decisions about managing your digital assets.
Now that you understand how to check transaction history and balances in each Ledger Live instance, let’s move on to troubleshooting common issues encountered with two Ledger Lives.
Troubleshooting Common Issues with Two Ledger Lives
While using two instances of Ledger Live for one Ledger Nano S can greatly enhance your digital asset management, you may occasionally encounter some common issues. Here are a few troubleshooting tips to help you overcome these challenges:
- Connection issues: If you’re experiencing trouble connecting your Ledger Nano S to one of the Ledger Live instances, try reinserting the USB cable, restarting the computer, or updating the Ledger Live software.
- Account synchronization problems: If the account balance or transaction history is not updating properly in one of the Ledger Live instances, click on the account and select “Sync Operations” to refresh the data.
- App installation failures: If you’re unable to install or update apps on one of the Ledger Live instances, make sure your computer has stable internet connectivity and sufficient storage space. If the problem persists, try using a different USB port or restarting the computer.
- Incorrect passphrase or PIN: If you’re unable to access a specific account or Ledger Live instance due to incorrect passphrase or PIN, ensure that you’re entering the correct combination. If you’re still locked out, refer to the Ledger support documentation for further assistance.
- Unsupported cryptocurrencies: If you cannot find a specific cryptocurrency or app in one of the Ledger Live instances, check if the app is installed on the Ledger Nano S using the Manager App. If the app is not available, visit the Ledger Live Manager to install the corresponding app.
In addition to these troubleshooting tips, it’s also recommended to keep your Ledger Live software and Ledger Nano S firmware up to date by regularly checking for updates. This helps ensure compatibility, stability, and access to the latest features and improvements.
If you encounter any persistent issues while using two instances of Ledger Live, it’s advisable to reach out to Ledger’s support team for further guidance. They can provide specific assistance tailored to your situation.
By troubleshooting common issues, you can maintain a seamless experience while managing your digital assets using two Ledger Live instances.
Now that you have a better understanding of how to troubleshoot any issues that may arise, you’re well-equipped to make the most out of your two Ledger Lives setup.