
How Tile Works
If you’re constantly misplacing your keys, wallet, or other important items, Tile is a game-changer. This innovative tracking device uses Bluetooth technology to help you find your belongings with ease. But how exactly does Tile work?
Tile works by using a combination of Bluetooth and the Tile app on your smartphone. When you attach a Tile device to your belongings, such as your keys or wallet, the device acts as a Bluetooth beacon.
When you misplace your item, you can open the Tile app on your phone and tap on the item you’re looking for. The app then sends a signal to the Tile device attached to your item, causing it to emit a loud ringtone. This helps you locate your belongings quickly and easily.
But what if you’re out of Bluetooth range? Not to worry – Tile has a nifty solution. If your item is out of range, you can use the Tile app’s community feature. When another Tile user comes within range of your lost item, their phone will send a signal to the Tile device, updating its location on the app’s map. This means that even if you can’t find your item right away, the Tile community can help you track it down.
Using Tile is not just about finding your belongings; it’s also about preventing loss in the first place. The Tile app has a feature called “Notify When Found,” which allows you to mark an item as lost. If another Tile user passes by your lost item, their device will automatically send you a notification with its location. This feature can be a lifesaver for those times when you forget where you last left your keys.
Tile also offers a premium subscription service called Tile Premium. With Tile Premium, you get additional benefits such as smart alerts, free battery replacements, and location history for your Tile devices. This service is especially useful for those who rely heavily on their Tile devices to keep track of their belongings.
Choosing the Right Tile Device
With a variety of Tile devices available, it’s important to choose the right one that suits your needs. Here are some factors to consider when selecting a Tile device:
1. Size and Design: Tile devices come in various shapes and sizes. Some are slim and compact, perfect for attaching to your keys or wallet. Others are slightly larger and more versatile, suitable for attaching to bigger items like luggage or bags. Consider the size and design that best fits your belongings and personal preference.
2. Range and Connectivity: It’s essential to consider the range and connectivity of the Tile device. Most Tile devices have a range of up to 200-300 feet. However, if you anticipate needing to track items over longer distances, it’s worth considering the Tile Pro, which has a range of up to 400 feet.
3. Battery Life: Tile devices have different battery life spans. The Tile Mate and Tile Slim typically have a battery life of around one year, while the Tile Pro boasts a longer battery life of up to two years. Consider how often you are willing to replace the battery and choose a device accordingly.
4. Water Resistance: If you plan to use your Tile device in outdoor or wet environments, it’s worth considering a water-resistant model. The Tile Pro is designed to withstand water exposure, making it a great choice for outdoor enthusiasts or those prone to accidents near water sources.
5. Integration with Smart Assistants: Some Tile devices offer integration with popular smart assistants like Amazon Alexa and Google Assistant. This allows you to use voice commands to locate your items, making the tracking process even more convenient.
6. Budget: Tile devices come at various price points, so it’s important to consider your budget. The Tile Mate and Tile Slim are more affordable options, while the Tile Pro is slightly pricier but offers additional features like increased range and a louder ringtone.
Take these factors into account when choosing the right Tile device for your needs. Remember, the goal is to find a device that best suits your lifestyle and helps you keep track of your belongings easily and efficiently.
Setting Up Your Tile Device
Setting up your Tile device is quick and easy. Follow these steps to get started:
1. Download the Tile App: Start by downloading the Tile app from the App Store (for Apple devices) or Google Play Store (for Android devices). The app is free to download and provides the interface for managing and tracking your Tile devices.
2. Create a Tile Account: Open the Tile app and create a new account if you don’t already have one. This will allow you to sync your Tile devices with the app and access all the features and benefits.
3. Activate your Tile Device: Follow the instructions provided in the packaging to activate your Tile device. This typically involves pressing the Tile’s button or removing a plastic tab to activate the battery.
4. Add a New Tile Device: In the app, tap on the “+” button to add a new Tile device. Select the specific Tile device model you are setting up from the list. This will prompt the app to start scanning for your Tile device.
5. Pair your Phone with the Tile Device: Once the app detects your Tile device, follow the on-screen instructions to pair it with your phone via Bluetooth. Ensure that Bluetooth is enabled on your phone for the pairing process to be successful.
6. Customize Your Tile Device: After pairing, you can customize your Tile device settings within the app. This includes giving your Tile a name to easily identify it, selecting a ringtone, and adjusting other device-specific settings.
7. Test Your Tile Device: To ensure that your Tile device is working correctly, place it a short distance away from your phone and tap on the “Find” button in the app. The Tile device should emit a loud ringtone, indicating that it is functioning properly.
8. Repeat for Additional Tile Devices: If you have multiple Tile devices to set up, repeat the process for each device by adding them as new devices in the app and pairing them with your phone.
Once you have set up your Tile devices, you are ready to start tracking and finding your belongings with ease. The Tile app provides a user-friendly interface and various features to help you locate your items quickly and conveniently.
Pairing Your Tile Device with Your Phone
To use your Tile device effectively, you need to pair it with your phone. The pairing process connects your Tile device to the Tile app on your smartphone, allowing you to track and locate your belongings. Here’s how to pair your Tile device with your phone:
1. Ensure Bluetooth is Enabled: Before you begin pairing, make sure Bluetooth is enabled on your smartphone. You can usually check this in the settings of your phone or by swiping down on the screen and toggling Bluetooth on.
2. Open the Tile App: Launch the Tile app on your phone. If you haven’t downloaded the app yet, you can find it in the App Store (for Apple devices) or Google Play Store (for Android devices).
3. Tap on the “+” Button: Look for the “+” button in the app’s interface and tap on it. This button is usually located in the upper left or right corner of the screen.
4. Select “Add a Device”: From the options provided, select “Add a Device” or any similar option that indicates adding a new Tile device to your account.
5. Choose Your Tile Device: Next, choose the specific Tile device model you wish to pair with your phone. The app will display a list of Tile models to choose from.
6. Follow the On-Screen Instructions: The app will guide you through the pairing process with on-screen instructions. Typically, this involves holding down the button on your Tile device until it starts emitting a sound or light pattern.
7. Allow Necessary Permissions: The app may prompt you to grant certain permissions, such as access to your phone’s location or notifications. It’s important to allow these permissions to ensure the full functionality of your Tile device.
8. Wait for the Pairing to Complete: Once you’ve completed the necessary steps, the Tile app will automatically detect and pair with your Tile device via Bluetooth. The app will confirm the successful pairing on the screen.
9. Test the Connection: To ensure a successful pairing, you can test the connection by tapping on the Tile device in the app and choosing the “Find” option. Your Tile device should emit a ringtone, indicating that it is connected and functioning properly.
Once your Tile device is paired with your phone, you can start using it to track and find your belongings with ease. The Tile app’s interface and features make it simple to locate your items, ensuring you spend less time searching and more time on what matters most.
Attaching Tile to Your Belongings
Now that you have your Tile device paired with your phone, it’s time to attach it to your belongings. Follow these tips to ensure a secure and effective attachment:
1. Choose the Right Attachment Method: Tile devices come with various attachment options to suit different items. Some Tile devices have a keyhole opening, allowing you to slide it onto a keyring or attach it with a lanyard. Others have adhesive backing, perfect for sticking to flat surfaces like wallets or laptops. Consider the item you are attaching the Tile to and choose the appropriate attachment method.
2. Keys: If you’re attaching Tile to your keys, the keyring attachment method is the most popular choice. Simply slide the keyring through the keyhole opening on the Tile device, ensuring it is securely attached. You can then add your keys to the keyring.
3. Wallets and Bags: For flat items like wallets and bags, the adhesive attachment method works well. Peel off the backing of the adhesive and firmly press the Tile device onto the desired location. Make sure to select a flat surface on the item where the Tile device will be securely attached.
4. Laptops and Tablets: If you want to attach Tile to your laptop or tablet, consider using a lanyard attachment. Thread the lanyard through the keyhole opening on the Tile device and secure it around the corner or edge of your device.
5. Pet Collars: Tile offers specific attachments for pet collars, ensuring the device stays securely attached to your furry friend. These attachments are designed to fit snugly on the collar, preventing the Tile device from falling off during play or outdoor activities.
6. Experiment with Placement: Depending on the item you’re attaching the Tile to, you may need to experiment with different placements to find the optimal location. For example, with a bag, try attaching the Tile device to a zipper pull or a handle for easy access.
7. Consider Multiple Tiles: If you have multiple items you want to track, consider getting additional Tile devices. This allows you to attach a Tile to each item, making it easier to locate multiple belongings using the app.
By securely attaching your Tile device to your belongings, you can ensure that they are easily trackable and always within reach. Take a moment to properly attach your Tile devices to different items, and enjoy the peace of mind that comes with knowing you can find them whenever you need to.
Using the Tile App to Find Your Belongings
The Tile app is your hub for tracking and finding your belongings. Here’s how to use the app effectively to locate your items:
1. Open the Tile App: Launch the Tile app on your smartphone. Make sure Bluetooth is enabled on your phone for the app to establish a connection with your Tile devices.
2. Select the Item You Want to Find: In the app’s interface, you will see a list of all the Tile devices you have paired with your phone. Tap on the item you want to find, such as your keys or wallet.
3. Tap on the “Find” Button: Once you’ve selected the desired item, tap on the “Find” button within the app. This sends a signal to the Tile device attached to the item, causing it to emit a loud ringtone that helps you locate it.
4. Follow the Ringtone: Listen for the ringtone coming from your Tile device and follow the sound to locate your item. The ringtone is designed to be loud and can be heard even in noisy environments.
5. Visualize the Proximity Meter: The Tile app’s interface provides a proximity meter that gives you an idea of how close you are to your item. As you move closer, the meter will fill up, indicating you’re getting closer to your belonging.
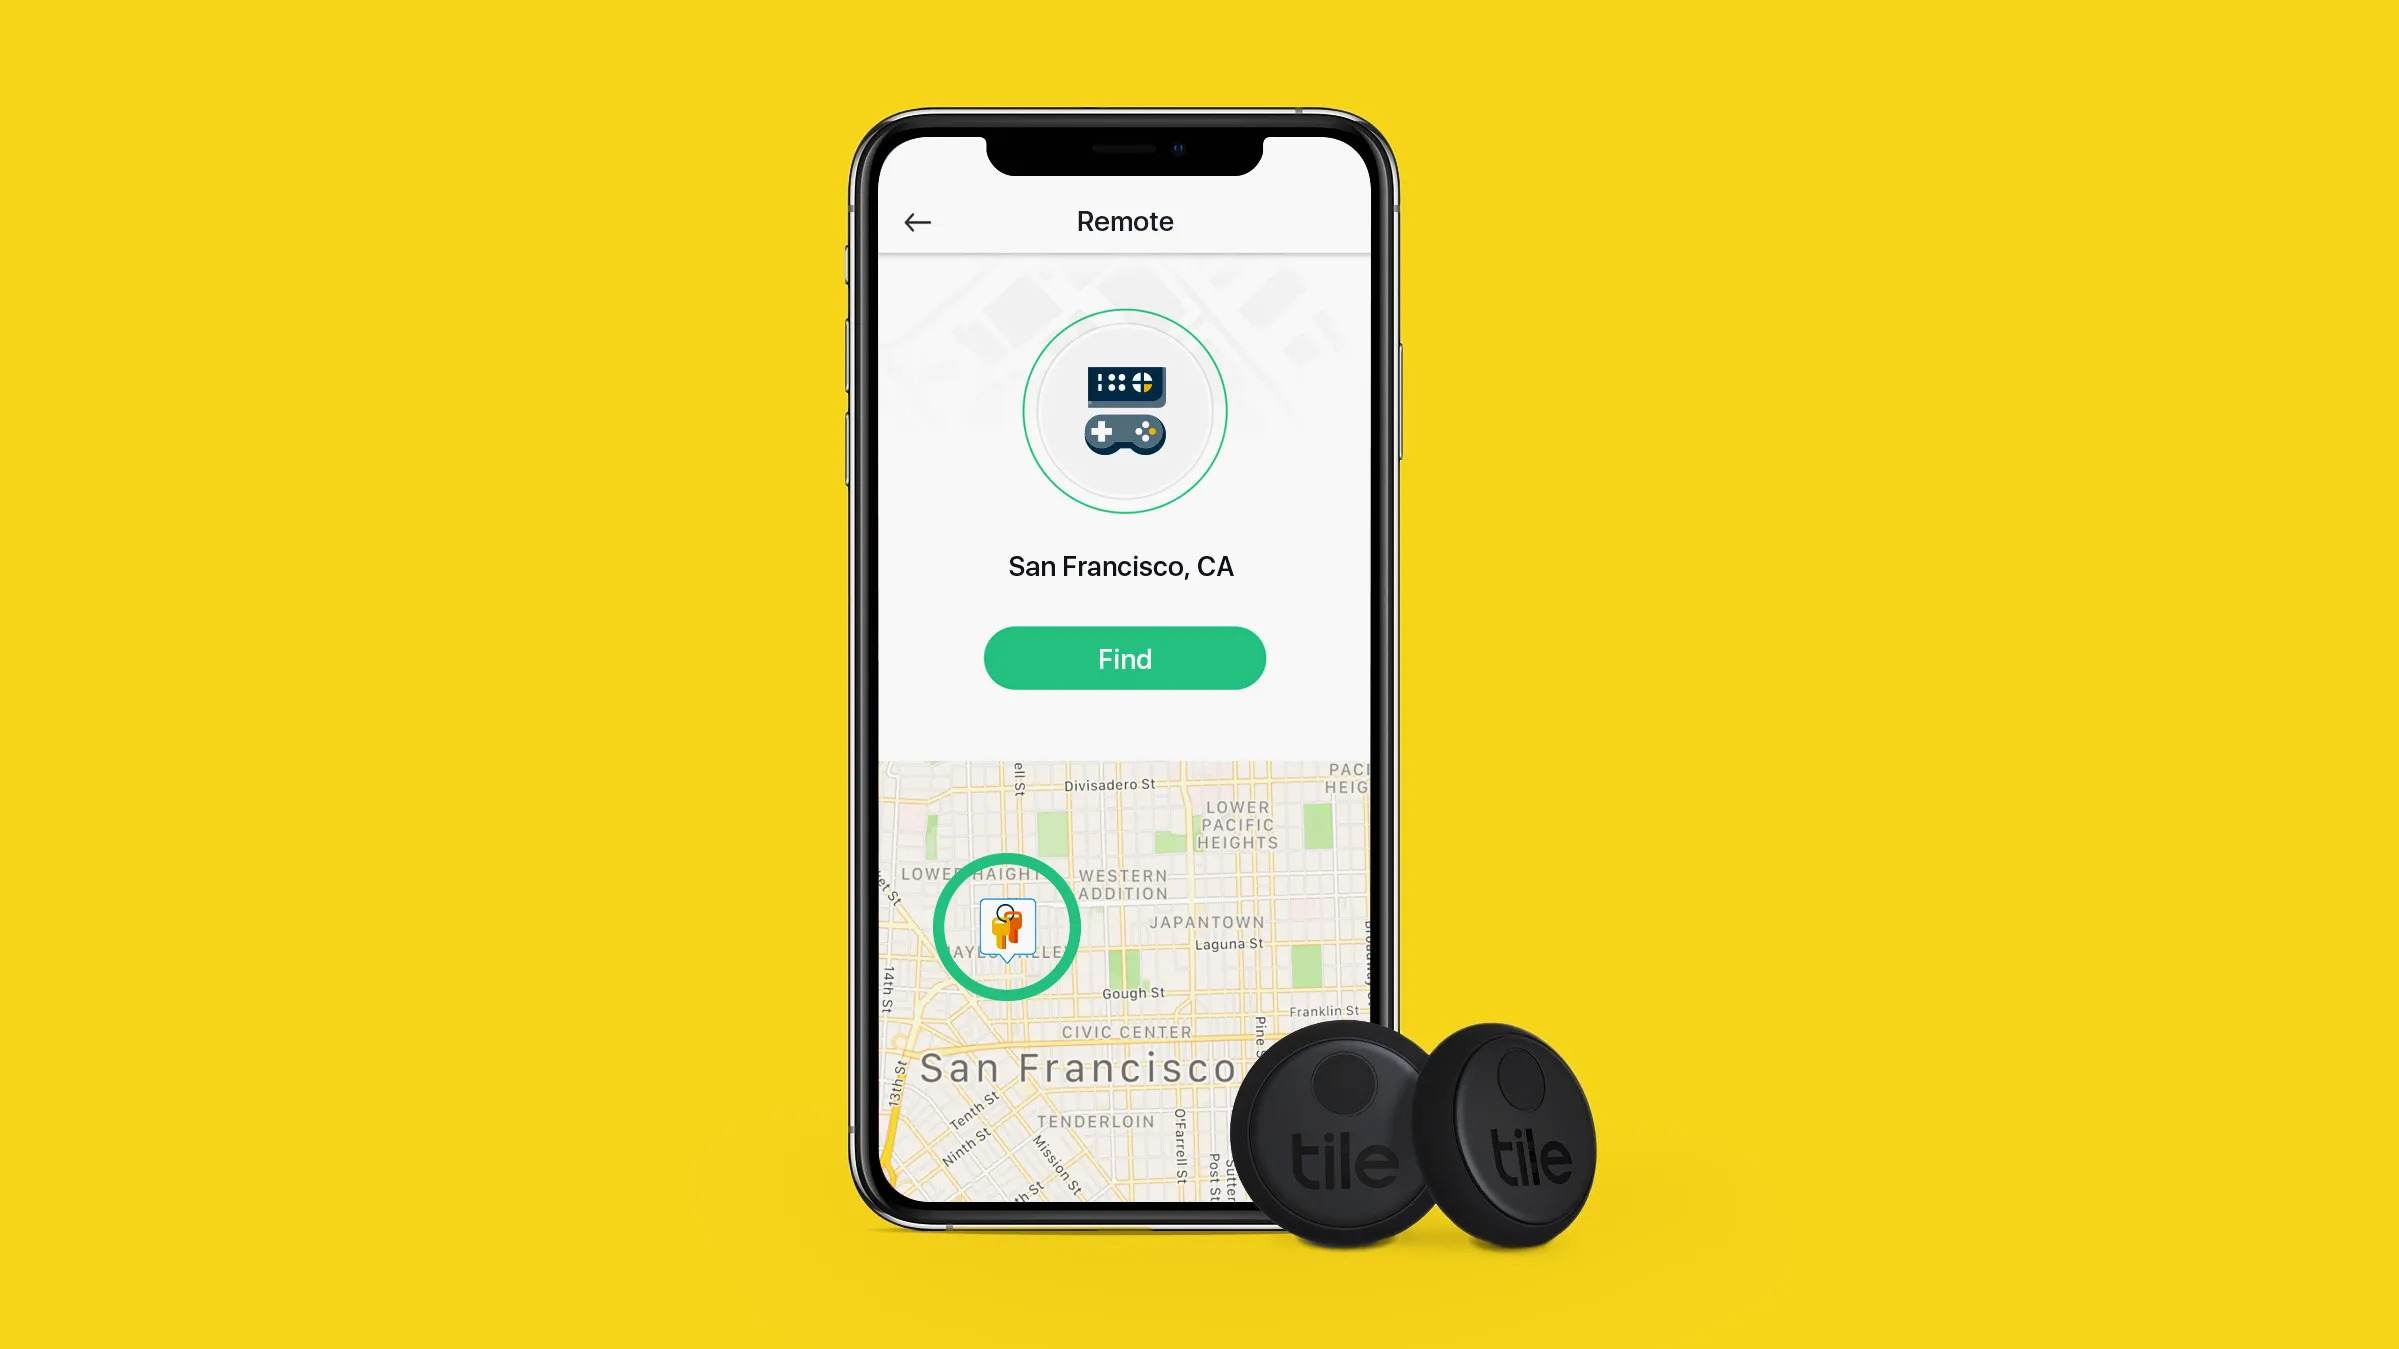
6. Use the App’s Map: If you’re unable to find your item nearby, use the map feature within the app. The map displays the last known location of your Tile device based on its connection with your phone. It can give you a general idea of where you may have left your item.
7. Engage the Community Feature: If your item is out of Bluetooth range, tap on the “Notify When Found” button in the app. This activates the Tile community feature, which allows other Tile users to help you locate your lost item. When another Tile user comes within range of your lost item, you will receive a notification with its location.
8. Mark an Item as Lost: If you’re unable to find your item even with the help of the community feature, you can mark it as lost in the app. This will enable other Tile users to anonymously update its location as they come across it, increasing the chances of recovering your lost possession.
The Tile app’s user-friendly interface and intuitive features make it simple to find your belongings. Whether you’re tracking your keys, wallet, or other important items, the app’s functionality ensures you can locate them quickly and effortlessly.
Using Tile to Find Your Phone
Tile not only helps you find your belongings but also comes in handy when you misplace your phone. Here’s how to use Tile to find your phone:
1. Use Another Device: If you have access to another device with the Tile app installed, open the app and log in to your account. Make sure your lost phone has an internet connection for this method to work effectively.
2. Tap on the Tile Device: In the app’s interface, tap on the Tile device that is attached to your belongings. This will send a signal to the Tile device, causing it to emit a loud ringtone. If your phone is within Bluetooth range, it will ring, helping you locate it.
3. Use a Web Browser: If you don’t have access to another device with the Tile app, you can use a web browser to find your phone. Visit the Tile website and log in to your account. From there, you can access your Tile devices and tap on the one linked to your phone. The Tile device will emit a ringtone, helping you locate your phone.
4. Use Smart Assistants: If your lost phone is paired with a smart assistant like Amazon Alexa or Google Assistant, you can use voice commands to locate it. Simply say the command to your smart assistant, such as “Hey Google, find my phone,” and the Tile app will initiate the ringtone on your phone, making it easier to locate.
5. Silent Mode? Not a Problem: If your phone is on silent mode, don’t worry. When you tap on the Tile device in the app or use voice commands, it will override the silent mode and make your phone ring, helping you find it even if it’s set to silent.
Using Tile to find your phone can be a lifesaver when you’re in a rush or simply can’t remember where you last left it. With a few taps or voice commands, you can locate your phone and carry on with your day stress-free.
Setting Up Tile Smart Alerts
Tile offers a feature called Smart Alerts which enhances the functionality of your Tile device. Smart Alerts send notifications to your phone when you’re about to leave an item behind or when you’re out of range of a Tile device. Here’s how to set up Smart Alerts:
1. Open the Tile App: Launch the Tile app on your smartphone and log in to your account.
2. Tap on the Settings: Look for the Settings option in the app’s interface. It is usually denoted by a gear or cog icon.
3. Select Your Tile Device: From the Settings menu, select the Tile device you want to enable Smart Alerts for. Tap on the device to access its specific settings.
4. Enable Smart Alerts: Within the device settings, locate the Smart Alerts option and toggle it on. This enables Smart Alerts for the selected Tile device.
5. Customize Your Alerts: Once Smart Alerts are enabled, you can customize the settings according to your preferences. You can set specific notifications for when you’re about to leave an item behind or when you’re out of range of the Tile device.
6. Adjust the Proximity Range: You can also adjust the proximity range for Smart Alerts. This determines how close or far you need to be from the connected Tile device to trigger the notification. Customize this range to suit your needs.
7. Test the Alerts: To ensure that Smart Alerts are working properly, test them out. Try walking away from your Tile device and see if you receive a notification on your phone. This will confirm that the Smart Alerts feature is set up correctly.
8. Fine-tune Your Settings: If you find that the alerts are too sensitive or not alerting you at the right times, you can go back to the device settings and make further adjustments. Experiment with different settings until you find what works best for you.
Setting up Smart Alerts provides an added layer of convenience and security to your Tile device. With customized notifications, you can prevent leaving items behind and stay well-informed about your belongings at all times.
Sharing Your Tile with Others
Sharing your Tile device with others can be incredibly useful, especially in situations where multiple individuals frequently use or need access to a particular item. Here’s how you can share your Tile with others:
1. Open the Tile App: Start by opening the Tile app on your smartphone and logging in to your account.
2. Select the Tile Device to Share: From the app’s interface, select the Tile device that you want to share with others. Tap on the device to access its settings and options.
3. Tap on the “Share” or “Invite” Option: Look for the “Share” or “Invite” option within the device settings. This will allow you to share the Tile device with another person.
4. Choose How to Share: The app will present you with various sharing options. You can either invite someone via their email address or send them a direct link to join and access the shared Tile device.
5. Enter Recipient’s Email: If you choose to invite someone via email, enter their email address in the designated field. Make sure to enter the correct email address to ensure an accurate invitation.
6. Confirm Sharing Details: Double-check the sharing details and click on the “Send” or “Share” button to send the invitation to the recipient.
7. Recipient Accepts the Invitation: The recipient will receive the invitation via email or the provided link. They will need to follow the instructions in the email or click on the link to accept the invitation and access the shared Tile device.
8. Manage Shared Access: As the device owner, you can manage and monitor the individuals with whom you’ve shared your Tile device. You can revoke access, view access history, and make any necessary changes or adjustments within the app’s settings.
Sharing your Tile device with others allows them to help you keep track of important items and offers peace of mind knowing that multiple users can contribute to locating lost belongings.
Whether you’re sharing the Tile device with a family member, roommate, or coworker, this feature promotes collaboration and ensures that everyone involved can contribute to finding misplaced items when needed.
Replacing the Battery in Your Tile Device
Replacing the battery in your Tile device is a simple and straightforward process. Here’s a step-by-step guide on how to replace the battery:
1. Determine the Battery Type: Different Tile models may have different battery types. To replace the battery, first, check the user manual or the Tile website to identify the specific battery type required for your device.
2. Gather the Necessary Tools: Before starting the battery replacement process, gather the tools you’ll need, which usually include a small screwdriver or a coin for removing the battery compartment.
3. Locate the Battery Compartment: On your Tile device, identify the battery compartment. The location and access method may vary depending on the model. Refer to the user manual or online resources if you need assistance in finding the battery compartment.
4. Open the Battery Compartment: Use a small screwdriver or a coin to open the battery compartment. Insert the tool into the designated slot or groove and twist it gently to unlock and open the compartment.
5. Remove the Old Battery: Once the battery compartment is open, carefully remove the old battery. Pay attention to the battery orientation and make note of the positive (+) and negative (-) indicators on the device.
6. Insert the New Battery: Take the new battery of the correct type and align it properly according to the positive (+) and negative (-) indicators inside the battery compartment. Place the battery into the compartment, ensuring a secure fit.
7. Close the Battery Compartment: After inserting the new battery, close the battery compartment by aligning the cover and pushing or twisting it until it locks securely in place.
8. Test the Device: Once the battery is replaced, test the Tile device by opening the Tile app on your phone and selecting the device. Use the app to send a signal to the Tile device and ensure it emits a loud ringtone to verify that it is working properly with the new battery.
Remember to dispose of the old battery responsibly according to local regulations for battery recycling. Keep spare batteries on hand so that you can replace them promptly when needed, ensuring uninterrupted use of your Tile device.
By following these steps, you can easily replace the battery in your Tile device and continue using it to track and locate your belongings effectively.
Troubleshooting Common Issues with Tile
While Tile devices are designed to be reliable, you may encounter some common issues during their usage. Here are some troubleshooting tips to resolve these issues:
1. Weak Bluetooth Connection: If your Tile device is not connecting or syncing properly with your phone, make sure that Bluetooth is enabled on your phone and that it’s within range of the Tile device. Try moving closer to the device or restarting Bluetooth on your phone to establish a stronger connection.
2. Low Volume or No Sound: If the ringtone from your Tile device is too low or there’s no sound at all, check the volume on your phone and make sure it’s turned up. Also, ensure that your Tile device is not obstructed by any objects that may muffle the sound. Restarting your phone and the Tile app can also help resolve volume issues.
3. Lost Tile or Disconnected Device: If you can’t locate your Tile device on the app, or it shows as disconnected, try closing and reopening the Tile app, ensuring that the app is up to date. If the problem persists, restart your phone and the Tile device, and try reconnecting them.
4. Inaccurate Location Updates: If the location updates on the app don’t seem accurate or up-to-date, make sure that your phone has a strong internet connection, as the app relies on it to update the location of your Tile device. Additionally, check that the app has the necessary location permission enabled on your phone.
5. Battery Drain: If you notice that your Tile device’s battery drains quickly, ensure that you have the latest firmware and app updates installed. Also, keep in mind that certain features like Smart Alerts and the Community Find feature can contribute to increased battery usage. If the problem persists, contact Tile support for further assistance.
6. Difficulty Pairing Tile Devices: If you encounter issues when trying to pair a new Tile device, ensure that your phone’s Bluetooth is turned on and that the Tile device is in pairing mode. Double-check that the Tile app you’re using is the latest version. If the problem continues, try restarting your phone and the Tile device and attempt the pairing process again.
7. App Crashes or Freezes: If the Tile app crashes or freezes on your phone, first try closing and reopening the app. If the issue persists, exit the app, clear its cache or data (depending on your device), and restart your phone. This can help resolve any temporary issues causing the app to crash or freeze.
If you have tried the troubleshooting tips above and are still experiencing issues with your Tile device, reaching out to Tile customer support is recommended. Their team can provide further assistance and guide you through any specific troubleshooting steps for your device.
By addressing these common issues, you can ensure a smooth and uninterrupted experience with your Tile device in tracking and locating your belongings.
Tips and Tricks for Maximizing Your Tile Experience
To make the most out of your Tile device and enhance your tracking experience, consider these helpful tips and tricks:
1. Use the Tile App Regularly: Make it a habit to open the Tile app regularly to ensure that your Tile devices are connected and synced with your phone. This helps maintain accurate location updates and ensures optimal performance.
2. Keep Spare Batteries on Hand: To avoid any interruptions due to low battery, keep spare batteries for your Tile devices available. This ensures that you can quickly replace the battery when needed and continue tracking your belongings without delay.
3. Optimize Tile Placements: Experiment with different placements and attachments for your Tile devices. Find the optimal positions on your belongings where the device is secure and easily accessible, allowing you to track your items more effectively.
4. Customized Tile Names: Give each of your Tile devices a unique and descriptive name within the app. This makes it easier to identify specific items and helps you quickly locate them within the app’s interface.
5. Use Smart Alerts Wisely: Take advantage of the Smart Alerts feature to receive notifications when you’re about to leave an item behind or when you’re out of range. Customize the settings to avoid unnecessary notifications and ensure they align with your tracking needs.
6. Share with Trusted Individuals: Share your Tile devices with trusted friends or family members who frequently use or have access to the tracked items. This way, they can help locate the belongings, increasing the chances of finding them quickly.
7. Utilize Community Find Feature: Activate the Community Find feature to tap into the vast Tile community and increase your chances of locating lost items that are out of Bluetooth range. This feature leverages the collective efforts of other Tile users nearby who can help update your device’s location on the Tile network.
8. Enable Location Permissions: Make sure that the Tile app has the necessary location permissions enabled on your phone. This allows the app to provide accurate location updates and ensures a reliable tracking experience.
9. Check for Firmware and App Updates: Regularly check for firmware updates for your Tile devices and install the latest versions of the Tile app. These updates often bring new features, bug fixes, and performance improvements, ensuring optimal functionality.
10. Take Advantage of Premium Features: If you have a Tile Premium subscription, make sure to explore and utilize the premium features offered, such as location history and smart alerts. These additional benefits can enhance your overall Tile experience.
By implementing these tips and tricks, you can maximize the effectiveness of your Tile device and enjoy a seamless and efficient tracking experience, giving you peace of mind knowing that your belongings are always within reach.