
What is Photo Burst?
Photo Burst is a fantastic feature available on iPhones that allows you to capture a series of rapid-fire photos in quick succession. It is especially useful when you want to capture fast-moving subjects or moments where timing is crucial. With Photo Burst, you no longer have to worry about missing the perfect shot.
When you activate Photo Burst mode, your iPhone will capture a continuous burst of photos at a high speed. This burst can typically range from 10 to 14 frames per second, depending on your device model. This feature ensures that you capture every split-second movement and expression, giving you a wide selection of photos to choose from.
Each Photo Burst sequence is stored as a single group, making it easy to manage and navigate through the series of photos. This allows you to select the best photo from the burst or even create eye-catching animations or GIFs.
Not only does Photo Burst offer a practical solution for capturing dynamic moments, but it is also a great way to experiment and get creative with your photography. You can explore different angles, compositions, and expressions, giving you a diverse range of images to choose from. It’s like having a mini photo shoot in the palm of your hand!
Photo Burst is available on most recent iPhone models and it provides a convenient and powerful tool for anyone looking to capture fast-paced action or unique candid shots. Whether you are an amateur photographer or a seasoned professional, Photo Burst is a feature that should not be overlooked.
How to Enable and Disable Photo Burst
If you want to take advantage of the Photo Burst feature on your iPhone, you need to enable it in your camera settings. Here’s how:
- Open the Camera app on your iPhone.
- Swipe left or right to switch to the photo capture mode.
- In the top-center of the screen, you’ll see the word “Photo” with various options next to it. Tap and hold on the “Photo” button.
- A menu will appear with different shooting options. Look for and select the “Burst” option.
- Once selected, you’ll see the word “Burst” displayed on the screen, indicating that Photo Burst mode is enabled.
If you want to disable Photo Burst and go back to capturing single photos, follow these steps:
- Open the Camera app on your iPhone.
- Swipe left or right to switch to the photo capture mode.
- In the top-center of the screen, you’ll see the word “Burst” with various options next to it. Tap and hold on the “Burst” button.
- A menu will appear with different shooting options. Look for and select the “Photo” option.
- The word “Photo” will be displayed on the screen, indicating that Photo Burst mode is now disabled.
By enabling and disabling Photo Burst mode, you have full control over when you want to capture a series of rapid-fire photos and when you prefer to take single shots. This flexibility ensures that you can adapt to any photography situation and capture the perfect image every time.
How to Take a Photo Burst
Once you have enabled the Photo Burst mode on your iPhone, capturing a series of rapid-fire photos is incredibly easy. Follow these simple steps:
- Open the Camera app on your iPhone.
- Make sure you are in the photo capture mode by swiping left or right until you see the “Photo” option at the top-center of the screen.
- Position your camera to frame the subject you want to capture in the Photo Burst.
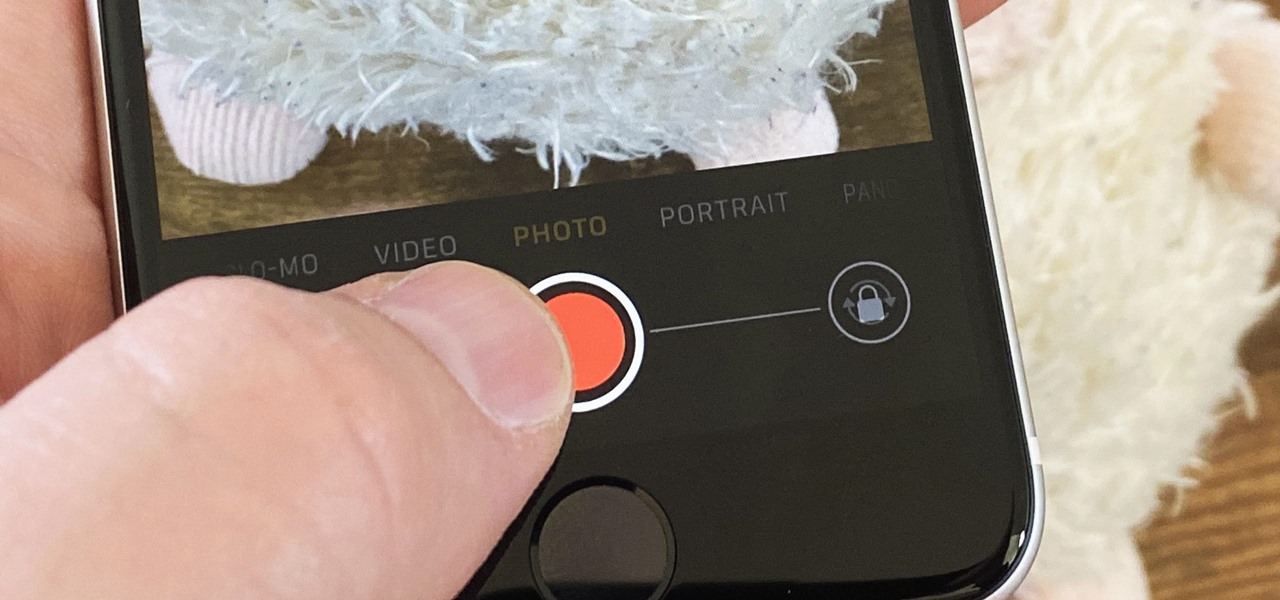
- Tap and hold down the shutter button, which is usually represented by a small circle at the bottom-center of the screen.
- As long as you continue to hold down the shutter button, your iPhone will capture a rapid-fire burst of photos.
It’s important to note that the duration of the Photo Burst is determined by how long you hold down the shutter button. The burst can range from a few seconds to several seconds, depending on your preference and the speed of the subject you are photographing.
During the Photo Burst, your iPhone’s camera will automatically adjust focus and exposure to ensure optimal image quality. This means that even if your subject is in motion or the lighting conditions change, your iPhone will be consistently capturing well-exposed and focused photos.
Once you have finished capturing the Photo Burst, release the shutter button. Your iPhone will automatically stop taking photos and save the burst as a single group in your Photos app.
Remember, Photo Burst is an excellent tool for capturing fast-paced action or fleeting moments. Whether it’s a sports event, a pet playing, or children running around, Photo Burst allows you to freeze every split-second movement and choose the perfect shot from the burst.
Now that you know how to take a Photo Burst, let’s explore how to view and select the best photo from a burst in the next section.
How to View and Select the Best Photo in a Photo Burst
After capturing a Photo Burst on your iPhone, you’ll want to view the burst and select the best photo from the series. Here’s how:
- Open the Photos app on your iPhone.
- Navigate to the album or folder where the Photo Burst is located. It may be in the “Bursts” album, or you can find it by going to “Recents” and locating the burst.
- Tap on the burst to open it.
- You’ll see a thumbnail grid displaying all the photos in the burst.
- Scroll through the photos and look for the one that stands out or captures the moment perfectly.
- Tap on the photo to view it in full-screen mode.
- Swipe left or right to view the other photos in the burst.
- To select the best photo, tap on the thumbnail strip at the bottom of the screen.
- A menu will appear with options to “Select More” or “Select Less.” Tap on “Select More” to choose multiple photos from the burst.
- Once you have selected the desired photos, tap on the “Done” button.
After selecting the best photos from the burst, you can perform various actions with them, such as editing, sharing, or deleting.
It’s important to note that when you select the best photo from a Photo Burst, your iPhone uses advanced algorithms to analyze and suggest the highest-quality photo based on factors like sharpness, composition, and facial expressions. However, the final choice is ultimately up to you and your personal preference.
Now that you know how to view and select the best photo from a Photo Burst, let’s explore how to delete unwanted photos in the next section.
How to Delete Unwanted Photos in a Photo Burst
After selecting the best photo from a Photo Burst, you may have other photos within the burst that you no longer need or want to keep. Fortunately, deleting unwanted photos from a burst is a straightforward process. Follow these steps:
- Open the Photos app on your iPhone.
- Navigate to the album or folder where the Photo Burst is located.
- Tap on the burst to open it.
- Scroll through the photos and identify the ones you want to delete.
- Tap on the photo to select it.
- You’ll notice a blue checkmark indicating that the photo is selected.
- If you want to delete multiple photos, tap on each photo to select them.
- Once you have selected the photos you want to delete, tap on the trash can icon at the bottom-right corner of the screen.
- A confirmation message will appear asking if you want to delete the selected photos. Tap “Delete x Photos” (x represents the number of selected photos).
- The selected photos will be moved to the “Recently Deleted” album, where they will be permanently deleted after 30 days. If you change your mind, you can recover the photos within this period.
By deleting unwanted photos in a Photo Burst, you can declutter your photo library and save valuable storage space on your iPhone.
Now that you know how to delete unwanted photos, let’s explore how to save a Live Photo from a Photo Burst in the next section.
How to Save a Live Photo from a Photo Burst
If you have captured a Photo Burst that includes Live Photos, you might want to save a specific Live Photo from the burst. Follow these steps to do so:
- Open the Photos app on your iPhone.
- Navigate to the album or folder where the Photo Burst is located.
- Tap on the burst to open it.
- Scroll through the photos and identify the Live Photo you want to save.
- Tap on the Live Photo to open it in full-screen mode.
- Hold your finger firmly on the screen to activate the Live Photo.
- You’ll notice movement in the photo, indicating that the Live Photo is playing.
- While the Live Photo is playing, look for the “share” icon, which is a square with an upward arrow, located at the bottom-left corner of the screen.
- Tap on the share icon.
- A menu will appear with various sharing options, such as AirDrop, Messages, or Save to Files.
- To save the Live Photo to your iPhone’s camera roll, tap on the “Save Video” option.
- The Live Photo will be saved as a video file in your Photos app, allowing you to view and enjoy the motion and sound captured in the Live Photo.
By saving a Live Photo from a Photo Burst, you can preserve those special moments in a format that brings them to life with movement and sound.
Now that you know how to save a Live Photo, let’s explore how to create a GIF from a Photo Burst.
How to Create a GIF from a Photo Burst
If you want to turn your Photo Burst into an eye-catching animated image, you can create a GIF from the burst. Here’s how:
- Open the Photos app on your iPhone.
- Navigate to the album or folder where the Photo Burst is located.
- Tap on the burst to open it.
- Scroll through the photos and select the ones you want to include in your GIF.
- To select multiple photos, tap on each photo to mark them with a blue checkmark.
- Once you have selected the photos, tap on the share icon, which is a square with an upward arrow, located at the bottom-left corner of the screen.
- A menu will appear with various sharing options. Scroll to the right and look for the “Create GIF” option.
- Tap on the “Create GIF” option.
- Your iPhone will generate the GIF using the selected photos.
- Once the GIF is created, you can add a caption or text if desired.
- Tap on the “Save” button to save the GIF to your camera roll.
Now, you have a fun and shareable GIF created from your Photo Burst. You can send it to friends, post it on social media, or use it to add a playful element to your conversations.
It’s important to note that not all iPhones have the built-in ability to create GIFs from Photo Bursts. If you don’t see the “Create GIF” option, you may need to install a third-party app from the App Store that offers GIF creation functionality.
Now that you know how to create a GIF from a Photo Burst, let’s explore how to share a Photo Burst with others.
How to Share a Photo Burst
Sharing a Photo Burst with others allows you to showcase your captured moments and memories. Follow these steps to share a Photo Burst from your iPhone:
- Open the Photos app on your iPhone.
- Navigate to the album or folder where the desired Photo Burst is located.
- Tap on the burst to open it.
- Scroll through the photos and select the ones you want to share. You can select multiple photos by tapping on each photo to mark them with a blue checkmark.
- Once you have selected the photos, tap on the share icon, which is a square with an upward arrow, located at the bottom-left corner of the screen.
- A menu will appear with various sharing options. Choose the desired sharing method, such as AirDrop, Messages, Mail, or social media platforms like Facebook or Instagram.
- Depending on the chosen sharing method, follow the on-screen prompts to select the recipient(s) and send the Photo Burst.
When sharing a Photo Burst, you have the option to send the burst as a continuous series of photos or as a bundled sequence, which can be easily viewed and swiped through by the recipient.
Additionally, you can also share a Photo Burst by creating an album with the burst and then sharing the entire album with others. This is a great way to curate multiple bursts or collections of photos and share them with friends and family.
Sharing a Photo Burst allows you to relive and celebrate memorable moments with others, whether it’s capturing the excitement of a birthday party, the beauty of a landscape, or the joy of a family gathering.
Now that you know how to share a Photo Burst, let’s move on to some tips for getting the best shots with Photo Burst.
Tips for Getting the Best Shots with Photo Burst
Photo Burst is a powerful feature that allows you to capture a series of rapid-fire photos, ensuring you don’t miss a single moment. To maximize the potential of your Photo Burst shots, consider these helpful tips:
- Anticipate the action: Prioritize timing and anticipate the action you want to capture. By predicting the moment, you increase your chances of capturing the perfect shot in the Photo Burst.
- Keep a steady hand: Hold your iPhone firmly, or use a tripod or stabilizing accessory to minimize camera shake. This helps ensure sharper images in the Photo Burst sequence.
- Focus on composition: Pay attention to the composition and framing of your shots. Even in the fast-paced Photo Burst, framing your subject thoughtfully can make a significant difference in the final result.
- Experiment with angles: Try different angles and perspectives during your Photo Burst. Get down low, shoot from above, or experiment with unique vantage points to add variety and interest to your burst.
- Utilize burst for group photos: When capturing group photos, Photo Burst can help ensure everyone’s eyes are open and that no one is blinking. Simply select the best photo from the burst that captures everyone looking their best.
- Photograph moving subjects: Photo Burst is ideal for capturing moving subjects, such as sports events or pets playing. Use burst mode to freeze dynamic action in a sequence of shots, providing you with more choices to choose the perfect frame.
- Try different exposure settings: Experiment with exposure settings during your Photo Burst to account for changing lighting conditions. This can be especially useful when shooting in challenging or fast-changing lighting environments.
- Use burst mode for candid moments: Burst mode is perfect for capturing candid moments when people may not be posing. It allows you to capture natural expressions and reactions, ensuring you capture that perfect fleeting moment.
- Review burst shots carefully: Take the time to review your Photo Burst shots and select the frames that truly stand out. Pay attention to facial expressions, composition, and overall image quality while choosing the best photo from the burst.
- Have patience and practice: Like any photography technique, capturing the best shots with Photo Burst takes practice and patience. Don’t be discouraged if your first attempts don’t turn out as expected. Keep experimenting and refining your skills.
By applying these tips, you’ll be able to harness the full power of Photo Burst and capture breathtaking and memorable shots that truly stand out.
Now that you’re armed with these helpful tips, you’re ready to make the most of your Photo Burst feature and unleash your creativity.
Troubleshooting Common Issues with Photo Burst
While Photo Burst is a versatile feature that helps you capture fast-paced moments, there may be some common issues that you might encounter. Here are troubleshooting tips for addressing these issues:
- Burst not activating: If you are unable to activate the Photo Burst mode, ensure that it is enabled in your camera settings. Go to the Camera app, swipe to the photo capture mode, tap and hold on the “Photo” button, and select “Burst”.
- Burst not capturing enough frames: If your burst is not capturing an adequate number of frames, check your device model’s specifications. Some older models may have a lower burst speed compared to newer ones.
- Blurry or out-of-focus burst shots: If your burst shots are consistently blurry or out of focus, make sure your camera lens is clean and free from any obstructions. Additionally, ensure that your subject is well-lit and try adjusting the exposure settings if necessary.
- Storage running out quickly: Photo Burst takes multiple photos in a rapid succession, which can consume a significant amount of storage space. Regularly transfer your bursts to a computer or cloud storage and delete unnecessary bursts to free up space on your iPhone.
- Difficulty selecting the best shot: Choosing the best photo from a burst can be challenging, especially if there are minor differences between frames. Take your time to review each shot and consider factors like composition, facial expressions, and overall image quality to make an informed decision.
- Not finding the burst in the Photos app: If you can’t locate a Photo Burst in the Photos app, check the “Bursts” album or search by date or other keywords associated with the burst. Sometimes, bursts may also be found within the “Recents” album.
- Burst shots not saving properly: If you experience issues with saving burst shots, ensure that you have sufficient storage space on your device. Additionally, check if you have disabled any settings or restrictions that may prevent photos from saving properly.
- Burst shots not deleting: If you are unable to delete burst shots, ensure that you have selected the correct photos for deletion. If a burst is still not deleting, try restarting your iPhone and attempt to delete the shots again.
- Inability to share burst shots: If you have trouble sharing burst shots, check your internet connection and ensure that the sharing options are enabled for the Photos app. If the issue persists, try restarting your iPhone or updating to the latest version of iOS.
If you encounter any other issues with Photo Burst, referring to the iPhone user guide or contacting Apple support can provide further assistance in troubleshooting and resolving the problem.
Now equipped with these troubleshooting tips, you can overcome common issues and make the most of the Photo Burst feature on your iPhone.