
What is Alexa’s Do Not Disturb Mode?
Alexa’s Do Not Disturb Mode is a useful feature that allows you to temporarily silence your Alexa device, ensuring it does not disturb you during specific times or situations. Whether you want uninterrupted sleep, need focused work time, or simply want some peace and quiet, enabling Do Not Disturb Mode on your Alexa device can help you achieve that.
When Do Not Disturb Mode is enabled, your device will stop receiving and responding to all incoming calls, messages, and notifications, ensuring a silent environment. However, it’s important to note that alarms and timers will still function as usual, so you won’t miss any important reminders.
This feature can be particularly handy when you’re hosting important meetings at home, having a family gathering, or if you just want some quiet time to relax and unwind. Alexa’s Do Not Disturb Mode puts you in control of when and how you want to interact with your device.
By default, Do Not Disturb Mode is not scheduled, meaning you’ll have to manually enable and disable it as needed. However, Alexa also offers the flexibility of setting up a schedule for Do Not Disturb Mode, allowing you to automate the process and have peace of mind without any manual intervention.
Now that you understand what Alexa’s Do Not Disturb Mode is, let’s take a closer look at how to enable and customize this feature on your Alexa device.
How to Enable Do Not Disturb Mode on Alexa
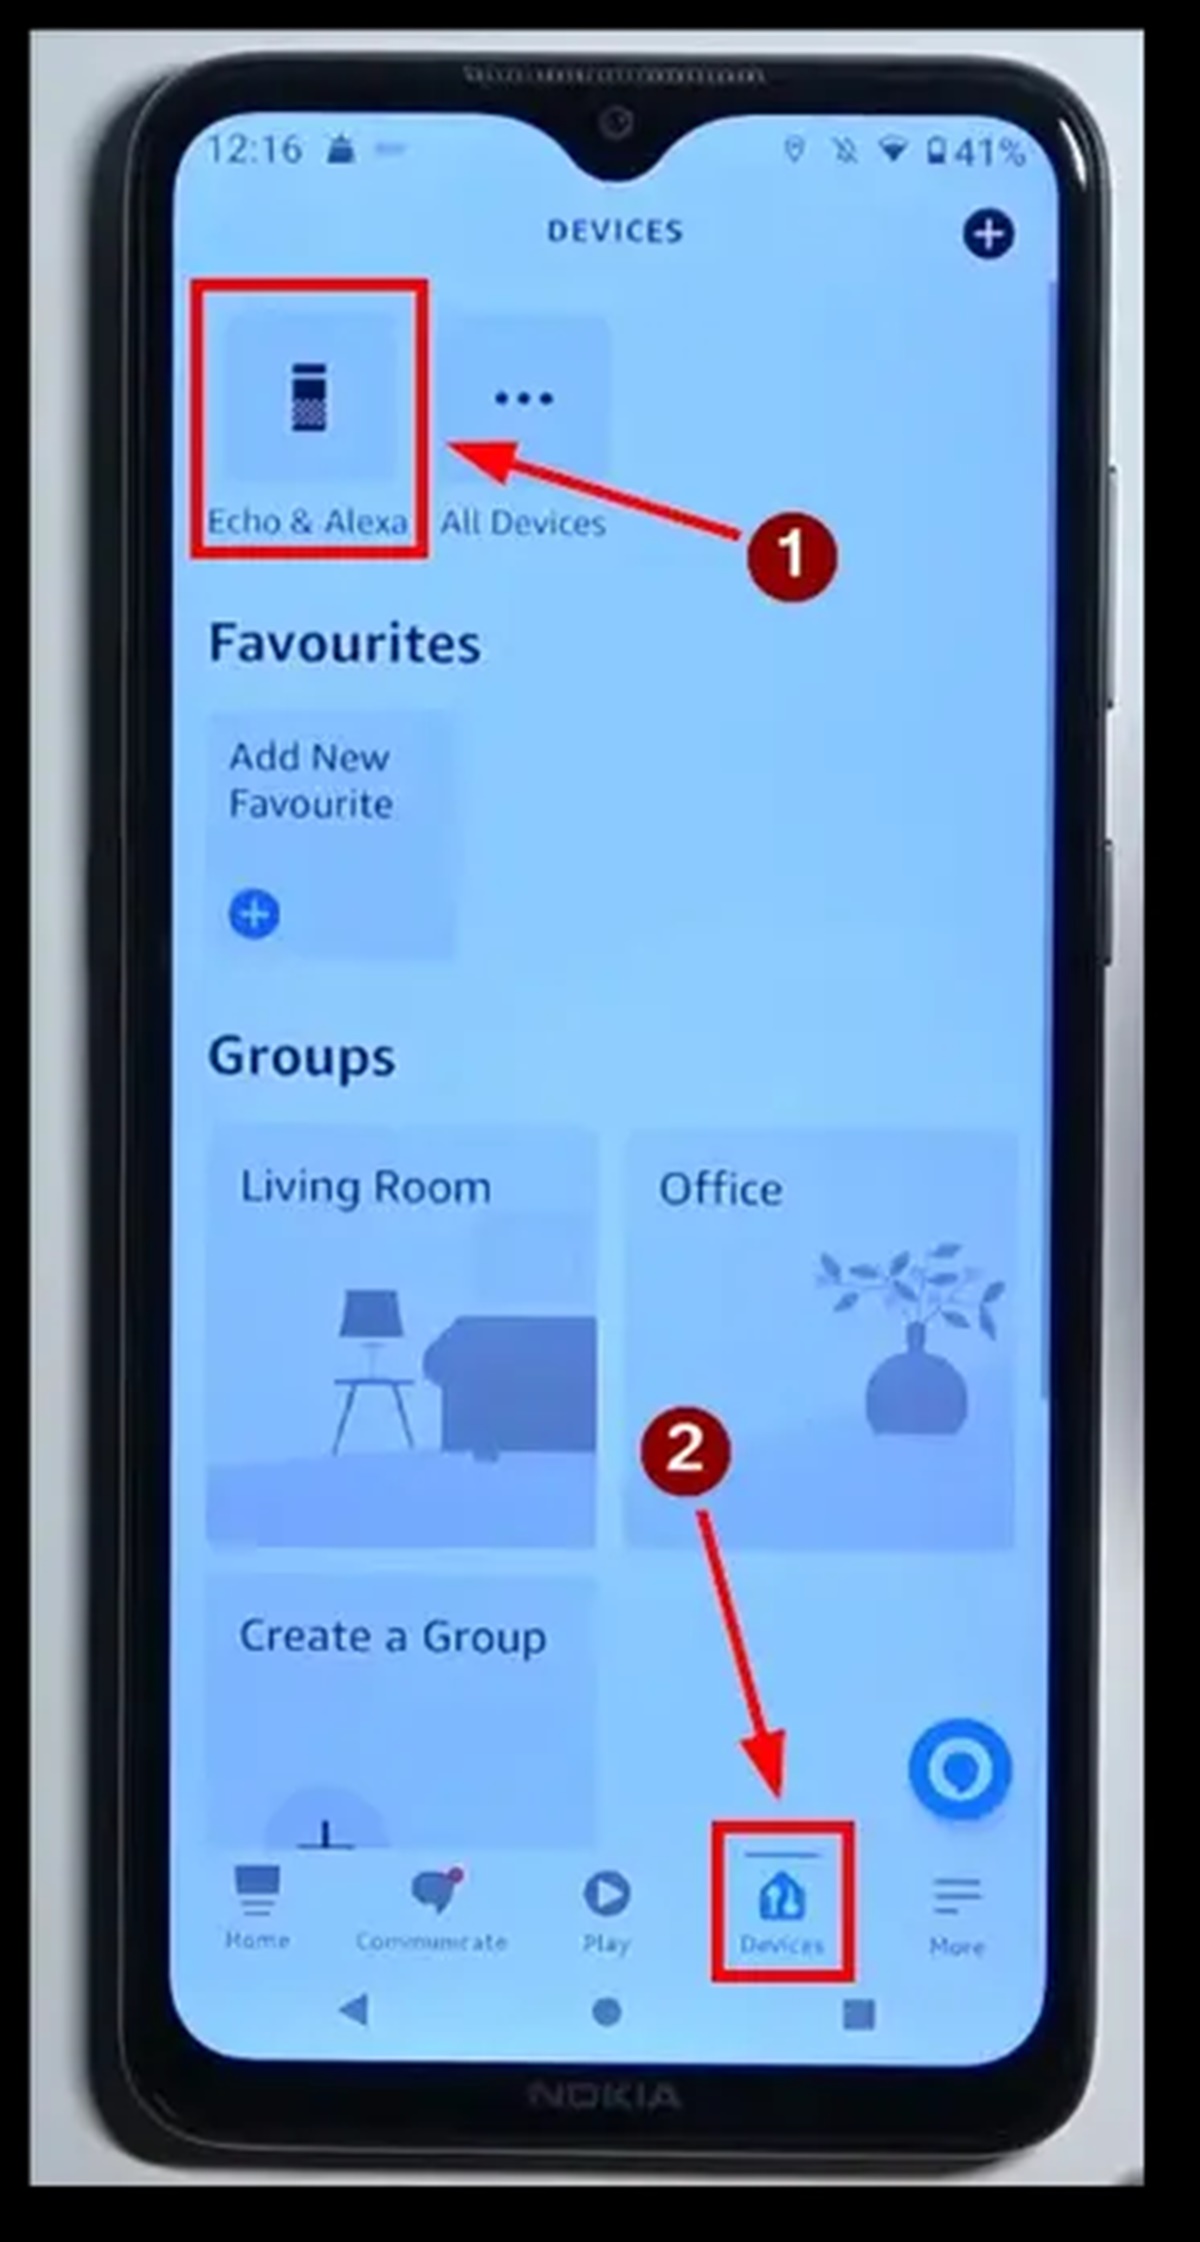
Enabling Do Not Disturb Mode on your Alexa device is a straightforward process. Follow these steps to ensure uninterrupted peace and quiet:
- Open the Alexa app on your smartphone or tablet.
- Tap on the “Devices” tab at the bottom of the screen.
- Choose the specific Alexa device for which you want to enable Do Not Disturb Mode.
- Scroll down and select “Do Not Disturb” from the device settings page.
- Toggle the “Do Not Disturb” switch to the on position.
Once you have completed these steps, Do Not Disturb Mode will be enabled on the selected Alexa device. Your device will now stay silent and not respond to incoming calls, messages, or notifications.
If you want to set a specific time schedule for Do Not Disturb Mode, follow the additional steps:
- Tap on the “Schedule” option under the “Do Not Disturb” switch.
- Select the days and times during which you want Do Not Disturb Mode to be activated automatically.
- Tap “Save” to confirm your schedule.
That’s it! Now, your Alexa device will automatically enter Do Not Disturb Mode according to the schedule you set, ensuring uninterrupted peace during those specific times.
Enabling Do Not Disturb Mode on your Alexa device is a convenient way to control when your device stays silent. Whether you’re working, sleeping, or enjoying some much-needed downtime, Do Not Disturb Mode allows you to stay focused and undisturbed.
Setting a Schedule for Do Not Disturb Mode
Setting a schedule for Do Not Disturb Mode on your Alexa device allows you to automate the activation and deactivation of this feature. This is particularly useful if you have specific times when you want to ensure uninterrupted silence. Here’s how you can set a schedule:
- Open the Alexa app on your smartphone or tablet and navigate to the “Devices” tab.
- Select the specific Alexa device for which you want to set the schedule.
- Scroll down and tap on “Do Not Disturb” in the device settings.
- Toggle on the “Do Not Disturb” switch if it’s not already enabled.
- Tap on the “Schedule” option below the switch.
- On the Schedule page, you’ll see a grid with days of the week and time slots.
- Select the days of the week and time slots during which you want Do Not Disturb Mode to be activated.
- Tap “Save” to confirm your schedule.
Once you have set the schedule, your Alexa device will automatically enter Do Not Disturb Mode at the selected times and days. This ensures that you can have peace and quiet during specific periods without needing to manually enable or disable the feature.
If your schedule changes or you need to make adjustments, you can easily edit the schedule by following the same steps above. Simply modify the days and time slots according to your preferences and save the updated schedule.
Setting a schedule for Do Not Disturb Mode on your Alexa device allows you to customize the feature to align with your routine and lifestyle. Whether you want to ensure silence during your work hours, family time, or bedtime, the schedule feature offers flexibility and convenience.
Now that you have learned how to set a schedule for Do Not Disturb Mode, let’s explore how you can adjust the settings to further customize your experience.
Adjusting the Do Not Disturb Settings
While the default settings for Do Not Disturb Mode on your Alexa device are designed to provide the optimal experience, you have the flexibility to adjust certain settings to further customize your Do Not Disturb experience. Here’s how you can make adjustments to the Do Not Disturb settings:
- Open the Alexa app on your smartphone or tablet and go to the “Devices” tab.
- Select the specific Alexa device for which you want to adjust the Do Not Disturb settings.
- Scroll down to the “Do Not Disturb” section and tap on it.
- Here, you’ll find various settings you can modify according to your preferences.
- Adjust the “End Time” if you want to set a specific time for Do Not Disturb Mode to automatically turn off. By default, it matches the start time of the schedule.
- Toggle on or off the “Allow Calls” option. By default, calls are blocked during Do Not Disturb Mode, but enabling this option allows specific contacts to bypass the silence and reach you in case of emergencies.
- Toggle on or off the “Allow Announcements” option. This setting controls whether Alexa will still broadcast voice announcements or not during Do Not Disturb Mode.
- Tap “Save” to save your changes.
By adjusting these Do Not Disturb settings, you can tailor the feature to suit your preferences. Whether you need to make exceptions for certain contacts or want to allow important announcements to be heard, these settings give you control over your Alexa device’s behavior during Do Not Disturb Mode.
Remember to review your settings periodically and modify them as needed to ensure that your Do Not Disturb experience aligns with your current needs and priorities.
With the ability to adjust the Do Not Disturb settings, you can create a personalized experience that strikes the perfect balance between quiet and connectivity on your Alexa device.
Next, let’s explore how you can enable Do Not Disturb Mode on specific Echo devices instead of applying it to all devices simultaneously.
Enabling Do Not Disturb on Specific Echo Devices
If you have multiple Echo devices in your home, you may want to enable Do Not Disturb Mode on specific devices while leaving others unaffected. Alexa offers a convenient way to enable Do Not Disturb Mode on individual devices. Here’s how to do it:
- Open the Alexa app on your smartphone or tablet.
- Tap on the “Devices” tab at the bottom of the screen.
- Choose the specific Echo device for which you want to enable Do Not Disturb Mode.
- Scroll down to the “Do Not Disturb” section in the device settings.
- Toggle the “Do Not Disturb” switch to the on position.
By following these steps, you will enable Do Not Disturb Mode for the selected Echo device only. This ensures that notifications, calls, and messages will be silenced on that particular device, while the other devices will remain unaffected.
Enabling Do Not Disturb Mode on specific Echo devices is beneficial when you want to focus on a particular task in a specific area of your home, such as studying in your home office or enjoying a movie night in the living room. By silencing only the devices that are closest to you, you can eliminate distractions and create a peaceful environment.
If you have multiple Echo devices and want to enable Do Not Disturb Mode on all of them simultaneously, you can follow the steps mentioned in the previous section to set up a schedule for Do Not Disturb Mode. This way, all your devices will automatically enter Do Not Disturb Mode according to the schedule you’ve set.
Now that you know how to enable Do Not Disturb Mode on specific Echo devices, let’s move on to learning how to disable Do Not Disturb Mode when you no longer need it.
How to Disable Do Not Disturb Mode on Alexa
If you have enabled Do Not Disturb Mode on your Alexa device and want to resume normal functionality, disabling the Do Not Disturb Mode is a simple process. Follow these steps to disable Do Not Disturb Mode:
- Open the Alexa app on your smartphone or tablet.
- Tap on the “Devices” tab at the bottom of the screen.
- Choose the specific Alexa device that has Do Not Disturb Mode enabled.
- Scroll down to the “Do Not Disturb” section in the device settings.
- Toggle the “Do Not Disturb” switch to the off position.
By following these steps, you will turn off Do Not Disturb Mode on the selected Alexa device, allowing it to receive and respond to incoming calls, messages, and notifications as usual.
If you have set a schedule for Do Not Disturb Mode, disabling it manually will override the schedule and immediately disable Do Not Disturb Mode until it is manually enabled again or the next scheduled activation time is reached.
Disabling Do Not Disturb Mode is especially useful when you no longer need a silent environment and want your Alexa device to function normally, ensuring that you don’t miss any important calls or notifications.
Now that you know how to disable Do Not Disturb Mode, let’s explore how you can make use of this feature during bedtime to avoid any disturbances while sleeping.
Using Do Not Disturb Mode During Bedtime
Do Not Disturb Mode can be a valuable tool to ensure a peaceful and uninterrupted sleep. By enabling Do Not Disturb Mode during bedtime, you can prevent your Alexa device from disturbing your restful nights. Here’s how to use Do Not Disturb Mode during bedtime:
- Open the Alexa app on your smartphone or tablet.
- Navigate to the “Devices” tab.
- Select the specific Alexa device you want to customize for bedtime.
- Scroll down and tap on the “Do Not Disturb” option in the device settings.
- Toggle the “Do Not Disturb” switch to the on position.
- Set the desired start time for bedtime.
- Set the end time to when you typically wake up.
- Save your changes.
With Do Not Disturb Mode scheduled for bedtime, your Alexa device will automatically enter silent mode, ensuring that calls, messages, and notifications don’t interrupt your sleep. This feature allows you to wake up feeling refreshed and undisturbed by any external disturbances.
Additionally, you can take advantage of other features during bedtime, such as adjusting the volume to a comfortable level using voice commands or playing relaxing sleep sounds or guided meditations to help you drift off into a peaceful slumber.
It’s worth noting that in case of emergencies or if you need to be reachable during the night, you can add specific contacts to the “Allow Calls” list in the Do Not Disturb settings. This allows important callers to bypass the silent mode and reach you if necessary.
By using Do Not Disturb Mode during bedtime, you can create a tranquil sleep environment that promotes restful nights and rejuvenating sleep.
Next, let’s explore how you can add important contacts to bypass Do Not Disturb Mode, ensuring that you don’t miss any urgent calls or messages from specific individuals.
Adding Important Contacts to Bypass Do Not Disturb Mode
While Do Not Disturb Mode helps you maintain a peaceful and uninterrupted environment, there may be certain individuals whose calls you don’t want to miss, even when Do Not Disturb Mode is enabled. To ensure that important contacts can still reach you, you can add them to the “Allow Calls” list in the Do Not Disturb settings. Here’s how:
- Open the Alexa app on your smartphone or tablet.
- Go to the “Devices” tab.
- Select the specific Alexa device for which you want to add important contacts to bypass Do Not Disturb Mode.
- Scroll down to the “Do Not Disturb” section in the device settings.
- Toggle on the “Do Not Disturb” switch if it’s not already enabled.
- Tap on the “Allow Calls” option.
- Select “My Contacts” to allow calls only from individuals in your Alexa contacts.
- Alternatively, select “Custom” to manually add specific phone numbers to the list.
- Save your changes.
By adding important contacts to the “Allow Calls” list, calls from those individuals will bypass Do Not Disturb Mode and still ring through to your Alexa device. This ensures that you won’t miss any urgent or essential calls, even when you have Do Not Disturb Mode enabled.
It’s important to note that contacts who are not added to the allowed list will be redirected to voicemail if you have it set up, or they may receive a message informing them that you are currently unavailable.
Adding important contacts to bypass Do Not Disturb Mode allows you to strike a balance between enjoying uninterrupted silence and staying accessible to those who matter most.
Next, let’s explore how you can create a routine that includes Do Not Disturb Mode to automate its activation and enhance your overall smart home experience.
Creating a Routine that Includes Do Not Disturb Mode
Alexa allows you to create routines that combine multiple actions and commands into a single voice command or schedule. By incorporating Do Not Disturb Mode into a routine, you can further streamline and automate your smart home experience. Here’s how to create a routine that includes Do Not Disturb Mode:
- Open the Alexa app on your smartphone or tablet.
- Navigate to the “Routines” section.
- Tap on the “+” button to create a new routine.
- Choose the trigger for the routine, such as a specific time, voice command, or a trigger from a smart device.
- Customize the actions you want to include in the routine. This can include controlling lights, adjusting thermostats, playing music, and more.
- Tap on “Add action” and search for “Do Not Disturb”.
- Toggle the “Do Not Disturb” switch to the on position.
- Configure the Do Not Disturb settings, such as the start and end time, and whether to allow calls or announcements.
- Save your routine.
By creating a routine that includes Do Not Disturb Mode, you can activate this feature along with other actions using a single voice command or schedule. For example, you can create a routine called “Goodnight” that turns off the lights, lowers the temperature, and enables Do Not Disturb Mode at a specific time.
Routines provide a convenient way to customize and personalize your smart home experience, allowing you to orchestrate multiple actions with a single command or trigger. By incorporating Do Not Disturb Mode into your routines, you can easily automate the activation and deactivation of this feature along with other desired actions.
Feel free to explore different possibilities and experiment with creating routines that fit your specific needs and preferences. The flexibility of routines allows you to customize your smart home experience to match your lifestyle and create a seamless and enjoyable environment.
Now that you know how to create a routine that includes Do Not Disturb Mode, let’s address some common issues and troubleshooting steps related to Do Not Disturb Mode.
Troubleshooting Do Not Disturb Mode Issues
While using Do Not Disturb Mode on your Alexa device is usually a smooth experience, you may encounter some issues or have questions about its functionality. Here are some common troubleshooting steps for Do Not Disturb Mode:
Issue: Do Not Disturb Mode not activating
Solution: Ensure that you have correctly set the schedule or manually enabled Do Not Disturb Mode on your Alexa device. Also, check if there are any conflicting routines or settings that may be preventing Do Not Disturb Mode from activating.
Issue: Important calls not coming through
Solution: Double-check the “Allow Calls” settings in the Do Not Disturb section of your Alexa device settings. Make sure the correct contacts are added to the allowed list. If using a custom list, confirm that the phone numbers are correctly entered.
Issue: Alarms or timers not sounding during Do Not Disturb Mode
Solution: Do Not Disturb Mode is designed to silence calls, messages, and notifications, but alarms and timers should still function normally. Make sure your alarms and timers are set correctly and have sound enabled in their settings.
Issue: Do Not Disturb Mode not disabling
Solution: Check that you have properly disabled Do Not Disturb Mode in the device settings. If you have set a schedule, ensure the current time has passed the end time of the schedule. If the issue persists, try restarting your Alexa device.
Issue: Do Not Disturb Mode activating on the wrong device
Solution: If you have multiple Alexa devices and Do Not Disturb Mode is activating on the wrong device, verify that you have enabled it on the correct device and that the schedule or settings are correctly configured for each device.
If you continue to experience issues with Do Not Disturb Mode on your Alexa device, you may try resetting the device or contacting Amazon customer support for further assistance.
By troubleshooting these common issues, you can ensure that Do Not Disturb Mode on your Alexa device functions as intended, providing you with a peaceful and uninterrupted experience when needed.
Now that you’re equipped with troubleshooting knowledge, you can fully enjoy the benefits of Do Not Disturb Mode on your Alexa device!