
Why Transfer Videos from an Old Camcorder to a PC?
Remember the days when camcorders were our go-to devices for capturing precious moments? Those older camcorders might have been technologically outdated, but they hold a treasure trove of memories that deserve to be preserved. Transferring videos from an old camcorder to a PC allows you to not only preserve those memories but also gives you the opportunity to rewatch, edit, and share them with family and friends.
Converting analog videos to digital format has become increasingly popular, and for good reason. Firstly, the lifespan of old tapes, such as VHS or MiniDV, is limited, and they deteriorate over time. By transferring the videos to your PC, you ensure that those memories will be preserved for future generations.
Secondly, using a PC to store your videos gives you easy access to all your footage. No more searching for specific tapes in boxes or worrying about them being damaged. With your videos saved on your computer, you can organize, categorize, and easily locate specific moments without the hassle of manual searching.
Additionally, transferring videos to a PC opens up a world of creative possibilities. You can edit your videos using video editing software, adding special effects, music, and merging different clips to create a beautifully crafted final product. Imagine the joy of enhancing and recreating precious memories through the power of digital editing!
Furthermore, sharing your videos becomes effortless when they are stored on a PC. Whether you want to send them to family members who live far away or share them on social media, having digital copies makes the process quick and convenient. No more converting tapes or dealing with outdated playback devices.
Lastly, transferring videos to a PC allows you to back up your precious memories. Hard drives can fail, tapes can degrade, and accidents can happen. By having a digital copy stored safely on your computer, you can rest easy knowing that even if something happens to the original tapes, your memories are still secure.
What You Will Need
Before you begin the process of transferring videos from your old camcorder to your PC, it’s important to gather the necessary tools and software to ensure a smooth and successful transfer. Here’s a list of what you’ll need:
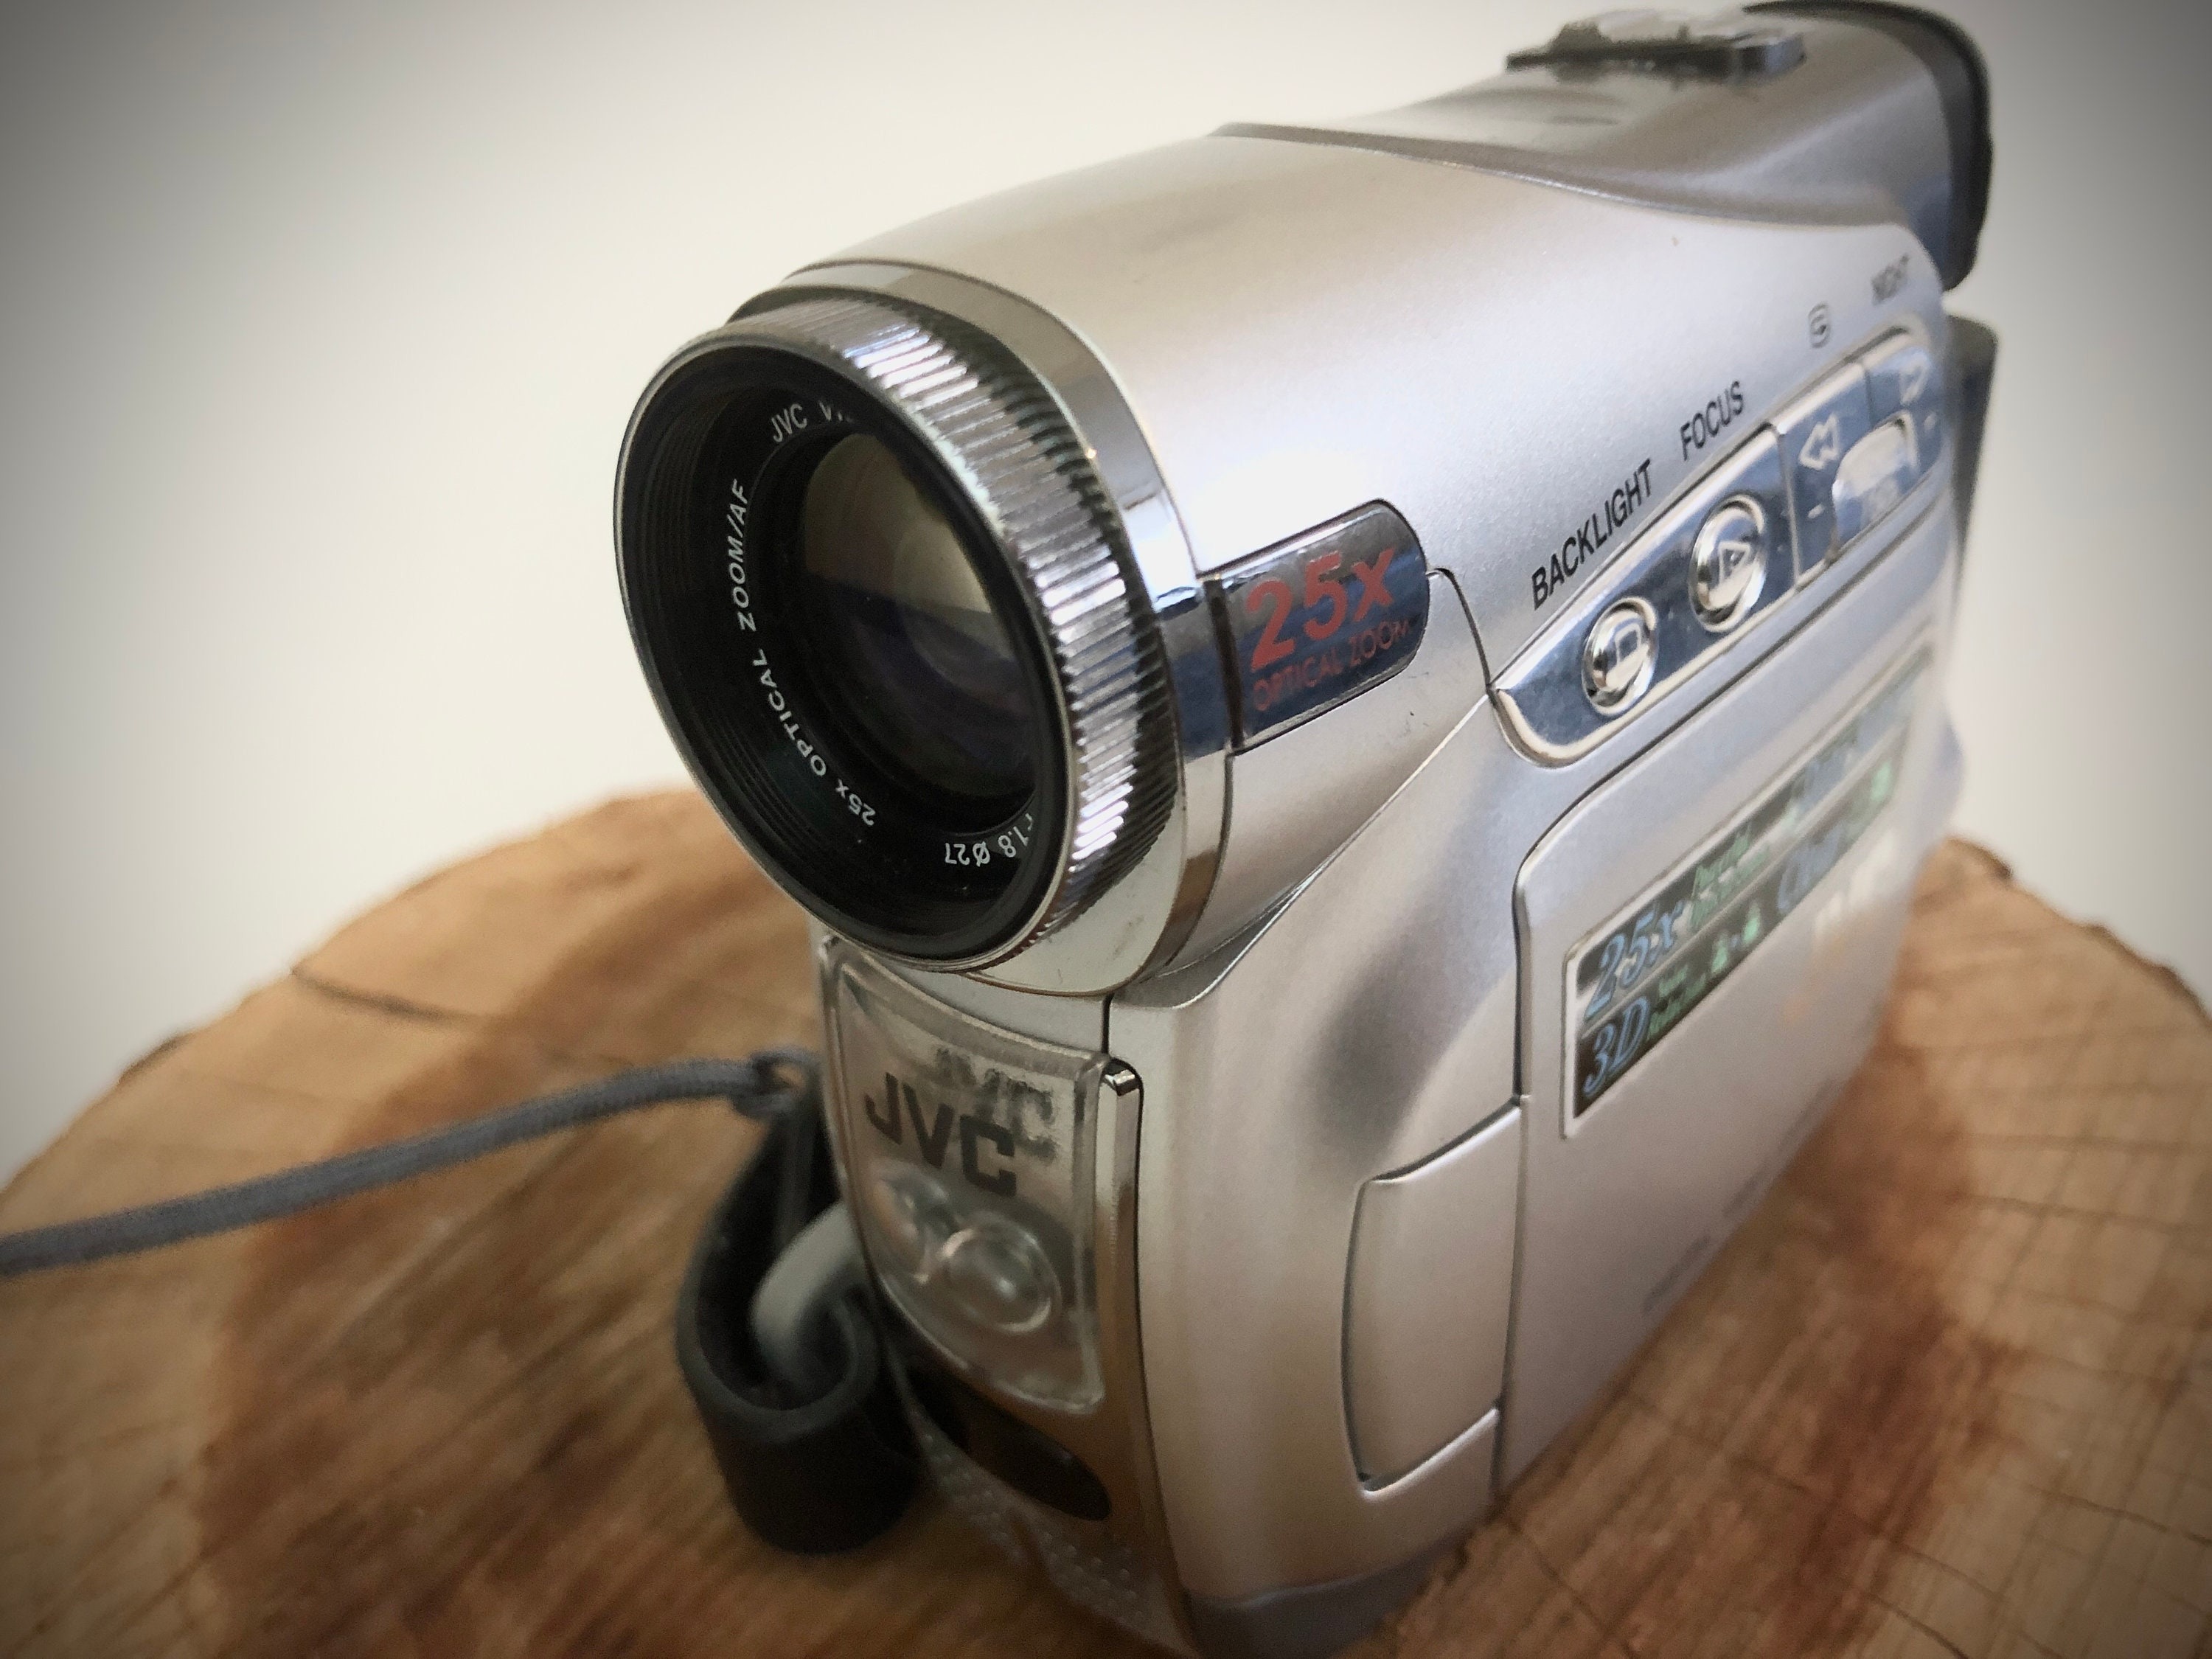
- An old camcorder: This is obviously the main component needed for transferring the videos. Make sure you have the camcorder and any accompanying cables or accessories.
- A PC or laptop: You’ll need a computer with sufficient storage space and processing power to handle the transfer and editing of the videos. Ensure that your computer meets the minimum system requirements.
- Connecting cables: The type of cables you’ll need depends on the connections available on your camcorder and PC. Common types include USB, FireWire (IEEE 1394), AV cables, and S-Video cables. Check the ports on your camcorder and PC to determine the right cable(s) to use.
- Software and drivers: Depending on the method you choose for transferring the videos, you may need specific software or drivers. For example, if you’re using a FireWire cable, you’ll need appropriate FireWire drivers installed on your PC. Research and download the necessary software or drivers to ensure compatibility.
- Video editing software: If you plan on editing your videos on your PC, it’s advisable to have video editing software installed. There are both free and paid options available, so choose one that suits your needs and budget.
Having these essentials ready will make the video transfer process much smoother and more efficient. Double-check that you have everything on the list before proceeding to the next steps. Ensure that your camcorder is in working condition, your computer is ready for the transfer, and you have the necessary cables and software at hand.
Step 1: Check Compatibility and Connections
Before you begin transferring videos from your old camcorder to your PC, it’s crucial to check the compatibility and connections between your devices. Here’s a step-by-step guide:
- Identify the ports on your camcorder: Examine your camcorder and take note of the available ports. Common ports include USB, FireWire (IEEE 1394), AV, and S-Video.
- Identify the ports on your PC: Check the ports on your computer or laptop. Look for USB, FireWire, or AV ports. Ensure that your PC has the necessary ports compatible with your camcorder’s connections.
- Determine the type of cable needed: Based on the ports available on both your camcorder and PC, you’ll need to select the appropriate cable. If your camcorder has a USB port and your PC has a USB port as well, a simple USB cable will suffice. For FireWire connections, a FireWire cable is required. AV or S-Video connections will require their respective cables.
- Ensure driver compatibility: If you’re using a FireWire cable, you’ll need to install the appropriate FireWire drivers on your PC. Check the manufacturer’s website or the camcorder’s user manual for the specific drivers needed.
- Check software compatibility: If you plan on using video editing software, ensure it is compatible with your operating system. Some software may have specific system requirements, so verify that your PC meets those requirements.
- Gather any additional adapters or converters: In some cases, you may need additional adapters or converters to connect your camcorder to your PC. For example, if your camcorder has an older AV output and your PC only has HDMI inputs, you’ll need an AV to HDMI converter.
It’s crucial to check compatibility and connections before proceeding with the video transfer process. This will help avoid any technical issues or incompatibilities that may hinder a successful transfer. Always refer to the user manual for your camcorder and PC for detailed instructions on ports and connections.
Step 2: Install Necessary Software and Drivers
Once you’ve checked the compatibility and connections between your camcorder and PC, the next step is to install the necessary software and drivers. This will ensure that your computer recognizes and communicates with your camcorder effectively. Follow these steps to install the required software and drivers:
- Identify the software needed: Determine the specific software required for the video transfer process. This can vary depending on your camcorder model and the method you plan to use for transferring the videos. Common software includes video capture software, device drivers, and video editing software.
- Research and download the software: Visit the manufacturer’s website or trusted software repositories to find and download the necessary software. Make sure to choose the latest version compatible with your operating system.
- Install the software: Once downloaded, open the installation file and follow the on-screen instructions to install the software on your PC. Pay attention to any prompts or settings that need to be configured during the installation process.
- Install any required drivers: If you’re using a FireWire connection, you may need to install specific FireWire drivers for your camcorder to communicate with your PC. Check the manufacturer’s website or user manual for the correct drivers and installation instructions.
- Restart your computer: After installing the software and drivers, it’s recommended to restart your computer. This helps ensure that all changes are applied correctly and that the software can properly communicate with your camcorder.
- Test the software and drivers: Open the software and connect your camcorder to your PC using the appropriate cable. Check if the software detects the camcorder and if you can view the video feed on your computer screen. If everything works correctly, you’re ready to proceed to the next steps.
Installing the necessary software and drivers is crucial for a successful video transfer. It allows your computer to recognize and communicate with your camcorder, ensuring a smooth and efficient transfer process. Take the time to research and download the correct software and drivers for your specific camcorder model and chosen transfer method.
Step 3: Connect the Camcorder to the PC
Now that you have installed the necessary software and drivers, it’s time to connect your camcorder to your PC. Follow these steps to establish a connection:
- Ensure both your camcorder and PC are powered off: Before connecting any cables, make sure both your camcorder and PC are turned off. This prevents any potential damage to the devices or data loss.
- Identify the appropriate ports on your camcorder: Look for the specific ports on your camcorder that match the cable you plan to use for the transfer. Common ports include USB, FireWire (IEEE 1394), AV, and S-Video.
- Connect the cable to your camcorder: Plug one end of the cable into the corresponding port on your camcorder. Ensure that it is securely connected.
- Identify the ports on your PC: Locate the matching ports on your PC or laptop. This will be dependent on the type of cable you are using – USB, FireWire, or AV. Ensure the ports are clean and free of any debris.
- Connect the cable to your PC: Insert the other end of the cable into the corresponding port on your PC. Again, ensure a secure connection is made.
- Power on your camcorder and PC: Once the cable is connected at both ends, power on your camcorder and PC. This will allow them to establish a connection.
- Check for recognition: After powering on both devices, check if your PC recognizes the camcorder. It should automatically detect the new hardware and prompt you with installation instructions if necessary.
- Follow any on-screen prompts: Depending on the software and drivers you installed, you may need to follow additional on-screen prompts for device installation or configuration. Pay attention to these prompts and respond accordingly to ensure a proper connection.
By following these steps, you will establish a physical connection between your camcorder and PC, allowing them to communicate and transfer video data. Ensure that the cables are securely connected and that both devices are powered on before proceeding to the next steps of the transfer process.
Step 4: Choose the Video Transfer Method
With your camcorder successfully connected to your PC, it’s time to choose the method you’ll use to transfer the videos. There are several options available, depending on the ports and cables supported by your devices. Here are three common video transfer methods:
Method 1: Using a FireWire (IEEE 1394) Cable
If your camcorder and PC both have FireWire (IEEE 1394) ports, this method provides a high-quality, real-time transfer of video data. Follow these steps:
- Ensure you have installed the necessary FireWire drivers on your PC, as mentioned in the previous step.
- Open your video capture software on your PC. Typically, this software will have an option to capture video from a FireWire device.
- Set the camcorder to VCR or Play mode.
- Click on the capture button in the video capture software, and your PC will begin recording the video feed from your camcorder.
- Stop the recording when the desired video has been transferred.
Method 2: Using an AV Cable or S-Video Cable
If your camcorder and PC do not have FireWire ports, you can use AV or S-Video cables as an alternative. Follow these steps:
- Connect the AV or S-Video cable to the corresponding ports on your camcorder and PC.
- Set your camcorder to VCR or Play mode.
- Open your video capture software on your PC. Look for an option to capture video from an external device or capture card.
- Start playing the video on your camcorder and click on the capture button in the video capture software to begin recording the video feed.
- Stop the recording when you have captured the desired video.
Method 3: Using a Video Capture Card
If your camcorder and PC do not have compatible ports, you can use a video capture card to transfer the videos. Follow these steps:
- Install the video capture card into an available slot on your PC following the manufacturer’s instructions.
- Connect the output from your camcorder to the input of the video capture card using the appropriate cables.
- Set your camcorder to VCR or Play mode.
- Open your video capture software on your PC and select the video capture card as the video source.
- Begin recording the video feed using the video capture software.
- Stop the recording when you’ve captured the desired video.
Choose the video transfer method that best suits your camcorder and PC connections. Ensure that you follow the specific steps for the chosen method to successfully transfer your videos from your camcorder to your PC.
Method 1: Using a FireWire (IEEE 1394) Cable
If your camcorder and PC are equipped with FireWire (IEEE 1394) ports, this method offers a high-quality, real-time transfer of your videos. Follow these steps to transfer your videos using a FireWire cable:
- Ensure that you have installed the necessary FireWire drivers on your PC, as mentioned in the previous steps. These drivers enable your PC to recognize and communicate with the FireWire port.
- Open your video capture software on your PC. Look for an option to capture video from a FireWire or IEEE 1394 device. The software should detect the connected camcorder automatically.
- Set your camcorder to VCR or Play mode. This allows the camcorder to send the video signal through the FireWire cable to your PC.
- In the video capture software, click on the capture button to begin recording the video feed from your camcorder. You can usually find the capture button in the software’s interface or toolbar.
- Play the video on your camcorder. The software will simultaneously capture and display the video on your PC screen, allowing you to monitor the transfer progress in real-time.
- Continue playing the video on the camcorder until you have captured the desired portion or the entire video. You can pause, rewind, or fast-forward the camcorder playback as needed.
- Click on the stop or capture end button in the video capture software to stop the recording. The software will save the captured video file to your designated storage location on your PC.
By utilizing a FireWire cable, you can transfer your videos in high-quality and in real-time. This method ensures accurate reproduction of your cherished memories without any loss in visual or audio fidelity.
Remember to save and organize your captured videos appropriately on your PC for easy access and future editing. You can now proceed to the next step to save and edit your transferred videos using video editing software.
Method 2: Using an AV Cable or S-Video Cable
If your camcorder and PC do not have FireWire (IEEE 1394) ports, you can still transfer your videos using AV or S-Video cables. Follow these steps to transfer your videos using an AV or S-Video cable:
- Find the AV or S-Video output ports on your camcorder. These ports are typically color-coded, with yellow for video and red/white for audio.
- Connect one end of the AV or S-Video cable to the corresponding output ports on your camcorder. Ensure a secure connection.
- Identify the AV or S-Video input ports on your PC. These ports are usually found on the graphics card or sound card, or they may be integrated into the motherboard.
- Connect the other end of the AV or S-Video cable to the appropriate input ports on your PC. Again, make sure the connections are secure.
- Set your camcorder to VCR or Play mode. This allows the camcorder to send the video and audio signals through the connected cables.
- Open your video capture software on your PC. Look for an option to capture video from an external device, or select the AV or S-Video input as the video source.
- Start playing the video on your camcorder. The software will display the video feed on your PC screen, allowing you to monitor the transfer in real-time.
- Click on the capture button in the video capture software to begin recording the video feed from your camcorder. The software will save the captured video to your designated storage location on your PC.
- Stop the recording when you have captured the desired portion or the entire video. Click on the stop or capture end button in the video capture software.
Using an AV or S-Video cable provides a viable alternative for transferring your videos when FireWire ports are unavailable. While the quality may not be as high as FireWire, this method still allows you to transfer your videos effectively.
Remember to save and organize your captured videos appropriately on your PC for easy access and future editing. You can now proceed to the next step to save and edit your transferred videos using video editing software.
Method 3: Using a Video Capture Card
If your camcorder and PC do not have compatible ports for direct connection, you can still transfer your videos using a video capture card. Follow these steps to transfer your videos using a video capture card:
- Start by installing the video capture card into an available slot on your PC. Make sure to follow the manufacturer’s instructions for proper installation.
- Connect the output from your camcorder, typically an AV or S-Video cable, to the input ports of the video capture card on your PC. Ensure a secure connection.
- Switch your camcorder to VCR or Play mode. This allows the camcorder to output the video and audio signals through the cables connected to the video capture card.
- Open your video capture software on your PC. Look for an option to capture video from an external device or select the video capture card as the video source.
- Click on the capture button in the video capture software to begin recording the video feed from your camcorder. The software will save the captured video to your designated storage location on your PC.
- Start playing the video on your camcorder. The software will display the video feed on your PC screen, allowing you to monitor the transfer in real-time.
- Continue playing the video on the camcorder until you have captured the desired portion or the entire video. You can pause, rewind, or fast-forward the camcorder playback as needed.
- Click on the stop or capture end button in the video capture software to stop the recording and complete the capture process.
Using a video capture card allows you to bridge the gap between your camcorder and PC when direct connections are not available. It provides a reliable solution for transferring your videos and capturing them digitally on your computer.
Remember to save and organize your captured videos appropriately on your PC for easy access and future editing. You can now proceed to the next step to save and edit your transferred videos using video editing software.
Step 5: Start the Video Transfer Process
Now that your camcorder is connected to your PC and the necessary software and drivers are installed, you can begin the video transfer process. Here are the steps to start transferring your videos:
- Open your video capture software on your PC. Ensure that it is set to the correct input source, such as the FireWire port, AV input, or the video capture card.
- Depending on your software, you may have options for adjusting video settings such as resolution, frame rate, and audio settings. Configure these settings according to your preferences or leave them at the default values.
- If using a camcorder with playback controls, set it to VCR or Play mode to enable the video playback on your camcorder.
- Click on the record or capture button in the video capture software to start the transfer process. The software will begin capturing the video feed from your camcorder.
- On your camcorder, start playing the video that you want to transfer. The software will capture the video in real-time and save it to your designated storage location on your PC.
- Continue playing the video on your camcorder until you have captured the desired portion or the entire video.
- Once you have captured the desired video, click on the stop or capture end button in the video capture software to stop the recording.
It’s important to note that the length of the transfer process will depend on the duration of the video and the speed of your computer. Larger or longer videos may take more time to transfer and save onto your PC.
Ensure that you have sufficient storage space on your PC to accommodate the size of the video files. If necessary, consider transferring the videos to an external hard drive or cloud storage for additional space.
By following these steps, you can successfully transfer your videos from your camcorder to your PC. Once the transfer is complete, you can proceed to the next step to save and edit your videos using video editing software.
Step 6: Save and Edit Your Videos on the PC
After successfully transferring your videos from the camcorder to your PC, it’s time to save and edit them. Follow these steps to save and edit your videos on your PC:
- Create a folder or directory on your PC’s storage where you want to save your transferred videos. Choose a location that is easily accessible and organized.
- Give each video a descriptive filename or title to help you identify and locate them easily in the future.
- Move or copy the captured video files from the video capture software’s storage location to the folder or directory you created earlier. This ensures that your videos are stored in a designated location for easy management.
- Open your preferred video editing software on your PC. There are numerous options available, both free and paid, that offer various features and functionalities.
- Import the saved video files into the video editing software. Most software has a specific import or open file option where you can select and import your video files from the designated location on your PC.
- Once imported, you can start editing your videos to enhance their visual appeal and storytelling. Trim or cut out unwanted parts, add transitions, include music or voiceovers, and apply visual effects or filters.
- Experiment with different editing techniques to create a captivating and polished final product. Take advantage of the software’s features to enhance the quality, color, and audio of your videos.
- Preview your edited videos to ensure the desired results. Play them back within the video editing software to make any necessary adjustments or refinements.
- Save your edited videos in your preferred format and resolution. Consider creating multiple versions to cater to different platforms or devices, such as social media or mobile devices.
- Remember to save your project file in the video editing software. This allows you to revisit and make further edits if needed without starting from scratch.
By saving and editing your videos on your PC, you can add a personal touch and creative flair to your transferred footage. Explore the capabilities of your chosen video editing software and experiment with different editing techniques to make your videos truly stand out.
Once you are satisfied with the edits, you can move on to the final step of backing up your videos to ensure their long-term preservation and protection.
Step 7: Backing Up Your Videos
Backing up your videos is a crucial final step to ensure the long-term preservation and protection of your precious memories. Follow these steps to effectively back up your videos:
- Consider multiple backup options: It’s wise to have more than one backup for your videos. Choose a combination of offline and online storage options for added security.
- Create a backup on an external hard drive: Connect an external hard drive to your PC and make a copy of your video files. This provides an offline backup that can be stored in a safe place, separate from your computer.
- Explore cloud storage services: Sign up for a reliable cloud storage service and upload your videos to their servers. This provides an online backup option that is accessible from anywhere with an internet connection.
- Ensure sufficient storage capacity: Check that your backup storage options have adequate space to accommodate all your video files. If necessary, consider upgrading your storage plans or investing in additional external hard drives.
- Regularly update your backups: As you add new videos or make changes to your existing ones, make it a habit to update your backups. This ensures that your backup copies mirror the latest version of your videos.
- Verify the integrity of your backups: Periodically verify the integrity of your backups to ensure that your video files are still intact and accessible. This can be done by performing test restores or using backup verification tools.
- Keep your backups in different locations: To protect against physical damage or loss, store your backup copies in separate physical locations. This safeguards your videos from events such as theft, fire, or natural disasters.
- Consider additional redundancy: For added peace of mind, consider creating multiple copies of your backup files. Having duplicate backups in different locations or using multiple storage services further minimizes the risk of data loss.
- Regularly review and update your backup strategy: As technology evolves and your video library grows, periodically review and update your backup strategy. Adapt to new storage options, revise your backup schedule, and stay up-to-date with best practices.
Backing up your videos ensures that even if your original files are lost or damaged, you have a secure copy to fall back on. It’s essential to make backing up a regular habit to protect your valuable memories for years to come.
By following these steps and maintaining a robust backup strategy, you can enjoy peace of mind knowing that your videos are safely stored and preserved.
Tips and Tricks for a Smooth Transfer Process
Transferring videos from an old camcorder to a PC can sometimes be a complex process. To ensure a smooth transfer and avoid potential pitfalls, consider the following tips and tricks:
- Read the user manuals: Familiarize yourself with the user manuals for both your camcorder and PC. Understanding their features, ports, and settings will help you navigate the transfer process more effectively.
- Use quality cables: Invest in high-quality cables that are compatible with your devices. This reduces the risk of signal loss, interference, and poor video quality during the transfer.
- Test connections and cables: Before starting the transfer process, test the connections and cables to ensure they are functioning correctly. Replace any faulty or damaged cables to avoid potential disruptions during the transfer.
- Ensure sufficient battery power: Make sure your camcorder is fully charged or connected to a power source. Sudden battery drain during the transfer can interrupt the process and potentially cause data loss.
- Allocate ample storage space: Check that your PC has enough available storage space to accommodate the transferred videos. Insufficient storage can lead to incomplete transfers or even system crashes.
- Organize your video files: Create a logical file naming and organizational system to easily locate and manage your transferred videos. Consistent naming conventions and folder structures help keep your video library organized.
- Maintain a clean workspace: Ensure a clean and dust-free environment when handling your camcorder and PC. Dust particles can interfere with connections and affect video quality, so regularly clean ports and cables if necessary.
- Keep backup tapes and camcorder clean: If you’re working with old tapes and camcorders, ensure they are stored and maintained properly. Clean them regularly to prevent tape degradation or damage that can affect the transfer process.
- Monitor transfer progress: During the transfer, keep an eye on the progress to ensure that the videos are successfully transferring and that nothing interrupts the process. This allows you to address any issues promptly.
- Have patience: Transferring videos can be a time-consuming process, especially for larger files or slower connections. Be patient and avoid interrupting the transfer to ensure the best results.
Implementing these tips and tricks will help you streamline the transfer process and achieve the best possible outcome. Prepare yourself with the necessary knowledge, materials, and patience to ensure a smooth and successful video transfer from your old camcorder to your PC.
Frequently Asked Questions (FAQs)
Here are some frequently asked questions about transferring videos from an old camcorder to a PC:
- Can I transfer videos from any old camcorder to a PC?
In most cases, yes. However, the transfer process may vary depending on the ports and connections available on your camcorder and PC. It’s important to check compatibility and determine the appropriate cables or adapters needed for the transfer. - What software do I need to transfer videos?
The necessary software may vary depending on your specific setup. Commonly used software includes video capture software, video editing software, and device drivers for connectivity. Research and download the software that matches your camcorder and transfer method. - Can I edit the transferred videos?
Yes, once the videos are transferred to your PC, you can edit them using video editing software. This allows you to enhance the quality, trim unwanted parts, add effects, and create a polished final product. - How much storage space do I need?
The amount of storage space you’ll need depends on the size and number of videos you plan to transfer. Ensure that your PC has sufficient storage capacity to accommodate the transferred videos. - Should I make backups of my transferred videos?
Yes, it is highly recommended to create backups of your transferred videos. Store them on external hard drives, cloud storage, or other backup solutions. This protects your videos from potential data loss due to hardware failure or other unforeseen circumstances. - Can I transfer videos from analog tapes?
Yes, you can transfer videos from analog tapes like VHS or MiniDV. However, you may need additional equipment, such as a video player or a compatible VHS-to-Digital converter, to facilitate the transfer process. - Can I transfer videos from digital camcorders?
Yes, the process for transferring videos from digital camcorders is similar to transferring from analog camcorders. However, you may require different cables or adapters based on the available ports on your digital camcorder. - Can I transfer videos wirelessly?
While wireless transfer methods exist, they are not commonly used for transferring videos from old camcorders. The most reliable and stable transfer methods involve physical connections using appropriate cables. - Can I transfer videos using a Mac?
Yes, the process for transferring videos from an old camcorder to a Mac is similar to a PC. Ensure compatibility, install necessary software and drivers, and follow the steps outlined in this guide specific to your setup. - Is it possible to transfer videos with audio?
Yes, the transfer process typically includes both video and audio signals. Ensure that your connections are correctly set up to capture both video and audio simultaneously.
These FAQs cover some common questions related to transferring videos from old camcorders to PCs. If you have additional questions or encounter specific challenges during the transfer process, refer to the user manuals or seek support from the camcorder or PC manufacturer.