
Check for Firmware Updates
Periodically updating the firmware on your Fitbit device is crucial for ensuring its optimal performance. Firmware updates include bug fixes, feature enhancements, and other improvements that can enhance your Fitbit experience. Here’s a step-by-step guide on how to check for firmware updates and update your Fitbit device.
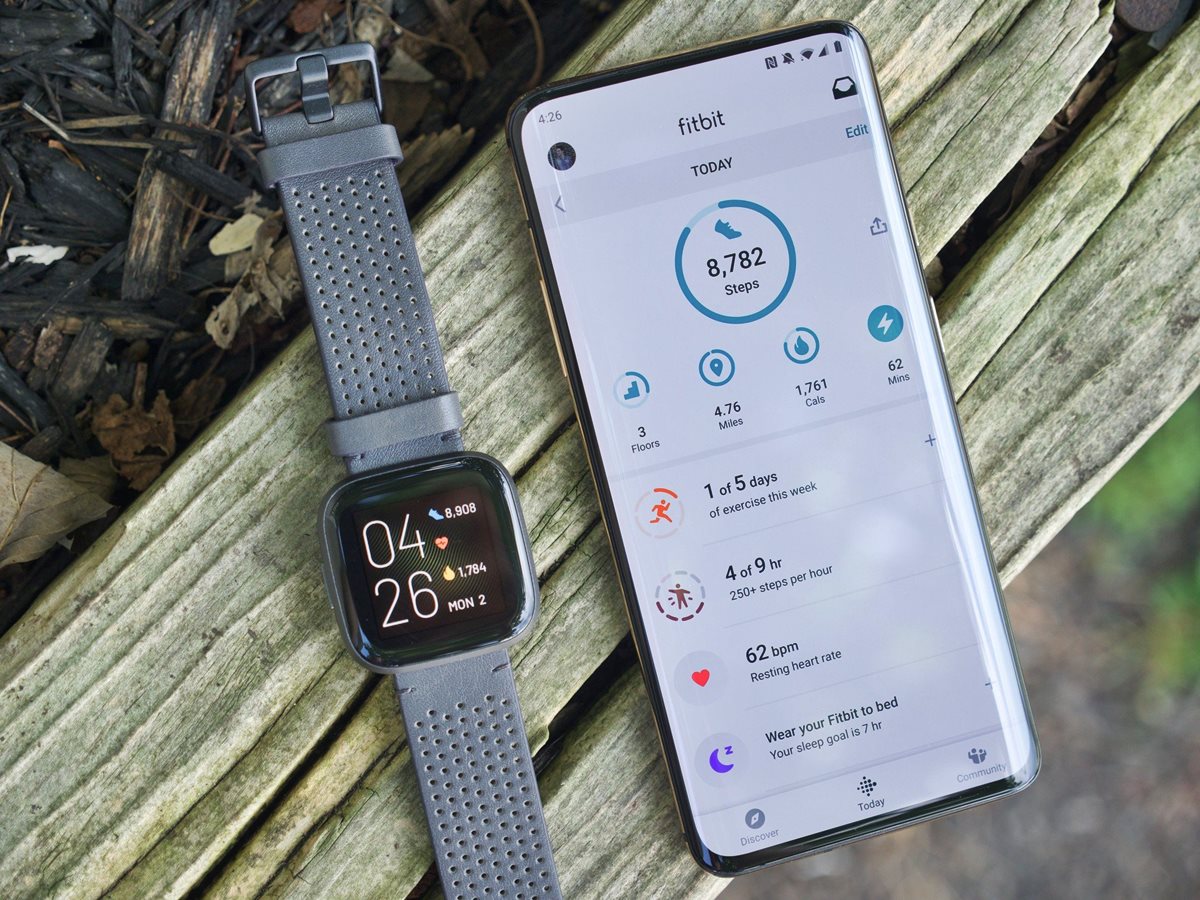
1. Open the Fitbit app on your smartphone or tablet. If you don’t have the app yet, head to your device’s app store and download it.
2. Ensure that your mobile device is connected to the internet. For best results, connect to a stable Wi-Fi network to avoid any interruptions during the update process.
3. Tap on the profile icon located at the top-left corner of the app’s home screen. This will take you to your personal profile dashboard.
4. Scroll down and find the section labeled “Devices.” Tap on your Fitbit device name to access its settings.
5. Within the device settings, look for the option “Check for Firmware Updates.” Tap on it to initiate the update process.
6. If an update is available, you will see a prompt indicating the new firmware version. Follow the on-screen instructions to proceed with the update. Make sure your Fitbit device remains connected to your mobile device throughout the update process.
7. The update will take a few minutes to complete. Avoid closing the Fitbit app or turning off your mobile device during this time.
8. Once the update is finished, you will receive a notification on your mobile device. Your Fitbit device will also vibrate or display a message confirming the successful update.
By regularly checking for firmware updates and keeping your Fitbit device up to date, you can enjoy the latest features, an improved user interface, and better device performance. Remember to repeat this process periodically to ensure that your Fitbit device stays in top shape.
Connect Your Fitbit Device to Wi-Fi
Certain Fitbit devices, such as the Fitbit Versa, Ionic, and Sense, offer the convenience of connecting to Wi-Fi networks. Connecting your Fitbit device to Wi-Fi allows for automatic syncing of data, firmware updates, and accessing additional features. Follow these steps to connect your Fitbit device to Wi-Fi.
1. Open the Fitbit app on your smartphone or tablet. Make sure your mobile device is connected to the internet.
2. Tap on the profile icon at the top-left corner of the app’s home screen to access your personal profile dashboard.
3. Scroll down and select the “Devices” section. Tap on your Fitbit device name to open its settings.
4. Look for the “Wi-Fi Settings” option and tap on it to proceed.
5. Follow the on-screen instructions to enable Wi-Fi on your Fitbit device. Depending on the model, you may need to enter your Wi-Fi network name (SSID) and password.
6. Once you’ve entered the necessary information, your Fitbit device will begin scanning for available Wi-Fi networks.
7. A list of detected networks will appear on your Fitbit device screen. Select your desired Wi-Fi network from the list.
8. If prompted, enter the password for your selected Wi-Fi network using the Fitbit device’s on-screen keyboard.
9. After entering the password, your Fitbit device will attempt to connect to the selected Wi-Fi network. Please be patient as this may take a moment.
10. Once the connection is established, your Fitbit device will display a successful connection message or icon.
Connecting your Fitbit device to Wi-Fi is an essential step to access advanced features and ensure seamless syncing of your fitness data. Remember to adjust the Wi-Fi settings in the Fitbit app if you change your Wi-Fi network or password. By keeping your Fitbit device connected to Wi-Fi, you can make the most of its capabilities and enhance your overall Fitbit experience.
Manual Update Using A Computer
In some cases, you may need to manually update your Fitbit device using a computer. This method can be useful if you encounter issues with the automatic update process or if you prefer to update your device offline. Follow these steps to manually update your Fitbit device using a computer.
1. Make sure you have the latest version of the Fitbit app installed on your computer. If not, visit the Fitbit website and download the app for your specific operating system.
2. Connect your Fitbit device to your computer using the provided USB dongle or cable. Ensure that the connection is secure.
3. Open the Fitbit app on your computer and log in using your Fitbit account credentials. If you don’t have an account, create one by following the on-screen instructions.
4. Once logged in, navigate to the device settings section within the Fitbit app.
5. Look for the option to manually update your Fitbit device. This may be labeled as “Check for Updates” or similar. Click on it to initiate the update process.
6. Follow the on-screen instructions to complete the update. Make sure to keep your Fitbit device connected to your computer throughout the process.
7. The update will take a few minutes to complete. Do not disconnect your Fitbit device or close the Fitbit app during this time.
8. Once the update is finished, you will receive a notification in the Fitbit app confirming the successful update. Your Fitbit device may vibrate or display a message indicating the update completion as well.
By manually updating your Fitbit device using a computer, you can ensure that you have the latest firmware version installed. This method can be particularly helpful if you’re experiencing connectivity issues or if you prefer a more hands-on approach to managing updates. Remember to periodically check for new updates to keep your Fitbit device up to date and running smoothly.
Manual Update Using A Smartphone or Tablet
If you prefer to update your Fitbit device using your smartphone or tablet, you can do so by following these steps. This method is convenient and allows you to update your device on the go. Here’s how to manually update your Fitbit device using a smartphone or tablet.
1. Ensure that your Fitbit app is up to date on your smartphone or tablet. Visit your device’s app store, search for Fitbit, and update the app if necessary.
2. Open the Fitbit app and log in using your Fitbit account credentials. If you don’t have an account, you can create one by following the on-screen instructions.
3. Tap on the profile icon located at the top-left corner of the app’s home screen. This will take you to your personal profile dashboard.
4. Scroll down and find the section labeled “Devices.” Tap on your Fitbit device name to access its settings.
5. Look for the option to manually update your Fitbit device. This may be labeled as “Check for Updates” or similar. Tap on it to initiate the update process.
6. Follow the on-screen instructions to complete the update. Make sure your Fitbit device remains connected to your smartphone or tablet throughout the process.
7. The update will take a few minutes to complete. Avoid closing the Fitbit app or navigating away from the update screen during this time.
8. Once the update is finished, you will receive a notification in the Fitbit app confirming the successful update. Your Fitbit device may vibrate or display a message indicating the update completion as well.
By choosing to manually update your Fitbit device using your smartphone or tablet, you can easily stay on top of the latest firmware updates. This method offers flexibility and convenience, ensuring that you can update your Fitbit device wherever you are. Remember to periodically check for updates to keep your Fitbit device running smoothly and take advantage of new features and improvements.
Troubleshooting Common Update Issues
While updating your Fitbit device, you may encounter certain issues that prevent a successful update. Here are some common update issues and troubleshooting steps to help you overcome them.
1. Poor or unstable internet connection: Ensure that your smartphone, tablet, or computer is connected to a stable Wi-Fi network or has a strong cellular data signal. Unstable internet connections can interrupt the update process. Try moving closer to your Wi-Fi router or switching to a different network if possible.
2. Fitbit app not up to date: Make sure you have the latest version of the Fitbit app installed on your smartphone, tablet, or computer. Check for app updates in your device’s app store and update the Fitbit app if necessary.
3. Low battery level: Ensure that your Fitbit device has sufficient battery charge before attempting an update. If the battery level is low, charge your device before proceeding with the update.
4. Restart both your Fitbit device and mobile device: Sometimes, a simple restart can resolve connectivity or syncing issues. Restart your Fitbit device and the mobile device you’re using to update it.
5. Clear cache and data of the Fitbit app: If you’re encountering persistent issues, try clearing the cache and data of the Fitbit app on your smartphone or tablet. This can help resolve any underlying software conflicts.
6. Reinstall the Fitbit app: If clearing the cache and data didn’t solve the problem, try uninstalling and reinstalling the Fitbit app on your smartphone or tablet. This can address any potential app installation or configuration issues.
7. Contact Fitbit support: If the above steps don’t resolve the issue, reach out to Fitbit support for further assistance. They can provide specific troubleshooting steps tailored to your device and situation.
By following these troubleshooting steps, you can tackle common update issues that may arise during the update process. Remember to ensure a stable internet connection, keep your devices up to date, and seek assistance from Fitbit support if needed. With a little patience and persistence, you’ll be able to successfully update your Fitbit device and enjoy its latest features and improvements.
Resetting Your Fitbit Device
If you encounter persistent issues with your Fitbit device, performing a reset can help resolve them. Resetting your Fitbit device will wipe its data and restore it to its factory settings. Here are the steps to reset your Fitbit device.
1. Open the Fitbit app on your smartphone or tablet. Make sure your device is connected to the internet.
2. Tap on the profile icon located at the top-left corner of the app’s home screen. This will take you to your personal profile dashboard.
3. Scroll down and find the section labeled “Devices.” Tap on your Fitbit device name to access its settings.
4. Within the device settings, look for the option “Factory Reset” or “Reset Device.” Tap on it to initiate the reset process.
5. Follow the on-screen instructions to confirm the reset. Be aware that this action will erase all data, including your activity history and personalized settings. If there’s anything important that you want to save, make sure to back it up before proceeding with the reset.
6. Once the reset is initiated, your Fitbit device will go through the process. This may take a few minutes, so be patient and avoid interrupting the reset.
7. After the reset is complete, your Fitbit device will restart. It will display the initial setup screen, indicating that the reset was successful.
By performing a reset, you can troubleshoot persistent issues that cannot be resolved through other means. However, it’s important to note that resetting your Fitbit device is a drastic step that will result in the loss of all data. Make sure to back up any important information before proceeding with the reset. If the issues persist even after a reset, you may need to contact Fitbit support for further assistance.