
Check System Compatibility
Before attempting to turn your Windows laptop into a Wi-Fi hotspot, it’s important to ensure that your system meets the necessary requirements. This will help prevent any potential issues and ensure a smooth setup process. Here are some key factors to consider when checking system compatibility:
- Operating System: Verify that your laptop is running a compatible version of Windows, such as Windows 10, Windows 8, or Windows 7. Older versions may not have the necessary features to create a Wi-Fi hotspot.
- Wireless Adapter: Check if your laptop has a built-in wireless adapter that supports the hotspot feature. Most modern laptops have this capability, but it’s always a good idea to double-check.
- Network Capability: Ensure that your laptop is connected to the internet via an Ethernet cable or another reliable internet source. This is essential for sharing the internet connection with other devices through the Wi-Fi hotspot.
- Administrative Privileges: To make changes to your laptop’s network settings, you will need administrative privileges. Make sure you have the necessary permissions to proceed with the setup.
- Firewall and Antivirus: Disable any firewall or antivirus software that might interfere with the hotspot creation process. Temporarily turning off these security measures can help avoid potential conflicts.
By taking the time to check your system’s compatibility, you can be confident that your laptop is ready to transform into a Wi-Fi hotspot. Once you’ve confirmed these requirements, you can move on to the next steps of the setup process.
Connect Using Ethernet Cable
Before you can turn your Windows laptop into a Wi-Fi hotspot, it’s necessary to connect your laptop to the internet using an Ethernet cable. This ensures that you have a stable and reliable internet connection to share with other devices. Follow these steps to establish the connection:
- Locate the Ethernet Port: On your laptop, find the Ethernet port, which is typically located on the side or the back of the device. It looks like a slightly larger version of a phone jack.
- Connect the Ethernet Cable: Take one end of the Ethernet cable and insert it firmly into the Ethernet port on your laptop. Make sure it is securely connected to avoid any loose or intermittent connections.
- Connect the Other End: Take the other end of the Ethernet cable and connect it to a router, modem, or a functioning internet source. This could be a wall socket, a router’s Ethernet port, or another device that provides an internet connection.
- Check the Connection: Once the Ethernet cable is properly connected to both your laptop and the internet source, check for a stable connection. Look for the network connection icon in the system tray at the bottom right corner of your laptop’s screen. If it is showing a connected status or displaying signal bars, you are successfully connected to the internet.
Establishing a reliable internet connection using an Ethernet cable is essential to ensure a seamless Wi-Fi hotspot experience. This connection will serve as the foundation for sharing the internet connection with other devices. Once you have successfully connected using an Ethernet cable, you can proceed to the next steps of creating and configuring your Wi-Fi hotspot.
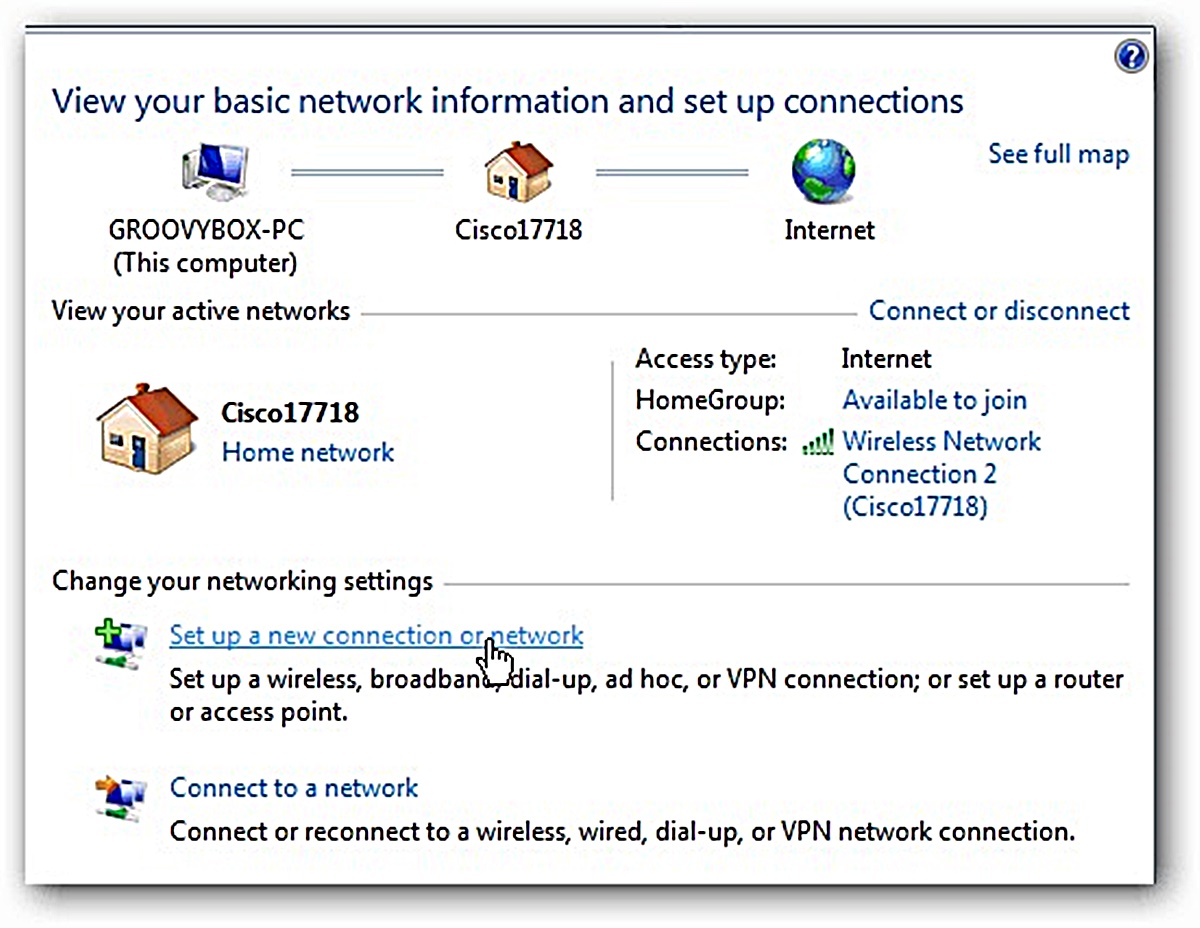
Open Network Connections Settings
To begin the process of turning your Windows laptop into a Wi-Fi hotspot, you need to open the network connections settings on your device. This will allow you to make the necessary changes to create and configure the hotspot. Follow the step-by-step instructions below to access the network connections settings:
- Open the Start Menu: Click on the “Start” button, usually located in the bottom left corner of the taskbar on your desktop.
- Search for Network Connections: In the search bar, type “Network Connections” and wait for the search results to appear.
- Select Network Connections: From the search results, click on “Network Connections” to open the network settings window.
- View Available Connections: In the network connections window, you will see a list of available connections. Look for the one that represents your Ethernet connection. It may be labeled as “Local Area Connection” or “Ethernet.”
- Right-Click the Ethernet Connection: Once you have identified the Ethernet connection, right-click on it to access a drop-down menu.
- Choose Properties: From the drop-down menu, select “Properties.” This will open a new window with the properties for your Ethernet connection.
By following these steps, you will be able to access the network connections settings on your Windows laptop. This will serve as the starting point for creating a Wi-Fi hotspot and making the necessary configurations. Once you have opened the network connections settings, you can proceed to the next steps of creating and configuring the hotspot.
Open the Command Prompt
To continue with the process of turning your Windows laptop into a Wi-Fi hotspot, you need to open the Command Prompt. This powerful tool will allow you to execute the necessary commands to create the hotspot. Follow the step-by-step instructions below to open the Command Prompt:
- Open the Start Menu: Click on the “Start” button, located in the bottom left corner of your desktop.
- Search for Command Prompt: In the search bar, type “Command Prompt” and wait for the search results to appear.
- Select Command Prompt: From the search results, click on “Command Prompt” to open the application.
Alternatively, you can also open the Command Prompt using a keyboard shortcut. Press the Windows key + R simultaneously to open the Run dialog box. Type “cmd” into the box and press enter. This will open the Command Prompt.
Once you have successfully opened the Command Prompt, you are ready to proceed with creating the Wi-Fi hotspot. The Command Prompt will allow you to execute the necessary commands for configuration and activation. Keep the Command Prompt open and follow the next steps to continue setting up your Wi-Fi hotspot.
Create the Wi-Fi Hotspot
Now that you have opened the Command Prompt, it’s time to create the Wi-Fi hotspot on your Windows laptop. The Command Prompt will enable you to execute the necessary commands to set up and activate the hotspot. Follow the step-by-step instructions below to create the hotspot:
- Type the Command: In the Command Prompt window, type the following command and press Enter:
netsh wlan set hostednetwork mode=allow ssid=YourNetworkName key=YourNetworkPassword - YourNetworkName: Replace this with the name you want to give your Wi-Fi hotspot. Choose a name that is unique and easy to remember.
- YourNetworkPassword: Replace this with a secure password for your hotspot. Make sure to use a combination of letters, numbers, and special characters.
- Start the Hosted Network: Once you have entered the command and replaced the parameters with your desired network name and password, type the following command and press Enter:
netsh wlan start hostednetwork - Verify the Hosted Network Status: To ensure that the hotspot has been created successfully, type the command
netsh wlan show hostednetworkand press Enter. Look for the “Status” field, which should indicate “Started.”
By following these steps, you will be able to create the Wi-Fi hotspot on your Windows laptop using the Command Prompt. Make sure to choose a unique network name and a secure password to protect your hotspot from unauthorized access. Once you have successfully created the hotspot, you can proceed to the next step of configuring the hotspot settings.
Configure the Wi-Fi Hotspot
After successfully creating the Wi-Fi hotspot on your Windows laptop, it’s time to configure the hotspot settings. This will allow you to customize your hotspot and ensure it meets your specific requirements. Follow the steps below to configure the Wi-Fi hotspot:
- Open Network Connections Settings: Go back to the network connections settings on your laptop. You can do this by right-clicking on the network icon in the system tray and selecting “Open Network & Internet Settings.”
- Click on “Change Adapter Options”: In the network connections settings window, click on the link that says “Change adapter options.” This will open a new window that displays your network adapters.
- Right-Click on the Hosted Network: Locate the network adapter labeled “Microsoft Wi-Fi Direct Virtual Adapter” or a similar name. Right-click on this adapter and select “Properties” from the drop-down menu.
- Configure the Network: In the properties window, go to the “Sharing” tab. Check the box that says “Allow other network users to connect through this computer’s Internet connection.” Optionally, you can also select the specific network connection to share from the drop-down menu.
- Save the Changes: Once you have configured the network settings, click on “OK” to save the changes and close the properties window.
By following these steps, you will be able to configure the Wi-Fi hotspot settings to your desired specifications. Enabling the sharing option will allow other devices to connect and use your laptop’s internet connection. Ensure that the changes are saved before moving on to the final step of starting the hotspot.
Start the Hotspot
With the Wi-Fi hotspot created and configured on your Windows laptop, it’s time to start the hotspot and begin sharing your internet connection with other devices. Follow the steps below to start the hotspot:
- Open the Command Prompt: If you have closed the Command Prompt window, open it again using the instructions mentioned earlier.
- Type the Command: In the Command Prompt window, type the following command and press Enter:
netsh wlan start hostednetwork - Verify the Hotspot Status: To ensure that the hotspot has started successfully, type the command
netsh wlan show hostednetworkand press Enter. Look for the “Status” field, which should indicate “Started.”
Once the hotspot is started, other devices within range will be able to connect to it using the network name and password you set earlier. These devices will be able to utilize your laptop’s internet connection for browsing the web, streaming media, and more. Keep in mind that the hotspot will remain active as long as your laptop is on and the hotspot is enabled. You can start and stop the hotspot at any time by using the “netsh wlan start hostednetwork” or “netsh wlan stop hostednetwork” commands in the Command Prompt.
Now that you have successfully started the Wi-Fi hotspot, you can enjoy the convenience of sharing your laptop’s internet connection with other devices. This can be particularly useful in situations where a dedicated Wi-Fi network is not available, such as when traveling or in areas with limited connectivity. Remember to secure your hotspot with a strong password and monitor the connected devices to ensure a safe and enjoyable internet-sharing experience.