
Check Power Supply
The power supply is a crucial component of a desktop computer. If the power supply is not working properly, your computer may not turn on. To ensure that the power supply is functioning correctly, follow these steps:
- Make sure the power cord is plugged securely into the power supply at the back of your computer and the power outlet. Check both ends of the power cord to ensure they are firmly connected.
- Inspect the power supply’s indicator light, if it has one. If the light is off or flashing, it may indicate a problem with the power supply. In this case, you may need to replace the power supply.
- If your computer has a voltage switch on the back, ensure it is set to the correct voltage for your region. Using the wrong voltage setting can damage the power supply and other components.
- Unplug the power cord from the power supply and gently remove it from the back of your computer. Inspect the power cord for any physical damage such as cuts or frayed wires. If you find any damage, replace the power cord immediately.
- Consider using a spare known-working power cord to test your computer. Sometimes, the issue may lie with the power cord rather than the power supply itself.
- If you have access to a power supply tester or a multimeter, use it to check the output of the power supply. Make sure all the voltage readings are within the acceptable range.
By following these steps, you can effectively check the power supply of your desktop computer. Remember, a malfunctioning power supply can prevent your computer from turning on, so it’s crucial to ensure it’s in proper working condition.
Connect to Power Outlet
Once you have ensured that the power supply is in proper working condition, the next step is to connect your desktop computer to a power outlet. Follow these guidelines to ensure a secure and efficient connection:
- Locate a nearby power outlet that is easily accessible. Avoid using power strips or extension cords unless absolutely necessary, as these can introduce potential hazards or limit the power supply to your computer.
- Ensure the power outlet is grounded to provide proper electrical safety. Look for three-prong outlets, which include a ground connector, for the best protection against electrical problems.
- Plug the power cord firmly into the power supply port at the rear of your desktop computer. Apply gentle pressure to ensure it is securely connected, but be careful not to use excessive force that may damage the port or the cord.
- Connect the other end of the power cord into the power outlet. Ensure that it fits snugly and that there are no loose connections. A loose connection can result in intermittent power supply and cause issues with starting your computer.
- Consider using a surge protector to protect your computer from sudden power surges or voltage spikes. A surge protector can help safeguard your computer and other connected devices from electrical damage.
- Double-check all connections to ensure they are secure. If desired, use cable clips or zip ties to organize the cables and prevent them from becoming tangled or causing a tripping hazard.
By following these steps, you can ensure a proper and safe connection between your desktop computer and the power outlet. A secure connection is essential for the smooth operation and longevity of your computer.
Press Power Button
Now that you have checked the power supply and connected your desktop computer to a power outlet, it’s time to press the power button and start your computer. Follow these steps to ensure a successful start-up:
- Locate the power button on your computer case. It’s typically located on the front panel and may be marked with the universally recognized power symbol (a circle with a vertical line).
- Position yourself in front of your computer and place your finger on the power button.
- Take a moment to ensure that all necessary peripherals, such as the monitor, keyboard, and mouse, are properly connected and powered on.
- When you are ready, press and hold the power button for a few seconds until you see signs of the computer starting up. This may include the fans spinning, lights turning on, or hearing a beep sound, depending on your computer model.
- Release the power button once you see these signs. The computer will continue to boot up and eventually reach the operating system’s loading screen or desktop.
- If your computer does not start up after pressing the power button, ensure that all connections are secure and that the power outlet is functioning correctly. Alternatively, consult your computer’s manual or contact technical support for further assistance.
By following these steps, you can press the power button and start your desktop computer with ease. Remember to be patient during the startup process, as it may take a few moments for your computer to fully boot up.
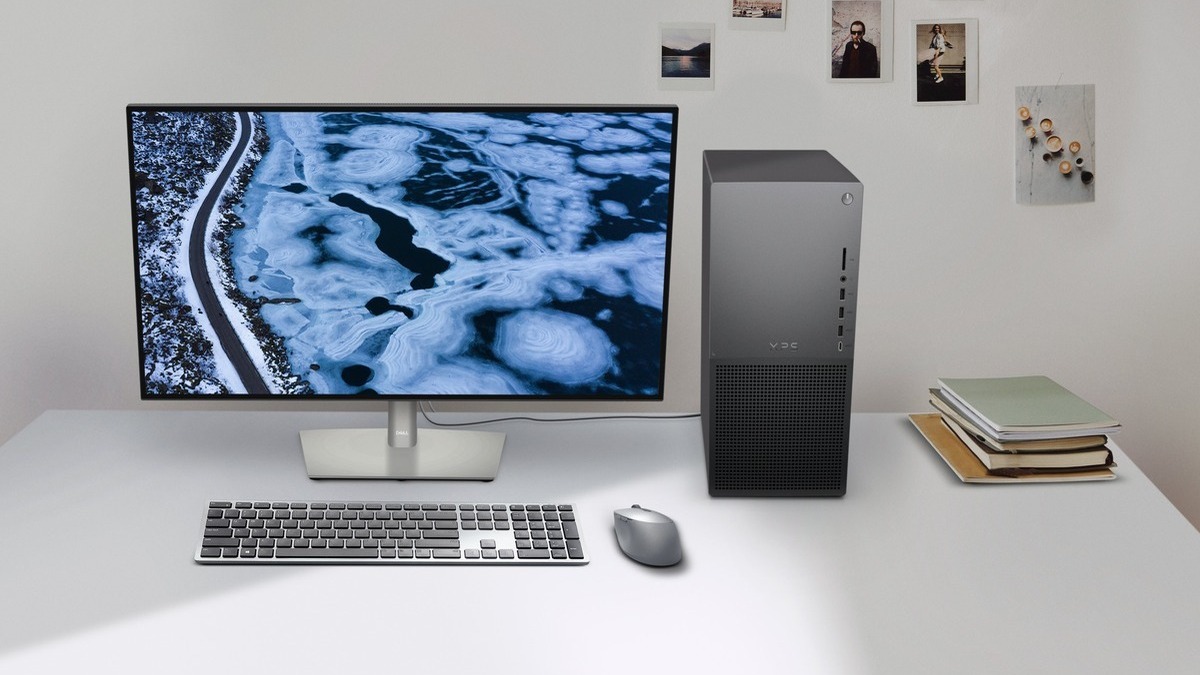
Monitor Power Button
The monitor is an essential component of your desktop computer, and it has its own power button that needs to be turned on to display the visual output. Follow these steps to properly activate the monitor:
- Locate the power button on your monitor. It’s usually located either on the front or side of the screen.
- Ensure that the power cable is securely connected to both the monitor and the power outlet. Verify that there are no loose connections or frayed wires.
- Once you have confirmed the power connection, press the monitor’s power button to turn it on. In some models, you may need to press and hold the power button for a few seconds.
- You should see the monitor’s indicator light turn on, indicating that it’s receiving power.
- Wait for a few moments as the monitor goes through its startup process. You may see the manufacturer’s logo or a blank screen during this time.
- If necessary, adjust the monitor’s settings, such as brightness and contrast, to your preferred levels using the on-screen menu buttons located on the monitor.
By following these steps, you can easily activate the power button on your monitor and ensure that it functions correctly. If you encounter any issues, such as a blank screen or no display, double-check the connections and consult the monitor’s manual for further troubleshooting steps.
Troubleshooting Common Issues
Despite following the necessary steps, you may encounter certain issues when turning on your desktop computer. Here are some common problems and troubleshooting techniques to help you resolve them:
- No power: If your computer does not show any signs of power, ensure that the power cord is securely connected to both the power outlet and the power supply. Check if there’s power in the outlet by plugging in a different device. If the outlet has power and your computer still won’t turn on, there may be an issue with the power supply or other hardware components.
- System not booting: If your computer starts up but fails to boot into the operating system, there could be various causes. First, check that all peripheral devices, such as keyboard and mouse, are connected properly. Next, ensure that the storage drive containing the operating system has not encountered any issues. You may need to access the computer’s BIOS settings or consult your operating system’s documentation for further troubleshooting options.
- Blank screen: If your monitor remains blank or displays a “no signal” message, check the connections between the monitor and the computer. Ensure that the video cable is securely attached at both ends and that the monitor is set to the correct input source. If the issue persists, try connecting the monitor to a different computer to determine if the problem lies with the monitor or the computer itself.
- Strange noises: Unusual noises coming from your computer when turning it on could indicate a hardware issue. If you hear grinding, buzzing, or clicking sounds, it may be an indication of a failing hard drive or a malfunctioning fan. In such cases, it is recommended to seek professional assistance to diagnose and fix the problem.
- Blue screen of death (BSOD): If your computer displays a blue screen with error messages while starting up, it indicates a critical system error. Take note of the error codes or messages shown on the screen, as they can provide valuable information for troubleshooting. Restart your computer and try booting into safe mode to troubleshoot the cause of the issue. If needed, seek help from technical support or consult online resources for specific error code solutions.
By understanding these common issues and employing appropriate troubleshooting techniques, you can effectively resolve problems encountered during the startup process of your desktop computer. Remember to consult professional help or technical support if you are unsure about performing any advanced troubleshooting steps.