
Steps to Turn Off HTC Vive Controller
Turning off your HTC Vive Controller is a simple process that can help conserve battery life and ensure your controllers are ready for your next VR adventure. Follow these steps to power off your HTC Vive Controller:
Step 1: Open SteamVR
To begin, ensure that SteamVR is running on your computer. SteamVR is the software platform that allows you to use your HTC Vive headset and controllers.
Step 2: Make sure the controllers are connected
Make sure your HTC Vive controllers are properly connected to your computer. Check the LED lights on the controllers to ensure they are powered and paired with your system.
Step 3: Press the System button on the controller
Locate the System button on one of the HTC Vive controllers. It is usually located in the middle, just below the trackpad. Press and hold the System button to access the controller’s settings.
Step 4: Navigate to the Power options
Once you have accessed the settings menu, use the trackpad or thumbstick to navigate to the Power options. This menu allows you to control the power settings of your HTC Vive Controller.
Step 5: Select Power off from the menu
Within the Power options menu, select the option to power off the controller. This will prompt a confirmation dialog box.
Step 6: Confirm the shutdown
Confirm your intention to power off the controller by selecting “Yes” or “Confirm” in the dialog box. This will initiate the shutdown process, turning off the controller.
Step 7: Repeat the process for the other controller if needed
If you have multiple HTC Vive controllers, you will need to repeat the above steps for each controller individually. Make sure to power off all controllers that are not in use to conserve battery life.
By following these simple steps, you can easily turn off your HTC Vive controllers when they are not in use. This will help prolong their battery life and ensure they are ready for your next VR experience.
Step 1: Open SteamVR
Before you can turn off your HTC Vive Controller, it is important to ensure that SteamVR, the software platform that allows you to use your HTC Vive headset and controllers, is running on your computer.
To open SteamVR, follow these simple steps:
- Launch Steam: Locate the Steam application on your computer and double-click on its icon to open it. If you don’t have Steam installed, visit the official Steam website and download and install it before proceeding.
- Sign in to your Steam account: If you are not already signed in to your Steam account, enter your login credentials in the provided fields and click on the “Sign In” button.
- Access the SteamVR menu: After signing in, you will be taken to the Steam main screen. Look at the top right corner of the Steam window and locate the “VR” tab. Click on it to access the SteamVR menu.
- Launch SteamVR: From the SteamVR menu, click on the “Start SteamVR” button to launch the SteamVR software.
Once you have successfully opened SteamVR, you will be able to use your HTC Vive headset and controllers.
It is important to note that in some cases, SteamVR may automatically launch when you connect your HTC Vive headset or when you turn on your computer. However, if SteamVR does not automatically start, you can follow the aforementioned steps to open it manually.
By ensuring that SteamVR is running on your computer, you can enjoy a seamless virtual reality experience with your HTC Vive headset and controllers. Now that you have successfully opened SteamVR, you can proceed to the next step to turn off your HTC Vive Controller.
Step 2: Make sure the controllers are connected
Before you can turn off your HTC Vive Controller, it is crucial to ensure that the controllers are properly connected to your computer. This will ensure that the shutdown process is successful.
To check the connection status of your HTC Vive controllers, follow these steps:
- Inspect the LED lights: Examine the LED lights on the controllers. If the lights are solid or blinking, it indicates that the controllers are powered on and connected to your system. However, if the lights are not illuminated, it suggests that the controllers may not be connected or are in standby mode.
- Re-establish the connection: In the event that the controllers are not connected, or if you are encountering connectivity issues, you can try re-establishing the connection. To do this, locate the pairing button on the front of each controller. Press and hold the button until the LED light starts to blink, indicating that the controllers are in pairing mode. This will allow them to connect to your computer.
- Check the SteamVR status: Open the SteamVR interface on your computer. Look for the green-colored icons that represent the HTC Vive controllers. If the icons are displayed and not greyed out, it indicates that the controllers are connected and recognized by the system.
Ensuring that your HTC Vive controllers are properly connected is crucial for a smooth and uninterrupted VR experience. By following these steps, you can verify the connection status of your controllers and proceed to the next step to turn off your HTC Vive Controller.
Step 3: Press the System button on the controller
Once you have confirmed that your HTC Vive controllers are connected, it’s time to navigate to the controller settings and initiate the shutdown process. This can be done by pressing the System button on the controller.
Here’s how to find and press the System button on your HTC Vive controller:
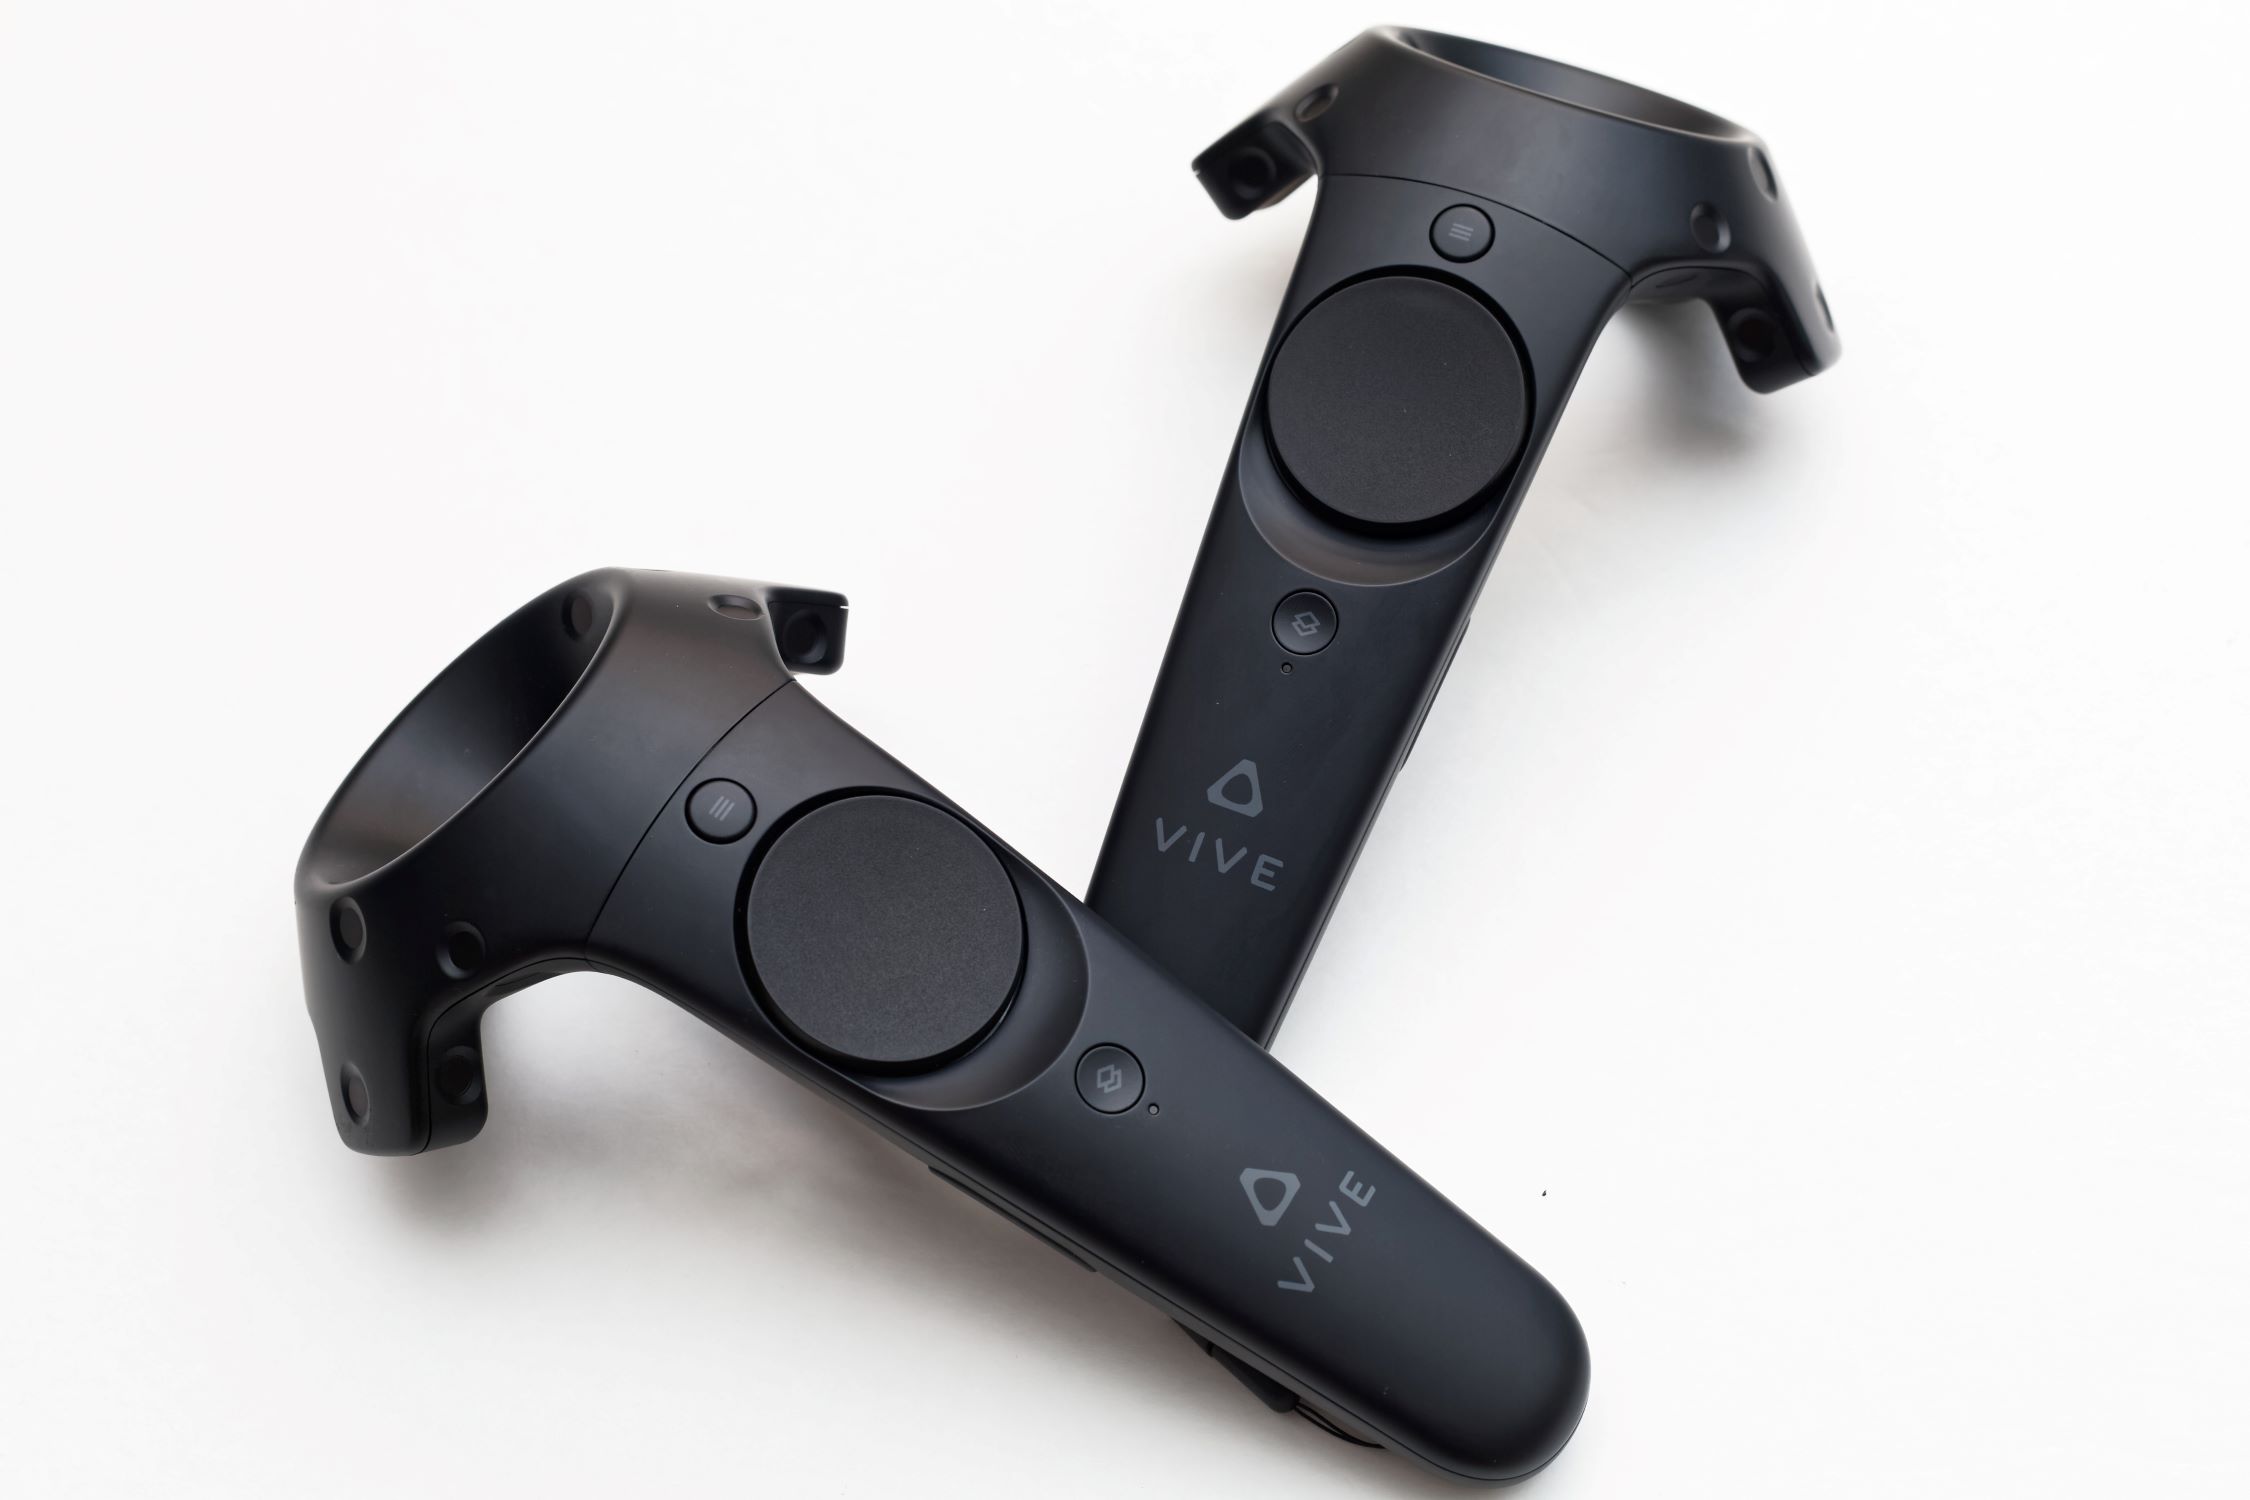
- Locate the System button: The System button is located on the front of the HTC Vive controller, in the center just below the trackpad. It is a small circular button with a raised circle symbol.
- Press and hold the System button: With the controller in your hand, use your thumb or finger to press and hold the System button. Hold it until you see a menu or a new screen appear in your VR headset.
By pressing the System button, you are accessing the controller’s settings, which will allow you to navigate further and power off the controller.
It is important to note that the exact interface and layout may vary depending on the version of SteamVR and the HTC Vive controller model you are using. However, the System button functionality remains consistent across all HTC Vive controllers.
Once you have successfully pressed the System button and accessed the controller settings, you are ready to proceed to the next step and navigate to the power options for turning off your HTC Vive Controller.
Step 4: Navigate to the Power options
After pressing the System button on your HTC Vive controller, you will need to navigate to the Power options menu in order to proceed with turning off the controller. This menu allows you to control the power settings of your controller.
Follow these steps to find the Power options menu:
- Once you have accessed the controller settings by pressing the System button, look for an option or button that represents the power or battery settings. It could be labeled as “Power,” “Battery,” or something similar.
- Use the trackpad or thumbstick on the HTC Vive controller to navigate through the menu. Move your thumb or finger up, down, left, or right to highlight and select different options.
- Look for an option that specifically mentions power or shutdown. Sometimes, the Power options may be nested within a sub-menu, so be sure to explore all available options.
- Once you have found the Power options, select it by pressing the trackpad or a button on the controller. This will allow you to access the power-related settings.
It’s worth noting that the interface and menu navigation may differ slightly depending on the version of SteamVR and the HTC Vive controller model you are using. However, the Power options menu should be accessible from the controller settings screen.
By successfully navigating to the Power options menu, you are now ready to proceed to the next step and select the option to power off your HTC Vive Controller.
Step 5: Select Power off from the menu
Once you have navigated to the Power options menu on your HTC Vive controller, the next step is to select the option to power off the controller. This will initiate the shutdown process and turn off the controller.
Here’s how to select the Power off option from the menu:
- Using the trackpad or thumbstick on your HTC Vive controller, navigate through the Power options menu. Look for the specific option that allows you to power off the controller.
- Highlight the Power off option by moving your thumb or finger up, down, left, or right on the trackpad or thumbstick. Once the option is highlighted, press the trackpad or a button on the controller to select it.
Depending on the version of SteamVR and the HTC Vive controller model you are using, the Power off option may be labeled differently. It could be labeled as “Power off,” “Shutdown,” or something similar.
By selecting the Power off option, you are confirming your intention to shut down the HTC Vive controller and turn it off. This will ensure that the controller is no longer using battery power and is ready for the next use.
It’s worth noting that if you accidentally select the Power off option or change your mind, you can simply exit the menu without confirming the shutdown. This will prevent the controller from powering off.
Once you have successfully selected the Power off option, you are ready to proceed to the next step and confirm the shutdown of your HTC Vive Controller.
Step 6: Confirm the shutdown
After selecting the Power off option from the menu on your HTC Vive controller, you will be prompted to confirm the shutdown in order to proceed with turning off the controller.
To confirm the shutdown, follow these steps:
- Once you have selected the Power off option, a confirmation dialog box will appear on your VR headset’s display. This dialog box will ask you to confirm your intention to power off the controller.
- Look for the “Yes” or “Confirm” option within the confirmation dialog box. Use the trackpad or thumbstick on your HTC Vive controller to navigate to the desired option.
- Once you have highlighted the “Yes” or “Confirm” option, press the trackpad or a button on the controller to select it. This will confirm the shutdown and initiate the process of turning off the HTC Vive controller.
It’s important to note that if you change your mind or selected the Power off option by mistake, you can select the “No” or “Cancel” option within the confirmation dialog box. This will cancel the shutdown process and keep the controller powered on.
By confirming the shutdown, you are ensuring that the HTC Vive controller will be powered off and not drain its battery unnecessarily. This helps to conserve battery life and ensures that the controller is ready for the next use.
Once you have successfully confirmed the shutdown, you can proceed to the next step if you have multiple controllers or finalize the process if you only have one controller in use.
Step 7: Repeat the process for the other controller if needed
If you have multiple HTC Vive controllers that need to be turned off, you will need to repeat the previous steps for each controller individually. This ensures that all controllers are powered off and ready for the next use.
Follow these steps to turn off the other HTC Vive controller:
- Complete the previous steps for turning off the first HTC Vive controller, including navigating to the Power options, selecting Power off, and confirming the shutdown.
- Once the first controller is powered off, place it down in a safe location.
- Repeat Steps 3 to 6 for the second controller. This includes pressing the System button, navigating to the Power options, selecting Power off, and confirming the shutdown.
- Once the second controller is powered off, you have successfully turned off both HTC Vive controllers.
By repeating the process for each controller, you can ensure that all controllers are properly powered off and not consuming unnecessary battery power. This helps to preserve battery life and ensures that your controllers are always ready to use when needed.
It’s worth noting that if you only have one HTC Vive controller, you can skip this step. Simply follow the steps outlined earlier to turn off the single controller, and you’re all set!
By completing Step 7 and turning off all HTC Vive controllers, you have successfully powered down your controllers and can now store them or focus on other tasks until you’re ready to use them again.