
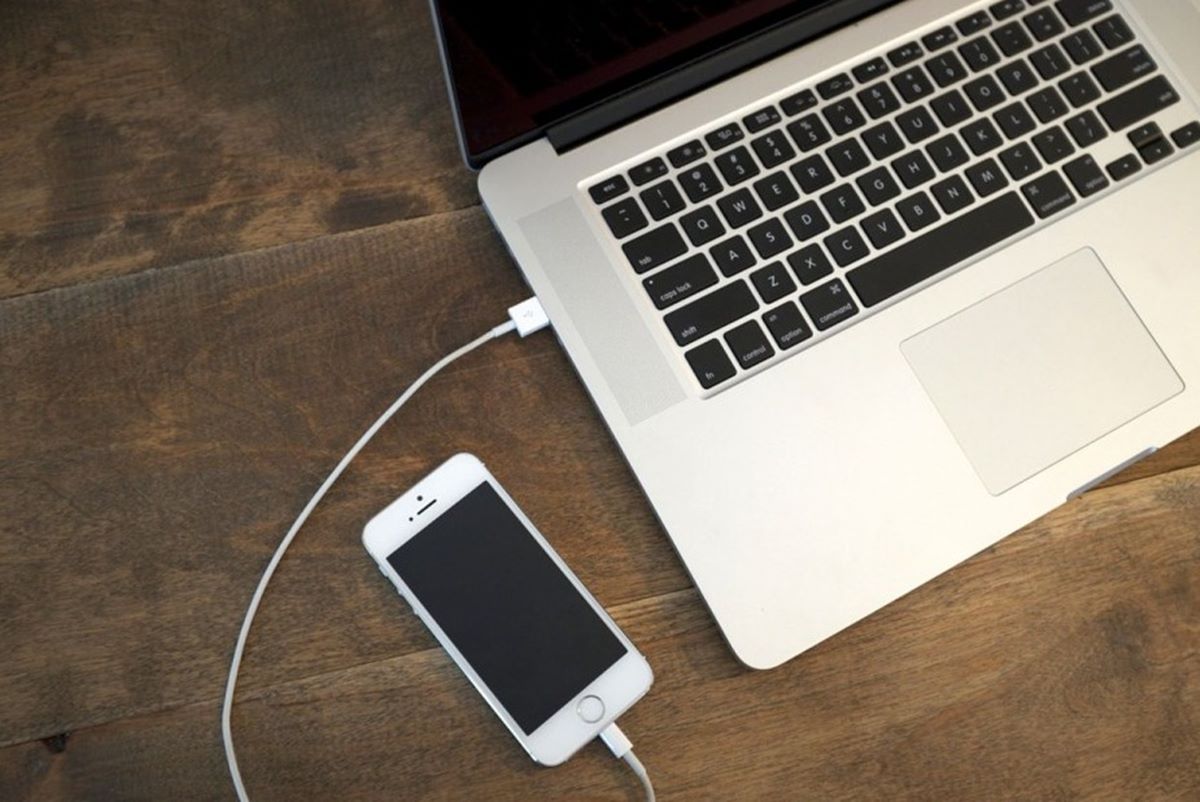
Connect your phone to your laptop using a USB cable
To transfer photos from your phone to your laptop, the first step is to establish a physical connection between the two devices. One of the most common and convenient methods is by using a USB cable. This allows for a direct and secure connection, ensuring a stable and efficient data transfer process.
Begin by locating the USB cable that came with your phone. This cable typically has a USB Type-A connector on one end, which will connect to a USB port on your laptop, and a connector that corresponds to the charging port on your phone.
Once you have the cable, plug the USB Type-A connector into an available USB port on your laptop. Next, gently insert the other end of the cable into the charging port on your phone. Ensure a secure connection by firmly pushing the cable into place, being careful not to apply excessive force that could damage the hardware.
After the cable is connected, both your phone and laptop should recognize the connection. You may see a notification on your phone indicating that it is connected to a computer. On your laptop, you should hear a sound or see a pop-up notification confirming the device connection.
It’s important to ensure that your phone is unlocked when connecting it to your laptop. Some devices require you to confirm the connection through a prompt on your phone’s screen. Make sure to select the appropriate option to allow the connection for data transfer purposes.
Once the connection is established, your phone will be recognized as an external storage device by your laptop. This allows you to access the files and folders on your phone’s storage, including the photos you want to transfer.
In the following sections, we will explore how to navigate the file management system on your laptop to locate your phone’s storage folders and complete the photo transfer process. Let’s dive in!
Open the file manager on your laptop
Once you have successfully connected your phone to your laptop using a USB cable, the next step is to open the file manager on your laptop. The file manager is an essential tool that allows you to navigate through the files and folders stored on your laptop’s hard drive, as well as any connected external devices.
The method of accessing the file manager may vary slightly depending on the operating system of your laptop. However, the following instructions should give you a general idea of how to open the file manager on most systems.
If you are using a Windows laptop, you can typically open the file manager by clicking on the “File Explorer” icon on the taskbar. Alternatively, you can use the keyboard shortcut “Windows key + E” to launch the file explorer instantly.
For macOS users, the file manager is called “Finder.” You can access Finder by clicking on the smiling face icon located on the dock at the bottom of the screen. Additionally, you can use the keyboard shortcut “Command + Space” to open the Spotlight search, then type “Finder” and press Enter.
Linux users have a variety of file managers available, depending on the distribution they are using. In most cases, you can find the file manager listed under the “Applications” or “System” menu. Common file managers for Linux include Nautilus, Dolphin, and Thunar.
Once you have opened the file manager, you will see a window displaying the files and folders on your laptop. Take a moment to familiarize yourself with the layout and interface of the file manager. You will use this tool to navigate to your phone’s storage folders and locate the photos you want to transfer.
In the next section, we will guide you through the process of finding your phone’s storage folders within the file manager on your laptop. Stay tuned!
Locate your phone’s storage folders
After connecting your phone to your laptop and opening the file manager, the next step is to locate your phone’s storage folders. These folders contain all the files, including photos, that are stored on your phone’s internal memory or SD card.
In the file manager window, you will typically see a sidebar or a navigation pane on the left side of the screen. Look for a section or category that represents external devices or removable storage. Your phone should be listed under this section.
Click on your phone’s name or icon to access its storage folders. In some cases, you may be prompted to unlock your phone and grant permission for the connection. Follow the instructions and ensure that you are allowing your laptop to access your phone’s files.
Once you have accessed your phone’s storage folders, you will see a list of directories and files. The exact structure may vary depending on your phone’s manufacturer and operating system version. Typically, you will find folders such as “DCIM” (which stands for Digital Camera Images) or “Pictures,” where your photos are stored.
Navigate through the folders by clicking on them, opening subfolders if necessary, until you reach the location where your desired photos are stored. Take your time to browse through the folders and ensure that you have located the correct ones.
It’s worth noting that some phones may have additional folders or subfolders with specific names related to their default camera app or gallery. These folders may vary depending on the phone’s brand and software. If you are unsure about the location of your photos, you can also check the settings or user manual of your phone for more guidance.
Once you have located the folder(s) containing your photos, you are ready to proceed to the next step of selecting the specific photos you want to transfer. Keep reading to find out how to select and copy the photos effectively!
Select the photos you want to transfer
Now that you have located your phone’s storage folders in the file manager, it’s time to select the specific photos you want to transfer to your laptop. By selecting only the desired photos, you can ensure a more streamlined transfer process and save storage space on your laptop.
Browse through the folders containing your photos and identify the images you wish to transfer. To select a single photo, simply click on it, and it will be highlighted or outlined to indicate that it has been selected. If you want to select multiple photos, you can use one of the following methods:
- Click and drag: Click and hold on one photo, then move the mouse while holding the click to select a continuous range of photos. Release the click to complete the selection.
- Ctrl/Cmd + Click: Hold down the Ctrl key on a Windows laptop or the Cmd key on a Mac laptop while clicking on each photo you want to select. This allows you to select multiple photos individually.
- Select all: To quickly select all the photos in a folder, you can use the keyboard shortcut Ctrl/Cmd + A. This will automatically select all the photos visible in the current folder.
As you select the photos, you can verify your selections by checking that they remain highlighted or outlined. Take your time to ensure that you have selected all the desired photos accurately.
If you accidentally select a photo that you don’t want to transfer, you can simply click on it again to deselect it. Alternatively, you can use the keyboard shortcut Ctrl/Cmd + click to deselect individual photos while keeping the others selected.
Once you have made your selections, you are ready to proceed to the next step: copying the selected photos to your laptop’s storage. Stay tuned to learn how to complete the transfer process effectively!
Copy the selected photos
Now that you have selected the photos you want to transfer from your phone to your laptop, the next step is to copy them. By copying the selected photos, you will create a duplicate on your laptop while leaving the original files intact on your phone.
To begin, right-click on one of the selected photos. A context menu will appear with various options. Look for the option that says “Copy” or “Copy to.” Click on this option to initiate the copy process.
Alternatively, you can use the keyboard shortcut Ctrl + C on a Windows laptop or Cmd + C on a Mac laptop to copy the selected photos.
After selecting the copy option, navigate to the folder on your laptop where you want to store the transferred photos. This could be a specific folder you have created for organizing photos or a default location like the “Pictures” folder.
Once you have reached the desired folder destination, right-click on an empty space within the folder and select the option “Paste” from the context menu.
Similarly, you can use the keyboard shortcut Ctrl + V on a Windows laptop or Cmd + V on a Mac laptop to paste the copied photos into the folder.
Wait for the copying process to complete. The time required for the transfer depends on the number and size of the selected photos as well as the speed of your USB connection.
During the copying process, it is essential not to disconnect your phone or interrupt the data transfer. Doing so may result in incomplete file transfers or corrupted images.
Once the copying process has finished, you will see the transferred photos in the destination folder on your laptop. Take a moment to verify that all the selected photos have been successfully copied.
Congratulations! You have now successfully copied the selected photos from your phone to your laptop. In the next section, we will cover the final step: disconnecting your phone from your laptop. Stay with us!
Paste the copied photos into a folder on your laptop
After copying the selected photos from your phone, the next step is to paste them into a folder on your laptop. This allows you to organize and access the transferred photos easily.
First, navigate to the folder on your laptop where you want to store the transferred photos. This could be a pre-existing folder specifically created for organizing photos, or you can create a new folder for this purpose.
To create a new folder, right-click on an empty space within the desired location and select the “New Folder” option from the context menu. Give the folder a meaningful name that helps you identify its contents, such as “Phone Photos” or “Transfer from Phone.”
Once you have opened or created the target folder, right-click on an empty space within it and select the “Paste” option from the context menu. Alternatively, you can use the keyboard shortcut Ctrl + V on a Windows laptop or Cmd + V on a Mac laptop to paste the copied photos into the folder.
The selected photos will then be pasted into the folder on your laptop. Depending on the number and size of the transferred photos, this process may take a few moments to complete. Patience is key; ensure that the copying process is finished before proceeding.
Take a moment to go through the destination folder and verify that all the transferred photos are present. You can do this by opening the folder and visually inspecting the images. If you created a new folder, make sure to remember its location for future reference.
Now that the copied photos are safely stored on your laptop, you can further organize them into subfolders or albums based on your preferences. This will help you keep track of your photos and make them easily accessible when needed.
Great job! You have successfully pasted the copied photos into a folder on your laptop. In the final section, we will cover how to disconnect your phone from your laptop safely. Stay tuned!
Disconnect your phone from your laptop
Once you have successfully transferred the photos from your phone to your laptop, it is important to disconnect your phone safely to avoid any potential data loss or hardware damage. Follow these steps to safely disconnect your phone from your laptop:
First, close any open windows or applications that might be accessing files on your phone. This ensures that all file transfer processes are completed and no data is at risk of being corrupted.
Next, locate the USB icon in the system tray or menu bar on your laptop. This icon typically represents USB devices connected to your laptop. Right-click on the USB icon to bring up a contextual menu.
In the contextual menu, select the option that corresponds to your phone or the USB connection. It may be labeled as your phone’s name, “Safely Remove Hardware,” “Eject,” or a similar option. Click on this option to safely eject your phone from your laptop.
Alternatively, if your laptop has a physical eject button or switch for USB devices, you can use that to safely disconnect your phone.
Wait for a notification or confirmation message indicating that it is safe to disconnect your phone. This may take a few moments. Do not unplug the USB cable until you receive this confirmation, as it ensures that all data transfers have been completed and any cache or temporary files have been written to the phone’s storage.
Once you have received the confirmation, gently remove the USB cable from your phone and then disconnect it from your laptop. Handle the USB cable carefully and avoid pulling it forcefully, as this may cause damage to the port or cable.
Finally, double-check that your phone is no longer listed or recognized as connected in the file manager or device manager on your laptop. This confirms that the disconnection has been successful.
Congratulations! You have successfully disconnected your phone from your laptop. At this point, you can safely store or use your phone without the worry of data loss or interruption. Feel free to explore your transferred photos on your laptop and enjoy the benefits of having them readily available.