
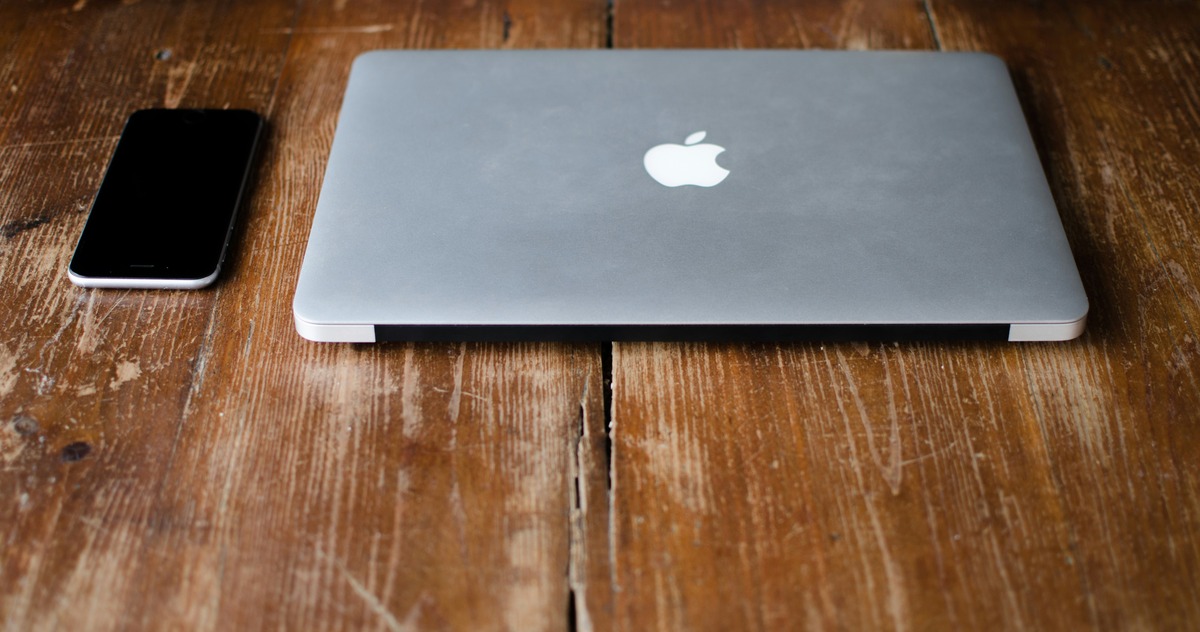
Using a USB Cable to Transfer Photos
Transferring photos from your iPhone 11 to your laptop using a USB cable is a straightforward and reliable method. This approach allows you to directly connect your iPhone to your laptop and transfer photos without relying on an internet connection. Here's a step-by-step guide to help you seamlessly transfer your precious memories:
-
Connect Your iPhone to Your Laptop: Start by connecting your iPhone 11 to your laptop using a USB cable. Once connected, your laptop may prompt you to trust the device. Simply unlock your iPhone and tap "Trust" to establish the connection.
-
Access Your Photos: After establishing the connection, your laptop should recognize your iPhone as a storage device. You can then access your iPhone's photos through your laptop's file explorer or photo management software.
-
Select and Transfer Photos: Navigate to the folder containing your iPhone's photos. You can then select individual photos or entire albums that you wish to transfer to your laptop. Simply drag and drop the selected photos to a folder on your laptop to initiate the transfer process.
-
Verify the Transfer: Once the transfer is complete, it's essential to verify that the photos have been successfully copied to your laptop. Open the destination folder on your laptop and ensure that all the transferred photos are intact and accessible.
-
Safely Disconnect Your iPhone: After the transfer is complete and you have verified the photos on your laptop, safely disconnect your iPhone from the USB cable. This can be done by ejecting the iPhone from your laptop's file explorer or using the designated "eject" option.
Using a USB cable to transfer photos offers a direct and efficient method to move your cherished memories from your iPhone 11 to your laptop. This approach is particularly beneficial for individuals who prefer a physical connection and want to avoid relying on wireless networks or cloud services for photo transfers.
Using iCloud to Transfer Photos
Utilizing iCloud to transfer photos from your iPhone 11 to your laptop provides a seamless and wireless method for managing your photo library. iCloud, Apple's cloud storage service, offers a convenient way to sync and access your photos across multiple devices, including your iPhone and laptop. Here's a comprehensive guide to leveraging iCloud for photo transfers:
-
Enable iCloud Photo Library: Begin by ensuring that iCloud Photo Library is enabled on your iPhone 11. To do this, navigate to Settings, tap on your Apple ID, select iCloud, and then tap on Photos. Toggle the iCloud Photo Library switch to enable it. This action ensures that your photos are automatically uploaded and stored in iCloud.
-
Access iCloud Photos on Your Laptop: On your laptop, open a web browser and navigate to the iCloud website. Sign in with your Apple ID and password to access your iCloud account. Once logged in, click on the "Photos" icon to view your entire photo library stored in iCloud.
-
Select and Download Photos: Within the iCloud Photos interface, you can browse through your entire collection of photos. Select the specific photos or albums that you wish to transfer to your laptop. You can choose individual photos or opt to download entire albums for a comprehensive transfer.
-
Download Photos to Your Laptop: After selecting the desired photos, click on the download icon or the "Download" button to initiate the transfer process. Depending on the number of photos and your internet connection speed, the download process may take some time. Once completed, the photos will be saved to your laptop's default download location.
-
Organize Transferred Photos: Upon successful download, you can organize the transferred photos into specific folders on your laptop for easy access and management. This step allows you to maintain a structured photo library on your laptop, mirroring the organization on your iPhone.
By leveraging iCloud for photo transfers, you can seamlessly synchronize your iPhone 11's photo library with your laptop, ensuring that your cherished memories are readily accessible across your devices. This wireless approach eliminates the need for physical connections and provides a convenient way to manage your photos without consuming storage space on your laptop. Additionally, iCloud's seamless integration with Apple devices enhances the overall user experience, making photo management a hassle-free endeavor.
Using AirDrop to Transfer Photos
AirDrop offers a convenient and efficient method for transferring photos from your iPhone 11 to your laptop seamlessly. This wireless technology, exclusive to Apple devices, enables you to transfer photos and other files between compatible devices with remarkable ease. Here's a detailed guide on leveraging AirDrop to effortlessly transfer your cherished photos:
-
Enable AirDrop on Your iPhone and Laptop: To initiate the photo transfer process, ensure that AirDrop is enabled on both your iPhone 11 and your laptop. On your iPhone, swipe down from the top-right corner of the screen to access the Control Center. Press and hold the network settings card, then tap on the AirDrop icon. Select "Contacts Only" or "Everyone" based on your preference. On your laptop, ensure that AirDrop is enabled in the Finder window or through the Control Center on MacBooks.
-
Select Photos for Transfer: Open the Photos app on your iPhone and navigate to the specific photos that you wish to transfer to your laptop. You can select individual photos or opt to transfer entire albums, depending on your preferences.
-
Initiate the AirDrop Transfer: With the desired photos selected, tap on the "Share" icon, typically represented by a box with an arrow pointing upwards. From the list of sharing options, select "AirDrop." Your iPhone will then scan for nearby AirDrop-compatible devices, including your laptop.
-
Accept the AirDrop Request on Your Laptop: Upon initiating the AirDrop transfer from your iPhone, your laptop should appear as an available AirDrop destination. Accept the AirDrop request on your laptop to commence the transfer process. Depending on the number of photos and your network speed, the transfer may take a few moments to complete.
-
Verify the Transfer: Once the transfer is complete, navigate to the designated folder on your laptop where the photos were received. Verify that all the transferred photos are successfully saved and accessible on your laptop.
By utilizing AirDrop, you can seamlessly transfer photos from your iPhone 11 to your laptop without the need for cables or internet connectivity. This wireless approach streamlines the photo transfer process, allowing you to effortlessly manage your photo library across your Apple devices. AirDrop's intuitive functionality and seamless integration with iOS and macOS make it a preferred choice for individuals seeking a hassle-free and efficient method for transferring photos.
Using Third-Party Apps to Transfer Photos
In addition to the native methods provided by Apple for transferring photos from an iPhone 11 to a laptop, utilizing third-party apps offers an alternative approach that caters to specific preferences and requirements. These apps often provide enhanced features, seamless connectivity, and additional functionalities that can streamline the photo transfer process. Here's an insightful exploration of leveraging third-party apps to facilitate the seamless transfer of photos from your iPhone 11 to your laptop.
Exploring Third-Party Photo Transfer Apps
Numerous third-party apps available on the App Store offer advanced photo transfer capabilities, allowing users to efficiently manage their photo libraries and seamlessly transfer photos to their laptops. These apps often provide features such as wireless transfers, automatic syncing, and advanced organizational tools, enhancing the overall user experience.
Selecting a Suitable Third-Party App
When considering third-party apps for photo transfers, it's essential to evaluate factors such as user reviews, ratings, compatibility with both iOS and laptop operating systems, and the specific features offered. Additionally, assessing the app's security measures and data encryption protocols is crucial to ensure the protection of sensitive photo content during the transfer process.
Initiating the Photo Transfer Process
Once a suitable third-party app is identified and installed on both the iPhone 11 and the laptop, users can initiate the photo transfer process by following the app's intuitive interface. This typically involves selecting the photos to be transferred, choosing the destination device (laptop), and initiating the transfer through the app's designated functionalities.
Leveraging Advanced Features
Third-party apps often offer advanced features such as bulk photo transfers, real-time syncing, customizable transfer settings, and intelligent organizational tools. These features empower users to efficiently manage their photo libraries, transfer large volumes of photos, and maintain a structured and synchronized collection across their devices.
Ensuring Data Security and Privacy
Prioritizing data security and privacy is paramount when utilizing third-party apps for photo transfers. It's crucial to review the app's privacy policies, data handling practices, and security measures to ensure that sensitive photo content is protected throughout the transfer process and storage on the laptop.
Embracing Versatility and Convenience
By embracing third-party apps for photo transfers, users can benefit from the versatility, convenience, and enhanced functionalities offered by these applications. Whether it's seamless wireless transfers, advanced organizational tools, or real-time syncing capabilities, third-party apps can cater to diverse user preferences and streamline the photo transfer experience.
Incorporating third-party apps into the photo transfer process from an iPhone 11 to a laptop presents an alternative avenue for users to leverage advanced features, enhanced connectivity, and tailored functionalities. By carefully selecting reputable and secure third-party apps, users can optimize the photo transfer experience, ensuring seamless synchronization and efficient management of their cherished photo collections.