
Enable the Screenshot Feature
Do you want to capture a memorable moment on your iPhone? Taking a screenshot is a quick and easy way to preserve what you see on your screen. Whether it’s a hilarious conversation, an important document, or a stunning image, screenshots allow you to capture and share these moments with others. In this guide, we’ll show you how to enable the screenshot feature on your iPhone.
Enabling the screenshot feature is simple and can be done in a few steps. Follow the instructions below to get started:
1. Open the Settings app on your iPhone. It is represented by a gear icon and can usually be found on your home screen.
2. Scroll down and tap on “General”.
3. In the General menu, look for the “Accessibility” option and tap on it.
4. Inside the Accessibility menu, you’ll find various options. Scroll down again and look for “AssistiveTouch”. Tap on it to enter the AssistiveTouch settings.
5. Once you’re in the AssistiveTouch settings, toggle the switch next to “AssistiveTouch” to enable it. You should see a small white circle appear on your screen.
Great! You’ve successfully enabled the screenshot feature on your iPhone. Now, let’s move on to the different ways you can actually take a screenshot.
Note: If you have an iPhone X or later model, the screenshot process has changed slightly. Instead of using the home button, you’ll use the side button along with the volume up button to capture a screenshot. We’ll cover this method in the next section.
Using the Side Button and the Volume Up Button
If you have an iPhone X or a later model, taking a screenshot is slightly different than previous models. Instead of using the home button, you’ll use the side button along with the volume up button. Follow the steps below to take a screenshot:
1. Find the content on your screen that you want to capture in a screenshot.
2. Simultaneously press and quickly release the side button on the right side of your iPhone and the volume up button on the left side. Make sure to press them simultaneously to avoid accidentally triggering other functions.
3. You will see a flash on your screen, and you may hear a camera shutter sound (depending on your sound settings).
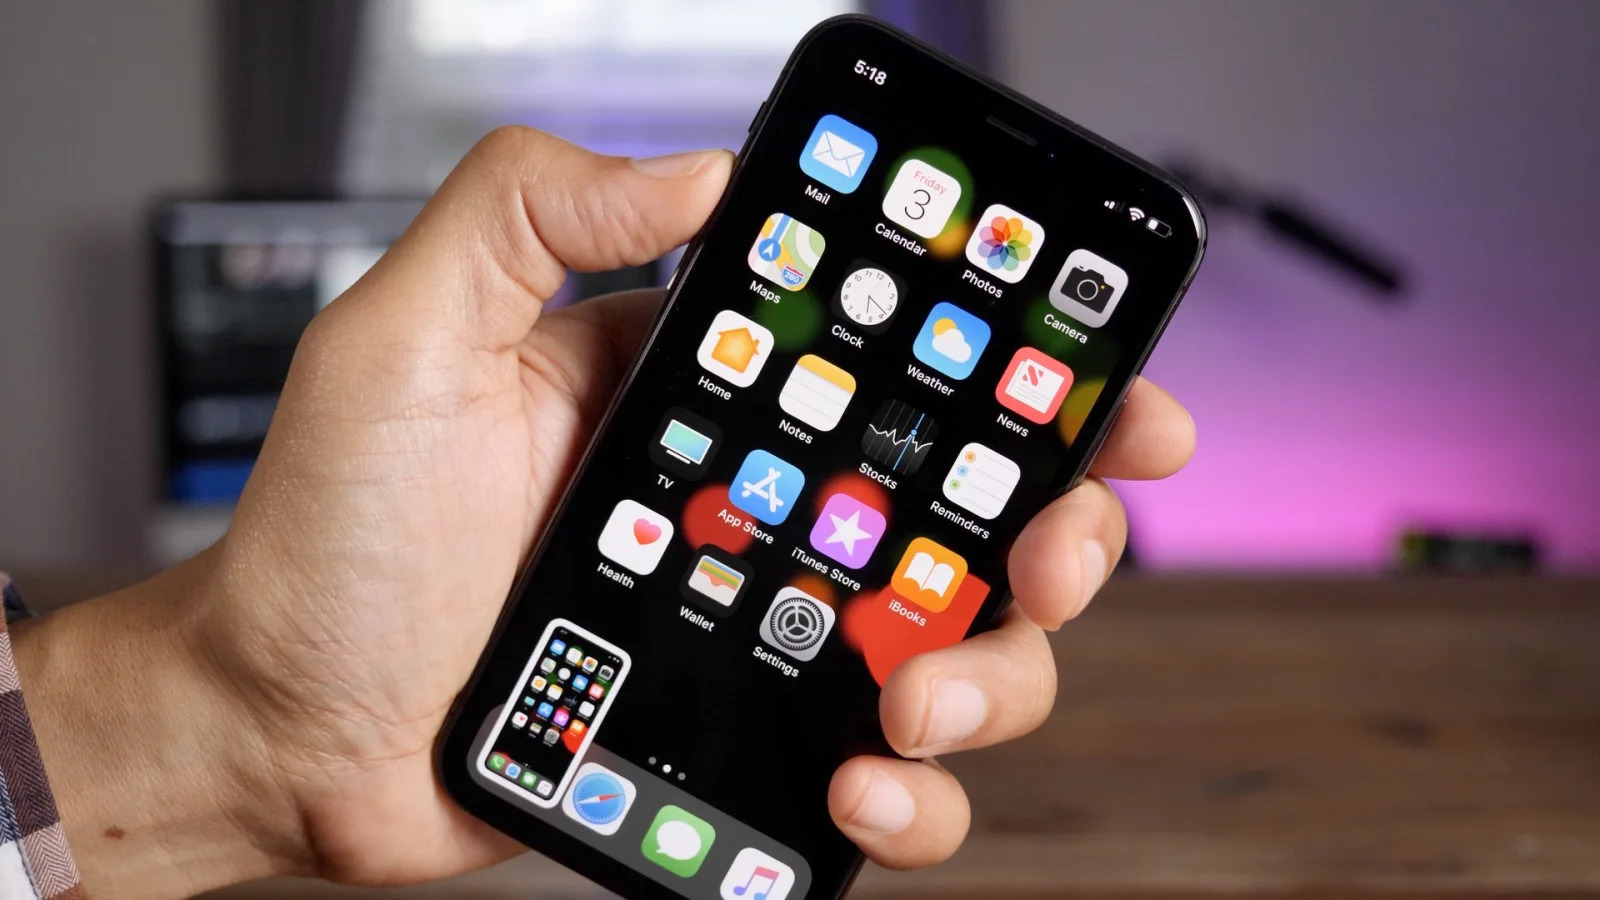
4. You can view your screenshot immediately by tapping on the thumbnail in the bottom-left corner of your screen. It will appear there for a few seconds before being saved to your Photos app.
That’s it! You’ve successfully captured a screenshot using the side button and the volume up button. Now, let’s explore another method for taking a screenshot on your iPhone.
Note: The process for taking a screenshot may differ on certain devices running older versions of iOS. If you’re unable to take a screenshot using this method, refer to your device’s user manual or contact Apple Support for further assistance.
Using the Side Button and the Home Button
If you own an iPhone model earlier than the iPhone X, taking a screenshot is a breeze using the side button and the home button. Follow these simple steps:
1. Locate the content you wish to capture on your iPhone’s screen.
2. Press and hold down the side button, which is typically found on the right-hand side of your iPhone.
3. Simultaneously press the home button, which is located below the screen, near the bottom of your device.
4. Release both buttons at the same time.
5. You’ll witness a flash on your screen, indicating that the screenshot has been successfully taken. Additionally, you might hear the familiar camera shutter sound, depending on your sound settings.
6. To view your screenshot, tap on the thumbnail that appears in the bottom-left corner of your screen. The thumbnail will be visible for a few seconds before being saved to your Photos app.
There you have it! With just a combination of the side button and the home button, you can effortlessly capture screenshots on your iPhone. Let’s explore yet another method for taking screenshots using AssistiveTouch.
Note: If you find that the volume on your iPhone unexpectedly changes when pressing the side button and the home button simultaneously, make sure to press the side button first, followed by the home button. This sequence can help avoid unintentional changes to the volume settings.
Using AssistiveTouch
If you prefer a more convenient and accessible way to take screenshots on your iPhone, you can utilize AssistiveTouch. This feature provides a virtual button overlay that can be customized to perform various functions, including taking screenshots. Here’s how you can set it up:
1. Open the Settings app on your iPhone and navigate to “Accessibility” (follow the same steps mentioned in the first section).
2. Within the Accessibility menu, locate and tap on “AssistiveTouch”.
3. In the AssistiveTouch settings, toggle the switch next to “AssistiveTouch” to enable it. A small white circle icon should appear on your screen.
4. Tap on “Customize Top Level Menu”. This will allow you to choose which actions will be accessible through AssistiveTouch.
5. Tap on the “+” icon to add a new custom action.
6. In the list of actions, tap on “Screenshot”. You can also search for “Screenshot” using the search bar at the top of the screen.
7. Once you’ve added the Screenshot action, you can rearrange it by tapping and dragging the three horizontal lines on the right side. You can also tap on the action to change its appearance, such as adding a custom icon.
8. Close the AssistiveTouch settings and you’ll now see the AssistiveTouch icon on your screen.
To capture a screenshot using AssistiveTouch:
1. Open the content that you want to capture on your screen.
2. Tap on the AssistiveTouch icon, which will bring up a floating menu.
3. Tap on the “Screenshot” button in the menu. You’ll see a flash, and the screenshot will be taken and saved to your Photos app.
With AssistiveTouch, taking screenshots is even more accessible and customizable. Feel free to explore other features of AssistiveTouch to enhance your iPhone experience.
Edit and Markup Your Screenshot
After capturing a screenshot on your iPhone, you have the option to edit and markup the image to enhance its appearance or convey specific information. Here’s how you can edit and markup your screenshots:
1. Once you’ve taken a screenshot, a thumbnail of the image will appear in the bottom-left corner of your screen. Tap on the thumbnail to open the screenshot in the Markup interface.
2. The Markup interface allows you to make various edits and additions to your screenshot. You’ll find a range of tools at the bottom of the screen, such as a pen for drawing, a highlighter, text, shapes, and a crop tool.
3. You can use the drawing tools to draw or annotate directly on the screenshot. Choose different colors and line thicknesses to make your annotations stand out.
4. If you want to highlight specific parts of the screenshot, use the highlighter tool to emphasize important details.
5. The text tool allows you to add text boxes to provide explanations or captions for certain elements in the screenshot.
6. If you need to crop the image, select the crop tool and drag the edges of the screenshot to trim it to the desired size.
7. Additionally, you can undo or redo any edits made by using the arrow icons at the top-left corner of the screen.
8. Once you’re satisfied with the edits and markups, tap on “Done” to save the changes.
Your edited screenshot will now be saved in your Photos app with the changes applied. You can easily share it with others or use it for various purposes, such as presentations, tutorials, or documentation.
By editing and marking up your screenshots, you can add clarity, emphasis, and context to the captured images. It’s a convenient way to personalize your screenshots and make them more informative.
Share Your Screenshot
Once you’ve captured and edited your screenshot, you can easily share it with others using various methods available on your iPhone. Whether you want to send it to a friend, include it in a document, or post it on social media, here’s how you can share your screenshot:
1. Open the Photos app on your iPhone.
2. Navigate to the “Screenshots” album or the location where your screenshot is saved. Most recent screenshots will appear at the top of your album.
3. Tap on the desired screenshot to open it in fullscreen mode.
4. At the bottom-left corner of the screen, you’ll find the “Share” button. Tap on it.
5. A list of sharing options will appear, including apps and contacts you can send the screenshot to. Depending on your installed apps and preferences, you’ll see options such as Messages, Mail, AirDrop, social media platforms, cloud storage, and more.
6. Choose the desired method of sharing. For example, if you want to send the screenshot via Messages, tap on the Messages icon and select a recipient from your contacts or enter a phone number or email address.
7. If you prefer to share the screenshot directly to a social media platform, select the corresponding app icon, such as Instagram, Facebook, Twitter, or LinkedIn. You may need to log in to your account if you haven’t already done so.
8. If you want to save the screenshot to a cloud storage service like iCloud, Dropbox, or Google Drive, select the relevant app icon and follow the on-screen prompts to save it.
9. Alternatively, you can also choose the “Save to Files” option to save the screenshot to a specific folder in your iPhone’s Files app.
10. Once you’ve selected the sharing method, follow the prompts and instructions specific to that app or service to complete the sharing process.
That’s it! Your screenshot is now shared with the intended recipient or saved to the chosen location. Feel free to explore different sharing options to share your screenshots in the most convenient way for you.
Sharing your screenshots allows you to showcase moments, communicate ideas, and convey information efficiently. It’s a fantastic way to connect and engage with others using visual content.