
Checking Voicemail Settings
Voicemail is a convenient feature that allows you to receive and listen to messages left by callers when you are unavailable or unable to answer your phone. Before setting up your voicemail, it’s important to ensure that your voicemail settings are properly configured. Here’s how you can check your voicemail settings on your Android device.
To access your voicemail settings, open the Phone app on your Android device and navigate to the voicemail section. The exact location of this may vary depending on the phone model and the version of the operating system you are using.
Once you are in the voicemail section, you will see various options and settings related to your voicemail. Here are a few key settings to check:
- Voicemail Notifications: Make sure that the voicemail notifications are enabled so that you receive alerts when new messages are left.
- Voicemail Storage: Check the storage capacity allocated for voicemail messages. If the storage is running low, you may need to delete old messages to make space for new ones.
- Voicemail Password: Confirm that you have set up a voicemail password or PIN to protect access to your voicemail messages, ensuring your privacy and security.
- Default Voicemail Provider: If you have multiple voicemail providers, you can choose the default one you prefer to use.
It is crucial to review and verify these settings periodically to ensure that your voicemail is functioning correctly. If you encounter any issues or need further assistance in configuring your voicemail settings, you can reach out to your mobile service provider for guidance.
Now that you have checked and confirmed your voicemail settings, you can proceed to set up your voicemail for the first time, which will be covered in the next section.
Setting Up Voicemail for the First Time
When you get a new Android device, setting up your voicemail for the first time is a simple process. Follow these step-by-step instructions to ensure that you can start receiving and accessing voicemail messages.
1. Open the Phone app on your Android device.
2. Tap on the Menu icon, usually represented by three dots or lines, located at the top-right corner of the screen.
3. From the drop-down menu, select the “Settings” option.
4. Look for “Voicemail” or “Voicemail Settings” in the list of settings and tap on it.
5. You might need to select your mobile service provider from a list if prompted.
6. Tap on “Set Up Voicemail” or a similar option.
7. Follow the on-screen prompts to record a voicemail greeting and set up a voicemail password or PIN. The voicemail greeting is what callers will hear when they reach your voicemail, so you can personalize it however you like.
8. Once you have recorded your voicemail greeting and set up the password or PIN, tap on “Save” or “Done.” Your voicemail is now set up and ready to use.
It’s important to remember the voicemail password or PIN you set up during this process. This ensures that only you have access to your voicemail messages and protects your privacy.
If you encounter any issues while setting up your voicemail or have questions specific to your mobile service provider, don’t hesitate to reach out to their customer support for further assistance.
Now that your voicemail is set up, you can move on to recording a voicemail greeting to personalize your voicemail experience, which will be covered in the next section.
Recording a Voicemail Greeting
A voicemail greeting is a personalized message that callers hear when they reach your voicemail. Recording a greeting adds a personal touch to your voicemail and lets callers know they’ve reached the right person. Follow these steps to record a voicemail greeting on your Android device.
1. Open the Phone app on your Android device.
2. Tap on the Menu icon, usually represented by three dots or lines, located at the top-right corner of the screen.
3. From the drop-down menu, select the “Settings” option.
4. Look for “Voicemail” or “Voicemail Settings” in the list of settings and tap on it.
5. On the voicemail settings page, you should see an option to manage your voicemail greeting. Tap on it.
6. Select the “Record” or “Change” option to start recording a new voicemail greeting.
7. When prompted, speak clearly and record your desired voicemail greeting. You can include your name, a friendly message, or any other information that you feel is relevant.
8. Once you’ve recorded your voicemail greeting, you can either listen to it or choose to re-record it if you’re not satisfied with the recording.
9. After you are happy with your voicemail greeting, save it by tapping on the “Save” or “Done” button.
That’s it! Your new voicemail greeting is now saved and will be played to callers when they reach your voicemail. Remember, you can always go back and change your voicemail greeting whenever you like by following the same steps.
Having a personalized voicemail greeting can make a positive impression on callers and enhance your overall communication experience. Now that you have recorded your voicemail greeting, you may want to know how to change it in the future, which we’ll cover in the next section.
Changing Voicemail Greeting
If you want to update or change your voicemail greeting on your Android device, follow these simple steps to ensure that your callers hear the most up-to-date message.
1. Open the Phone app on your Android device.
2. Tap on the Menu icon, usually represented by three dots or lines, located at the top-right corner of the screen.
3. From the drop-down menu, select the “Settings” option.
4. Look for “Voicemail” or “Voicemail Settings” in the list of settings and tap on it.
5. On the voicemail settings page, find the option to manage your voicemail greeting and tap on it.
6. Choose the “Record” or “Change” option to start recording a new voicemail greeting.
7. Follow the prompts to record your updated greeting. You can speak clearly and include any new information or personal touches you want to add.
8. After recording, listen to the new greeting and determine if you are satisfied with it.
9. If you are happy with the new greeting, save it by tapping on the “Save” or “Done” button.
That’s it! Your voicemail greeting has been successfully changed. The next time someone calls and reaches your voicemail, they will hear the updated greeting you just recorded.
Remember, you have the flexibility to change your voicemail greeting as often as you like. This can be useful when you want to update contact information or convey a different message to your callers.
If you encounter any issues while changing your voicemail greeting or need further assistance, consider reaching out to your mobile service provider for additional support.
Now that you know how to change your voicemail greeting, you may want to learn about managing your voicemail storage to ensure you have enough space for incoming messages, which we’ll cover next.
Managing Voicemail Storage
As you receive and accumulate voicemail messages on your Android device, it’s essential to manage your voicemail storage to ensure you have enough space to receive new messages. Let’s explore some tips on how to effectively manage your voicemail storage.
1. Regularly delete unwanted voicemail messages: Take the time to review your voicemail messages and delete any that are no longer needed. This will free up storage space and prevent your voicemail box from becoming full.
2. Save important voicemail messages: If you have voicemail messages that contain critical information or sentimental value, consider saving them to a separate folder or backing them up to a cloud storage service. This way, you can clear them from your regular voicemail storage while still keeping them easily accessible.
3. Set a maximum voicemail storage limit: Some Android devices allow you to set a maximum storage limit for your voicemail messages. By doing this, you can ensure that your voicemail box doesn’t exceed a certain size, prompting you to delete old messages or make space for new ones.
4. Enable automatic delete: Depending on your device and voicemail settings, you may have the option to automatically delete voicemail messages after a certain period. This can help prevent your voicemail storage from reaching its limit and keep your inbox organized.
5. Use a visual voicemail service: Visual voicemail services often provide additional features, such as saving voicemail messages as audio files on your device or in the cloud. By using visual voicemail, you can manage your voicemail storage more efficiently, as you have more control over how messages are stored and accessed.
By following these tips, you can effectively manage your voicemail storage and ensure that you have enough space for new messages. Regularly reviewing and organizing your voicemail messages will not only help you stay organized but also prevent any important messages from being missed due to a full voicemail inbox.
If you encounter any issues with your voicemail storage or need further assistance, don’t hesitate to reach out to your mobile service provider for support.
Next, let’s explore how to access voicemail from the locked screen to make it more convenient for you to retrieve your messages.
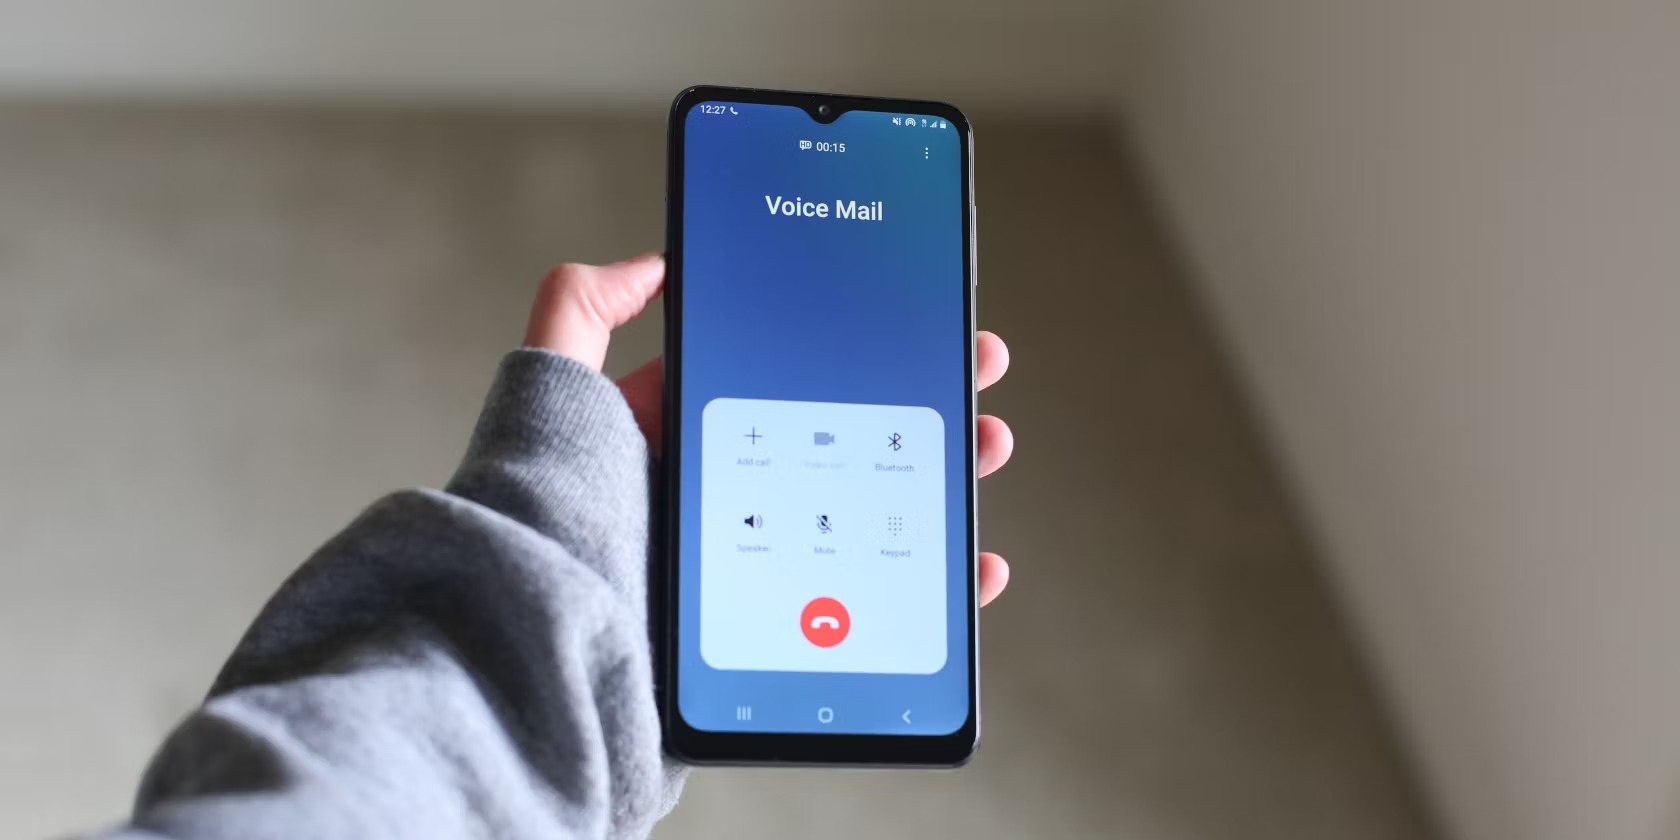
Accessing Voicemail from Locked Screen
Accessing your voicemail quickly, even from the locked screen of your Android device, can save you time and make it more convenient to check your messages. Here are the steps to access voicemail from the locked screen:
1. On your Android device’s locked screen, locate the Phone app icon or a dedicated voicemail shortcut.
2. Tap on the Phone or Voicemail icon and hold it until you see a prompt to enter your voicemail password or PIN.
3. Enter your voicemail password or PIN using the on-screen keypad or fingerprint scanner, if applicable.
4. Once authenticated, the Phone app will open directly to your voicemail inbox, where you can listen to and manage your messages.
It’s important to note that the exact steps and options may vary depending on your Android device and version of the operating system. Some devices may require a different process to access voicemail from the locked screen, so be sure to check your device’s user manual or contact your mobile service provider for specific instructions.
Accessing voicemail from the locked screen can be a time-saving feature, especially if you frequently receive voicemail messages or need to check them quickly while on the go. It eliminates the need to unlock your device and navigate through menus to access your voicemail inbox.
If you experience any issues or difficulties accessing your voicemail from the locked screen, make sure you have set up your voicemail password or PIN correctly. If the problem persists, contact your mobile service provider for further assistance.
Next, let’s explore using visual voicemail on your Android device, which offers a more streamlined and interactive way to manage your voicemail messages.
Using Visual Voicemail
Visual voicemail is a convenient feature available on many Android devices that provides a more user-friendly and interactive way to manage your voicemail messages. Instead of traditional voicemail, where you have to dial in and listen to each message sequentially, visual voicemail displays your messages in a visual interface, allowing you to select and play them at your convenience. Here’s how to use visual voicemail on your Android device.
1. Check for visual voicemail availability: Not all Android devices and mobile service providers offer visual voicemail. Check with your provider or look for the visual voicemail option in your device’s settings to see if it’s available for you.
2. Enable visual voicemail: Once you’ve confirmed that visual voicemail is available, open the Phone app on your Android device and tap on the Menu icon. Go to the Settings or Voicemail settings section and look for the option to enable visual voicemail. Toggle the switch to enable it.
3. Set up visual voicemail: Follow the on-screen prompts to set up visual voicemail. This may include creating a new visual voicemail account or linking it to your existing voicemail account. Make sure to follow the instructions provided to complete the setup process.
4. Access visual voicemail: Once visual voicemail is enabled and set up, you can access it by opening the Phone app and selecting the Visual Voicemail tab or option. This will display your voicemail messages in a visual interface, usually with a list of messages and playback controls.
5. Play and manage messages: In the visual voicemail interface, you can select individual messages to play, pause, rewind, and delete them. You may also have options to save messages as audio files, forward them, or mark them as unread for later reference.
6. Customize visual voicemail settings: Depending on your Android device, you may have additional settings and customization options for visual voicemail. Explore these settings to personalize your visual voicemail experience, such as changing the greeting, adjusting playback speed, or managing storage settings.
Using visual voicemail offers a more streamlined and intuitive way to manage your voicemail messages. With its visual interface and enhanced controls, you can quickly review, play, and organize your messages, making it more efficient and convenient.
If you have any issues or questions regarding visual voicemail on your Android device, reach out to your mobile service provider for assistance. They can provide further guidance and support specific to your device and service.
Now that you’re familiar with visual voicemail, let’s move on to resetting your voicemail password, in case you forget it or need to create a new one.
Resetting Voicemail Password
If you have forgotten your voicemail password or want to change it for security reasons, you can easily reset it on your Android device. Follow these steps to reset your voicemail password:
1. Open the Phone app on your Android device.
2. Tap on the Menu icon, usually represented by three dots or lines, located at the top-right corner of the screen.
3. From the drop-down menu, select the “Settings” option.
4. Look for “Voicemail” or “Voicemail Settings” in the list of settings and tap on it.
5. On the voicemail settings page, find the option to manage your voicemail password and tap on it.
6. You may be prompted to enter your current voicemail password to proceed. If you have forgotten it, look for the “Forgot Password” or “Reset Password” link and tap on it.
7. Follow the on-screen prompts to reset your voicemail password. Depending on your mobile service provider, you may need to verify your account using alternative methods, such as answering security questions or receiving a verification code via text message.
8. Once you have successfully reset your voicemail password, tap on “Save” or “Done” to confirm the changes.
After resetting your voicemail password, make sure to choose a strong and memorable password that is difficult for others to guess. This will help protect your voicemail messages and ensure your privacy and security.
If you are unable to reset your voicemail password using the above steps, or if you encounter any issues during the process, contact your mobile service provider directly. They can provide you with further instructions or assistance in resetting your voicemail password.
Now that you have successfully reset your voicemail password, you can continue to enjoy the convenience of accessing and managing your voicemail messages on your Android device.
Next, let’s explore some common troubleshooting tips to address any voicemail issues you may encounter.
Troubleshooting Voicemail Issues
Voicemail is a useful feature on your Android device, but sometimes you may encounter issues that prevent you from accessing or using it properly. Here are some common voicemail issues and troubleshooting steps you can take to resolve them:
1. No Voicemail Notifications: If you are not receiving any voicemail notifications, ensure that your notification settings are enabled. Go to the Phone app’s settings and make sure voicemail notifications are turned on. Also, verify that your phone’s volume is not muted or set too low to hear the notifications.
2. Unable to Access Voicemail: If you’re having trouble accessing your voicemail, try restarting your device. This simple step can often resolve any temporary glitches. If that doesn’t work, check your voicemail settings to ensure your voicemail account is properly set up and activated. You can also contact your mobile service provider for assistance.
3. Voicemail Box Full: If your voicemail box is full and you’re unable to receive new messages, you need to delete old voicemails to free up space. Go through your voicemail messages and remove any unnecessary ones. You may also consider saving important voicemails externally, such as by backing them up to a computer or cloud storage.
4. Inaccurate Voicemail Timestamps: Sometimes, voicemail timestamps may not accurately reflect when the message was received. If you notice incorrect timestamps, try updating your device’s system time and date settings. This can help ensure accurate timestamps for voicemail messages.
5. Poor Voicemail Quality: If you are experiencing poor audio quality or difficulty understanding voicemail messages, it could be due to network or signal issues. Ensure that you have a strong mobile network or Wi-Fi connection when accessing voicemail. You can also try listening to the voicemail messages in a quieter environment or using a headset for better clarity.
6. Voicemail Password/PIN Issues: If you’re having trouble with your voicemail password or PIN, follow the steps outlined earlier in this article to reset your password. If the issue persists or you’re unable to reset the password, contact your mobile service provider for further assistance.
If none of these troubleshooting steps resolve your voicemail issues, it’s recommended to seek support from your mobile service provider. They have specific knowledge about their network and voicemail systems and can provide detailed assistance to help resolve the problem.
Voicemail issues can be frustrating, but with some troubleshooting and support, you can typically overcome them and continue using this essential communication feature on your Android device.
Congratulations! You now have a comprehensive understanding of voicemail settings, setup, greetings, storage management, access methods, and troubleshooting tips. These insights will help you maximize the voicemail functionality on your Android device.