
Gathering Materials
Before you begin setting the time on your digital watch, make sure you have the necessary materials at hand. This will ensure a smooth and hassle-free setup process. Here are the items you will need:
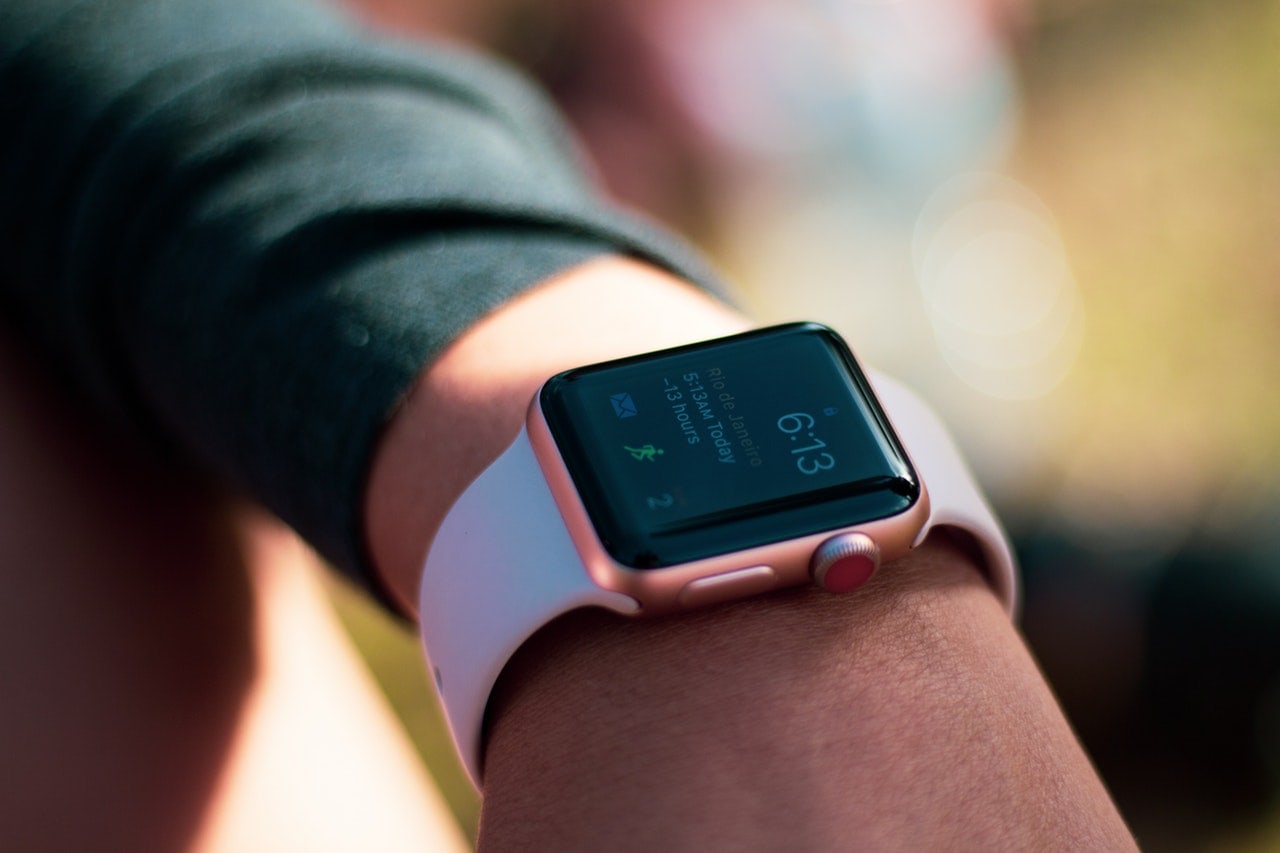
- The digital watch: This is the main device that you will be setting the time on. Make sure it is in working condition and has a functional battery.
- User manual: Locate the user manual that came with your digital watch. This manual contains detailed instructions specific to your watch model and will guide you through the setup process.
- Pen or a small tool: You may need a pen or a small tool, like a paperclip, to press the buttons on the watch, especially if they are small or recessed.
- A quiet and well-lit space: Find a quiet area where you can focus on the setup process without any distractions. Also, ensure that the space is well-lit, as it will make it easier to view and operate the buttons on your watch.
Once you have these materials ready, you’ll be fully prepared to set the time on your digital watch. Take your time to familiarize yourself with the user manual, as it will provide valuable information about the specific buttons and functions of your watch model. This will make the setup process much more straightforward.
Understanding the Buttons and Functions
To successfully set the time on your digital watch, it’s essential to have a clear understanding of the buttons and functions available. While the exact layout and labeling of buttons may vary depending on your specific watch model, most digital watches have several common features. Here are some of the typical buttons and functions you may encounter:
- Mode button: This button allows you to switch between different modes on your digital watch, such as time, date, alarm, stopwatch, and timer.
- Set button: The set button is used to initiate the time-setting process and navigate through different options.
- Up and down buttons: These buttons are typically used to increase or decrease the values of hours, minutes, and other settings.
- Light button: The light button activates the backlight of your digital watch, making it easier to read the display in low light conditions.
Refer to your watch’s user manual to determine the exact functions and labels of the buttons on your specific model. Understanding the purpose and location of each button will greatly simplify the process of setting the correct time.
Additionally, familiarize yourself with any specific symbols or icons displayed on the watch’s screen. These may indicate features like 24-hour time format, AM/PM indicator, or battery level. Knowing what these symbols mean will help you navigate the setup process more effectively.
By taking the time to understand the buttons and functions of your digital watch, you’ll be better equipped to proceed with setting the time accurately. Once you feel confident in your knowledge of the watch’s controls, you’re ready to move on to the next steps of the setup process.
Setting the Time Format
Before you begin setting the actual time on your digital watch, you may need to determine the desired time format: either 12-hour or 24-hour. The time format determines how your watch displays the hours, whether it’s from 1 to 12 (AM/PM) or 0 to 23 (24-hour format). Here’s how you can set the time format on your digital watch:
- Press the “Mode” button on your watch until you reach the time setting mode.
- Look for an option that allows you to switch between 12-hour and 24-hour format. This option might be labeled as “HR” or “Time Format”.
- Once you find the appropriate option, press the “Set” button to enter the time format setting.
- Use the up or down buttons to toggle between the two available formats.
- Once you have selected your desired time format, press the “Set” button again to save the setting.
It’s worth noting that some digital watches automatically follow the time format based on the current region or time zone. In such cases, the time format may not be adjustable manually. If that’s the case for your watch, simply proceed to setting the hours and minutes without worrying about the time format.
By setting the time format as per your preference, you can ensure that the watch displays the time in a format that you find most convenient. Take a moment to verify that the time format has been correctly set before moving on to the next step of configuring the exact time.
Setting the Hour
Once you have determined the time format on your digital watch, it’s time to set the hour. Follow these steps to accurately set the hour on your watch:
- Press the “Mode” button on your watch until you reach the time setting mode.
- Locate the option to set the hour. This option may be labeled as “HR” or “Hour”.
- Press the “Set” button to enter the hour setting mode.
- Use the up or down buttons to adjust the hour value. Pay attention to the time format to ensure you set the correct hour (e.g., 1-12 for 12-hour format or 0-23 for 24-hour format).
- Some digital watches may have an automatic hour setting feature, where the watch syncs with the local time. If your watch has this feature, make sure it is enabled to ensure accurate timekeeping.
- Once you have set the correct hour, press the “Set” button again to save the setting.
It’s important to note that when setting the hour, you should consider whether it’s AM or PM. For watches using the 12-hour format, make sure to choose the appropriate AM or PM designation. Some watches may indicate this with a small “A” or “P” symbol, while others may use a “12” indicator to differentiate between day and night hours.
After setting the hour, take a moment to verify that the displayed hour matches your desired time. If not, repeat the steps to make any necessary adjustments. Once you are satisfied with the hour setting, you can proceed to the next step of setting the minutes.
Setting the Minutes
After setting the hour on your digital watch, it’s important to accurately set the minutes to ensure accurate timekeeping. Follow these steps to set the minutes on your watch:
- Press the “Mode” button on your watch until you reach the time setting mode.
- Locate the option to set the minutes. This option may be labeled as “MIN” or “Minutes”.
- Press the “Set” button to enter the minute setting mode.
- Use the up or down buttons to adjust the minute value. Pay attention to the increments and ensure you set the correct minutes (e.g., 00-59).
- Some digital watches may feature a quick-set option where pressing and holding the up or down buttons will rapidly increase or decrease the minutes. This can be helpful when setting the minutes to a specific value quickly.
- Once you have set the correct minutes, press the “Set” button again to save the setting.
Take a moment to verify that the displayed minutes match your desired time. If not, repeat the steps to make any necessary adjustments. It’s important to set the minutes accurately to ensure the watch is in sync with the correct time.
If your watch features a seconds display, ensure that the seconds are also correctly set. Some watches may automatically reset the seconds to zero when the minutes are adjusted, while others may require manual adjustment. Refer to your watch’s user manual for specific instructions on setting the seconds, if applicable.
Once you have successfully set the minutes, you can proceed to the next step of setting the seconds or move on to setting the date, depending on the features and settings of your specific digital watch model.
Setting the Seconds
Setting the seconds on your digital watch allows for precise timekeeping. Although seconds might not be displayed on all digital watches, some models feature this option. Follow these steps to set the seconds on your watch:
- Press the “Mode” button on your watch until you reach the time setting mode.
- Locate the option to set the seconds. This option may be labeled as “SEC” or “Seconds”.
- Press the “Set” button to enter the second-setting mode.
- Use the up or down buttons to adjust the second value. Pay attention to the increments and ensure you set the correct seconds (e.g., 00-59).
- Some digital watches may have a feature where the seconds can be reset to zero automatically when the minute or hour is adjusted. In such cases, you don’t need to worry about manually setting the seconds.
- Once you have set the correct seconds, press the “Set” button again to save the setting.
It’s important to note that not all digital watches have the option to set the seconds. If your watch doesn’t display seconds or doesn’t have the ability to manually adjust them, proceed to the next step of setting the date.
Remember that accurate timekeeping relies on setting the seconds correctly. Take a moment to verify that the displayed seconds match your desired time. If necessary, repeat the steps to make any adjustments.
Setting the seconds on your digital watch ensures precise timekeeping and can be particularly useful when you need accurate timing for various activities, such as sports or cooking. By following these simple steps, you’ll be able to set the seconds and ensure your watch displays the correct and accurate time.
Setting the Date
Setting the date on your digital watch is crucial for keeping track of the current day. Follow these steps to set the date on your watch:
- Press the “Mode” button on your watch until you reach the time setting mode.
- Locate the option to set the date. This option may be labeled as “DATE” or “Day/Date”.
- Press the “Set” button to enter the date setting mode.
- Use the up or down buttons to adjust the date value. Pay attention to the range of valid dates for the specific month (e.g., 01-31).
- Some digital watches may offer the option to automatically adjust the date based on the current month and year. If this feature is available, make sure it is enabled to ensure accurate datekeeping.
- Once you have set the correct date, press the “Set” button again to save the setting.
It’s important to note that the process of setting the date may vary depending on the watch model. Some watches might require you to set the month and year separately before setting the date. Refer to your watch’s user manual for specific instructions on setting the date if it differs from the above steps.
After setting the date, take a moment to verify that the displayed date matches the current day. If necessary, repeat the steps to make any adjustments. Keeping the correct date ensures that your watch provides accurate information and serves as a reliable tool in your daily life.
Setting the date on your digital watch allows you to stay organized and keep track of important events and appointments. Take the necessary time to set the date correctly, and your watch will serve as a reliable companion for your timekeeping needs.
Setting the Month
Setting the correct month on your digital watch is essential for accurate date tracking. Follow these steps to set the month on your watch:
- Press the “Mode” button on your watch until you reach the time setting mode.
- Locate the option to set the month. This option may be labeled as “MON” or “Month”.
- Press the “Set” button to enter the month setting mode.
- Use the up or down buttons to adjust the month value. Ensure you select the correct month from the available options (e.g., January to December).
- Pay attention to any abbreviations or number codes used for the month on your specific watch’s display.
- Once you have set the correct month, press the “Set” button again to save the setting.
After setting the month, take a moment to verify that the displayed month matches the current month. If necessary, repeat the steps to make any adjustments. Keeping the correct month ensures that your watch accurately reflects the current date and helps you stay organized and up-to-date with your schedule.
It’s worth noting that some digital watches have the ability to automatically adjust the month based on the current date and year. If your watch supports this feature, make sure it is enabled to ensure accurate month tracking without any manual adjustments.
Setting the month on your digital watch allows for precise date tracking and ensures your watch is aligned with the current month. By following these steps, you can easily set the month and enjoy the convenience of an accurate date display on your watch.
Setting the Year
Setting the correct year on your digital watch is essential for accurate date tracking. Follow these steps to set the year on your watch:
- Press the “Mode” button on your watch until you reach the time setting mode.
- Locate the option to set the year. This option may be labeled as “YEAR” or “Year”.
- Press the “Set” button to enter the year setting mode.
- Use the up or down buttons to adjust the year value. Ensure you select the correct year from the available options.
- Take note of the range of years available on your specific digital watch model.
- Once you have set the correct year, press the “Set” button again to save the setting.
After setting the year, take a moment to verify that the displayed year matches the current year. If necessary, repeat the steps to make any adjustments. Keeping the correct year ensures that your watch accurately reflects the current date and helps you stay organized with long-term date tracking.
It’s important to note that some digital watches have the ability to automatically adjust the year based on the current date and time. If your watch supports this feature, make sure it is enabled to ensure accurate year tracking without any manual adjustments.
Setting the year on your digital watch is crucial for maintaining accurate datekeeping. By following these simple steps, you can easily set the year and ensure that your watch provides the correct information for long-term date tracking.
Adjusting Other Settings
In addition to setting the time, date, and other basic functions, your digital watch may offer a range of other settings that you can customize to suit your preferences. These settings can enhance the functionality and personalization of your watch. Here are some common additional settings you may find:
- Alarm: Many digital watches feature an alarm function that allows you to set multiple alarms for different purposes. Consult your watch’s user manual to learn how to set, edit, or delete alarms based on your specific model.
- Stopwatch: If your digital watch has a stopwatch feature, you can use it to time events, workouts, or activities. Learn how to start, stop, and reset the stopwatch by referring to your watch’s user manual.
- Backlight: The backlight function illuminates the watch’s display, making it easier to read in low-light conditions. Familiarize yourself with how to activate and adjust the backlight settings on your watch.
- Power-saving mode: Many digital watches have a power-saving mode to conserve battery life. If your watch offers this feature, learn how to enable and disable it as needed.
- Time zone adjustment: If you frequently travel or need to switch between different time zones, your watch may have a time zone adjustment feature. Consult your watch’s user manual for instructions on how to change and set different time zones.
It’s important to note that the availability of these settings and the method of adjustment will vary depending on your specific watch model. Therefore, referring to the user manual is essential to understand the specific functions and customization options your watch offers.
Take the time to explore and adjust these additional settings according to your preferences. Customizing these settings can greatly enhance the functionality and usability of your digital watch, ensuring it meets your specific needs and lifestyle.
Saving the Changes
After you have set the desired time, date, and any other customizable settings on your digital watch, it’s important to save the changes to ensure that your watch functions correctly and retains the settings you have chosen. Follow these steps to successfully save the changes:
- Once you have finished adjusting the necessary settings on your watch, ensure that you are in the appropriate mode for timekeeping (e.g., time mode or normal mode).
- Press the appropriate button (often labeled as “Set” or “OK”) to confirm and save the changes you have made.
- Some digital watches automatically save the changes after a certain period of inactivity or when you exit the settings mode, while others require manual confirmation. Refer to your watch’s user manual for guidance on saving changes specific to your model.
- Take a moment to review the settings and ensure that they have been saved correctly. Check the displayed time, date, and any other customized features to verify their accuracy.
It’s important to note that each watch model may have its own unique process for saving changes. If you are uncertain about how to save the changes on your watch, consult the user manual for detailed instructions and follow them carefully.
By properly saving the changes, you can be confident that your digital watch is accurately displaying the desired time, date, and any other customized settings you have adjusted. This ensures that your watch functions optimally and meets your specific needs.
Troubleshooting Tips
Sometimes, you may encounter issues or difficulties while setting the time on your digital watch. Here are some troubleshooting tips to help you overcome common challenges:
- Refer to the user manual: The user manual is your best resource for understanding the specific functions and troubleshooting steps for your watch model. Consult it to find solutions to any problems you may encounter.
- Check the battery: Ensure that your watch has a functioning battery. If the battery is low or depleted, it may affect the watch’s performance or prevent it from saving changes. Consider replacing the battery if necessary.
- Double-check the button presses: Ensure that you are pressing the correct buttons and following the proper sequence outlined in the user manual. Incorrect button presses may result in inaccurate settings or difficulty in saving changes.
- Reset the watch: If you are experiencing persistent issues, you may need to reset your watch to its factory settings. Again, consult the user manual for instructions on how to perform a reset.
- Contact customer support: If you have tried troubleshooting steps and are still experiencing issues, reach out to the customer support of the watch manufacturer. They can provide additional guidance and assistance to resolve the problem.
It’s worth noting that troubleshooting steps may vary depending on your specific watch model. Always refer to the user manual for the most accurate and tailored solutions to any problems you may encounter while setting the time on your digital watch.
By following these troubleshooting tips, you can address common issues and ensure a smooth and successful time-setting experience with your digital watch. With patience and diligence, you’ll be able to set the time correctly and enjoy the functionality of your watch without any complications.