
Overview of Coinbase and Trezor
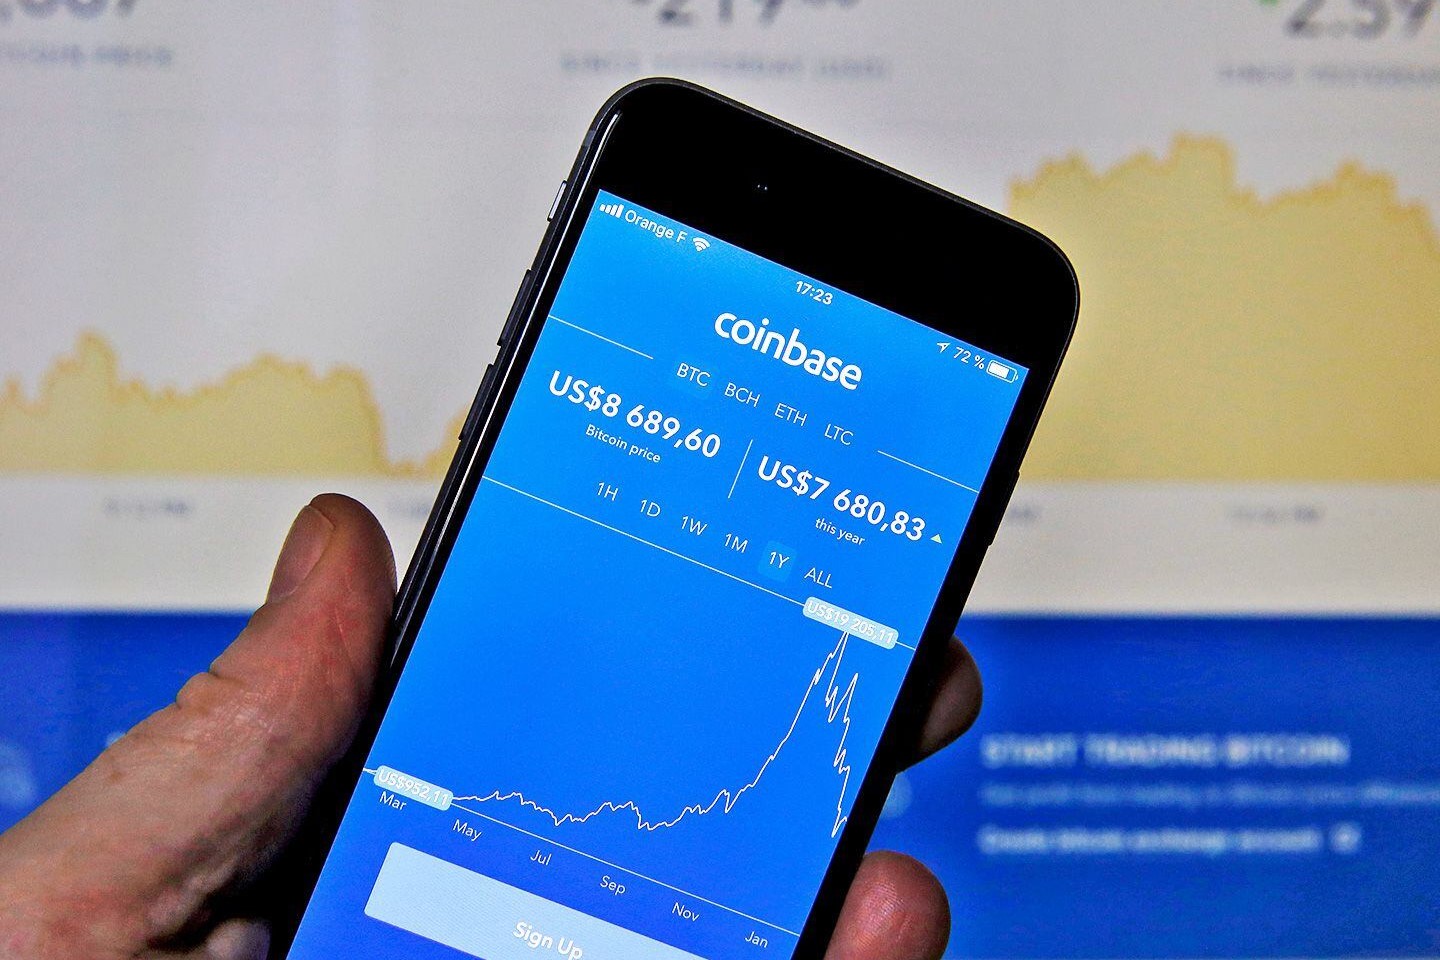
When it comes to managing and storing cryptocurrencies securely, Coinbase and Trezor are two names that stand out in the crypto world. Coinbase is a popular cryptocurrency exchange platform that allows users to buy, sell, and store various cryptocurrencies, including Litecoin. On the other hand, Trezor is a hardware wallet that provides an extra layer of security for storing cryptocurrencies offline.
Coinbase offers a user-friendly interface, making it easy for beginners to navigate and execute transactions. The platform also provides robust security measures, such as two-factor authentication and insurance coverage for digital assets. With its large user base and liquidity, Coinbase offers a convenient way to buy and sell cryptocurrencies.
Trezor, on the other hand, is known for its emphasis on security. It is a hardware wallet that stores users’ private keys offline, maintaining a high level of protection against hacking and malware attacks. The Trezor wallet requires physical confirmation of transactions, adding an extra layer of security against unauthorized access.
By combining Coinbase and Trezor, users can take advantage of the strengths of both platforms. They can buy Litecoin easily on Coinbase and then transfer it to their Trezor wallet for secure offline storage.
Now that we have an overview of both Coinbase and Trezor, let’s dive into the process of setting up a Trezor wallet and a Coinbase account to securely transfer Litecoin between the two platforms.
Setting Up a Trezor Wallet
Setting up a Trezor wallet is a straightforward process that ensures the security of your Litecoin. Follow these steps to get started:
- Go to the official Trezor website and purchase a Trezor hardware wallet that supports Litecoin.
- Once you receive your Trezor, connect it to your computer using the provided USB cable.
- Visit the Trezor website and download the Trezor Bridge software. This software enables communication between your computer and the Trezor device.
- Install the Trezor Bridge software on your computer and follow the on-screen instructions to complete the installation.
- After installing the software, launch it and connect your Trezor device to your computer. The software will automatically detect the device and guide you through the setup process.
- Create a strong PIN code for your Trezor wallet. This PIN will be required every time you connect your Trezor device to access your funds.
- Write down the recovery seed provided by the Trezor device. This recovery seed is crucial for recovering your wallet in case your device is lost or damaged. Keep it in a safe place and never share it with anyone.
- Set up a unique name for your Trezor wallet, which will help you identify it if you have multiple wallets.
- Complete the setup process by confirming all the details and settings on the Trezor device’s screen.
Once your Trezor wallet is set up, you can proceed to the next step of connecting it to your Coinbase account and transferring Litecoin.
Setting Up a Coinbase Account
Creating a Coinbase account is the first step towards buying, selling, and transferring Litecoin. Follow these simple steps to set up your Coinbase account:
- Visit the official Coinbase website and click on the “Get Started” button.
- Enter your personal information, including your name, email address, and password. Make sure to choose a strong password that includes a combination of letters, numbers, and symbols.
- Agree to the terms of service and click on the “Create Account” button.
- Verify your email address by clicking on the link sent to your registered email.
- Complete the identity verification process. Coinbase may require you to provide a valid form of identification, such as a passport or driver’s license, to comply with Know Your Customer (KYC) regulations.
- Set up two-factor authentication (2FA) for an extra layer of security. This can be done by linking your Coinbase account to an authenticator app, such as Google Authenticator or Authy.
- Once your account is set up and verified, you can add a payment method, such as a credit card or bank account, to fund your Coinbase wallet.
With your Coinbase account ready, you are now equipped to buy Litecoin and initiate the transfer to your Trezor wallet securely.
Buying Litecoin on Coinbase
Now that you have set up your Coinbase account, it’s time to buy Litecoin. Follow these steps to purchase Litecoin on Coinbase:
- Log in to your Coinbase account and navigate to the “Buy/Sell” tab.
- Select “Litecoin” from the list of available cryptocurrencies.
- Choose your desired payment method and enter the amount of Litecoin you want to purchase or the amount of fiat currency you want to spend.
- Review the transaction details, including the fees and the total amount, and click on the “Buy” button.
- If prompted, complete the authentication step to confirm the purchase.
- Once the transaction is completed, the purchased Litecoin will be available in your Coinbase wallet.
It’s important to note that Coinbase charges fees for buying cryptocurrencies. These fees may vary based on the payment method and the country you are located in. Make sure to review the fee structure on Coinbase’s website to understand the costs associated with your purchase.
By following these steps, you can easily acquire Litecoin on Coinbase to proceed with the transfer to your Trezor wallet.
Transferring Litecoin from Coinbase to Trezor
Once you have purchased Litecoin on Coinbase, it is recommended to transfer it to your Trezor wallet for added security. Here’s how you can transfer Litecoin from Coinbase to Trezor:
- Log in to your Coinbase account and go to the “Accounts” tab.
- Locate your Litecoin wallet and click on the “Send” button.
- Enter your Trezor wallet address in the “Recipient” field. You can find your Trezor wallet address by navigating to the Litecoin wallet on your Trezor device and selecting “Receive”.
- Specify the amount of Litecoin you want to transfer to your Trezor wallet.
- Review the transaction details and double-check the recipient address.
- Click on the “Send Funds” button to initiate the transfer.
- Coinbase will process the transaction and send your Litecoin to the provided Trezor wallet address.
- Wait for the transaction to confirm on the Litecoin blockchain. This process usually takes a few minutes but can sometimes take longer during periods of high network congestion.
It’s important to note that Coinbase may charge a network fee for transferring Litecoin. This fee is necessary to process the transaction on the blockchain. The fee may vary depending on network conditions, so make sure to review the fee details before confirming the transfer.
Once the transfer is complete and confirmed on the blockchain, you can check your Trezor wallet to ensure that the Litecoin has been successfully received.
By transferring your Litecoin to your Trezor wallet, you gain control over your private keys, enhancing the security and control of your digital assets.
Verifying the Litecoin Transaction on Trezor
After transferring your Litecoin from Coinbase to your Trezor wallet, it’s important to verify the transaction on your Trezor device to ensure its accuracy and security. Here’s how you can verify the Litecoin transaction on your Trezor:
- Connect your Trezor device to your computer and enter your PIN code to unlock it.
- Open the Trezor Wallet interface on your computer and select the Litecoin wallet.
- Navigate to the “Transactions” tab to view your transaction history.
- Locate the recent Litecoin transaction that you initiated from Coinbase.
- Verify the transaction details, including the sending address, receiving address, and the amount of Litecoin sent.
- Ensure that the transaction details match the information you entered when transferring Litecoin from Coinbase.
- Confirm that the transaction has been successfully completed and is reflected in your Trezor Litecoin wallet balance.
Verifying the Litecoin transaction on your Trezor device adds an extra layer of security, as you can confirm that the transfer was executed correctly and that your funds are safely stored in your Trezor wallet.
In the unlikely event that you notice any discrepancies or suspicious activity, immediately disconnect your Trezor device from your computer and contact Trezor support for assistance in resolving the issue.
By regularly verifying your transactions on your Trezor device, you can have peace of mind knowing that your Litecoin holdings are secure and that the transfer process from Coinbase to Trezor was successfully executed.
Tips for Securely Storing Litecoin on Trezor
Keeping your Litecoin secure on your Trezor wallet is essential to protect your digital assets. Here are some tips to ensure the secure storage of your Litecoin on Trezor:
- Keep your Trezor device and recovery seed in a secure location: Store your Trezor device in a safe place, such as a physical safe or a lockbox. Additionally, make sure to keep your recovery seed in a separate and secure location, preferably offline.
- Enable passphrase encryption: Trezor allows you to add an extra layer of security by enabling passphrase encryption. This adds an additional password to access your wallet and provides protection against unauthorized access.
- Regularly update your Trezor firmware: Stay up to date with the latest firmware updates provided by Trezor. These updates often include security enhancements and bug fixes that can strengthen the security of your device.
- Use a strong PIN code: Choose a robust PIN code for your Trezor device, preferably with a combination of numbers and lowercase and uppercase letters. Avoid using easily guessable PINs and never share your PIN with anyone.
- Be cautious of phishing attempts: Always double-check the website URL and ensure you are accessing the official Trezor website. Beware of phishing attempts that may try to trick you into revealing your private keys or recovery seed.
- Practice good password hygiene: Ensure that the password for your Trezor wallet and any associated accounts, such as the Trezor Wallet interface, are strong, unique, and not shared with other websites or services.
- Regularly check for firmware updates: Stay informed about the latest firmware updates and security announcements from Trezor. Keeping your device up to date is crucial to protect against any known vulnerabilities.
- Consider using a passphrase manager: To securely store your recovery seed and passphrases, you may consider using a reputable password manager that provides encrypted storage and easy retrieval.
- Keep your device and software up to date: Install any software updates for your computer that are required to support your Trezor device. Regularly update the firmware and software on your Trezor device as well.
Following these tips will help you maintain the highest level of security when storing your Litecoin on your Trezor wallet. By implementing these measures, you can safeguard your digital assets and have peace of mind knowing that your Litecoin is protected against potential threats.