
Back Up Your Data
Before you proceed with resetting your MacBook Air, it is crucial to back up all your important data. This ensures that you don’t lose any files or important information during the reset process. There are several methods you can use to back up your data:
- Time Machine Backup: If you have been regularly using Time Machine to back up your MacBook Air, this is the easiest and most convenient method. Simply connect an external hard drive to your MacBook Air and let Time Machine do the rest. It will create a full backup of your system, including all your files, applications, and settings.
- iCloud Backup: If you prefer a cloud-based backup solution, you can take advantage of iCloud. Ensure that you have enough storage space in your iCloud account to accommodate all your important files. To enable iCloud Backup, go to System Preferences, click on “Apple ID,” and select “iCloud.” Then, enable the “iCloud Backup” option.
- Manually Transfer Files: If you have only a few files that need to be backed up, manually transferring them to an external storage device is a viable option. Simply connect a USB flash drive or an external hard drive to your MacBook Air and drag and drop the files you want to back up.
Regardless of the method you choose, make sure to double-check that all your important files are backed up before proceeding to the next steps. It’s better to be safe than sorry, and taking the time to back up your data will give you peace of mind throughout the reset process.
Sign Out of Apple Services
Before resetting your MacBook Air, it’s essential to sign out of all Apple services that are linked to your device. Here’s how you can do it:
- iCloud: Open the Apple menu and select “System Preferences.” Click on your Apple ID, then on “iCloud.” Uncheck the box next to all the iCloud features you’re using and click “Sign Out.” You’ll be prompted to confirm the sign-out and choose whether you want to keep a copy of your iCloud data on your Mac. Choose the option that suits your needs and enter your Apple ID password to complete the sign-out process.
- iTunes & App Store: In System Preferences, click on your Apple ID, then select “Media & Purchases.” Click on “Sign Out” and confirm your decision. This will sign you out of both iTunes and the App Store.
- iMessage: Open the Messages app and go to Preferences. Choose the “Accounts” tab and select your iMessage account. Click on “Sign Out” to log out of iMessage.
- FaceTime: In the FaceTime app, go to Preferences and click on “Sign Out” to log out of FaceTime.
- Find My: Open the Apple menu, select “System Preferences,” and click on your Apple ID. Go to “iCloud” and make sure the “Find My” feature is turned off. Enter your Apple ID password if prompted.
By signing out of these Apple services, you ensure that your personal information and data are no longer associated with your MacBook Air. This prevents any potential issues or conflicts after the reset. It’s important to complete this step before proceeding further.
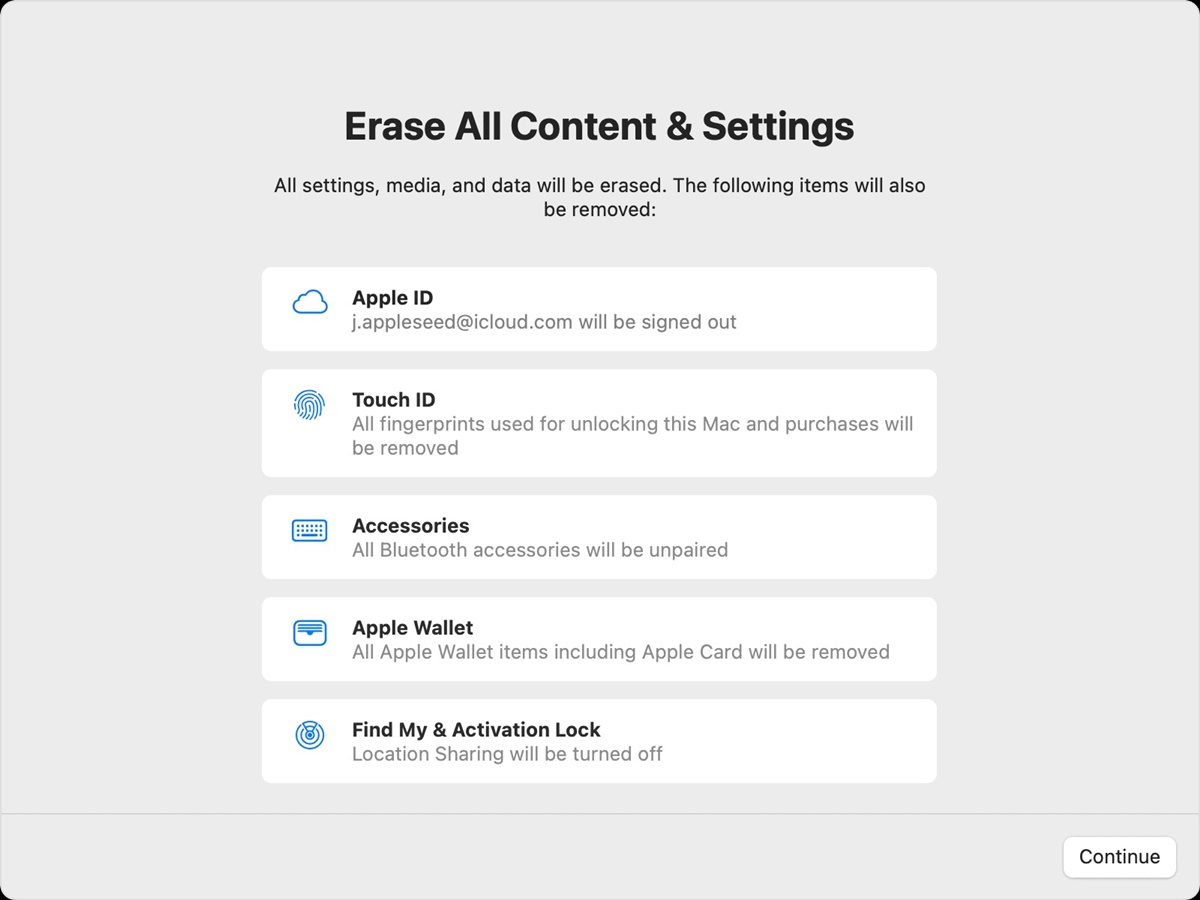
Erase Your MacBook Air
Once you have backed up your data and signed out of all Apple services, you’re ready to erase your MacBook Air. This step will remove all the data and settings from your device, returning it to its factory state. Here’s how you can do it:
- Restart Your MacBook Air: Click on the Apple menu and choose “Restart.” Wait for your MacBook Air to shut down and start up again.
- Enter Recovery Mode: Immediately press and hold the Command + R keys on your keyboard. Keep holding both keys until the Apple logo or a spinning globe appears. This will boot your MacBook Air into Recovery Mode.
- Erase the Startup Disk: In Recovery Mode, select “Disk Utility” and click “Continue.” Choose your startup disk from the list and click on the “Erase” tab. From here, you have the option to securely erase the disk by selecting an erase method. Click “Erase” to proceed. This will erase all the data on the disk.
- Reinstall macOS: Once the disk has been erased, go back to the main Recovery Mode menu and select “Reinstall macOS.” Follow the on-screen instructions to complete the reinstallation process. This will install a fresh copy of macOS on your MacBook Air.
It’s important to note that erasing your MacBook Air will permanently delete all your files and settings. Make sure you have backed up all the necessary data before proceeding. Additionally, ensure that you have a stable internet connection during the reinstallation process.
Once the reinstallation is complete, your MacBook Air will be like a brand new device, ready for you to set it up again.
Reinstall macOS
After erasing your MacBook Air, the next step is to reinstall macOS. This process will bring your device back to its original operating state. Follow these steps to reinstall macOS:
- Connect to a Wi-Fi Network: In the macOS Utilities window, select your preferred language and click “Continue.” Choose a Wi-Fi network and enter the necessary information to connect to it. If you don’t have access to Wi-Fi, you can use an Ethernet cable to connect directly to your modem or router.
- Choose the macOS Version: Once connected to the internet, the macOS Utilities window will display various options. Select “Reinstall macOS” and click “Continue.” You will be prompted to choose the version of macOS you want to install. The installer will download the necessary files from Apple’s servers.
- Agree to the Terms and Conditions: After the download is complete, the installation process will begin. Review the terms and conditions and click “Agree” to continue.
- Select the Destination Disk: Choose the disk on which you want to install macOS. If you only have one disk available, it will be selected by default. Click “Install” to proceed. The installer will copy the necessary files to the disk.
- Wait for the Installation to Complete: The installation process may take some time, so be patient. Your MacBook Air will restart once the installation is finished. Follow the on-screen instructions to set up your preferences and create a user account.
It’s important to note that during the reinstallation process, your MacBook Air may restart several times. This is normal, so don’t be alarmed. Make sure to keep your MacBook Air connected to a power source throughout the entire process to ensure a smooth installation.
Once the macOS reinstallation is complete, your MacBook Air will be ready to use with a clean and fresh operating system installation.
Set Up Your MacBook Air
After reinstalling macOS, it’s time to set up your MacBook Air and customize it according to your preferences. Follow these steps to complete the setup process:
- Select Your Country or Region: Choose your country or region from the list and click “Continue.”
- Connect to Wi-Fi: Connect your MacBook Air to a Wi-Fi network. If you didn’t do this during the macOS installation process, you will be prompted to do so now.
- Transfer Information: If you have a previous Mac, you can transfer your data, apps, and settings to your MacBook Air using the migration assistant. If you don’t want to transfer any data, select the option to set up as a new Mac.
- Sign in with Your Apple ID: Enter your Apple ID and password to sign in. This will allow you to access and sync your iCloud data, use the App Store, and more.
- Set Up Touch ID: If your MacBook Air has Touch ID, you will be prompted to set it up. Follow the on-screen instructions to register your fingerprint.
- Customize Your Settings: Choose your preferences for Siri, Express Set-up, screen time, and diagnostics. You can also enable or disable features such as location services, automatic updates, and more.
- Create a User Account: Set up a user account by entering your full name, account name, password, and password hint. You can also add a profile picture if you wish.
- Set Up iCloud: Decide whether you want to use iCloud to store your files, photos, and other data. You can choose the level of iCloud Drive storage you require.
- Agree to Terms and Conditions: Review the terms and conditions and click “Agree” to proceed.
- Get Started: Once you’ve completed the setup process, you can start using your MacBook Air with your personalized settings and preferences.
Take the time to explore the different features and settings available on your MacBook Air. Customize it according to your needs, install your favorite applications, and make it truly your own.
By following these steps, you can successfully reset your MacBook Air, reinstall macOS, and set it up to suit your preferences. Enjoy using your refreshed MacBook Air!