
Prerequisites
Before you begin the process of resetting your Ledger Nano S, there are a few prerequisites you should have in place:
- Ledger Nano S device: Make sure you have your Ledger Nano S hardware wallet ready. This is the device that you will be resetting.
- USB cable: Ensure that you have a USB cable that is compatible with your Ledger Nano S. This will be used to connect your device to your computer.
- Computer: You will need a computer with internet connectivity to access the necessary software and perform the reset process.
- Ledger Live: Download and install the Ledger Live application on your computer. Ledger Live is the official companion software for managing your Ledger Nano S device.
- Backup your recovery phrase: It is crucial to have your recovery phrase backed up. The recovery phrase is a set of words that serves as a backup to restore your wallet in case of device loss or damage.
- Access to a secure environment: Find a secure and distraction-free environment to perform the reset process. This will ensure that your sensitive information is protected during the procedure.
Once you have all these prerequisites in place, you are ready to proceed with resetting your Ledger Nano S. It is important to follow the instructions carefully to avoid any potential errors or loss of funds.
Step 1: Prepare your Ledger Nano S
Before you begin the reset process, it is essential to prepare your Ledger Nano S device. Follow the steps below to ensure everything is set up correctly:
- Disconnect from your computer: If your Ledger Nano S is currently connected to your computer, make sure to safely disconnect it before proceeding. Unplug the device from the USB cable.
- Check the device screen: Take a look at the screen of your Ledger Nano S. Ensure that there are no prompts or actions currently being displayed. If any action is in progress, wait for it to complete before moving on.
- Charge your device: If you suspect that your Ledger Nano S might have a low battery level, it is advisable to charge it before starting the reset process. Connect the device to a power source using the USB cable and let it charge for a while.
- Select the right cable: Ensure that you have the correct USB cable for your Ledger Nano S. Using an incompatible cable may cause connectivity issues and hinder the reset process. If you are uncertain, refer to the user manual or consult the Ledger support website to determine the appropriate cable.
- Set up a secure workspace: Find a clean and well-lit workspace where you can perform the reset process without interruption. Remove any distractions or potential hazards from the area to maintain focus and ensure the safety of your device and personal information.
Once you have completed these preparations, you are ready to move on to the next step of the reset process. Remember to take your time and carefully follow the instructions to execute the reset successfully.
Step 2: Install the Ledger Live Application
In order to reset your Ledger Nano S, you need to have the Ledger Live application installed on your computer. Follow the steps below to install the application:
- Visit the Ledger website: Open your preferred web browser and visit the official Ledger website at www.ledger.com.
- Go to the Ledger Live download page: On the Ledger website, navigate to the “Downloads” section. Look for the Ledger Live application and click on the download link.
- Select your operating system: Choose the appropriate version of Ledger Live based on your computer’s operating system. Available options typically include Windows, macOS, and Linux.
- Download and run the installer: Once you have selected the correct version, click on the download button and save the installer file to your computer. Locate the file and double-click on it to run the installation process.
- Follow the installation prompts: The installation process will guide you through the necessary steps. Follow the on-screen prompts to proceed with the installation of Ledger Live.
- Launch Ledger Live: After the installation is complete, locate the Ledger Live application on your computer and launch it. The application should open a new window or prompt you to create a new account or log in if you already have one.
Once you have successfully installed Ledger Live on your computer, you are ready to proceed with the reset process. Ensure that your Ledger Nano S is nearby and connected to your computer via the appropriate USB cable for the next steps.
Step 3: Choose the Reset Option in Ledger Live
Now that you have the Ledger Live application installed on your computer, it’s time to choose the reset option. Follow the steps below to proceed:
- Open Ledger Live: Launch the Ledger Live application on your computer. If you haven’t created an account, you may need to go through the account creation process. Otherwise, log in to your existing account.
- Connect your Ledger Nano S: Use the USB cable to connect your Ledger Nano S to your computer. Ensure that the device is properly connected and recognized by the Ledger Live application.
- Select your device: In the Ledger Live application, look for the “Manager” tab or a similar option that allows you to manage and control your device. From the device list, select your Ledger Nano S.
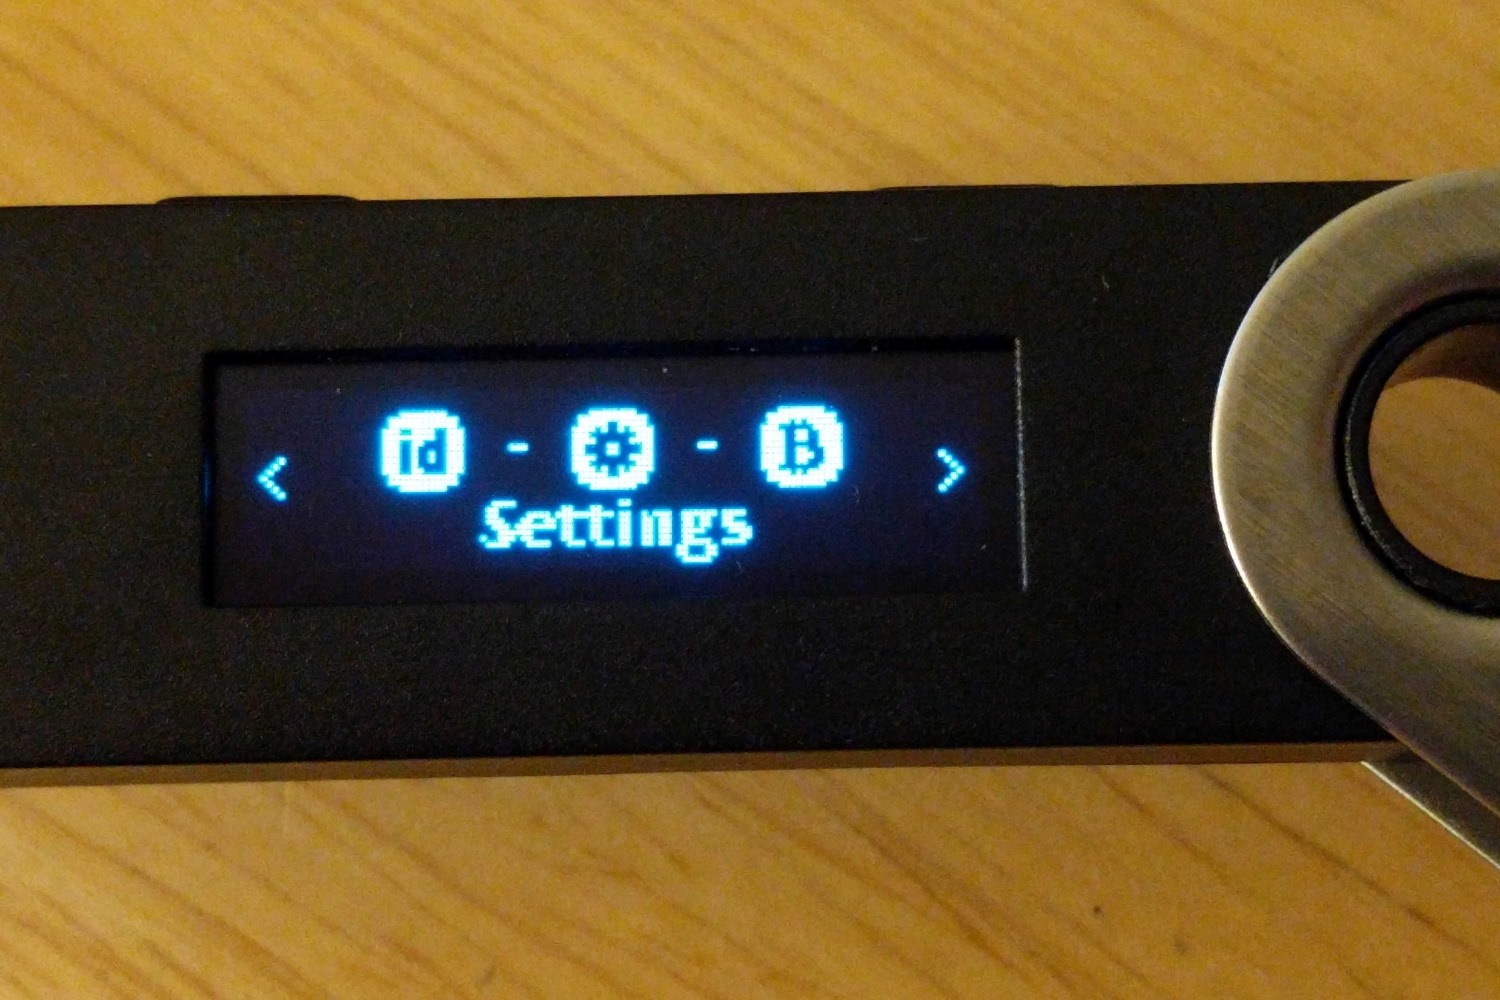
- Access device settings: Once your device is selected, look for the settings or options related to your device. This may vary depending on the version of Ledger Live you are using. Look for an option that allows you to modify or reset the device.
- Choose the reset option: Within the device settings, locate the reset option. It may be labeled as “Reset device,” “Reset to factory settings,” or similar. Click on this option to begin the reset process.
By following these steps, you will have successfully chosen the reset option in Ledger Live. In the next step, you will be prompted to confirm the reset and enter your PIN. Make sure to carefully follow the instructions and proceed with caution to avoid any data loss or unintended consequences.
Step 4: Confirm and Enter Your PIN
After choosing the reset option in Ledger Live, you will be prompted to confirm the reset and enter your PIN. Follow the steps below to complete this crucial step:
- Read the on-screen instructions: Carefully read the instructions presented on your computer screen. These instructions will guide you through the process of confirming the reset and entering your PIN.
- Ensure your Ledger Nano S is ready: Make sure your Ledger Nano S is connected to your computer via the USB cable and turned on. Ensure that the device screen is displaying the necessary prompts or instructions.
- Confirm the reset on the computer: On the computer, click on the confirmation button or follow the specific procedure to confirm the reset of your Ledger Nano S. This will initialize the reset process.
- Enter your PIN on the device: On your Ledger Nano S device, use the buttons to enter your PIN. The device will present a series of numbers on the screen, and you need to enter your PIN accordingly. Follow the instructions carefully to ensure accuracy.
- Confirm the entered PIN: Once you have entered the PIN on your Ledger Nano S device, confirm the entered PIN on your computer screen. Make sure that the numbers displayed on the computer match the PIN you entered on the device.
- Complete the verification: After confirming the PIN, follow any additional instructions or prompts provided on your computer screen to complete the verification process. This may involve pressing buttons on your device or following on-screen instructions.
By successfully confirming and entering your PIN, you will have completed an important step in the reset process. In the next step, you will manage your recovery phrase, which serves as a backup for your wallet. Take your time and carefully follow the instructions to ensure the security and integrity of your device.
Step 5: Manage Your Recovery Phrase
Managing your recovery phrase is a critical step in the reset process of your Ledger Nano S. The recovery phrase serves as a backup for your wallet and allows you to restore your funds in case of device loss or damage. Follow the steps below to manage your recovery phrase:
- Read the instructions: Carefully read and understand the instructions provided on your computer screen. These instructions will guide you through the process of managing your recovery phrase.
- Prepare a pen and paper: Get a pen and a piece of paper ready to write down your recovery phrase. It is crucial to write it down correctly and keep it in a safe and secure place.
- Follow the on-screen prompts: On your computer screen, follow the on-screen prompts to start managing your recovery phrase. Take note of any guidelines or instructions provided during the process.
- Write down the words: As instructed, your Ledger Nano S device will display a series of words, one at a time. Write down these words on the piece of paper in the exact order they appear. Do not skip any words or write them out of order.
- Verify the recovery phrase: Once you have written down all the words, you will be prompted to verify the recovery phrase. This step ensures that you have correctly written down the words. Carefully compare the words displayed on your device with the ones you wrote down.
- Complete the process: Once you have verified the recovery phrase, follow any additional instructions or prompts on your computer screen to complete the process. This may involve confirming the completion on your device or entering additional information.
It is crucial to take the utmost care when managing your recovery phrase. Treat it as sensitive information and keep it in a secure location to prevent unauthorized access. By successfully managing your recovery phrase, you are one step closer to resetting your Ledger Nano S securely.
Step 6: Reset your Ledger Nano S
Resetting your Ledger Nano S is the next step in the process of restoring your device to its factory settings. Follow the steps below to reset your Ledger Nano S:
- Read the on-screen instructions: Carefully read and understand the instructions presented on your computer screen. These instructions will guide you through the reset process.
- Confirm the reset: On your computer screen, confirm that you want to proceed with the reset. Make sure you have completed all the necessary steps and are ready to proceed with the reset process.
- Follow device prompts: On your Ledger Nano S device, follow the prompts or messages displayed on the screen. These prompts will indicate the progress of the reset process.
- Wait for the reset to complete: The reset process may take a few moments to complete. Do not disconnect your Ledger Nano S or interrupt the process until it has finished.
- Monitor the device screen: Keep an eye on your device screen during the reset process. It may display messages or prompts that require your response. Follow any instructions on the screen and interact with the device as necessary.
- Wait for the restart: Once the reset process is complete, your Ledger Nano S will restart automatically. It may take a few moments for the device to fully reboot.
By successfully resetting your Ledger Nano S, you have restored it to its factory settings. This provides a fresh starting point for setting up your device and ensures the security of your wallets and funds. In the next step, you will initialize your device and set up a new PIN.
Step 7: Initialize Your Device
After resetting your Ledger Nano S, it’s time to initialize your device and prepare it for use. Follow the steps below to complete the initialization process:
- Read the on-screen instructions: Carefully read and understand the instructions presented on your computer screen. These instructions will guide you through the initialization process of your Ledger Nano S.
- Choose your preferred language: On your device screen, select your preferred language from the list of available options. Use the buttons on your device to navigate and make your selection.
- Set up a new PIN: Create a new PIN for your Ledger Nano S device. Follow the on-screen prompts and use the buttons on your device to enter a new PIN. Make sure to choose a PIN that is secure and memorable to you.
- Confirm the PIN: Once you have entered your new PIN, confirm it on your device screen. Carefully verify the entered PIN to ensure accuracy.
- Backup your recovery phrase: Your Ledger Nano S will display a new set of words that make up your recovery phrase. Write down these words on a piece of paper and keep them in a safe and secure location. Follow any instructions or prompts to confirm and verify your recovery phrase.
- Confirm the initialization: Once you have completed the necessary steps, confirm the initialization process on your computer screen. This will finalize the setup of your Ledger Nano S device.
- Follow any additional prompts: Depending on your device and Ledger Live version, you may receive additional prompts or instructions to complete the initialization process. Follow these prompts carefully to ensure a successful setup.
By successfully initializing your Ledger Nano S, you have prepared it for use with a new PIN and a backed-up recovery phrase. In the next step, you will proceed to set up a new PIN for your device.
Step 8: Set up a New PIN
Setting up a new PIN is an important step in the process of securing your freshly initialized Ledger Nano S. Follow the steps below to set up a new PIN:
- Access the device settings: On your Ledger Nano S device, navigate to the settings menu. Use the buttons on the device to navigate through the options until you find the “Change PIN” or similar option.
- Choose a new PIN: Follow the on-screen instructions to enter a new PIN for your device. Use the buttons on your device to select the desired numbers. Make sure to choose a PIN that is secure and easy for you to remember.
- Confirm the new PIN: After entering your new PIN, confirm it on your device screen. Carefully verify the entered PIN to ensure accuracy.
- Remember your new PIN: Memorize your new PIN carefully. Do not store it anywhere that may be easily accessible to others. This ensures that only you can access your Ledger Nano S device.
- Verify the new PIN: Once you have confirmed your new PIN, your device will prompt you to verify it. Enter the new PIN again to ensure it matches the previously entered PIN.
- Complete the PIN change: Follow any additional instructions or prompts on your device to complete the process of setting up a new PIN. Your device will confirm when the PIN change is successful.
By successfully setting up a new PIN, you have strengthened the security of your Ledger Nano S. Remember to keep your PIN confidential and securely stored. In the next step, you will proceed to restore or reinstall your applications on the device.
Step 9: Restore or Reinstall Applications
Once you have set up a new PIN for your Ledger Nano S, you can proceed to restore or reinstall the applications on your device. Follow the steps below to complete this final step:
- Open Ledger Live: Launch the Ledger Live application on your computer and log in to your account if required.
- Connect your Ledger Nano S: Use the USB cable to connect your Ledger Nano S device to your computer. Ensure that it is properly connected and recognized by the Ledger Live application.
- Access the device settings: In Ledger Live, navigate to the “Manager” tab or a similar section that allows you to manage the applications on your device.
- Choose the desired applications: Review the list of available applications and select the ones that you would like to restore or reinstall on your Ledger Nano S. You may choose to restore the applications you had previously installed or install new ones.
- Install the selected applications: Follow the on-screen instructions in Ledger Live to install the selected applications to your Ledger Nano S device. The installation process may take a few moments.
- Verify the installation: Once the installation is complete, verify the installed applications on your device’s screen. Ensure that the applications match the ones you selected in Ledger Live.
- Disconnect your device: Safely disconnect your Ledger Nano S from your computer by unplugging the USB cable. Ensure that the device is no longer connected to your computer.
By successfully restoring or reinstalling the desired applications, you have completed the final step of the reset process for your Ledger Nano S. Your device is now ready for use with the restored applications. Remember to keep your device and recovery phrase in a safe and secure place to protect your wallets and funds.