
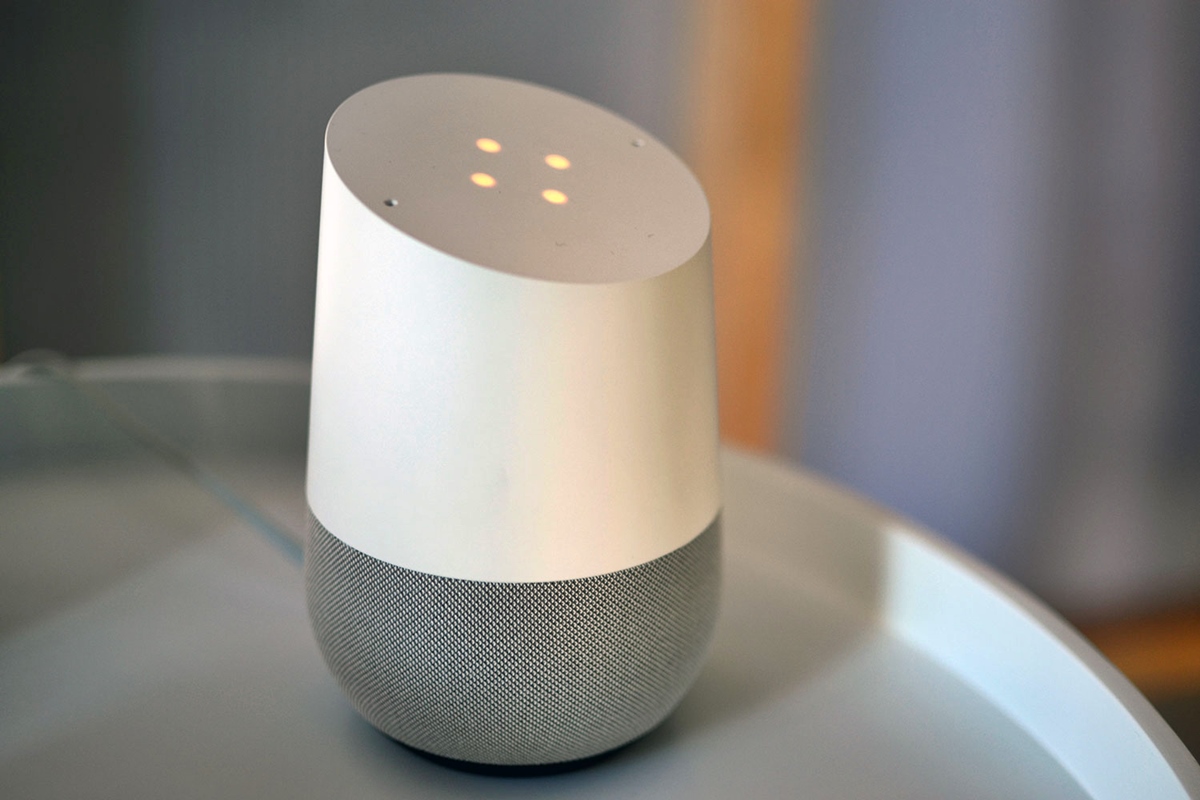
Why remove a device from the Google Home app?
There are several reasons why you may want to remove a device from the Google Home app. Whether you’re decluttering your smart home setup or troubleshooting connectivity issues, removing a device from the app can help streamline your experience and ensure that Google Home operates smoothly. Here are a few common scenarios in which you might consider removing a device:
1. Device upgrade or replacement: If you have upgraded your smart device or purchased a new one to replace an existing one, you’ll need to remove the old device from the Google Home app to make way for the new one. This ensures that your app remains organized and only displays active devices.
2. Device malfunction: If a smart device is not functioning properly or is experiencing connectivity issues, removing it from the Google Home app and then re-adding it can sometimes help resolve the problem. It allows for a fresh connection to be established, ensuring proper functionality.
3. Change in smart home setup: As your smart home evolves, you may make changes to your device configuration. This could involve removing devices that are no longer in use or replacing them with newer models. Removing these devices from the Google Home app helps keep your device list accurate and up-to-date.
4. Privacy concerns: If you have concerns about the privacy and security of a particular device, removing it from the Google Home app can provide peace of mind. This ensures that any potential vulnerabilities associated with that device are eliminated.
5. Simplifying device management: Having too many devices listed in the Google Home app can become overwhelming and make it difficult to navigate and control your smart home. By removing devices that you no longer need or use, you can streamline the app and make it more user-friendly.
Removing a device from the Google Home app can help optimize your smart home experience. Whether it’s to make way for new devices, troubleshoot connectivity issues, or maintain control over your privacy and security, following the steps outlined below will guide you through the process with ease.
Step 1: Open the Google Home app
The first step to removing a device from the Google Home app is to open the app itself. The Google Home app is available for download on both Android and iOS devices, and it serves as the central hub for controlling and managing your smart home devices.
Here’s how you can open the Google Home app:
- Unlock your smartphone or tablet and navigate to the home screen.
- Locate the Google Home app icon. It typically features a rounded icon with multi-colored waves.
- Tap on the app icon to launch the Google Home app.
Once the app is open, you’ll be greeted by the home screen, which displays a list of all your connected devices. From here, you can easily manage and control your smart home ecosystem.
It’s important to note that you need to be logged in to your Google account that is associated with your smart devices in order to access and manage them through the Google Home app. If you haven’t already signed in, you’ll be prompted to do so when you open the app.
By following these simple steps, you can quickly open the Google Home app and proceed to the next step of removing a device from your smart home setup.
Step 2: Choose the device you want to remove
Once you have successfully opened the Google Home app, the next step is to choose the specific device that you want to remove from your smart home setup. The Google Home app provides a user-friendly interface that allows you to easily locate and select the desired device.
Follow these steps to choose the device you want to remove:
- On the home screen of the Google Home app, you will see a list of all your connected devices. Scroll through the list or swipe left or right to find the device you want to remove.
- Tap on the device to select it. This will open the device settings page, where you can configure various settings and manage its functions.
It’s important to choose the correct device to remove from the app. Double-check the device name and icon to ensure you are selecting the right one. Removing the wrong device can result in the loss of any associated settings or configurations.
Additionally, if you have multiple devices of the same type, such as multiple smart speakers or smart lights, make sure you choose the specific device that you want to remove. Each device will have its own settings page within the Google Home app, allowing for individual management and customization.
By following these steps, you can easily select the device you wish to remove from the Google Home app. Once you have chosen the desired device, you can proceed to the next step in the removal process.
Step 3: Tap on the device settings
After selecting the device you want to remove from the Google Home app, the next step is to access the device settings. The device settings page provides you with various options and controls for customizing and managing the selected device.
Follow these steps to tap on the device settings:
- On the device page, you will see an icon or button that represents the settings for that specific device. This icon is typically located in the upper-right or lower-right corner of the screen.
- Tap on the settings icon or button to open the device settings page.
Once you tap on the device settings, you will be directed to a new screen that displays all the available options and configurations for that device. Here, you can adjust settings related to device functionality, connectivity, voice commands, and more.
It’s important to explore the device settings page thoroughly to ensure that you have made any necessary changes or adjustments before removing the device from the app. This could include updating Wi-Fi settings, adjusting volume levels, or enabling/disabling specific features.
Remember to be cautious while making changes to the device settings, as certain modifications may have a significant impact on the device’s functionality or compatibility with other devices in your smart home ecosystem.
By following these steps, you can easily tap on the device settings within the Google Home app, allowing you to further customize and manage the selected device’s functionalities.
Step 4: Scroll down to the bottom of the settings page
After accessing the device settings in the Google Home app, the next step is to scroll down to the bottom of the settings page. This is where you will find the option to remove the device from your smart home setup.
Here’s how you can scroll down to the bottom of the settings page:
- On the device settings page, use your finger to swipe or scroll downwards on the screen. This will gradually move the content on the page towards the bottom.
- Continue scrolling until you reach the end of the settings page.
It’s important to note that the location of the “remove device” option may vary slightly depending on the device type and firmware version. In most cases, however, this option is located towards the bottom of the settings page.
While scrolling down, you may come across other settings or options that you can explore and adjust if needed. Take your time to review these additional settings, as they may provide valuable customization options for your specific device.
If you are unable to find the “remove device” option at the bottom of the settings page, try checking for alternative options such as “unlink device,” “disconnect device,” or “remove from Google Home.” These wording variations all serve the same purpose of removing the device from the app.
By following these steps, you can easily scroll down to the bottom of the device settings page in the Google Home app, where you will find the option to remove the selected device from your smart home setup.
Step 5: Tap on the “Remove device” option
Once you have scrolled down to the bottom of the device settings page in the Google Home app, the next step is to locate and tap on the “Remove device” option. This option allows you to initiate the removal process for the selected device from your smart home setup.
Follow these steps to tap on the “Remove device” option:
- Once you have reached the bottom of the device settings page, search for the “Remove device” option. It is usually displayed as a button or a hyperlink, clearly labeled for easy identification.
- Tap on the “Remove device” option to proceed with the removal process.
After tapping on the “Remove device” option, you may be prompted with a confirmation message or a dialog box to confirm your decision. This is to prevent accidental removals and ensure that you intend to remove the device from your smart home setup.
It’s important to carefully review the confirmation message and any additional information provided before proceeding. Ensure that you have selected the correct device for removal to avoid removing the wrong device and potentially losing any associated settings or configurations.
If you have multiple devices of the same type, the app may provide options to remove only that specific device or all devices of that type. Choose the appropriate option based on your intended action.
By following these steps, you can easily tap on the “Remove device” option within the Google Home app, initiating the removal process for the selected device from your smart home setup.
Step 6: Confirm the removal of the device
After tapping on the “Remove device” option in the Google Home app, the next step is to confirm the removal of the selected device from your smart home setup. This confirmation step ensures that you are intentionally removing the device and that it will no longer be connected or accessible through the app.
Follow these steps to confirm the removal of the device:
- Once you have selected the “Remove device” option, a confirmation message or dialog box will typically appear on the screen.
- Read the confirmation message carefully to make sure you understand the implications of removing the device.
- If you are sure you want to continue with the removal process, tap on the “Confirm” or “Remove” button.
By confirming the removal, you acknowledge that the device will be permanently disconnected from the Google Home app and will no longer be controllable through the app’s interface. Any associated settings, routines, or automations tied to the device may also be removed.
It’s important to note that the removal of a device from the Google Home app does not physically disconnect the device from your smart home network. You may need to follow specific instructions provided by the manufacturer to completely unlink or reset the device if necessary.
After confirming the removal of the device, the Google Home app will update, and the device will be removed from the list of connected devices. You may need to refresh or restart the app for the changes to take effect.
By following these steps, you can easily confirm the removal of the selected device from your smart home setup through the Google Home app.
Step 7: Repeat the process for any other devices you want to remove
If you have multiple devices that you want to remove from the Google Home app, you can easily repeat the removal process for each device. This ensures that your app remains organized and only displays the devices that are currently active and relevant to your smart home setup.
Follow these steps to repeat the removal process for any other devices:
- After successfully removing the first device, return to the home screen of the Google Home app.
- Scroll through the list of connected devices to identify the next device you want to remove.
- Select the device by tapping on it and access its settings page, similar to the previous steps.
- Scroll down to the bottom of the settings page and locate the “Remove device” option.
- Tap on the “Remove device” option and confirm the removal as instructed in the previous steps.
Repeat these steps for each additional device you want to remove from the Google Home app.
By repeating the removal process for each device, you can ensure that your app reflects the most accurate and up-to-date list of connected devices. This helps in maintaining an organized and seamless control over your smart home ecosystem.
After removing all the desired devices, take a moment to review the remaining devices in the Google Home app. Ensure that the list is now free from any devices that you no longer want to control or manage through the app.
By following these steps and repeating the process as needed, you can easily remove multiple devices from the Google Home app without any hassle.
Things to consider before removing a device from the Google Home app
Before you proceed with removing a device from the Google Home app, there are a few important factors to consider. These considerations will help ensure a smooth removal process and avoid any unintended consequences. Take the following into account:
1. Device functionality: Understand the impact that removing the device will have on its functionality. Some devices may lose certain features or capabilities when removed from the app. Consider whether you still need access to those functionalities or if removing the device is the best course of action.
2. Connected services and integrations: Take note of any services or integrations that are connected to the device through the Google Home app. Removing the device may also sever these connections, affecting the functionality of other devices or services in your smart home ecosystem. Ensure you’re aware of the potential consequences before proceeding.
3. Device settings and configurations: Removing a device from the Google Home app may reset or remove any customized settings or configurations associated with that device. Consider whether you have any specific settings or routines that you want to retain or transfer to another device before removing it.
4. Compatibility with other devices: If the device you want to remove is part of a larger connected system, consider how its removal may affect the overall compatibility and functionality of the remaining devices. Some devices rely on each other for certain functions, and removing one may disrupt the operation of others.
5. Data and privacy: Evaluate whether you have any personal data or sensitive information stored on the device or associated with the device’s connected services. Take the necessary steps to secure or remove that data before removing the device from the Google Home app.
6. Future plans or usage: Consider your future plans for the device and whether you may want to re-add it to the Google Home app later on. If you anticipate reusing the device or connecting it to a different account in the future, removing it from the app may not be the best option at this time.
By taking these factors into account, you can make an informed decision about whether to proceed with removing a device from the Google Home app. If you are still unsure, it may be helpful to consult the device manufacturer’s documentation or reach out to their customer support for further guidance.