
Check the Fitbit Band
Before putting on your Fitbit band, it’s essential to ensure that it’s in good condition. Giving it a quick check will not only guarantee its functionality but also help prevent any discomfort or damage later on. Here’s what you need to do:
- Inspect the band: Examine the entire band, including the strap, clasp, and tracker attachment area. Look for any signs of wear, such as fraying or cracking, and check if all the components are securely attached.
- Clean the band: If there is dirt or debris on the band, gently wipe it clean using a soft, damp cloth. Avoid using harsh chemicals or abrasive materials that could damage the band’s surface.
- Test the clasp: Make sure the clasp opens and closes smoothly without any resistance. If it feels loose or doesn’t secure properly, consider replacing the band or adjusting the clasp if possible.
- Check the tracker: If your Fitbit band includes a removable tracker, inspect it for any damage or malfunctions. Ensure that the charging port is clean and free from debris, and verify that the tracker powers on properly when charged.
By taking the time to check your Fitbit band before putting it on, you can ensure that it’s in optimal condition and ready to track your activities accurately. This step is especially important if you haven’t used your Fitbit for a while or if you’ve recently purchased a new band. Ensuring everything is in order will help you make the most of your Fitbit experience from the get-go.
Locate the Tracker
Before you can put on your Fitbit band, you need to locate the tracker—a small, rectangular device that fits securely into the band. The tracker is responsible for monitoring and recording your activity data. Here’s how to find it:
- Unclasp the band: If your Fitbit band has a clasp, carefully open it to release the band. Some bands may require you to gently slide the tracker out of a pocket or slot.
- Identify the tracker: Look for the rectangular device that fits snugly into the band. It will have a display screen or LED lights, along with buttons or a touch-sensitive surface.
- Check the orientation: Note the proper alignment of the tracker. There is usually a specific way the tracker should be positioned in the band. Consult the user manual or Fitbit website for guidance if you’re unsure.
- Inspect the tracker: Before inserting it into the band, check for any damage or debris on the device. If necessary, gently clean the tracker using a soft cloth or a cotton swab, taking care not to scratch the screen or any sensors.
Locating the tracker is an important step in preparing to put on your Fitbit band. Familiarize yourself with its appearance and ensure it’s in proper working condition. By taking a moment to locate and inspect the tracker, you’ll be ready to proceed to the next steps of putting on your Fitbit band and starting your fitness journey.
Position the Band
Now that you have located the tracker, it’s time to position the Fitbit band properly on your wrist. The positioning is crucial for comfort and accuracy of activity tracking. Here’s how to ensure a proper fit:
- Choose the wrist: Decide which wrist you want to wear your Fitbit band on. Most people prefer the non-dominant wrist, but it’s entirely up to your personal preference.
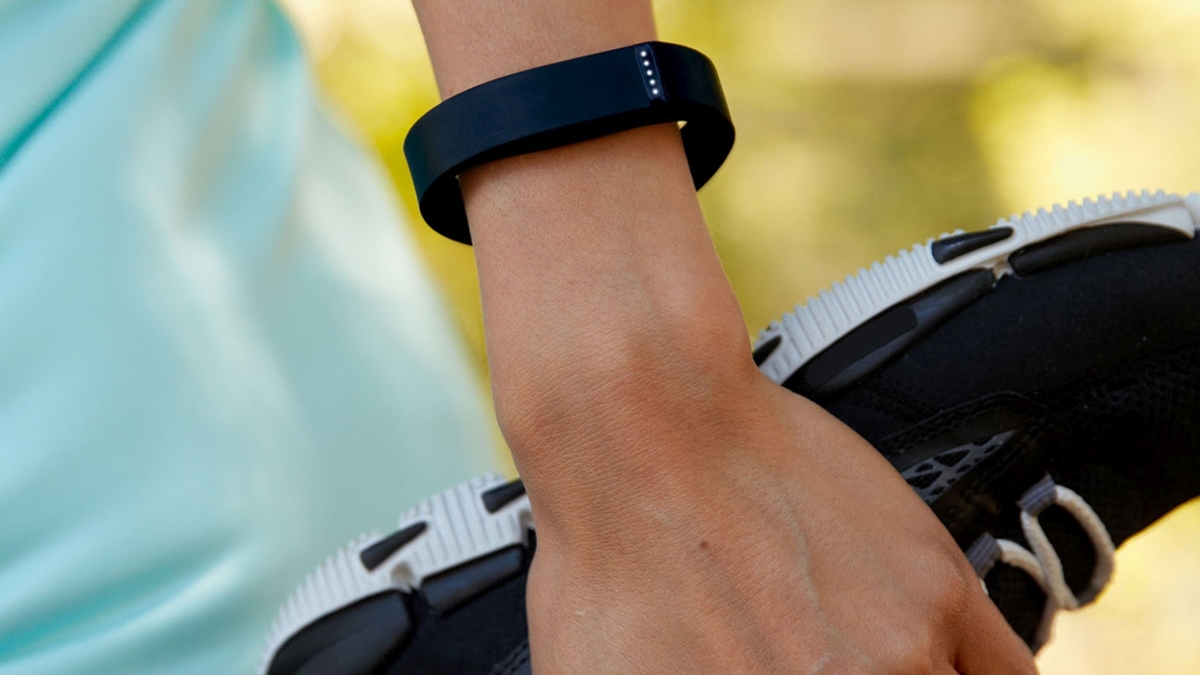
- Wrap the band around your wrist: Hold the band with the tracker facing towards you, and wrap it around your wrist. Position it about a finger’s width above your wrist bone.
- Adjust the tightness: Make sure the band is snug but not too tight. It should fit comfortably without restricting blood flow or leaving marks on your skin. You should be able to insert a finger between the band and your wrist.
- Center the tracker: Once the band is wrapped, center the tracker on the top side of your wrist. The tracker should sit flat against your skin, with the display facing upwards.
- Ensure proper alignment: Double-check that the tracker is aligned correctly within the band. It should be securely placed and not protruding or sticking out.
Positioning the Fitbit band on your wrist correctly is essential for accurate tracking and a comfortable fit. Take the time to adjust the band to the right tightness and ensure that the tracker is centered and aligned properly. Once you have positioned the band correctly, you’re ready to move on to inserting the tracker into the band and securing it in place.
Insert the Tracker
With the Fitbit band positioned on your wrist, it’s time to insert the tracker into the designated slot or pocket. The tracker is what allows your Fitbit device to accurately track your activity and provide you with valuable data. Follow these steps to insert the tracker securely:
- Locate the tracker slot: Depending on your Fitbit band model, there may be a specific slot or pocket where the tracker needs to be inserted. Refer to your band’s user manual or Fitbit website for precise instructions.
- Orient the tracker properly: Pay attention to the orientation of the tracker. There may be arrows or indicators on both the tracker and the band to guide you. Make sure the tracker is lined up with the slot or pocket correctly.
- Gently slide the tracker in: Insert the tracker into the slot or pocket with a careful and smooth motion. Avoid using excessive force that could damage the band or the tracker.
- Ensure a secure fit: Once the tracker is fully inserted, check to see if it is securely held in place. Give it a light tug to confirm that it won’t easily come out during everyday activities.
By following these steps, you can securely insert the tracker into your Fitbit band, ensuring proper functionality and accurate activity tracking. Double-check that the tracker is aligned properly and securely held in place before proceeding to the next step of securing the band around your wrist.
Secure the Band
Once the tracker is inserted into the Fitbit band, it’s important to secure the band around your wrist to ensure it stays in place during your activities. Here’s how to properly secure the band:
- Fasten the clasp: If your Fitbit band has a clasp, carefully bring both ends together and fasten the clasp. Make sure the clasp clicks into place securely. It should feel snug but not overly tight.
- Adjust the buckle: For bands with a buckle closure, thread the strap through the buckle and adjust it to your desired tightness. Ensure that the buckle lies flat against your wrist and that the excess strap is neatly tucked away.
- Secure the closure: Check if your Fitbit band has any additional closures, such as a Velcro strap or a snap button. Secure these closures properly to prevent the band from coming loose during activities.
By properly securing the Fitbit band around your wrist, you can ensure that it stays in place and provides accurate tracking of your activities throughout the day. It’s important to find the right balance between a secure fit and comfort, ensuring that the band doesn’t feel too tight or too loose. Adjust the band and closures as needed to achieve the perfect fit for your wrist.
Adjust the Fit
Once you have secured the Fitbit band, take a moment to ensure that it is properly adjusted for maximum comfort and accurate tracking. Here are some tips for adjusting the fit of your Fitbit band:
- Check the tightness: Pay attention to how the band feels on your wrist. It should be snug enough to stay in place during activities, but not so tight that it causes discomfort or restricts blood circulation. Adjust the strap or buckle if needed.
- Position the tracker: Ensure that the tracker is centered on the top side of your wrist and sitting flat against your skin. This allows for proper tracking of your movements and ensures accurate data collection.
- Avoid skin irritation: If you experience any discomfort or skin irritation from the Fitbit band, consider adjusting the tightness, changing the position of the band, or trying a different material or style of band that suits your sensitivity.
- Balance between tightness and movement: While it’s important for the band to stay in place, it should not impede your range of motion. Make sure you can move your wrist comfortably and perform daily activities without any restriction caused by the Fitbit band.
Everyone’s wrist is different, so it may take some trial and error to achieve the perfect fit for your Fitbit band. Take the time to make adjustments and find the balance between a secure, comfortable fit and unrestricted movement. Remember that a well-fitting band ensures optimal performance and an enjoyable experience while using your Fitbit device.
Test the Comfort
After adjusting the fit of your Fitbit band, it’s important to test the comfort level before wearing it for an extended period. Comfort is key to ensure a pleasant wearing experience throughout the day. Here’s how to test the comfort of your Fitbit band:
- Move your wrist: Start by moving your wrist in different directions, flexing it, and rotating it. Pay attention to any discomfort or irritation caused by the band. It should move with your wrist smoothly and without causing any pain or pinching.
- Check the weight: Take note of the weight of the Fitbit band and the tracker. It should feel lightweight and not excessively cumbersome or burdensome on your wrist. If it feels too heavy, consider using a different band or adjusting the tightness to alleviate the strain.
- Assess the material: Consider the material of the Fitbit band and its compatibility with your skin. Some people may have sensitivities to certain materials, so make sure the band is made of a hypoallergenic or skin-friendly material that doesn’t cause any irritation or discomfort.
- Perform regular activities: Wear the Fitbit band while carrying out your regular activities, such as typing, exercising, or even sleeping if you plan to wear it overnight. Pay attention to any discomfort, rubbing, or digging into your skin. Readjust as necessary for optimal comfort.
By testing the comfort of your Fitbit band, you can ensure that it won’t cause any discomfort or irritation throughout the day. Everyone’s comfort preferences may vary, so take the time to assess the band’s weight, movement, material, and how it feels during various activities. Making any necessary adjustments will allow you to enjoy wearing your Fitbit band without any discomfort or distractions.
Wear the Fitbit Band
Now that you have checked the comfort and made necessary adjustments, it’s time to wear your Fitbit band and start tracking your activities. Follow these steps to properly wear your Fitbit band:
- Slide your hand through the band: Insert your hand through the opening of the band, with the display facing up and the tracker on the inside of your wrist.
- Position the band on your wrist: Slide the band up or down your wrist until it sits comfortably a finger’s width above your wrist bone.
- Secure the band: Fasten the clasp or buckle, ensuring it is snug but not overly tight. Make sure the band feels secure and doesn’t slide around on your wrist.
- Double-check the placement: Confirm that the tracker is centered on the top side of your wrist and sitting flat against your skin. This ensures optimal tracking accuracy.
Once your Fitbit band is securely in place, you’re ready to start using it to track your activity levels, monitor your heart rate, and achieve your fitness goals. Remember to sync your Fitbit device with the app on your smartphone or computer to access your data and make the most of its features.
Wear your Fitbit band consistently throughout the day to accurately record your steps, distance, calories burned, and other important measurements. Take it off only when necessary, such as during water-based activities or when charging the tracker.
Enjoy the benefits of wearing your Fitbit band, as it helps you stay motivated and accountable on your fitness journey. Embrace the technology, insights, and support that Fitbit provides to help you lead a healthier and more active lifestyle.