
What You Will Need
To pair two Echo Dots for stereo sound, you will need the following:
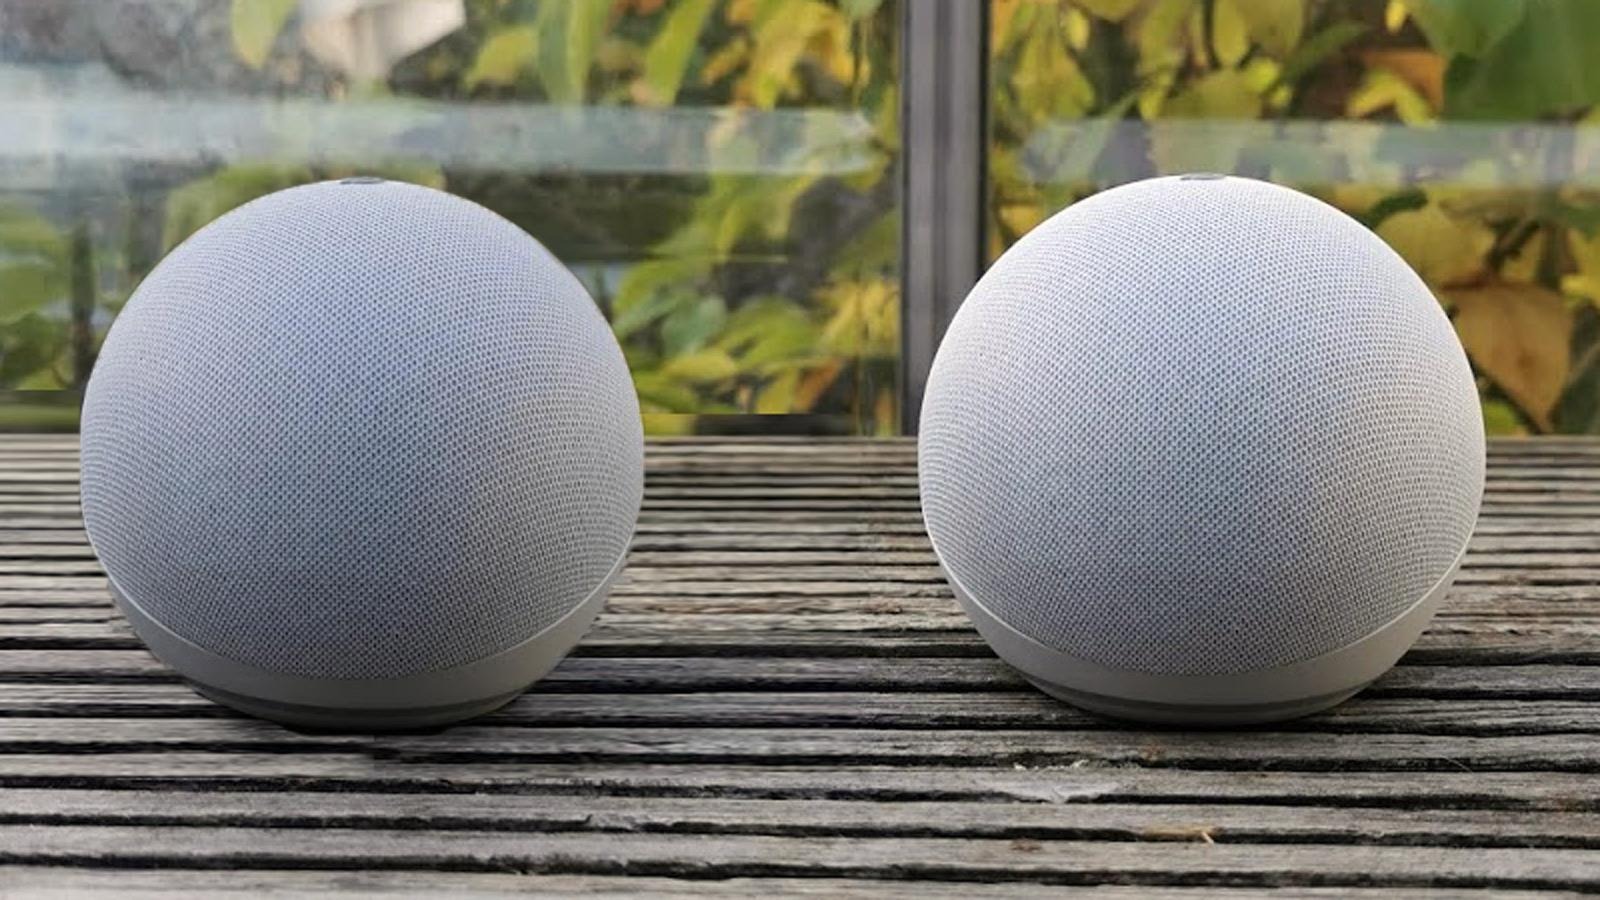
1. Two Echo Dots: Make sure you have two Echo Dots available, as you will need two devices to create a stereo pair. If you don’t own two Echo Dots, you can purchase an additional one from your preferred retailer.
2. Wi-Fi Network: Ensure that you have a stable and reliable Wi-Fi network at your location. The Echo Dots need to be connected to the same Wi-Fi network in order for them to communicate with each other and form a stereo pair.
3. Smart Device: You will need a compatible smart device, such as a smartphone or tablet, to configure the stereo pair. This device will be used to set up the Echo Dots, enable Bluetooth, and control the audio playback.
4. Alexa App: Download and install the Alexa app on your smart device. This app is available for both iOS and Android devices and is essential for managing your Echo Dots and configuring the stereo pairing.
5. Power Outlets: Ensure that you have available power outlets to plug in both Echo Dots. Each device needs to be connected to a power source for it to function properly and deliver stereo sound.
6. Audio Content: Gather your favorite audio content, whether it be music, podcasts, or audiobooks. Once your stereo pair is set up, you can enjoy immersive and enhanced audio playback.
Having these items ready will ensure a smooth and hassle-free experience while setting up and enjoying the stereo sound from your Echo Dots.
Step 1: Set Up Your Echo Dots
The first step in pairing your Echo Dots for stereo sound is to set them up individually. If you have already completed the initial setup of your Echo Dots, you can skip this step.
To set up your Echo Dots, follow these steps:
- Unbox your Echo Dots: Remove your Echo Dots from the packaging.
- Connect to Power: Plug in each Echo Dot to a power outlet using the included power adapter.
- Wait for Power Up: Allow the Echo Dots a few moments to power up. You will know they are ready when the light ring turns orange and then blue.
- Follow the Prompts: Open the Alexa app on your smart device and follow the on-screen instructions to connect your Echo Dot to the app. This may involve selecting your preferred language, connecting to Wi-Fi, and signing in to your Amazon account.
- Register Your Device: Once your Echo Dot is connected to the app, it will automatically register the device to your Amazon account.
Congratulations! You have now successfully set up your Echo Dots. Repeat these steps for the second Echo Dot if you haven’t done so already.
Remember to place your Echo Dots in the desired locations where you want them to deliver stereo sound. Ideally, they should be placed a few feet apart, facing towards the listening area.
Once both Echo Dots are set up, you can proceed to the next step, which involves connecting them to your Wi-Fi network.
Step 2: Connect Your Echo Dots to Wi-Fi
In order for your Echo Dots to communicate with each other and form a stereo pair, they need to be connected to the same Wi-Fi network. Follow these steps to connect your Echo Dots to Wi-Fi:
- Open the Alexa App: Launch the Alexa app on your smart device.
- Select Devices: Tap on the “Devices” icon located at the bottom right corner of the app.
- Choose Echo & Alexa: On the Devices screen, select “Echo & Alexa” to view your registered Echo devices.
- Select Your Echo Dot: Choose the Echo Dot that you want to connect to Wi-Fi. If you have multiple Echo Dots, select the one that you want to use as the primary device for the stereo pair.
- Select “Change Wi-Fi”: On the Echo Dot settings screen, tap on “Change Wi-Fi” to start the Wi-Fi setup process.
- Follow the Prompts: The app will guide you through the process of connecting your Echo Dot to your Wi-Fi network. Make sure to follow the on-screen instructions, including selecting the correct Wi-Fi network and entering the Wi-Fi password if prompted.
- Repeat for the Second Echo Dot: Once you have successfully connected the first Echo Dot to Wi-Fi, repeat the same steps for the second Echo Dot.
After completing these steps, both of your Echo Dots should be connected to the same Wi-Fi network. This is essential for the stereo pairing to work properly.
Continue to the next step to ensure that your Echo Dots are up to date with the latest software.
Step 3: Update Your Echo Dots
Before proceeding with the stereo pairing, it is important to ensure that your Echo Dots are running the latest software version. Updating your devices will ensure optimal performance and compatibility for the stereo pair. Follow these steps to update your Echo Dots:
- Open the Alexa App: Launch the Alexa app on your smart device.
- Select Devices: Tap on the “Devices” icon located at the bottom right corner of the app.
- Choose Echo & Alexa: On the Devices screen, select “Echo & Alexa” to view your registered Echo devices.
- Select Your Echo Dot: Select the Echo Dot that you want to update. If you have multiple Echo Dots, update each one separately.
- Check for Updates: On the Echo Dot settings screen, scroll down and tap on “Check for Updates.” The app will then search for any available updates for your device.
- Follow the Prompts: If an update is available, the app will prompt you to install it. Follow the on-screen instructions to start the update process. It may take a few minutes for the update to download and install.
- Repeat for the Second Echo Dot: Once the update is complete for the first Echo Dot, repeat the same steps to update the second Echo Dot.
After updating both of your Echo Dots, they will be ready to proceed with the stereo pairing process. Keeping your devices up to date will ensure that you have access to the latest features and improvements.
Continue to the next step to enable Bluetooth and pair one Echo Dot to your device.
Step 4: Enable Bluetooth and Pair One Dot to Your Device
In order to set up the stereo pair, you need to enable Bluetooth on your Echo Dots and pair one of them to your device. Follow these steps to enable Bluetooth and connect one Echo Dot:
- Open the Alexa App: Launch the Alexa app on your smartphone or tablet.
- Select Devices: Tap on the “Devices” icon located at the bottom right corner of the app.
- Choose Echo & Alexa: On the Devices screen, select “Echo & Alexa” to view your registered Echo devices.
- Select Your Echo Dot: Choose the Echo Dot that you want to connect to your device.
- Enable Bluetooth: On the Echo Dot settings screen, scroll down and tap on “Bluetooth Devices.”
- Pairing Mode: Tap on the “Pair a New Device” button to put your Echo Dot into pairing mode.
- Pairing on Your Device: On your smartphone or tablet, navigate to the Bluetooth settings and search for available devices. Select the Echo Dot you are currently setting up from the list.
- Complete Pairing: Follow any on-screen prompts to complete the pairing process. Once connected, your device will be wirelessly linked to the selected Echo Dot.
After completing these steps, you have successfully enabled Bluetooth on one of your Echo Dots and paired it to your device. This will allow for audio playback through the connected Echo Dot.
Now, proceed to the next step to create a speaker group and prepare for the stereo pairing process.
Step 5: Create a Speaker Group
In order to set up the stereo pairing between your Echo Dots, you need to create a speaker group. This will allow the two devices to work together as a stereo pair. Follow these steps to create a speaker group:
- Open the Alexa App: Launch the Alexa app on your smart device.
- Select Devices: Tap on the “Devices” icon located at the bottom right corner of the app.
- Choose Echo & Alexa: On the Devices screen, select “Echo & Alexa” to view your registered Echo devices.
- Select the First Echo Dot: Choose the Echo Dot that you previously paired to your device.
- Select “Create Speaker Group”: On the Echo Dot settings screen, scroll down and tap on “Create Speaker Group.”
- Name Your Group: Give your speaker group a unique name, such as “Stereo Pair” or “Living Room Speakers.”
- Add the Second Echo Dot: Tap on “Add Speakers” and select the second Echo Dot from the available devices list.
- Create the Group: Tap on “Create Group” to finalize and create the speaker group.
After completing these steps, you will have successfully created a speaker group consisting of both your Echo Dots. This will serve as the foundation for the stereo pairing process.
Now that your speaker group is set up, you can proceed to the next step to pair the second Echo Dot to your device.
Step 6: Pair the Second Echo Dot to Your Device
Now that you have created the speaker group, it’s time to pair the second Echo Dot to your device. This will establish the connection between both devices and prepare them for the stereo pairing. Follow these steps to pair the second Echo Dot:
- Open the Alexa App: Launch the Alexa app on your smartphone or tablet.
- Select Devices: Tap on the “Devices” icon located at the bottom right corner of the app.
- Choose Echo & Alexa: On the Devices screen, select “Echo & Alexa” to view your registered Echo devices.
- Select the Second Echo Dot: Choose the Echo Dot that you want to pair with your device.
- Enable Bluetooth: On the Echo Dot settings screen, scroll down and tap on “Bluetooth Devices.”
- Pairing Mode: Tap on the “Pair a New Device” button to put your second Echo Dot into pairing mode.
- Pairing on Your Device: On your smartphone or tablet, go to the Bluetooth settings and search for available devices. Select the second Echo Dot from the list.
- Complete Pairing: Follow any on-screen prompts to complete the pairing process. Once connected, your device will be wirelessly linked to the second Echo Dot.
After completing these steps, you have successfully paired the second Echo Dot to your device. Both devices are now connected and ready for the stereo pairing process.
Next, we will move on to configuring the stereo pairing settings to optimize the audio output.
Step 7: Configure the Stereo Pairing
Now that both of your Echo Dots are paired, it’s time to configure the stereo pairing settings to optimize the audio output. Follow these steps to configure the stereo pairing:
- Open the Alexa App: Launch the Alexa app on your smart device.
- Select Devices: Tap on the “Devices” icon located at the bottom right corner of the app.
- Choose Echo & Alexa: On the Devices screen, select “Echo & Alexa” to view your registered Echo devices.
- Select the Speaker Group: Choose the speaker group that you created in Step 5, which includes both Echo Dots.
- Select “Stereo Pairing”: On the speaker group settings screen, tap on “Stereo Pairing.”
- Choose Left or Right Channel: Select which Echo Dot you want to use as the left channel and which one as the right channel.
- Position Adjustment: Fine-tune the relative volume balance between the left and right channels using the position adjustment slider.
- Save Changes: Once you are satisfied with the configuration, tap on “Save Changes” to apply the stereo pairing settings.
After completing these steps, your Echo Dots will be configured as a stereo pair. The left channel Echo Dot and the right channel Echo Dot will work together to deliver enhanced and immersive stereo sound.
Now that the stereo pairing is properly configured, you can proceed to the final step to test and adjust the stereo pair for optimal audio experience.
Step 8: Test and Adjust the Stereo Pair
Once the stereo pairing is configured, it’s time to test and make any necessary adjustments to ensure optimal audio performance. Follow these steps to test and adjust the stereo pair:
- Play Audio: Choose your preferred audio content, such as music or a podcast, on your connected device.
- Listen to the Sound: Pay attention to the audio output from the left and right channels of the stereo pair. Note any imbalances or issues that you may encounter.
- Volume Adjustment: If you notice any imbalance in volume between the left and right channels, adjust the volume of each Echo Dot individually. You can use voice commands or control the volume within the Alexa app.
- Positioning: Experiment with the placement of the Echo Dots to achieve the best stereo sound. Consider moving them closer together or adjusting their position within the room.
- Re-test and Adjust: After making any adjustments, play the audio again and listen carefully. Continue to fine-tune the volume and positioning until you achieve the desired stereo sound.
By testing and adjusting the stereo pair, you can ensure that the left and right channels are balanced and that the audio output meets your expectations.
Congratulations! You have successfully paired and configured your Echo Dots to deliver stereo sound. Enjoy the immersive audio experience that the stereo pair provides.