
Safety Precautions
Before attempting to open the front of your HTC Vive, it is important to take certain safety precautions to ensure your well-being and protect your device. Here are some key safety measures to keep in mind:
- Power Off: Make sure to completely power off your HTC Vive and disconnect it from any power sources before starting the disassembly process. This will help prevent accidental damage and reduce the risk of electrical shock.
- Static Electricity: Static electricity can be harmful to electronic components. To minimize the risk, it is recommended to wear an anti-static wrist strap or frequently touch a grounded metal object throughout the process.
- Workspace: Find a clean and well-lit area to work on your HTC Vive. Ensure that you have enough space to lay out the components and to maneuver comfortably without any obstructions.
- Manual and Guides: Familiarize yourself with the official HTC Vive user manual and any specific disassembly guides provided by the manufacturer. These resources will provide you with important instructions and guidelines for safely opening the front of the device.
- Patience: Opening the front of your HTC Vive requires careful handling and precision. Take your time and avoid rushing through the process to prevent any accidental damage or possible injury.
By following these safety precautions, you can ensure a smooth and risk-free disassembly process for your HTC Vive.
Tools Needed
Before you proceed with opening the front of your HTC Vive, you will need to gather a few tools to assist you in the process. Here are the essential tools you will need:
- Phillips Screwdriver: A small-sized Phillips screwdriver is required to remove the screws holding the front plate of the HTC Vive in place. Make sure to choose the appropriate size to ensure a proper fit and prevent any potential damage to the screws.
- Anti-Static Wrist Strap: While not mandatory, an anti-static wrist strap is highly recommended to prevent the buildup and discharge of static electricity. This will help protect sensitive electronic components and reduce the risk of damaging your HTC Vive.
- Soft Cloth or Towel: Having a soft cloth or towel nearby can be useful for placing and protecting the detached front plate and other components during the disassembly process. It will help prevent any scratches or damage to the surfaces.
- Tweezers or Plastic Pry Tool: In some cases, you may need tweezers or a plastic pry tool to gently lift or remove certain components, such as cables or connectors. These tools can provide more precision and help avoid accidental damage.
- Workspace Organization: While not technically a tool, having a well-organized workspace with proper lighting can significantly improve the disassembly process. Use small containers or trays to keep track of the screws and other small components, ensuring they are easily accessible and not lost.
Ensure that you have all the necessary tools in place before starting the disassembly process. This will help you work efficiently and effectively, while also minimizing the risk of damage to your HTC Vive.
Step 1: Removing the Head Strap
The first step in opening the front of your HTC Vive is to remove the head strap that holds the device securely on your head. Follow these instructions carefully:
- Locate the Velcro strap connectors on both sides of the head strap. These are the small plastic clips that attach the head strap to the headset.
- Using your fingers, gently pull apart the Velcro strap connectors to detach the head strap from the headset. Take care not to apply too much force to avoid damaging the connectors or the straps.
- Once the Velcro strap connectors are detached, carefully slide the head strap out from the slots on the sides of the headset. Move the strap upward and away from the headset until it is completely free.
- Set aside the removed head strap in a safe place to prevent it from getting damaged or tangled.
By following these steps, you have successfully removed the head strap from your HTC Vive. This will allow you to proceed with the next steps of opening the front of the device.
Step 2: Removing the Face Cushion
After removing the head strap, the next step in opening the front of your HTC Vive is to remove the face cushion. Follow these instructions carefully:
- Locate the tabs or clips on the sides of the face cushion. These are usually located towards the bottom edge of the cushion.
- Gently squeeze and release the tabs or clips on both sides of the cushion to loosen it from the headset.
- Once the tabs or clips are released, hold onto the cushion and gently pull it away from the headset. Use a wiggling motion if necessary to detach it completely.
- Set aside the removed face cushion in a clean and safe area.
Removing the face cushion provides access to the screws and components underneath, which will be necessary for further disassembly. Make sure to handle the face cushion with care to avoid any damage.
With the face cushion successfully removed, you can now proceed to the next steps of opening the front of your HTC Vive.
Step 3: Locating the Screws
Once you have removed the head strap and face cushion, it’s time to locate the screws that are holding the front plate of your HTC Vive in place. Follow these instructions carefully:
- Inspect the front of the headset to identify the screw locations. Typically, there will be screws located at the top, bottom, and possibly the sides of the front plate.
- Use a flashlight or adequate lighting to clearly see the screws. They may be small and recessed, so take your time to locate them accurately.
- Take note of the number and type of screws used. This information will be useful when you begin unscrewing them in the next step.
- Ensure that you have the appropriate Phillips screwdriver ready, matching the size needed to fit the screws.
By locating the screws, you are preparing yourself for the next step of removing them and opening the front plate of your HTC Vive. Double-check your work to ensure you have identified all the screws before proceeding.
Step 4: Unscrewing the Front Plate
With the screws located, it’s time to begin the process of unscrewing the front plate of your HTC Vive. Follow these instructions carefully:
- Using the appropriate Phillips screwdriver, start by gently unscrewing the screws that secure the front plate in place. Remember to turn the screwdriver in a counterclockwise direction to loosen the screws.
- Take your time and work systematically, starting from one corner or side and gradually moving to other screws. This will help maintain balance and prevent the front plate from tilting or becoming misaligned.
- Ensure that you apply consistent but gentle pressure while unscrewing to avoid stripping the screws or damaging the surrounding areas.
- Place the unscrewed screws in a small container or tray to keep them organized and prevent them from rolling away or getting lost.
- Once all the screws are removed, gently set them aside and proceed to the next step of detaching the front plate.
By carefully unscrewing the front plate, you are now ready to move on to the next step of opening your HTC Vive. Take your time and exercise caution to ensure a smooth and successful disassembly process.
Step 5: Detaching the Front Plate
After unscrewing the screws, you are now ready to detach the front plate of your HTC Vive. Follow these instructions carefully:
- Gently grasp the front plate with both hands, placing your fingers on the top and bottom edges. Ensure a firm grip without applying excessive force.
- Using a slight twisting and pulling motion, gradually separate the front plate from the rest of the headset. Take care not to yank or forcefully detach it, as there may still be cables or connectors that need to be disconnected.
- As you detach the front plate, be mindful of any cables or connectors that may be attached. These should be carefully disconnected or unplugged, depending on their type.
- If there are any cables or connectors that need to be unplugged, do so gently by applying even pressure to release them. Avoid pulling on the cables directly, as this can cause damage.
- Once the front plate is completely detached and any necessary cables or connectors are unplugged, place it aside in a safe and clean area, ready for further inspection or maintenance.
By successfully detaching the front plate, you have made significant progress in opening your HTC Vive. Be cautious and take your time to ensure a smooth and damage-free disassembly process.
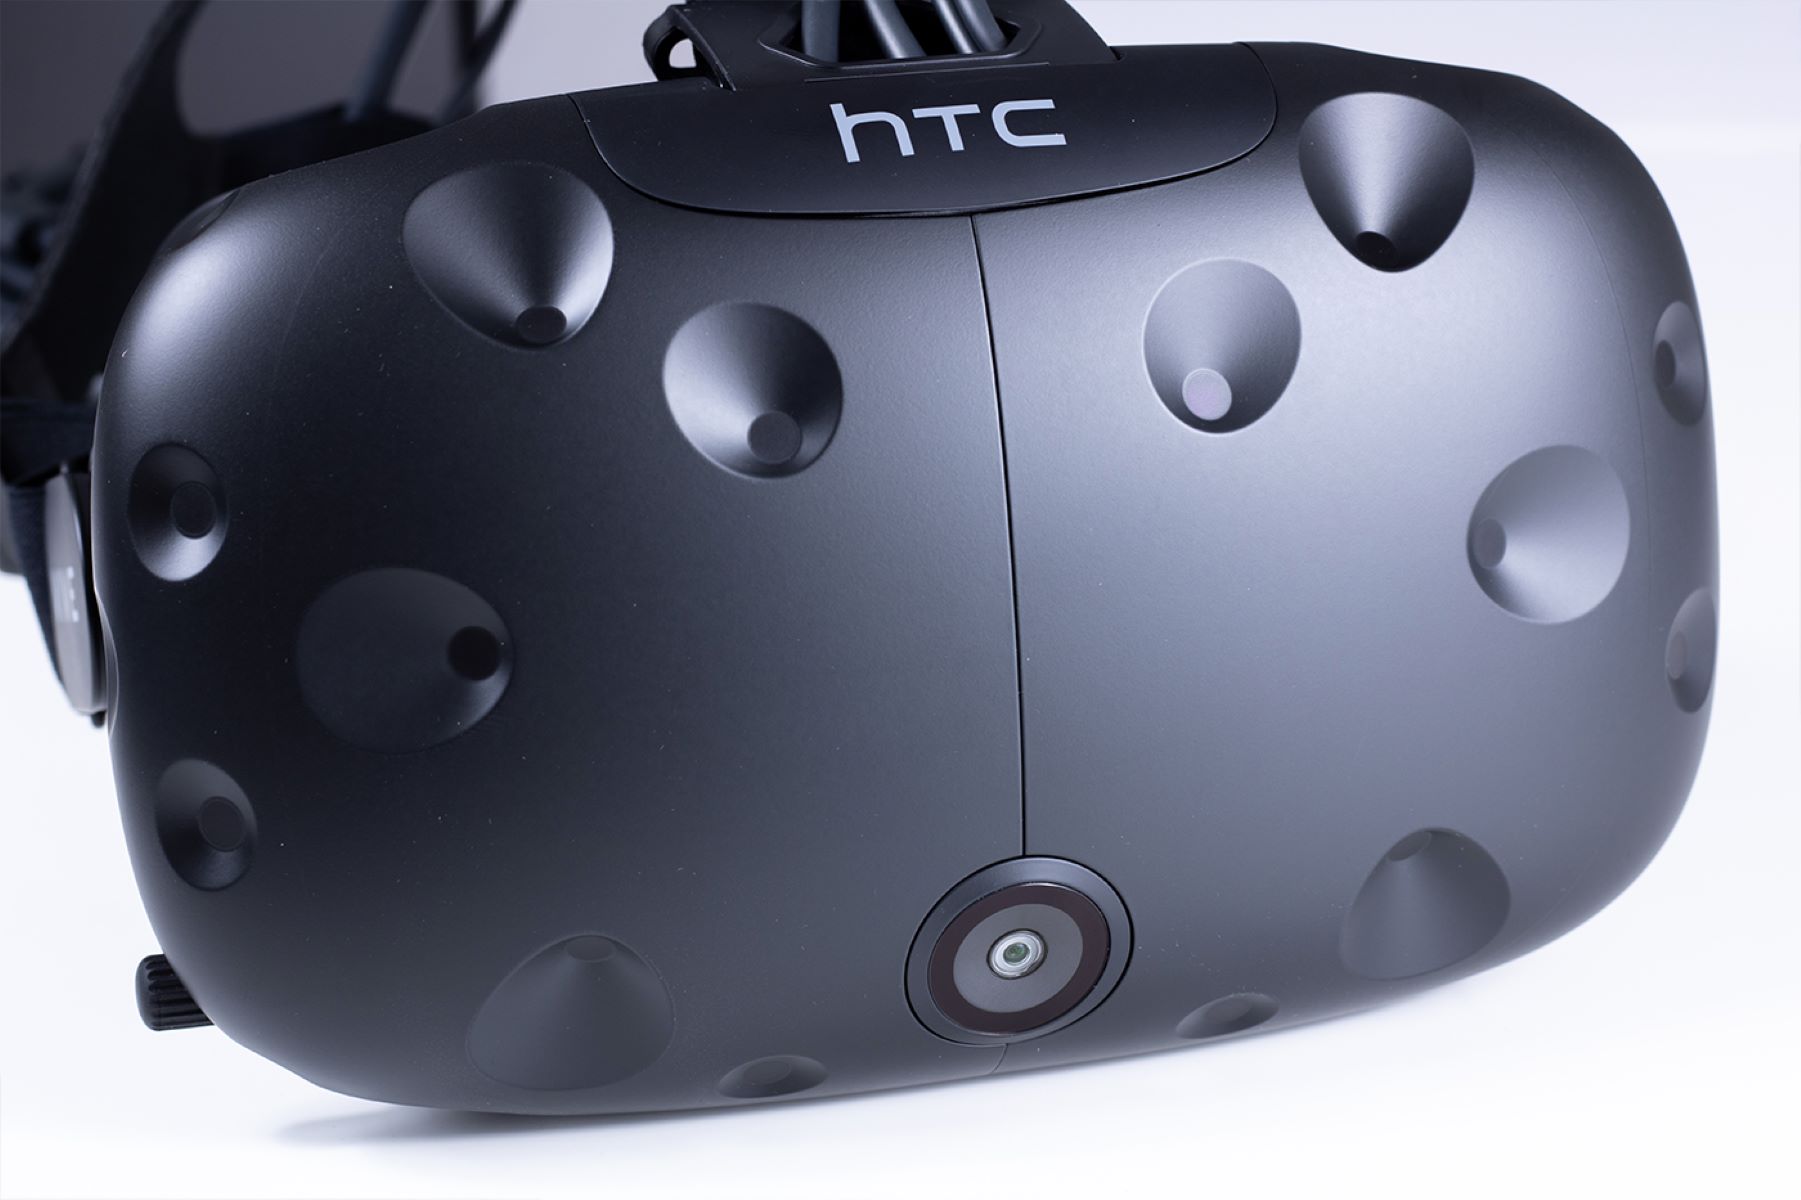
Step 6: Opening the Front of the HTC Vive
With the front plate detached, you are now ready to open the front of your HTC Vive and access its internal components. Follow these instructions carefully:
- Inspect the front plate to identify any additional screws or clips that may be holding it together. These may be located along the edges or on the backside of the front plate.
- If there are any screws or clips, carefully remove them using the appropriate tools or by gently releasing the clips. Take note of their locations and set them aside for reassembly.
- Once all fasteners are removed, you can now begin opening the front of the HTC Vive. Hold the front plate firmly and use a delicate prying tool or your fingers to gently separate the front panel from the rest of the assembly.
- Apply gentle and even pressure around the edges of the front plate, gradually working your way around to release any clips or adhesive that may be holding it in place.
- As you open the front, be mindful of any cables or ribbon connectors that may be attached to the front plate. Take care in disconnecting them or moving them out of the way to avoid damaging the cables or connectors.
- Once the front is fully opened, you now have access to the internal components of your HTC Vive for maintenance, repair, or customization purposes.
Opening the front of your HTC Vive requires patience and careful handling. Take your time and ensure each step is performed with caution to avoid any damage to the headset or its components.