
Overview of a Legacy Account in Trezor
When it comes to storing and managing your Bitcoin, security is of paramount importance. This is where a hardware wallet like Trezor comes in handy. Trezor is a popular hardware wallet that provides a secure way to store your Bitcoins offline. One of the features offered by Trezor is the ability to create a legacy account.
A legacy account in Trezor refers to an older style Bitcoin account format that uses the Pay-To-Public-Key-Hash (P2PKH) address format. This format is widely supported by most wallets and exchanges, making it convenient for users who want to transfer their Bitcoin to other platforms.
Legacy accounts were widely used before the advent of Segregated Witness (SegWit), which introduced a new address format called Pay-To-Witness-Public-Key-Hash (P2WPKH). While legacy accounts still work perfectly fine, some users may prefer to migrate their funds to SegWit accounts for lower transaction fees and other benefits.
Creating and using a legacy account in Trezor is straightforward, and in this guide, we will walk you through the process step by step. Whether you are new to Trezor or an experienced user, this guide will help you understand how to move your Bitcoin from a legacy account and manage it securely.
It’s worth mentioning that while legacy accounts are still widely supported, it’s generally recommended to use SegWit accounts due to the advantages they offer. However, if you have existing funds in a legacy account and need to transfer them, this guide will assist you in doing so.
Step 1: Set Up the Trezor Wallet
Before you can start using the Trezor hardware wallet and create a legacy account, you need to set up the wallet itself. Follow these steps to get started:
- Visit the official Trezor website and purchase a Trezor hardware wallet that suits your needs. There are different models available, but for the purpose of this guide, any model will work.
- Once you have received your Trezor device, connect it to your computer using the USB cable provided. Ensure that you are using the official Trezor website (trezor.io) and not a malicious clone.
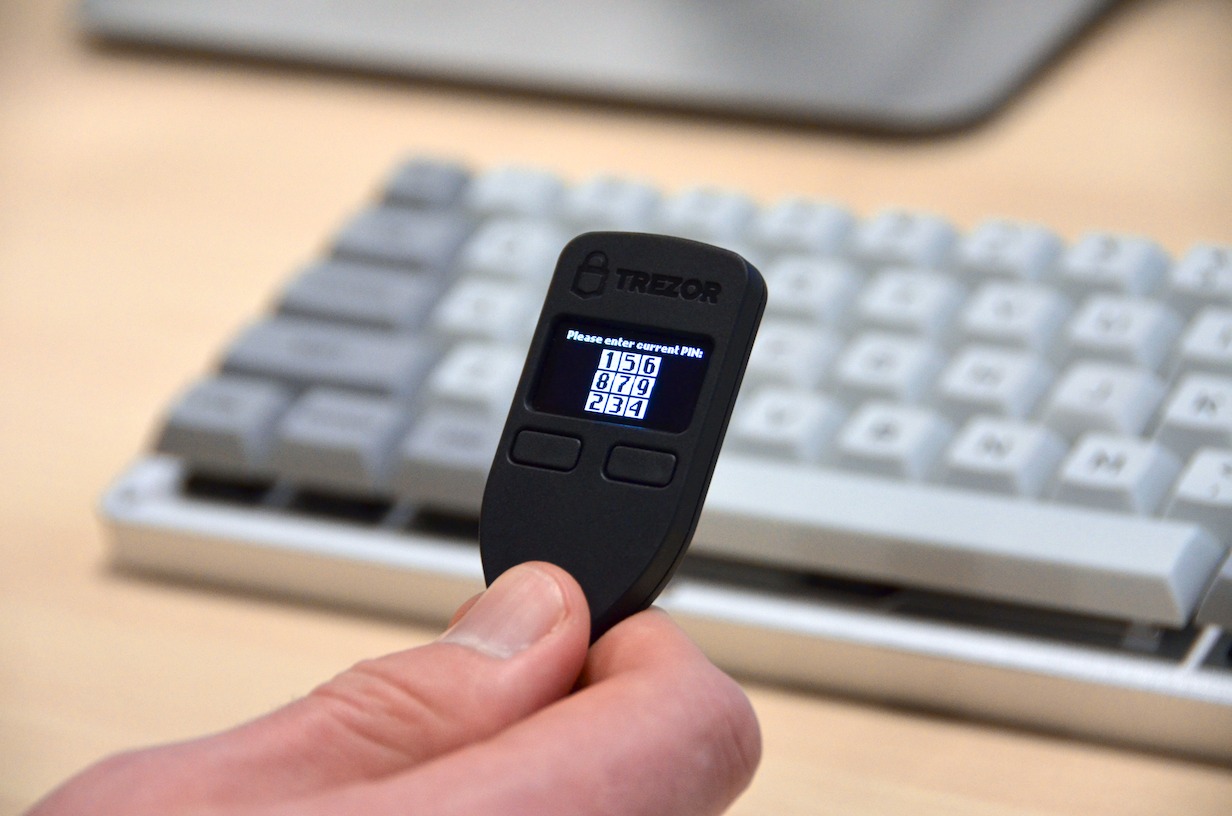
- Follow the on-screen instructions to set up your Trezor wallet. This will involve initializing the device, setting a PIN, and creating a recovery seed. Make sure to write down the recovery seed and store it in a safe place, as it is crucial for recovering your funds if the device gets lost or damaged.
- After completing the initial setup, you will be prompted to install the Trezor Bridge, which is required for the device to communicate with your computer. Follow the instructions provided on the screen to install the Trezor Bridge.
- Once the Trezor Bridge is installed, open the Trezor Wallet on your computer by visiting wallet.trezor.io. Connect your Trezor device to your computer and enter your PIN when prompted.
- Follow the instructions on the screen to finish setting up your Trezor wallet. You may be prompted to update the firmware on your device, which is necessary to ensure optimal security. Make sure to follow all firmware update instructions carefully.
- Once your Trezor wallet is set up and updated, you are ready to create a legacy account and start managing your Bitcoin securely.
By completing these steps, you have successfully set up your Trezor wallet, laying the foundation for creating a legacy account and moving your Bitcoin. Proceed to the next step to learn how to access the legacy account on your Trezor wallet.
Step 2: Access the Legacy Account on the Trezor Wallet
After setting up your Trezor wallet, the next step is to access the legacy account on your device. Follow these instructions to gain access:
- Connect your Trezor device to your computer using the USB cable.
- Open the Trezor Wallet by visiting wallet.trezor.io on your computer’s web browser.
- If prompted, enter your Trezor PIN to unlock the device.
- Click on the “Legacy Accounts” tab in the Trezor Wallet interface to access your legacy Bitcoin account.
- You will be presented with a list of your legacy accounts associated with your Trezor device. Select the account you want to access.
- Verify that the information displayed on your computer screen matches the information shown on your Trezor device. This is important for ensuring that you are accessing the correct account.
- Once you have confirmed the account details, click on the “Unlock” button to access your legacy account.
- Your legacy account will now be unlocked, and you can view the balance, transaction history, and other details associated with it.
By following these steps, you have successfully accessed your legacy account on the Trezor wallet. This step is essential before you can perform any actions such as generating a receiving address or transferring Bitcoin from the legacy account.
In the next step, we will guide you on how to generate a receiving address for your legacy account, which allows you to receive Bitcoin into your Trezor wallet securely.
Step 3: Generate a Receiving Address
Once you have accessed your legacy account on the Trezor wallet, the next step is to generate a receiving address. Follow these instructions to generate a receiving address for your legacy account:
- Ensure that your Trezor device is still connected to your computer and that you have accessed your legacy account on the Trezor wallet.
- In the Trezor Wallet interface, navigate to your legacy account if you are not already on the account page.
- Locate the “Receive” tab or button and click on it.
- A new window or section will appear, displaying a unique Bitcoin receiving address specifically generated for your legacy account.
- Take note of the generated receiving address or copy it to your clipboard. This address is where you will receive Bitcoin into your legacy account.
- Verify the receiving address displayed on your Trezor device to ensure that it matches the address shown on your computer screen. This verification step is crucial for ensuring the integrity of the receiving address.
- Once you have verified the receiving address, you can share it with the sender who wants to send Bitcoin to your legacy account. They can use this address to send Bitcoin to your Trezor wallet securely.
- It’s important to note that each time you generate a new receiving address, it’s recommended to use a fresh address for each transaction. This practice enhances privacy and security by preventing someone from easily tracing your transaction history.
By following these steps, you have successfully generated a receiving address for your legacy account in the Trezor wallet. You are now ready to receive Bitcoin into your legacy account from external sources.
In the next step, we will guide you on how to send Bitcoin to your legacy account, allowing you to transfer funds from external wallets or exchanges to your Trezor wallet.
Step 4: Send Bitcoin to the Legacy Account
Now that you have generated a receiving address for your legacy account, you can proceed to send Bitcoin to your Trezor wallet. Follow these instructions to transfer Bitcoin to your legacy account:
- Access your external Bitcoin wallet or exchange platform from where you wish to send Bitcoin to your Trezor legacy account.
- Locate the “Send” or “Withdraw” option in your external wallet or exchange platform.
- Enter the Bitcoin receiving address that you generated for your legacy account in the appropriate field. It’s important to ensure that you enter the address correctly to avoid any loss of funds.
- Specify the amount of Bitcoin you wish to send to your legacy account. Double-check the amount to ensure accuracy.
- Review the transaction details, including the receiving address and the amount to be sent, to ensure everything is correct.
- If satisfied with the transaction details, initiate the transfer of Bitcoin from your external wallet or exchange platform to the receiving address of your Trezor legacy account.
- Depending on the network congestion and the policies of the sender’s platform, the transfer may take some time to be confirmed on the blockchain. Monitor the transaction status on your external wallet or exchange platform.
- Once the transaction is confirmed on the blockchain, the Bitcoin you sent will be credited to your Trezor legacy account. You can check the balance and transaction history within the Trezor Wallet.
By following these steps, you have successfully sent Bitcoin to your legacy account on the Trezor wallet. It’s important to note that once the Bitcoin is in your legacy account, you have control over it and can manage it securely using your Trezor device.
In the next step, we will guide you on how to verify and confirm the transaction to ensure the successful receipt of Bitcoin in your legacy account.
Step 5: Verify and Confirm the Transaction
After sending Bitcoin to your Trezor legacy account, it’s crucial to verify and confirm the transaction to ensure that it has been successfully received. Follow these instructions to verify and confirm the transaction:
- Access your Trezor Wallet by connecting your Trezor device to your computer and entering your PIN.
- Navigate to your legacy account within the Trezor Wallet, if you are not already on the account page.
- Check the transaction history or balance of your legacy account. You should see the transaction you initiated from your external wallet or exchange platform.
- Click on the transaction to view more details, including the transaction ID (TXID) and the number of confirmations it has received on the blockchain.
- Verify that the transaction details match the transaction you initiated from your external wallet or exchange platform. Pay attention to the amount, the sender’s address, and the transaction fee, if any.
- Confirm that the transaction has received a sufficient number of confirmations on the blockchain to be considered valid. The number of confirmations required may vary depending on the sender’s platform or the transaction amount.
- If the transaction details and confirmations align with your expectations, you can rest assured that the Bitcoin has been successfully received in your Trezor legacy account.
- Keep in mind that the verification and confirmation process may take some time, especially during periods of high network congestion. Be patient and allow sufficient time for the transaction to be confirmed on the blockchain.
By following these steps, you have successfully verified and confirmed the transaction to ensure the receipt of Bitcoin in your Trezor legacy account. You can now proceed to manage and secure your Bitcoin using your Trezor device.
In the next step, we will guide you on how to import the legacy account to a new Trezor device, providing you with flexibility and peace of mind in case of device loss or damage.
Step 6: Import the Legacy Account to a New Trezor Device
If you have a new Trezor device or need to recover your legacy account on a different device, you can easily import the account and regain access to your Bitcoin. Follow these instructions to import the legacy account to a new Trezor device:
- Ensure you have a new Trezor device ready to be set up or the replacement device you want to use.
- Connect the new Trezor device to your computer using the USB cable provided.
- Visit the official Trezor website (trezor.io) and click on the “Get Started” or “Set Up Device” option.
- Follow the on-screen instructions to initialize and set up the new Trezor device. This will involve setting a new PIN and creating a new recovery seed. Make sure to carefully store the recovery seed in a safe place.
- During the setup process, select the option to recover an existing wallet rather than setting up a new wallet.
- Enter the recovery seed of your previous Trezor device, which contains the legacy account you want to import.
- Follow the instructions on the screen to complete the recovery process. The new Trezor device will synchronize with the blockchain and import your legacy account.
- Once the import process is successfully completed, you will have access to your legacy account on the new Trezor device. You can view the balance and transaction history as before.
- Make sure to verify that the imported legacy account on the new device displays the same information as your previous device. This includes the correct balance and transaction history.
- Once you have confirmed the import of the legacy account, you can proceed to securely transfer the Bitcoin from the legacy account to a new account within the new Trezor device.
By following these steps, you have successfully imported your legacy account to a new Trezor device. This allows you to access and manage your Bitcoin with the new device while maintaining the security and control provided by the Trezor hardware wallet.
In the next step, we will guide you on how to securely transfer Bitcoin from the legacy account to a new account within the Trezor device.
Step 7: Securely Transfer Bitcoin from Legacy Account to New Account
Once you have imported your legacy account to a new Trezor device, it is recommended to transfer your Bitcoin from the legacy account to a new account within the device. Follow these instructions to securely transfer your Bitcoin:
- Access your new Trezor device by connecting it to your computer and entering the PIN you set up during the device setup process.
- Navigate to the new account you have created within the Trezor Wallet. This will be the account where you want to transfer your Bitcoin from the legacy account.
- Click on the “Receive” tab or button to generate a new receiving address for the new account. This will be the destination address for the transferred Bitcoin.
- Once the receiving address is generated, copy it to your clipboard or make a note of it.
- Return to your legacy account within the Trezor Wallet.
- Click on the “Send” or “Transfer” tab to initiate the process of sending Bitcoin from the legacy account.
- Enter the receiving address of the new account in the appropriate field.
- Specify the amount of Bitcoin you wish to transfer from the legacy account to the new account.
- Review the transaction details, including the amount, fees, and receiving address, to ensure everything is correct.
- If the transaction details are accurate, click on the “Send” or “Transfer” button to initiate the transfer of Bitcoin from the legacy account to the new account within the Trezor device.
- Wait for the transaction to be confirmed on the blockchain. You can monitor the transaction status in the Trezor Wallet interface.
- Once the transfer is confirmed, the Bitcoin will be securely transferred from the legacy account to the new account within your Trezor device.
By following these steps, you have successfully transferred your Bitcoin from the legacy account to a new account within your Trezor device. This ensures that your Bitcoin is stored and managed using the latest features and security enhancements provided by Trezor.
Congratulations on completing all the necessary steps to move Bitcoin from a legacy account in Trezor. You can now enjoy the enhanced security and convenience of managing your Bitcoin using your Trezor device and the updated account format.
If you have any additional questions or need further assistance, feel free to refer to the Frequently Asked Questions (FAQs) section below.
Frequently Asked Questions (FAQs)
Here are some commonly asked questions about moving Bitcoin from a legacy account in Trezor:
-
Q: Can I still receive Bitcoin in my legacy account after transferring some to a new account?
A: Yes, you can still receive Bitcoin in your legacy account even after transferring some to a new account within your Trezor device. Each account has its own unique receiving address, and they can be used independently. -
Q: Can I move Bitcoin from a legacy account to a non-Trezor wallet?
A: Yes, you can move Bitcoin from a legacy account in Trezor to a non-Trezor wallet or any compatible wallet that supports the legacy address format. Simply provide the receiving address of the destination wallet when transferring the Bitcoin. -
Q: Is it necessary to transfer Bitcoin from a legacy account to a new account?
A: While it is not necessary, it is recommended to transfer Bitcoin from a legacy account to a new account. New account formats, such as SegWit accounts, offer benefits like lower transaction fees and improved scalability. It is advisable to upgrade to the latest account format whenever possible. -
Q: Will I lose my Bitcoin if I don’t transfer it from a legacy account?
A: No, your Bitcoin will not be lost if you keep it in a legacy account. Legacy accounts are fully functional and secure. However, it may be beneficial to upgrade to the latest account format, especially if you plan to make frequent transactions or take advantage of new features offered by newer wallet technologies. -
Q: Can I revert the transfer from a legacy account to a new account?
A: No, once the Bitcoin is transferred from a legacy account to a new account, it cannot be reverted. Therefore, it is crucial to double-check all transaction details and confirm the transfer before proceeding.
If you have any further questions or concerns, it is recommended to consult the official Trezor documentation or seek assistance from the Trezor support team to ensure the proper handling of your Bitcoin during the transition.
With this comprehensive guide and answers to common questions, you should now have a clear understanding of how to move Bitcoin from a legacy account in Trezor and manage it securely using the latest account formats.