
Adjusting the IPD (Interpupillary Distance)
Adjust the IPD (Interpupillary Distance)
If you find that the HTC Vive image is not as clear as you would like it to be, one of the first troubleshooting steps you can take is to adjust the IPD, or Interpupillary Distance. This is the measurement of the distance between the centers of your eyes, and it plays a crucial role in achieving proper focus and clarity in virtual reality (VR) experiences.
To adjust the IPD on the HTC Vive, follow these steps:
- Locate the IPD adjustment knob on the side of the headset. It is usually located on the bottom right or left side.
- Put on the headset and position it comfortably on your face.
- Look through the lenses and identify if the image appears blurry or out of focus.
- Use your hands or fingers to gently turn the IPD adjustment knob. Rotate it either clockwise or counterclockwise, depending on which direction makes the image clearer and sharper. Make small adjustments until you find the optimal setting.
- Keep in mind that the IPD setting can vary from person to person. Experiment with different positions until you find the one that works best for you.
By fine-tuning the IPD on your HTC Vive, you can enhance the clarity of the virtual world and make your overall experience more immersive. Remember to take breaks during extended VR sessions to avoid eye strain and fatigue.
Clean the Lenses
Clean the Lenses
As with any optical device, the lenses of your HTC Vive can accumulate dust, smudges, and fingerprints, which can impair the clarity of the virtual images. Cleaning the lenses regularly is an essential step in maintaining optimal visual quality. Here’s how you can effectively clean the lenses of your HTC Vive:
- Turn off the headset and unplug any cables connected to it.
- Gently remove the faceplate by pulling it away from the headset.
- Take a microfiber cloth and lightly blow on it to remove any loose particles that may scratch the lenses.
- Using the microfiber cloth, gently wipe the lenses in a circular motion, starting from the center and moving towards the edges. Be careful not to apply too much pressure, as this could damage the lenses.
- If there are stubborn smudges or fingerprints, dampen the microfiber cloth with a small amount of lens cleaning solution or water. Avoid using harsh chemicals or abrasive materials that could damage the lenses.
- After cleaning the lenses, allow them to air dry for a few moments before reattaching the faceplate.
- Make sure that the lenses are completely dry before using the headset again.
Regularly cleaning the lenses of your HTC Vive will ensure a clearer and more enjoyable virtual reality experience. Remember to store your headset in a safe place, away from dust and debris, to minimize the need for frequent cleaning. Keep in mind that proper lens maintenance is crucial for maintaining the longevity of your device and preserving its image quality.
Adjust the Headset Position on Your Face
Adjust the Headset Position on Your Face
Another factor that can greatly affect the clarity of the HTC Vive’s display is the positioning of the headset on your face. Properly adjusting the headset can make a significant difference in image quality and overall comfort. Here are some steps to follow when adjusting the headset position:
- Start by loosening the straps on the headset to allow for easy adjustments.
- Place the headset on your head and make sure it sits snugly but comfortably, resting just above your eyebrows.
- Adjust the top head strap, ensuring that it is securely fastened. This strap helps distribute the weight of the headset evenly across your head.
- Next, adjust the side straps so that they sit comfortably on the sides of your head without causing any discomfort or pressure.
- Once the straps are secure, tighten them just enough to ensure that the headset is held in place but not so tight that it becomes uncomfortable or leaves marks on your face.
- Ensure that the lenses of the headset are aligned with your eyes. Adjust the headset’s vertical position up or down to achieve the best focus and clarity.
- Take a moment to move your head around gently to test the stability and comfort of the headset. Make any necessary adjustments to the straps or positioning to enhance the fit.
By properly adjusting the headset position on your face, you can optimize the focus and clarity of the HTC Vive’s display. It is essential to find the right balance between a secure and comfortable fit to ensure a more immersive and enjoyable VR experience.
Check the Graphics Settings
Check the Graphics Settings
The graphics settings on your HTC Vive can have a significant impact on the clarity and performance of the virtual reality experience. It’s essential to ensure that the graphics settings are properly configured to optimize the image quality. Here’s how you can check and adjust the graphics settings:
- Launch SteamVR on your computer.
- Click on the SteamVR menu button located at the top left corner of the SteamVR window.
- Select “Settings” from the dropdown menu.
- In the Settings window, navigate to the “Video” tab.
- Here, you can adjust the “Resolution per eye” setting to increase or decrease the resolution of the display. Increasing the resolution can enhance the image clarity, but it may also put more strain on your computer’s resources. Find the balance that works best for your hardware.
- Next, take a look at the “Render Resolution” setting. This setting determines the resolution at which the VR applications are rendered. Again, increasing the render resolution can improve image quality but may affect performance. Adjust it based on your preferences and hardware capabilities.
- Additionally, ensure that the “Supersampling” option is enabled. Supersampling is a technique that renders the scene at a higher resolution and then downscales it to the display resolution, improving image sharpness and reducing aliasing.
- Lastly, exit the settings window and launch a VR game or experience to see the impact of the graphics settings adjustments.
By checking and adjusting the graphics settings on your HTC Vive, you can optimize the image quality and performance of your VR experience. Experiment with different settings to find the balance between visual fidelity and smooth gameplay that suits your preferences.
Update the HTC Vive Firmware
Update the HTC Vive Firmware
Regularly updating the firmware on your HTC Vive is crucial for ensuring optimal performance and compatibility with the latest software and applications. Firmware updates often include bug fixes, improvements, and new features that can enhance the overall functionality of your VR headset. Here’s how you can update the firmware on your HTC Vive:
- Ensure that your HTC Vive is connected to your computer and powered on.
- Launch SteamVR on your computer.
- Click on the SteamVR menu button located at the top left corner of the SteamVR window.
- Select “Devices” from the dropdown menu.
- In the Devices menu, click on “Update Firmware.”
- SteamVR will then check for any available firmware updates for your HTC Vive.
- Follow the on-screen prompts to proceed with the firmware update process.
- During the firmware update, it is crucial to keep your HTC Vive and computer connected to a stable power source to avoid any interruptions.
- Once the update is complete, restart SteamVR and ensure that your HTC Vive is functioning properly.
By regularly updating the firmware of your HTC Vive, you can ensure that you have access to the latest features and improvements. Firmware updates help maintain the compatibility and stability of your VR headset and contribute to a smoother and more enjoyable virtual reality experience.
Update Your Graphics Card Drivers
Update your graphics card drivers
Having outdated or incompatible graphics card drivers can lead to performance issues and graphical anomalies in your HTC Vive experience. It’s essential to keep your graphics card drivers up to date to ensure optimal performance and compatibility. Here’s how you can update your graphics card drivers:
- Identify the make and model of your graphics card. You can usually find this information by opening the Device Manager or using a third-party system information tool.
- Visit the website of the manufacturer of your graphics card, such as NVIDIA or AMD.
- Navigate to the “Support” or “Drivers” section of the website.
- Enter the Make, Model, and Operating System details of your graphics card.
- Download the latest driver version available for your graphics card.
- Once the driver is downloaded, double-click the executable file to start the installation process.
- Follow the on-screen instructions to install the driver. It may require you to restart your computer.
- After the installation is complete, launch SteamVR and check if there are any improvements in the image quality and performance.
Regularly updating your graphics card drivers ensures that you have access to the latest optimizations and bug fixes. This can result in improved visual quality, smoother performance, and better compatibility with VR applications on your HTC Vive.
Reduce the Room Lighting
Reduce the room lighting
The lighting conditions in your room can significantly impact the clarity of the HTC Vive display. Bright lights, reflections, and excessive glare can all detract from the visual quality and immersion of virtual reality. By reducing the room lighting and minimizing sources of glare, you can enhance the overall image clarity and optimize your VR experience. Here are some tips to help you reduce room lighting:
- Close curtains or blinds to block out direct sunlight. Sunlight can create excessive brightness and cause glare on the headset lenses, making the display appear less clear. If possible, choose a room with minimal natural lighting or use blackout curtains for complete light control.
- Avoid using bright overhead lights. Harsh overhead lighting can cast shadows and interfere with the VR experience. Instead, opt for softer ambient lighting or use dimmable lights to create a more comfortable environment for VR.
- Consider using indirect lighting sources. Lamps or floor lights that redirect the light away from the VR play area can help reduce glare and create a more evenly lit space.
- Minimize reflective surfaces. Surfaces such as mirrors, glass, and glossy furniture can reflect light and cause distracting glare. Rearrange your room or cover these surfaces if possible to minimize reflections and improve the clarity of the VR display.
- Avoid wearing reflective objects or clothing. Accessories or clothing items with reflective surfaces can also cause unwanted glare. Remove any reflective items before using the HTC Vive to ensure optimal visual quality.
By reducing room lighting and minimizing sources of glare, you can enhance the clarity and immersion of your HTC Vive experience. Creating a well-lit and glare-free environment allows you to fully enjoy the vivid visuals and immersive world of virtual reality.
Use the Lens Distance Dial
Use the lens distance dial
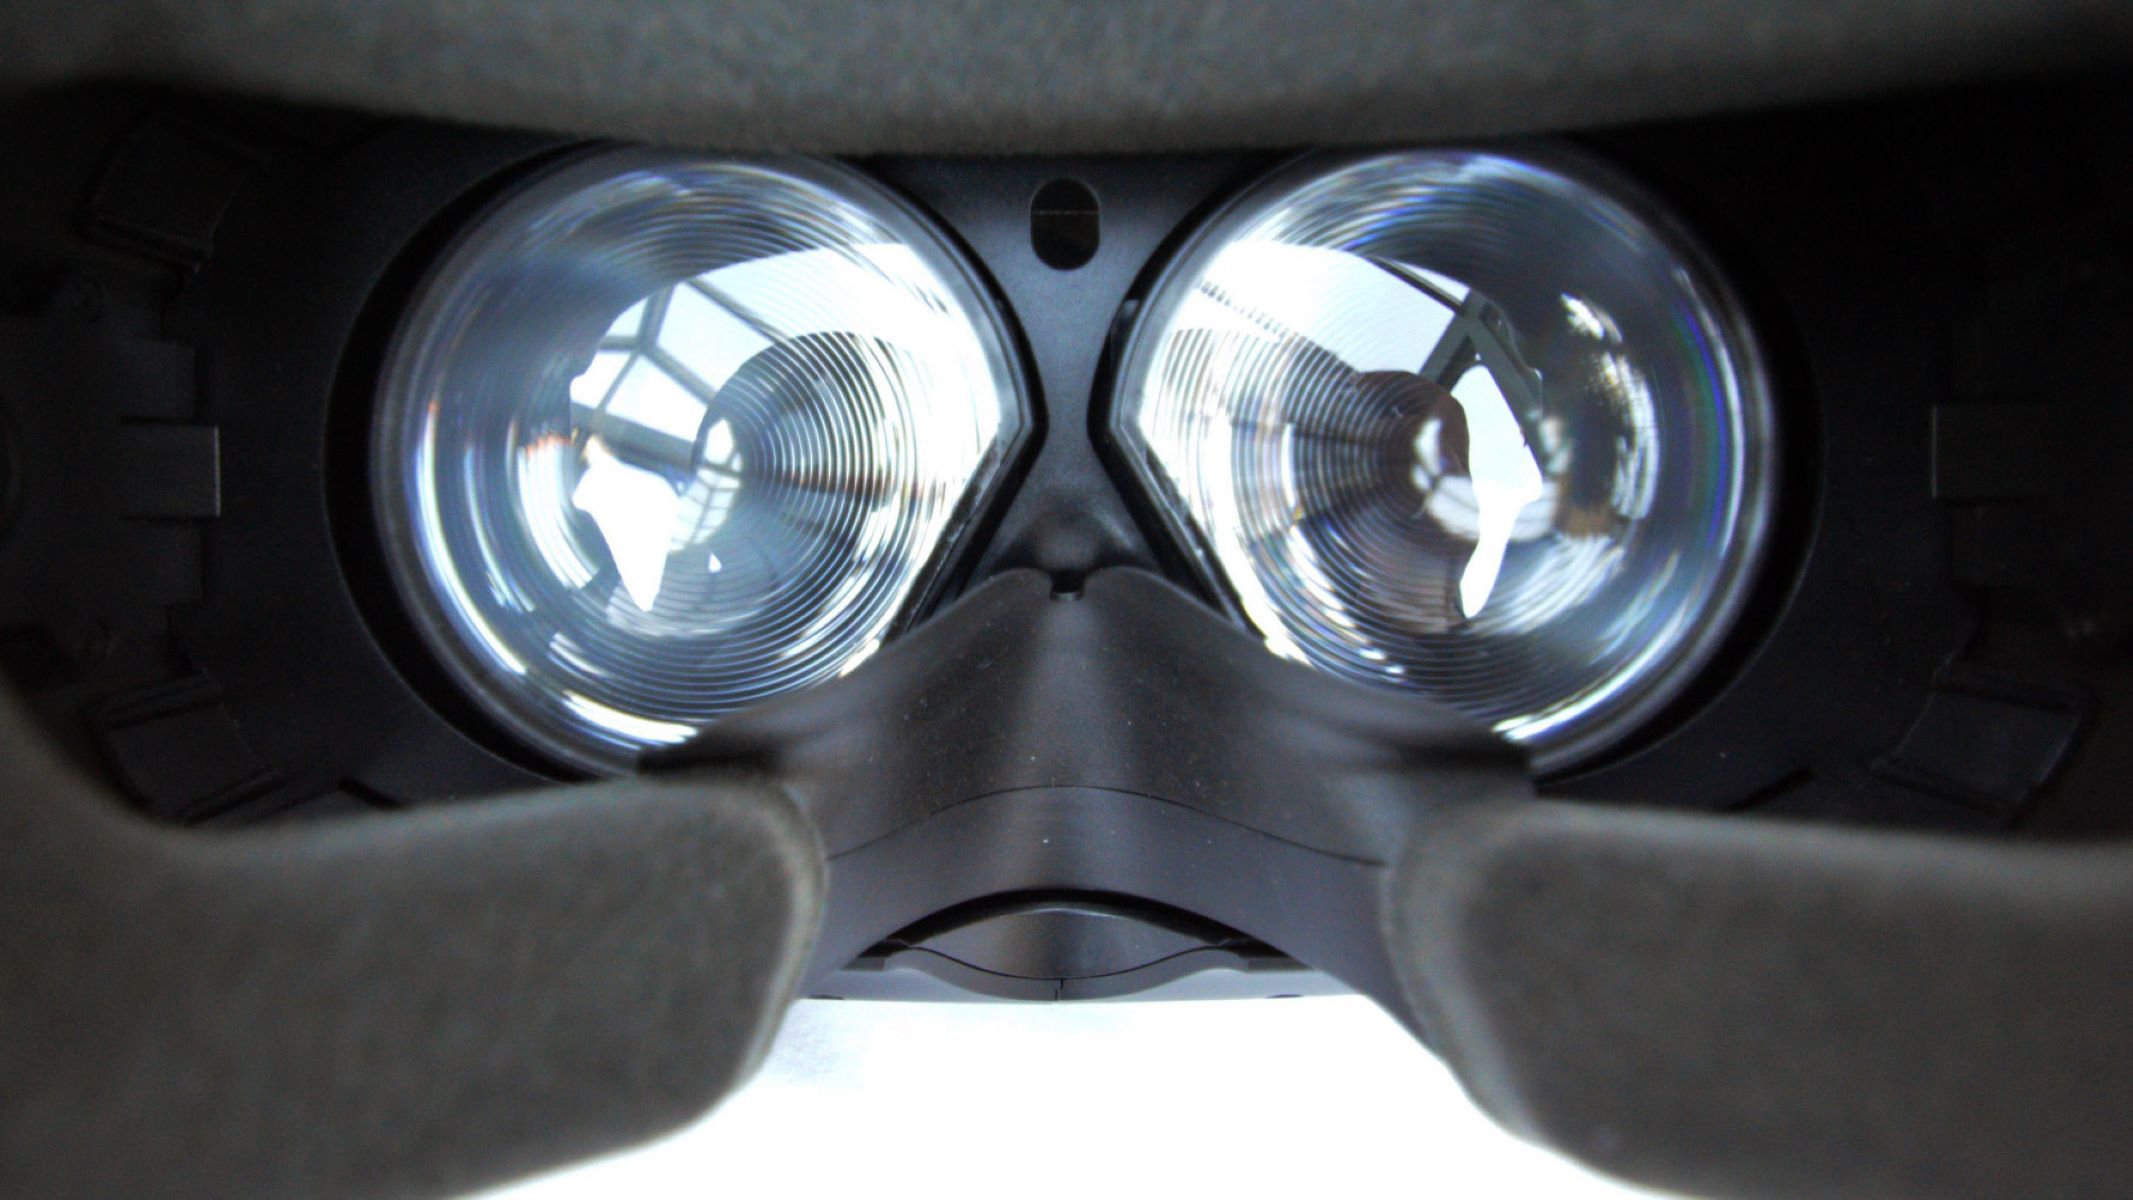
The HTC Vive features a lens distance dial that allows you to adjust the distance between the lenses. This adjustment is crucial for achieving optimal clarity and focus in your virtual reality experience. By correctly adjusting the lens distance, you can enhance the visuals and reduce eye strain. Here’s how you can use the lens distance dial:
- Put on the HTC Vive headset and ensure that it is positioned correctly on your face.
- Locate the lens distance dial on the underside of the headset, near the nose area.
- Gently turn the dial in either direction to adjust the distance between the lenses.
- While adjusting the lens distance, look through the headset and observe the clarity of the image.
- Make small adjustments to the dial until the image appears sharper and more focused.
- Take breaks between adjustments, as your eyes may need a moment to adjust to the changes.
It’s important to note that the optimal lens distance can vary from person to person, depending on factors such as your vision and the shape of your face. Experiment with different settings and find the position that provides the clearest and most comfortable visuals for you. Additionally, consider consulting the user manual or reaching out to HTC support for specific recommendations or guidance for adjusting the lens distance.
By utilizing the lens distance dial on your HTC Vive, you can fine-tune the focus and clarity of the display, ensuring a more immersive and enjoyable virtual reality experience.
Adjust the Headset Straps
Adjust the headset straps
Properly adjusting the headset straps on your HTC Vive is essential for comfort, stability, and maintaining optimal image clarity. The straps help distribute the weight of the headset evenly and ensure a secure fit, allowing you to fully immerse yourself in the virtual reality experience. Here’s how you can adjust the headset straps:
- Put on the HTC Vive headset and position it on your head.
- Locate the top strap adjustment mechanism at the back of the headset. It is usually a Velcro strap or a sliding mechanism.
- Loosen the top strap by either adjusting the Velcro or sliding the mechanism to create more slack.
- While wearing the headset, hold the back of the strap and tighten it until the headset feels secure but not uncomfortably tight.
- Next, adjust the side straps to ensure a snug fit without any discomfort or excessive pressure on your face.
- Secure the side straps at a comfortable tension level to prevent the headset from shifting or moving during use.
- Double-check that the headset is sitting properly on your head and positioned just above your eyebrows.
- Take a moment to move your head around in different directions to ensure that the headset remains snug and stable.
By properly adjusting the headset straps, you can achieve a comfortable and secure fit, which is essential for a clear and immersive virtual reality experience. It’s worth noting that finding the perfect fit may require some trial and error, as everyone’s head shape and size are different. Experiment with different strap adjustments until you find the configuration that works best for you.
Remember to take breaks during extended VR sessions to prevent discomfort or strain on your head and face. By properly adjusting the headset straps, you can enjoy extended periods of VR gameplay without compromising comfort or visual quality.