
Tools and Materials Needed
Creating your own sterling silver bangle bracelets is a rewarding and fulfilling craft. To get started, you will need a few essential tools and materials. Here is a list of what you’ll need:
- Sterling silver wire: Choose a gauge that suits your desired bangle thickness. Typically, 14-gauge or 16-gauge wire works well for bangles.
- Round nose pliers: These are essential for bending and shaping the wire.
- Flush cutters: Used to cleanly cut the wire to the desired length.
- Flat nose pliers: These will come in handy for holding and manipulating the wire during the crafting process.
- Jeweler’s file: To smooth the rough edges of the cut wire.
- Rubber or rawhide mallet: Used for hammering and shaping the bangle.
- Steel bench block: Provides a sturdy surface for hammering the bangle.
- Hammer with a flat or ball-peen end: Adds texture to the bangle and helps shape it.
- Pickling solution: Cleans the bangle after soldering.
- Polishing cloth: Used for buffing and giving the bangle a shiny finish.
- Safety goggles and gloves: Protect your eyes and hands during the crafting process.
These tools and materials will set you on the path to creating beautiful sterling silver bangle bracelets. Remember to gather everything before you start, as having everything at hand will make the crafting process more efficient and enjoyable.
Choosing the Right Wire
When making sterling silver bangle bracelets, choosing the right wire is crucial for achieving the desired look and durability. Here are some factors to consider when selecting the wire:
- Gauge: The gauge of the wire determines its thickness. For bangles, 14-gauge or 16-gauge wire is commonly used. Thicker gauges create sturdy and bold bangles, while thinner gauges result in more delicate and lightweight bracelets.
- Material: Opt for sterling silver wire. It is an excellent choice for bangle bracelets due to its durability, resistance to tarnish, and beautiful shine. Ensure that the wire is marked as .925 sterling silver.
- Round or square wire: Choose between round or square wire based on your preferred aesthetic. Round wire creates a classic and sleek look, while square wire adds a modern and unique touch.
Consider the style and design you envision for your bangle bracelets. If you prefer simple and minimalistic designs, a thinner gauge wire would be suitable. For more elaborate and statement-making pieces, a thicker gauge and textured wire may be preferable.
It is also recommended to experiment with different wire options to discover what works best for your personal style and the desired outcome of your bangle bracelets. Remember to consider the comfort and fit of the bracelets, as thicker gauges may have a more substantial feel on the wrist.
By choosing the right wire, you can ensure that your sterling silver bangle bracelets are not only visually appealing but also durable and long-lasting. Take the time to explore different wire options and trust your creative instincts to create stunning bangle bracelets that reflect your style and personality.
Measuring and Cutting the Wire
Accurate measurements are key to creating well-fitting sterling silver bangle bracelets. Follow these steps to measure and cut the wire for your bracelets:
- Measure your wrist: Use a flexible measuring tape or a piece of string to measure the circumference of your wrist. Add an additional 1 inch to the measured length to account for the overlap and ease of wearing the bangle.
- Calculate the wire length: Multiply the wrist circumference (plus the additional 1 inch) by π (pi, approximately 3.14). This will give you the approximate length of wire needed to create the bangle. For example, if your wrist measures 6.5 inches, the total length of wire needed would be approximately 20.42 inches.
- Secure the wire: Use jeweler’s tape or a rubber band to secure one end of the wire to a hard surface, such as a bench block or table, to prevent it from moving during the cutting process.
- Mark the wire: Use a marker or a scribe to mark the calculated wire length on the opposite end.
- Cut the wire: Use flush cutters to cleanly and precisely cut the wire at the marked point.
Remember to double-check your measurements before cutting the wire to ensure accuracy. It’s always better to start with slightly longer wire and trim it later if necessary.
Measuring and cutting the wire correctly will provide you with the appropriate length to create your sterling silver bangle bracelets. Taking the time to measure accurately will result in well-fitting and comfortable bracelets that you can enjoy wearing.
Shaping the Bangle
Once you have measured and cut the wire for your sterling silver bangle bracelets, the next step is to shape them into the desired form. Follow these steps to shape your bangles:
- Round out the wire: Take the cut piece of wire and use your fingertips or round nose pliers to gently bend one end of the wire into a small loop or curve. This will prevent the wire from scratching or snagging on clothing.
- Form the circular shape: Hold the rounded end of the wire with flat nose pliers or your non-dominant hand. Grasp the opposite end with your dominant hand and start forming a circle by gently bending the wire around a cylindrical object with the desired diameter. This could be a mandrel, a bracelet mandrel, or a cylindrical object of a similar size. Wrap the wire around the object until the ends meet.
- Check the size: Ensure that the bangle has the desired diameter by comparing it to your wrist or a bangle that fits comfortably. Adjust the shape and size as needed.
Remember that the ends of the wire should meet cleanly, without any gaps or overlapping. The shape should be smooth and even throughout.
Shaping the bangle may require some trial and error to achieve the perfect fit and circular form. Take your time and make adjustments as needed to create bangles that fit comfortably and securely on your wrist.
Joining the Ends Together
Joining the ends of the wire is a crucial step in creating sterling silver bangle bracelets. This ensures that the bangles stay securely closed and maintain their shape. Here’s how to join the ends together:
- Clean the ends: Use a jeweler’s file to smooth any rough edges or burrs on the cut ends of the wire. This will ensure a clean and seamless connection.
- Align the ends: Bring the cut ends of the wire together, ensuring that they align perfectly without any gaps or overlapping.
- Solder the ends: Apply a small amount of soldering paste or flux at the junction where the ends meet. Use a soldering torch or a micro butane torch to heat the area until the solder flows and joins the ends together. Be cautious and follow appropriate safety precautions when working with a torch.
- Cool and clean: Allow the bangle to cool down, and then place it in a container with a pickling solution to remove any oxidation or tarnish from the soldered area. Rinse the bangle thoroughly and dry it with a soft cloth.
Double-check the joined ends to ensure a sturdy connection. The ends should be securely soldered together, providing strength and durability to the bangle.
However, if you prefer not to solder, an alternative method is to use wire wrapping techniques or commercial bangle findings to connect the ends. These options can provide a secure closure without the need for soldering.
Joining the ends together is an essential step in completing your sterling silver bangle bracelets. Whether you choose soldering or an alternative method, make sure the connection is secure to create bangles that are both visually appealing and durable.
Creating a Hammered Texture
Adding a hammered texture to your sterling silver bangle bracelets not only enhances their visual appeal but also adds a touch of uniqueness and character. Here’s how you can create a hammered texture:
- Secure the bangle: Use non-slip pliers or a vise to securely hold the bangle during the hammering process. This will prevent it from moving and ensure even hammering.
- Choose the hammer: Select a hammer with a flat or ball-peen end. The flat end will create a smooth hammer texture, while the ball-peen end will produce a more textured and organic look.
- Start hammering: Hold the hammer at an angle and strike the surface of the bangle with controlled and even blows. Begin hammering from one end of the bangle and gradually work your way around until the entire surface has been textured. Vary the intensity and placement of your strikes to add depth and visual interest to the texture.
- Rotate and repeat: Rotate the bangle as you go, ensuring that the entire circumference receives the hammered texture. Continue hammering until you achieve your desired level of texture and visual effect.
- Check for evenness: Periodically check the bangle to ensure that the hammered texture is even and consistent. Make any necessary adjustments by hammering certain areas more or less until you achieve a uniform appearance.
The hammered texture adds an artisanal touch to your bangle bracelets, giving them a handcrafted look and feel. It creates visual interest by capturing and reflecting light in different ways, enhancing the overall aesthetic appeal.
Remember to handle the hammered bangle with care as the texture is more susceptible to scratching and denting. Use a soft polishing cloth to remove any dirt or smudges while preserving the hammered texture.
By adding a hammered texture, you can create sterling silver bangle bracelets that exhibit a unique and artistic flair, making them stand out as one-of-a-kind pieces.
Polishing and Finishing
Polishing and finishing your sterling silver bangle bracelets adds the final touch to your creations, giving them a beautiful shine and professional look. Follow these steps to achieve a polished finish:
- Clean the bangle: Before polishing, ensure that the bangle is free from any dirt, grease, or residue. Use a mild soap and warm water to gently clean the surface. Rinse thoroughly and pat dry with a soft cloth.
- Use a polishing cloth: Take a high-quality polishing cloth specifically designed for sterling silver. Gently rub the bangle in a back-and-forth motion to remove any surface tarnish and restore its luster. Avoid excessive pressure to prevent scratching.
- Precision detailing: For intricate designs or hard-to-reach areas, you can use a soft-bristled toothbrush or a soft cloth to gently polish the smaller parts of the bangle.
- Apply a silver polish: If the bangle has stubborn tarnish or discoloration that cannot be removed with a polishing cloth alone, you may consider using a silver polish. Follow the instructions on the polish packaging and use a soft cloth to apply and gently rub the polish onto the bangle.
- Rinse and dry: After polishing, rinse the bangle under warm water to remove any residue from the polishing process. Pat it dry with a soft cloth to prevent water spots.
- Inspect and touch up: Take a close look at the bangle to ensure a consistent and polished finish. If you notice any areas that require additional polishing, repeat the process as needed until you achieve the desired result.
Once the bangles are polished and thoroughly dry, it’s time to add any finishing touches. You can choose to leave the bangles as they are or personalize them with gemstones, charms, or other decorative elements. These additions can further enhance the beauty and uniqueness of your bangle bracelets.
Remember to store your finished bangle bracelets in a separate pouch or jewelry box to prevent scratching and tarnishing. Avoid exposing them to harsh chemicals, perfumes, or lotions, as these can dull the shine and affect the longevity of the polished finish.
By polishing and finishing your sterling silver bangle bracelets, you can elevate their appearance and create stunning pieces of jewelry that are ready to be worn or gifted with pride.
Adding Personal Touches
One of the most exciting aspects of creating sterling silver bangle bracelets is the opportunity to add personal touches that make them truly yours. Here are some ideas for adding unique and meaningful elements to your bangle bracelets:
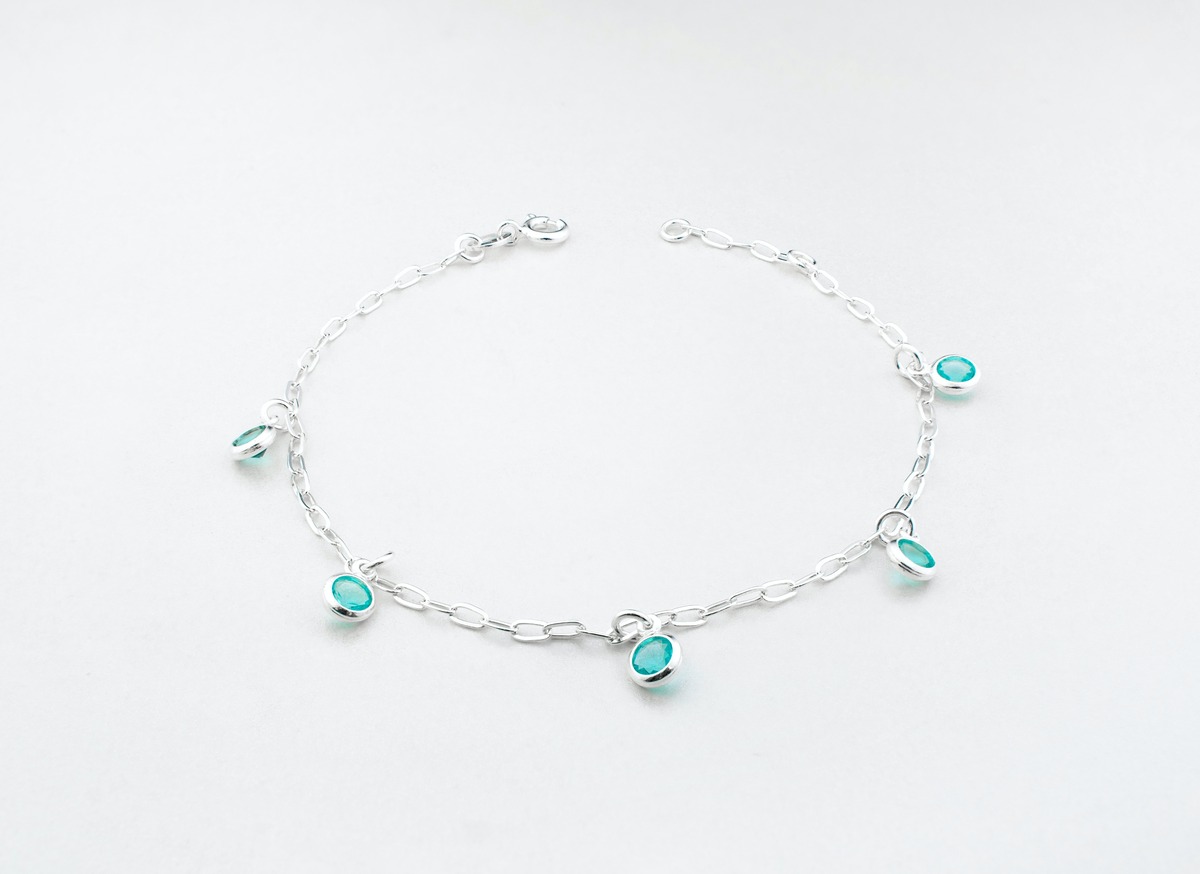
- Gemstones: Incorporate gemstones that hold significance to you, such as birthstones, favorite colors, or stones with special meanings. Set them in prong settings or bezels for a stunning focal point.
- Charms and pendants: Attach meaningful charms or pendants to your bangle bracelets, representing your hobbies, passions, or memorable experiences. These additions not only add visual appeal but also serve as reminders of what’s important to you.
- Hand-stamped messages: Personalize your bangle bracelets with hand-stamped messages or names. Use metal stamps and a hammer to imprint words or meaningful phrases onto the surface of the bangle. This adds a sentimental touch and makes the bracelet uniquely yours.
- Metal textures: Experiment with different metal textures to add visual interest. Use a texturing hammer or tools to create patterns such as lines, dots, or swirls on the surface of the bangle. This adds a unique dimension to your bracelets.
- Engravings: Consider engraving a special date, initials, or a short message on the inside or outside of the bangle. This personalization adds a subtle, sentimental touch that is both meaningful and intimate.
- Mixed metals: Combine sterling silver with other metals like copper or brass for a mixed-metal look. This can create contrast and depth, enhancing the overall aesthetic of the bangle bracelets.
Don’t be afraid to get creative and experiment with different personalization options. The goal is to create bangle bracelets that reflect your personality and hold special meaning to you or the intended recipient.
Remember to consider the balance of personal touches, ensuring that they enhance the overall design without overpowering it. Each addition should complement the sterling silver and add to the overall beauty of the bangle bracelets.
By adding personal touches, you transform your sterling silver bangle bracelets into cherished pieces of jewelry that tell a unique and personal story.