
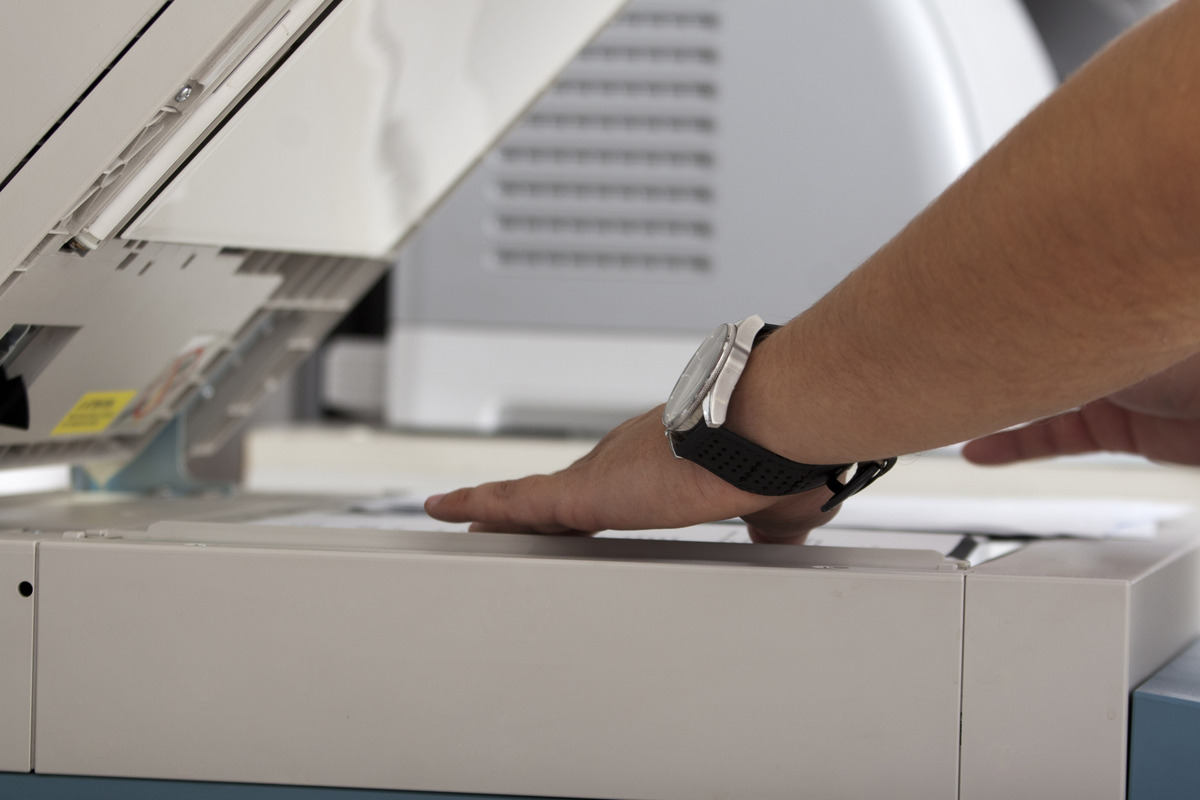
Common Issues with Scanner Recognition
Scanner recognition issues can be frustrating and hinder productivity when you need to quickly scan documents or images. Luckily, most problems can be resolved with a few simple troubleshooting steps. In this section, we will explore some common issues that can prevent your computer from recognizing your scanner.
One possible issue is a loose or faulty connection between your scanner and computer. Check that all cables are securely connected, and if necessary, try using a different USB port. Additionally, ensure that your scanner is powered on and properly connected to an electrical outlet.
Another common problem is outdated or missing drivers. These are essential software components that enable your computer to communicate with your scanner. To address this issue, visit the manufacturer’s website and search for the latest drivers compatible with your scanner model. Download and install them, following the provided instructions.
It is also important to keep your scanner software up to date. Manufacturers often release updates that address compatibility issues and enhance performance. Visit the manufacturer’s website or check for software updates within the scanning application itself. Install any available updates and restart your computer if necessary.
If the scanner recognition problem persists, it may be due to incompatible or faulty scanning software. Try using a different scanning application to see if the issue is resolved. Check your operating system’s built-in scanning utility, such as Windows Fax and Scan for Windows users, or explore third-party scanning software options.
Adjusting scanner settings can also help resolve recognition issues. Open your scanning software and navigate to the settings or preferences section. Verify that the correct scanner is selected and that the scanning resolution and file format settings are appropriate for your needs. Experiment with different settings to find the optimal configuration for recognizing your scanner.
If none of the above steps resolve the problem, consider using Windows Fax and Scan as a troubleshooting tool. This built-in application allows you to scan without relying on third-party software. Open Windows Fax and Scan, click on “New Scan,” and follow the on-screen prompts to initiate a scan. If your scanner successfully responds to this application, it indicates a software compatibility issue that may require further troubleshooting.
If you have exhausted all troubleshooting options and the scanner recognition problem persists, it is recommended to contact the manufacturer’s support for further assistance. Provide them with details of the issue, your scanner model, and any relevant error messages. They should be able to provide specialized guidance based on their expertise.
Check Hardware Connections
When your computer fails to recognize your scanner, the first step is to ensure that all hardware connections are properly set up. Faulty or loose connections can often be the culprit behind scanner recognition issues. Follow these steps to check and reestablish the hardware connections:
1. Start by examining the cables connecting your scanner and computer. Ensure that all cables are securely plugged in and that there are no visible damages. If you notice any frayed or damaged cables, consider replacing them to eliminate potential connection issues.
2. If your scanner is connected via a USB cable, try connecting it to a different USB port on your computer. Sometimes, certain USB ports may have poor connectivity, and changing ports can resolve connection problems.
3. Check if your scanner is properly powered on. Some scanners have a dedicated power button, while others are powered through the USB connection. Ensure that the scanner is receiving power and that any necessary switches or buttons are activated.
4. If you are using an external power adapter for your scanner, ensure that it is securely plugged into an electrical outlet. Double-check that the power adapter is compatible with your scanner’s voltage requirements.
5. In the case of wireless scanners, verify that they are connected to the same Wi-Fi network as your computer. Make sure the scanner is within range of the network signal and that there are no obstacles obstructing the connection.
6. Restart your computer and scanner. Sometimes, a simple restart can fix connection issues by resetting the software and refreshing the connection between the devices.
After performing these checks, attempt to use your scanner again and see if it is recognized by your computer. If the issue persists, you can move on to the next troubleshooting steps to pinpoint and resolve the problem. Remember to always ensure that your hardware connections are secure and functional, as they are the foundation for a successful scanner recognition.
Install the Necessary Drivers
One common reason for a scanner not being recognized by your computer is outdated or missing drivers. Drivers act as the bridge between your scanner and computer, allowing them to communicate effectively. To resolve this issue, follow the steps below to install the necessary drivers:
1. Identify your scanner model and manufacturer. You can usually find this information on the scanner itself or in the user manual. If you are unsure, check the manufacturer’s website or search the model online.
2. Visit the manufacturer’s website and navigate to the Support or Downloads section. Look for a section specifically dedicated to drivers or software for your scanner model.
3. Enter your scanner model number or select it from the list of available models. Ensure that you choose the drivers compatible with your operating system (e.g., Windows, macOS, or Linux).
4. Download the appropriate driver package for your scanner. It is recommended to download the latest version available, as it will likely include any bug fixes or improvements. Save the driver file to a location on your computer that you can easily access.
5. Once the driver file has finished downloading, locate it on your computer and run the installer. Follow the on-screen instructions to proceed with the installation. Typically, you will need to agree to the terms and conditions, select the installation location, and confirm the installation.
6. After the installation is complete, restart your computer. This step ensures that the new drivers are fully integrated into your system.
Upon restarting your computer, your scanner should be ready to use and recognized by your operating system. Open your scanner software or the scanning application of your choice and test if the scanner is now functioning correctly.
If you continue to experience scanner recognition issues even after installing the drivers, it is possible that the drivers you installed are incompatible or that there is some other underlying problem. In such cases, it may be necessary to explore additional troubleshooting steps or contact the manufacturer’s technical support for further assistance.
Update Scanner Software
Keeping your scanner software up to date is crucial for ensuring proper functionality and compatibility with your computer. Manufacturers often release software updates that address bugs, improve performance, and enhance scanner recognition. Follow these steps to update your scanner software:
1. Identify the scanner software you are currently using. This could be the software that came bundled with your scanner or a third-party scanning application.
2. Visit the manufacturer’s website or the software developer’s website to check for updates. Look for a section dedicated to software or downloads.
3. If you are using the manufacturer’s software, search for your scanner model and download the latest version available for your operating system. Be sure to select the correct version (32-bit or 64-bit) that matches your computer’s architecture.
4. If you are using a third-party scanning application, search for updates within the software itself. Look for an “Update” or “Check for Updates” option in the application’s settings or preferences menu.
5. Download the updated software package and save it to a location on your computer.
6. Once the download is complete, locate the software package and run the installer. Follow the on-screen instructions to install the updated software. Typically, you will need to agree to the terms and conditions, select the installation location, and confirm the installation.
7. After the installation is complete, restart your computer. This step ensures that the updated software components are fully integrated into your system.
Once your computer has restarted, open the updated scanner software and test if your scanner is now recognized. If the scanner is still not recognized, try restarting the scanning software or your computer once more to allow for any necessary configurations to take effect.
If updating the scanner software does not resolve the recognition issue, it may be necessary to explore other troubleshooting options or contact the manufacturer’s support for further assistance.
Troubleshoot Scanning Software
If you are experiencing problems with your scanner not being recognized by your computer, the issue may lie within the scanning software itself. Here are some troubleshooting steps to help you address scanning software issues:
1. Restart the scanning software: Close the scanning software completely and reopen it. Sometimes, the software may encounter a temporary glitch that can be fixed by simply restarting it.
2. Check for software updates: Verify if there are any updates available for your scanning software. Manufacturers often release updates that address compatibility issues and improve overall performance. Visit the manufacturer’s website or check within the software settings for an option to update the software.
3. Reinstall the scanning software: Uninstall the scanning software from your computer and then reinstall it. This can help fix any corrupted or missing files that may be causing the recognition issue. Make sure to download the latest version of the software from the manufacturer’s official website.
4. Temporarily disable antivirus software: Sometimes, antivirus programs can interfere with the proper functioning of scanning software. Temporarily disable your antivirus software and test if the issue persists. If the scanner is recognized without the antivirus software running, consider adding an exception for the scanning software in the antivirus settings or reinstalling the antivirus software.
5. Try a different scanning application: If the problem persists, try using a different scanning application. This will determine if the issue lies with the specific scanning software or if it is a broader recognition issue. Windows users can try using the built-in Windows Fax and Scan utility, while macOS users can use the Preview app for scanning.
6. Scan in compatibility mode: Some older scanning applications may not be fully compatible with newer operating systems. If you are using an older scanning software, try running it in compatibility mode. Right-click on the scanning software’s executable file, go to properties, and select the compatibility tab. From there, choose a previous version of the operating system that the software was designed for.
7. Check scanning software settings: Double-check the scanning software settings to ensure that the correct scanner is selected. Additionally, verify that the scanning resolution, color mode, and file format settings are appropriate for your needs.
If none of the above troubleshooting steps resolve the scanning software issue, it may be necessary to reach out to the manufacturer’s support for further assistance. They will have specialized knowledge about their software and can provide guidance specific to your situation.
Adjust Scanner Settings
When your computer fails to recognize your scanner, adjusting the scanner settings can often help resolve the issue. Here are some steps to follow in order to adjust your scanner settings:
1. Open the scanning software or application you are using. This is typically the software that came with your scanner or a third-party scanning application.
2. Look for the settings or preferences menu within the scanning software. It is usually accessible by clicking on a gear icon or going to the “File” or “Edit” menu and selecting “Preferences” or “Settings.”
3. Verify that the correct scanner is selected. Sometimes, multiple scanners or devices may be listed, and selecting the wrong one can prevent recognition. Choose your scanner from the list of available devices.
4. Check the scanning resolution settings. Higher resolutions may require more processing power, which can sometimes cause recognition issues. Adjust the resolution settings to a lower value and test if the scanner is recognized.
5. Ensure that the color mode settings are appropriate. If you are scanning black and white documents, select the grayscale or black and white mode. For color documents or photos, choose the color mode. Using an incorrect color mode can affect recognition and scanning quality.
6. Verify the file format settings. Depending on your needs, you may want to save scanned documents in different file formats like PDF, JPEG, or TIFF. Ensure that the selected file format is compatible with your computer and scanning software.
7. Experiment with different settings. If the default settings are not working, try adjusting other settings in the scanning software. For example, you can try enabling or disabling options like automatic cropping, color enhancement, or image adjustment features.
8. Test the scanner after adjusting the settings. Attempt to scan a document or image and see if it is now recognized by your computer. If the scanner is still not recognized, try restarting the scanning software or your computer to allow for any necessary configurations to take effect.
By adjusting the scanner settings, you can optimize the recognition process and ensure that your computer can communicate effectively with the scanner. Fine-tuning the settings will help improve the overall scanning experience and minimize recognition issues.
Scan Using Windows Fax and Scan
If you are facing scanner recognition issues with third-party software or the manufacturer’s scanning application, you can try using the built-in Windows Fax and Scan utility in Windows operating systems. Follow these steps to scan using Windows Fax and Scan:
1. Open the Start menu and search for “Windows Fax and Scan.” Click on the application to launch it.
2. Once Windows Fax and Scan is open, click on the “New Scan” option in the toolbar. This will initiate the scanning process.
3. If prompted, select your scanner from the list of available devices. Windows Fax and Scan should automatically detect and display any scanners connected to your computer.
4. Choose the scanning settings according to your preferences. You can adjust parameters such as color mode, scanning resolution, file format, and other options depending on your needs. These settings can be accessed under the “Profile” or “Settings” options in Windows Fax and Scan.
5. Place the document or photo you want to scan on the scanner bed or load it into the automatic document feeder (ADF), if available.
6. Click on the “Scan” button to start the scanning process. Windows Fax and Scan will communicate with your scanner to initiate the scan.
7. Once the scan is complete, the scanned document or image will appear in a new window. You can preview it and make any necessary adjustments or edits if required.
8. If you are satisfied with the scanned document or image, you can save it by clicking on the “Save” or “Save As” option in the menu. Choose a location on your computer where you want to save the file, and select the desired file format (such as PDF, JPEG, or TIFF).
Using Windows Fax and Scan allows you to bypass any issues specific to third-party scanning applications or manufacturer-provided software. This utility provides a basic and reliable way to scan documents or images without relying on additional software.
If your scanner is recognized and functions correctly using Windows Fax and Scan, it indicates that the issue might be related to compatibility or configuration problems with other software. In such cases, you can consider using Windows Fax and Scan as an alternative or consult the manufacturer’s support for further assistance in resolving the recognition issues with other scanning applications.
Utilize Third-Party Scanning Applications
If you are experiencing scanner recognition issues with the built-in scanning utilities or manufacturer-provided software, you can try using third-party scanning applications. These applications offer additional features and customization options that can help resolve recognition issues. Follow these steps to utilize third-party scanning applications:
1. Research and choose a reputable third-party scanning application that is compatible with your scanner model and operating system. Some popular options include Adobe Acrobat DC, VueScan, NAPS2, and PaperScan.
2. Visit the application’s official website and download the installation file. Ensure that you select the appropriate version of the application for your operating system.
3. Once the download is complete, locate the installation file on your computer and run it. Follow the on-screen instructions to install the third-party scanning application.
4. After the installation is complete, restart your computer to ensure that the software is fully integrated with your operating system.
5. Open the third-party scanning application and follow the on-screen prompts to set up and configure your scanner. Typically, you will need to select your scanner model from a list of available devices or connect to the scanner using the application’s scanning settings menu.
6. Familiarize yourself with the features and options available in the third-party scanning application. Explore settings such as color modes, resolution, file formats, and any advanced features specific to the application.
7. Place your document or photo on the scanner bed or load it into the automatic document feeder (ADF), depending on your scanning needs.
8. Initiate the scanning process within the third-party application. This can usually be done by clicking on a “Scan” or “Start” button in the application’s interface.
9. Once the scan is complete, preview the scanned document or image within the application. Make any necessary adjustments or edits before saving the file.
10. Save the scanned document or image to a desired location on your computer. Choose the appropriate file format and give the file a meaningful name.
Utilizing third-party scanning applications can provide more flexibility and customization options when it comes to resolving scanner recognition issues. These applications often have dedicated customer support or forums where you can seek further assistance if needed.
If the scanner is recognized and functions correctly using a third-party scanning application, it suggests that the recognition issue may be specific to the software provided by the scanner manufacturer or the built-in scanning utilities. In such cases, using a third-party scanning application allows you to bypass these issues and continue scanning with ease.
Contact Manufacturer Support
If you have tried all the troubleshooting steps mentioned above and are still unable to resolve the scanner recognition issue, it may be time to seek assistance from the manufacturer’s support team. Here are the steps to contact the manufacturer’s support:
1. Identify the manufacturer of your scanner. This information can usually be found on the scanner itself or in the user manual.
2. Visit the manufacturer’s website and look for a support or contact section. This is where you will find options for reaching out to their support team.
3. Explore the support options provided by the manufacturer. This can include email support, live chat, phone support, or a knowledge base with helpful articles and FAQs.
4. Determine the best method of contact for your situation. Consider using live chat or phone support if you need immediate assistance, or email support if your issue is not urgent.
5. Prepare the necessary information before reaching out to the support team. This may include the scanner model, any error messages received, a description of the issue, and the troubleshooting steps you have already taken. Providing as much detail as possible will help the support team understand your problem better.
6. Contact the support team using the chosen method, and explain your issue clearly and concisely. Be sure to provide all the relevant information you have gathered.
7. Follow any instructions provided by the support team and work with them to troubleshoot the issue further. They may ask you to perform additional steps or provide additional information to help pinpoint the problem.
8. Be patient and cooperative during the support process. The support team will do their best to assist you, but in some cases, it may take time to find a resolution.
Contacting the manufacturer’s support team ensures that you are receiving assistance from the experts who understand their products best. They may be able to provide specific guidance or escalate the issue to their technical team for further investigation.
If the scanner recognition issue is due to a hardware malfunction or a defect in the scanner itself, the manufacturer’s support team will be able to guide you through any warranty or repair processes that may be required.
Remember to keep records of any communication with the support team, including case numbers, names of the representatives you spoke with, and any troubleshooting steps or solutions provided. This information will be helpful if you need to follow up or refer to previous interactions.