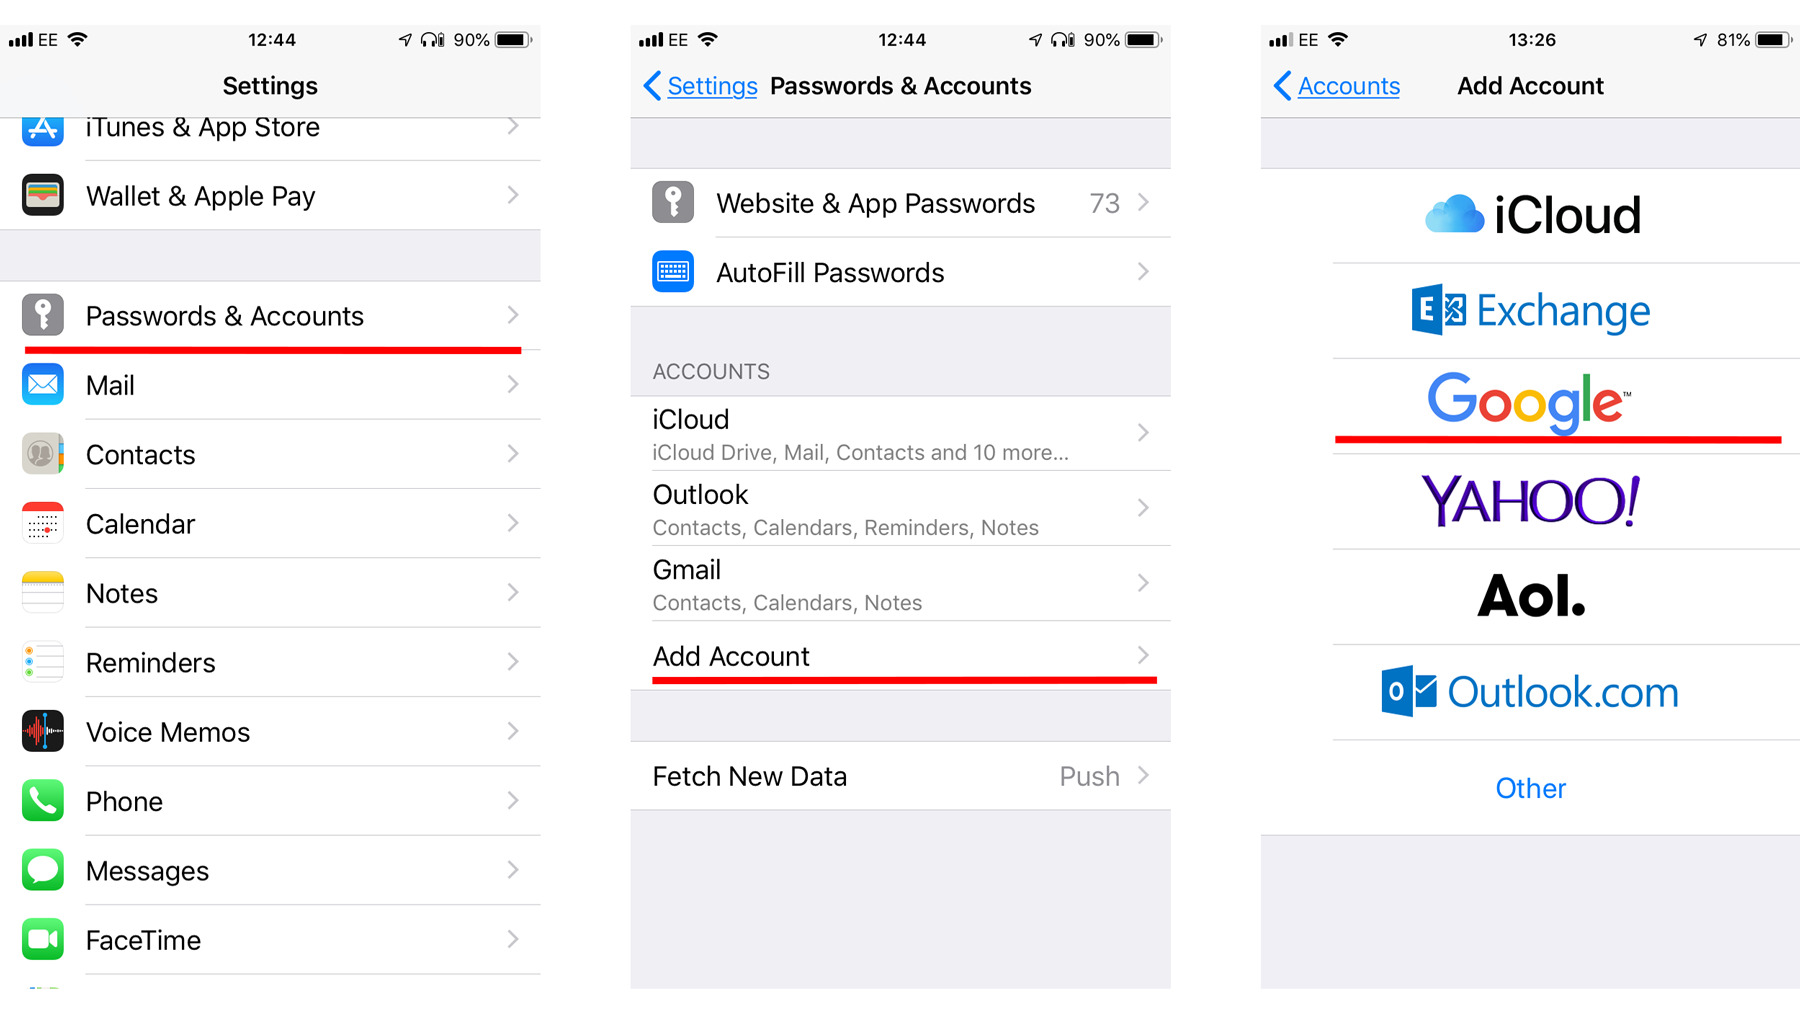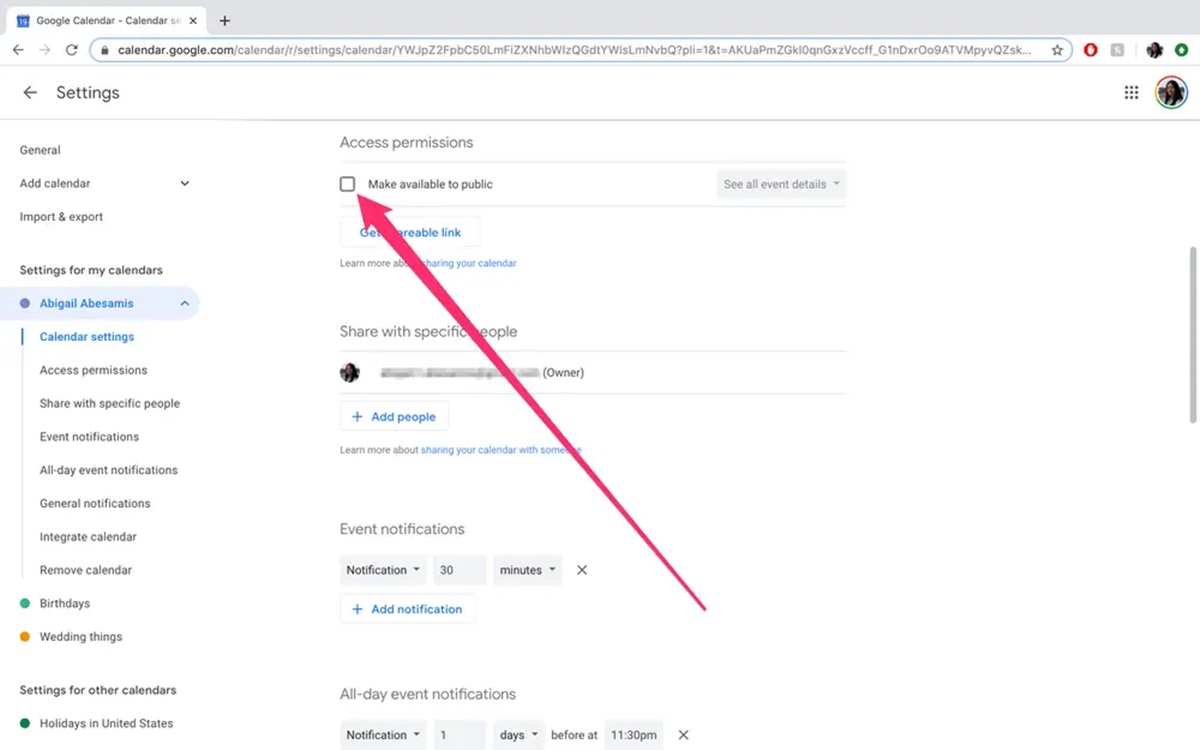
Step 1: Open Google Calendar
Google Calendar is a powerful tool that allows you to organize your schedule and manage events with ease. To make an event private in Google Calendar, the first step is to open the application. Whether you are using the web version on your computer or the mobile app on your smartphone, accessing Google Calendar is a simple process.
If you are using a computer:
- Open a web browser, such as Google Chrome or Mozilla Firefox, and navigate to the Google Calendar website.
- If you are signed in to your Google account, you will be directed to your calendar. If not, click on the “Sign In” button located at the top right corner of the page and enter your login credentials.
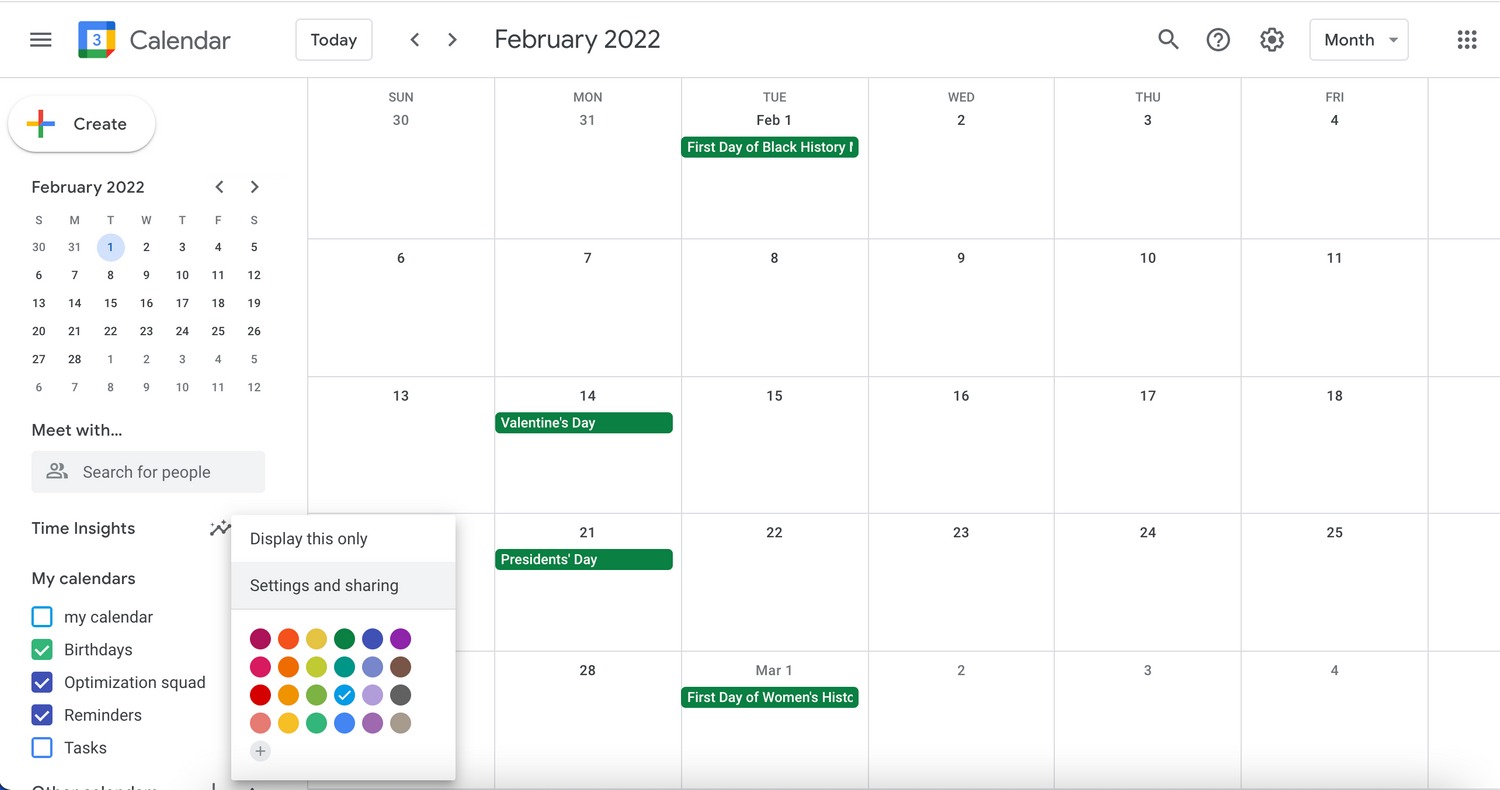
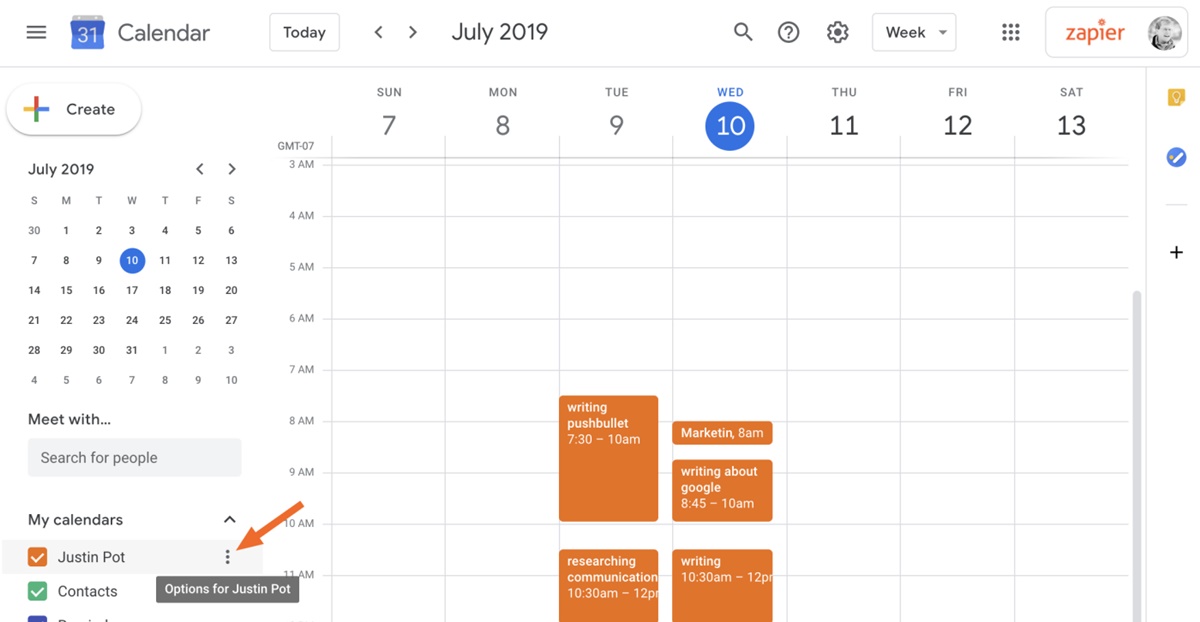
- Once you are signed in, the calendar interface will open, displaying your schedule and any existing events.
If you are using a mobile device:
- Locate the Google Calendar app on your device. It is usually represented by a colorful square icon with a white calendar inside.
- Tap on the app to open it. If prompted, sign in to your Google account using your credentials.
- Upon successful login, you will be directed to the calendar view, showing your upcoming events and appointments.
Whether you are using the web version or the mobile app, opening Google Calendar will give you access to all the features and settings necessary to manage your events. Proceed to the next step to learn how to select the specific event you want to make private.
Step 2: Select the Event
Once you have accessed Google Calendar, the next step is to select the event that you want to make private. Whether you have already created the event or need to create a new one, the process of selecting the event is straightforward.
To select an existing event:
- Scan through your calendar to locate the desired event. You can navigate through different dates and view the events in day, week, or month view, depending on your preference.
- Click on the event to select it. This will open a detailed view of the event’s information.
If you need to create a new event:
- Click on the ‘+’ button or the ‘Create’ button, depending on the interface you are using. This will open a pop-up or a new window where you can enter the event details.
- Enter the necessary information such as the event title, date, time, and any additional details.
Once you have selected the event, you are ready to move on to the next step and edit its details to make it private. The ability to select and personalize individual events is one of the key features that make Google Calendar a versatile tool for managing your schedule.
Step 3: Edit the Event Details
After selecting the event in Google Calendar, you can proceed to edit its details and make it private. Editing the event allows you to customize various aspects such as the event title, date, time, location, and more.
To edit the event details:
- If you have selected an existing event, look for the ‘Edit’ button or a pencil icon. Click on it to open the editing interface. If you are creating a new event, you are already in the editing mode.
- Update the event details as desired. You can modify the title, add or remove attendees, change the date and time, set a reminder, and include any relevant notes or attachments.
- Double-check that the information is accurate and reflects the changes you want to make.
Editing the event details allows you to tailor the event to your specific needs. You can provide additional context, adjust the timing, or fine-tune any other aspect to ensure that the event is precisely organized.
Once you have finished editing the event details, it’s time to move on to the next step and change the event’s visibility to make it private. This step ensures that only the individuals you invite will have access to view the event details.
Step 4: Change the Event Visibility
Changing the event visibility in Google Calendar is crucial to ensure the privacy of your event. By default, events are usually set to be visible to anyone who has access to your calendar. However, you have the option to modify the event’s visibility and restrict it to a select group of individuals.
To change the event visibility:
- In the event editing interface, look for the visibility option. This might be labeled as “Visibility,” “Privacy,” or “Access.”
- Select the desired privacy setting. You will typically have options such as “Public,” “Private,” or “Only invited guests.”
- If you choose the “Private” or “Only invited guests” option, make sure to add the specific individuals who should have access to the event. This can be done by entering their email addresses or selecting them from your contact list.
- Review the changes and ensure that the visibility setting accurately reflects your privacy requirements.
Changing the event visibility is an essential step to protect sensitive information and ensure that only the intended recipients can view the details of the event. By customizing the visibility settings, you can control who can access the event and maintain confidentiality.
Once you have adjusted the event visibility, proceed to the final step to save the changes and finalize the process.
Step 5: Save the Changes
After editing the event details and changing the event’s visibility to make it private, the final step is to save the changes. Saving the changes ensures that the modifications you made to the event settings are applied and that the event is now set as private.
To save the changes:
- Look for the “Save” button or a similar option in the event editing interface.
- Click on the “Save” button to apply the changes and update the event.
Once you have saved the changes, the event will be successfully marked as private in Google Calendar. This means that only the individuals you specifically invited or those with whom you have shared the event details will be able to view the event information.
It’s important to note that the visibility settings of the event can be adjusted at any time. If you need to make further changes, you can go back to the event editing interface and modify the visibility settings accordingly.
By saving the changes, you have successfully made the event private in Google Calendar. This ensures that your sensitive information remains confidential and that only the intended participants have access to the event details.