
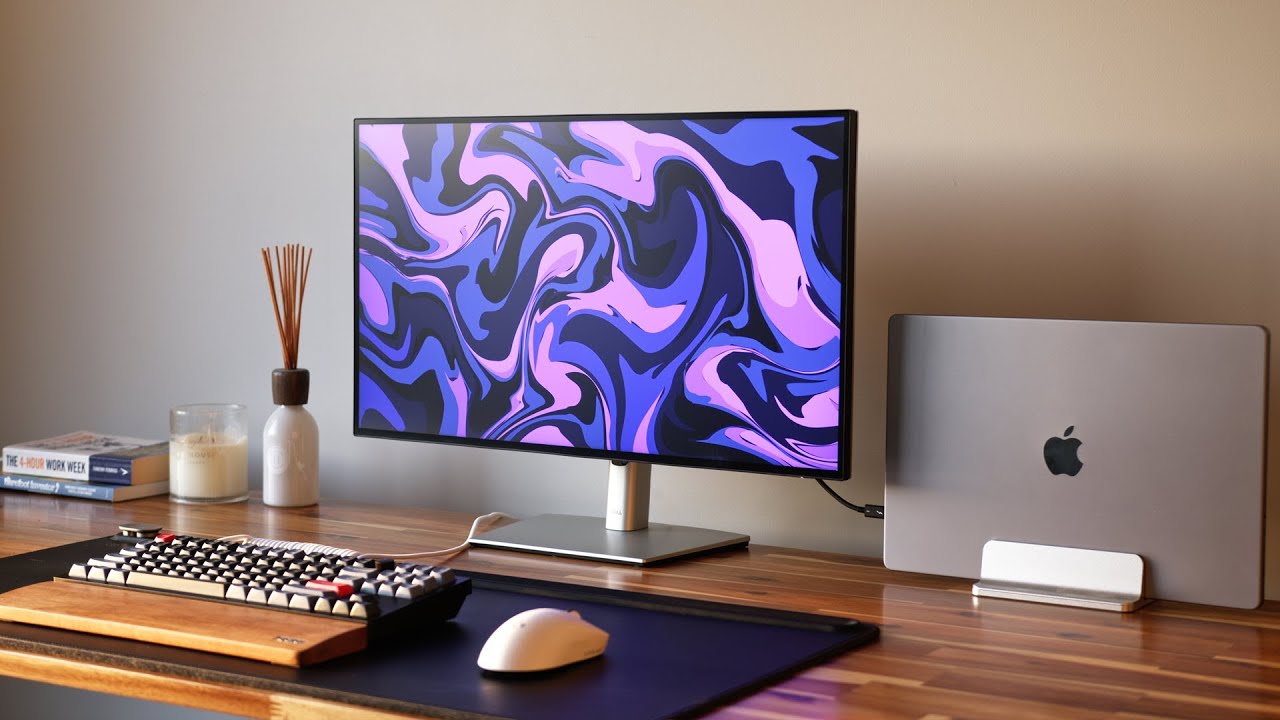
Choose the Right Monitor
When it comes to hooking up a Mac to a monitor, choosing the right one is essential to ensure compatibility and optimize your display experience. There are several factors to consider when selecting a monitor for your Mac:
- Size: Consider the size of the monitor that fits your needs. Whether you prefer a compact screen for portability or a larger display for immersive visuals, choose a monitor size that complements your work style.
- Resolution: Opt for a monitor with a high-resolution display to enhance your viewing experience. Higher resolutions provide sharper images and text, making it easier to read, edit photos, or work on graphic-intensive projects.
- Connectivity: Ensure that the monitor you choose has the appropriate connectivity options for your Mac. Most modern Macs use Thunderbolt or USB-C ports, so make sure the monitor has at least one of these ports for seamless connectivity.
- Color Accuracy: If you work with color-sensitive tasks such as photo editing or graphic design, prioritize a monitor that offers accurate color reproduction. Look for monitors with a wide color gamut and support for color calibration.
- Ergonomics: Consider the ergonomics of the monitor, such as adjustable height, tilt, and swivel capabilities. A monitor that allows you to customize the position and angle will promote better posture and reduce strain on your neck and eyes.
Take your time to research and compare different models, read reviews, and consider your specific needs and budget before making a final decision. Choosing the right monitor for your Mac can greatly enhance your productivity and overall computing experience.
Check the Mac’s Compatibility
Before connecting a monitor to your Mac, it’s crucial to ensure that your Mac is compatible with the monitor and has the necessary ports and capabilities. Here’s what you need to check:
- Port Compatibility: Identify the ports available on your Mac. Most modern Macs use Thunderbolt 3 or USB-C ports, but older models might have different ports such as Mini DisplayPort or HDMI. Make sure the monitor you choose has a compatible port.
- Resolution Support: Verify that your Mac supports the resolution of the monitor you plan to connect. Each Mac model has a maximum supported resolution, so be aware of this limitation to ensure optimal display quality.
- Operating System: Check if your Mac’s operating system is compatible with the monitor. Most monitors are compatible with macOS, but it’s always good to double-check to avoid any compatibility issues.
- Adapter Requirements: If your Mac has a different port than the monitor, you may need an adapter to connect them. For example, if your Mac has Thunderbolt 3 ports and the monitor has HDMI, you’ll need a Thunderbolt 3 to HDMI adapter. Make sure to get the right adapter for seamless connectivity.
Additionally, it’s a good idea to update your Mac’s software to the latest version to ensure compatibility with the monitor and to have access to the latest display settings and features. Check the manufacturer’s website for any specific software requirements or compatibility information.
By verifying the compatibility between your Mac and the monitor beforehand, you can avoid any frustration or unexpected issues when trying to connect the two. It’s always better to be prepared and ensure a smooth and hassle-free setup process.
Connect the Monitor to the Mac
Once you’ve chosen a compatible monitor and confirmed your Mac’s compatibility, it’s time to connect the monitor to your Mac. Follow these steps to establish the connection:
- Turn off both devices: Before making any connections, turn off both your Mac and the monitor. This is important to avoid any potential damage and ensure a successful connection.
- Locate the appropriate ports: Identify the ports on your Mac and the monitor. Depending on the model, you may have Thunderbolt, USB-C, HDMI, or DisplayPort ports. Make sure to use the correct cable to connect the two devices.
- Connect the cable: Insert one end of the cable into the corresponding port on your Mac and the other end into the port on the monitor. Ensure a secure connection by pushing the cable in firmly. If you’re using an adapter, connect the adapter to your Mac and then connect the cable to the adapter.
- Power on the devices: Once the cable is connected, turn on your monitor first and then your Mac. Wait for a few moments to allow the Mac and monitor to recognize each other.
- Adjust the display settings: Once the connection is established, you may need to adjust the display settings on your Mac to optimize the output on the monitor. Go to “System Preferences” > “Displays” and select the relevant options such as resolution, brightness, and arrangement if you’re using multiple monitors.
After completing these steps, your Mac should be successfully connected to the monitor, and you can start enjoying the benefits of a larger screen and enhanced display quality.
Note: If your Mac and monitor aren’t recognizing each other or you’re experiencing any issues with the display, double-check the connections, try restarting both devices, and ensure all software and drivers are up to date. In case the problem persists, refer to the troubleshooting section or consult the manufacturer’s support for further assistance.
Adjust the Display Settings
After connecting your Mac to a monitor, it’s important to adjust the display settings to ensure optimal visual performance. Depending on your preferences and the specific monitor model, you may need to adjust the following settings:
- Resolution: Choose the appropriate resolution that best suits your needs. Higher resolutions provide sharper images but may make text and icons smaller. Experiment with different resolutions to find the right balance between clarity and readability.
- Brightness and Contrast: Adjust the brightness and contrast levels to achieve a comfortable viewing experience. Too bright or too dim displays can strain your eyes, so find the ideal balance for your environment.
- Color Calibration: If color accuracy is crucial for your work, consider calibrating the monitor to achieve consistent and accurate colors. This is especially important for tasks such as photo editing and graphic design.
- Orientation: If you’re using a monitor that supports rotation, you can adjust the orientation to portrait mode for tasks that benefit from vertical space, such as coding or reading long documents.
- Multiple Displays: If you’re using multiple monitors, you can arrange and customize their positions to suit your workflow. Go to “System Preferences” > “Displays” and explore the arrangement options to adjust the display order and the relative position of each monitor.
Remember, the display settings are subjective and depend on personal preferences and specific tasks. Take the time to experiment and find the settings that work best for you.
It’s also worth noting that macOS offers additional display functionality, such as Night Shift for reducing blue light at night and True Tone for adjusting the display based on ambient lighting conditions. Explore these features to further enhance your viewing experience.
By adjusting the display settings on your Mac, you can optimize the visual output, ensuring that the monitor complements and enhances your workflow and overall computing experience.
Use Multiple Monitors with a Mac
One of the advantages of using a Mac is the ability to connect and use multiple monitors simultaneously, which can greatly enhance your productivity and multitasking capabilities. Here’s how you can set up and utilize multiple monitors with your Mac:
- Connect the additional monitors: Plug in the additional monitors to the available ports on your Mac, following the same steps outlined earlier. Ensure that each monitor is securely connected.
- Configure the display arrangement: Once the monitors are connected, go to “System Preferences” > “Displays” and select the “Arrangement” tab. From there, you can arrange the monitors in the desired order, drag and drop them to adjust their relative position, and even set the primary display.
- Choose the display mode: macOS offers different display modes for multiple monitors, including:
- Mirror Display: This mode duplicates the same content across all connected monitors. It’s useful for presentations or when you want to show the same content to a larger audience.
- Extended Display: This mode extends your desktop across all connected monitors, providing additional screen real estate. You can drag windows and applications between monitors, effectively increasing your workspace.
Choose the mode that best suits your needs and workflow.
- Customize display settings: Adjust the resolution, brightness, and other display settings individually for each monitor if desired. This allows you to optimize the visual output based on the specific characteristics of each monitor.
- Utilize Spaces: Spaces is a virtual desktop feature on macOS that allows you to organize your windows and applications across multiple monitors. Create separate spaces for different tasks or projects, making it easier to switch between focused workflows.
Using multiple monitors with your Mac provides a seamless and efficient workflow, allowing you to have multiple applications and windows open simultaneously without cluttering a single screen. Whether you’re a designer, developer, or multitasking enthusiast, the additional screen real estate can significantly improve your productivity.
Experiment with different monitor configurations and find a setup that works best for your specific needs. Remember, you can always adjust and fine-tune the arrangements and settings as you go.
Lastly, keep in mind that the performance of multiple monitors may vary depending on your Mac model and the graphics capabilities. Some older Macs or models with integrated graphics may experience a slight decrease in overall performance when using multiple monitors.
By utilizing multiple monitors with your Mac, you can optimize your workspace, streamline your tasks, and enjoy a more efficient and productive computing experience.
Troubleshooting Tips
While connecting a Mac to a monitor is usually a straightforward process, you may encounter some common issues along the way. Here are some troubleshooting tips to help you resolve any problems you may encounter:
- Check the connections: Ensure that all cables are securely plugged into the correct ports on both the Mac and the monitor. Loose connections can lead to display issues.
- Restart your Mac and monitor: Sometimes, a simple restart can resolve connection or display problems. Turn off your Mac and monitor, wait a few seconds, and then turn them back on.
- Update macOS and monitor drivers: Keeping your macOS and monitor drivers up to date can help resolve compatibility issues. Check for updates in the “System Preferences” > “Software Update” menu on your Mac and visit the monitor manufacturer’s website for any available driver updates.
- Try a different cable or adapter: If you’re experiencing display or connectivity issues, the cable or adapter may be faulty. Try using a different cable or adapter to see if that resolves the problem.
- Reset the NVRAM/PRAM: Resetting the non-volatile random-access memory (NVRAM) or Parameter RAM (PRAM) can sometimes fix display-related problems. Restart your Mac and hold down the Option + Command + P + R keys until you hear the startup sound for the second time.
- Reset the SMC: Resetting the System Management Controller (SMC) can help resolve issues related to power, temperature, and display. Shut down your Mac, then press and hold the Shift + Control + Option + Power keys for 10 seconds. Release the keys and turn on your Mac.
- Try a different monitor: If possible, connect your Mac to a different monitor to determine if the problem lies with the monitor itself or the Mac. This can help isolate the issue and find the appropriate solution.
- Seek professional support: If you’ve exhausted all troubleshooting steps and are still experiencing difficulty, reach out to the manufacturer’s support or consult with an Apple Authorized Service Provider for further assistance.
By following these troubleshooting tips, you can troubleshoot and resolve common issues that may arise when connecting a Mac to a monitor. Remember, patience is key, and it’s always a good idea to double-check connections and seek professional help if needed.