
Requirements
To get Apple Music on your Fire Stick, you will need to ensure that you have the following requirements:
- A Fire Stick device
- An active Apple Music subscription
- A stable internet connection
- A computer or mobile device
The Fire Stick device must be the latest generation, as older versions may not support the installation of Apple Music. Additionally, make sure that your Fire Stick is updated to the latest firmware version to ensure compatibility.
For the Apple Music subscription, you will need a valid account with an active subscription. If you don’t have an Apple Music subscription, you can sign up for one directly from the Apple Music app on your iOS device or via iTunes on your computer.
A stable internet connection is crucial for streaming music on your Fire Stick. Make sure you have a reliable internet connection with enough bandwidth to stream music without interruptions.
Lastly, you will need a computer or mobile device to download and install the necessary apps for accessing Apple Music on your Fire Stick. This can be either a Windows or Mac computer, or an iOS or Android mobile device.
Step 1: Enable Apps from Unknown Sources
Before you can install Apple Music on your Fire Stick, you need to enable the option to install apps from unknown sources. By default, this option is disabled to ensure the security of your device. However, don’t worry, enabling this option will not compromise the safety of your Fire Stick as long as you download apps from trusted sources.
Here’s how to enable apps from unknown sources on your Fire Stick:
- On the home screen of your Fire Stick, navigate to the top menu and select “Settings”.
- In the settings menu, scroll to the right and select “My Fire TV”.
- Continue scrolling down and select “Developer Options”.
- Find the option “Apps from Unknown Sources” and turn it on by selecting it. You will see a warning message about the risks of enabling this option; simply click “Turn On” to proceed.
- That’s it! You have now successfully enabled the installation of apps from unknown sources on your Fire Stick.
Enabling this option allows you to install apps not available in the Amazon Appstore, such as Apple Music.
Note: It’s important to exercise caution and only download apps from trusted sources. Be sure to research and verify the legitimacy of any app before installing it on your device.
Step 2: Install Downloader
Once you have enabled apps from unknown sources, the next step is to install the Downloader app. Downloader is a free application available in the Amazon Appstore that allows you to download and install apps from external sources directly on your Fire Stick.
To install Downloader, follow these steps:
- On the home screen of your Fire Stick, navigate to the search icon in the top left corner and select it.
- Using the on-screen keyboard, type “Downloader” and select it from the suggestions below.
- In the search results, locate the Downloader app and select it.
- Select the “Get” or “Download” button to begin the installation process. The app will start downloading and installing automatically.
- Once the installation is complete, you can find the Downloader app in the “Your Apps & Channels” section on the Fire Stick home screen.
Congratulations! You have successfully installed the Downloader app on your Fire Stick. This app will be instrumental in downloading and installing Apple Music on your device.
It’s worth noting that the Downloader app is an essential tool for sideloading apps onto your Fire Stick. Ensure that you only download apps from trusted sources and be cautious when installing apps from unknown sources.
With Downloader now installed on your Fire Stick, you are ready to proceed to the next step in enjoying Apple Music on your device.
Step 3: Open Downloader
Now that you have installed the Downloader app on your Fire Stick, it’s time to open it and prepare for the next phase of the installation process. Downloader will serve as the platform through which you will download and install the necessary files to access Apple Music on your device.
Follow these simple steps to open Downloader:
- On the home screen of your Fire Stick, navigate to the “Your Apps & Channels” section.
- Scroll down and locate the Downloader app icon.
- Select the Downloader app to open it.
Upon opening Downloader, you will be greeted with a simple and user-friendly interface. The app is designed to make the process of downloading files from external sources hassle-free and convenient.
Before proceeding, make sure to grant the necessary permissions to Downloader for smooth functionality. This includes allowing access to files and enabling JavaScript. A prompt may appear when you first open the app; simply follow the prompts and grant the required permissions.
Once you have successfully opened Downloader and granted the necessary permissions, you are ready to move on to the next step.
Keep in mind that Downloader is an incredibly useful tool that allows you to sideload apps and download files directly onto your Fire Stick. It’s important to exercise caution and only download files from reliable and trusted sources.
Now that you have Downloader up and running, let’s move on to the next step to continue the installation process of Apple Music on your Fire Stick.
Step 4: Download and Install FileLinked
FileLinked is a file-sharing tool that allows you to easily download and install apps on your Fire Stick. This step will guide you through the process of downloading and installing FileLinked, which will be used to access the necessary files for installing Apple Music.
Here’s how to download and install FileLinked:
- Open the Downloader app on your Fire Stick. If you haven’t installed it yet, please refer to the previous steps on how to install Downloader.
- In the URL field within the Downloader app, enter the URL for downloading FileLinked. The URL is typically “https://www.filelinked.com” or “https://get.filelinked.com”.
- Press the “Go” button or select “Download” to begin the download process.
- Wait for the FileLinked APK file to be downloaded.
- Once the download is complete, a prompt will appear to install FileLinked. Select “Install” to proceed.
- After the installation is finished, you can choose to delete the APK file to free up space on your device.
- FileLinked is now successfully installed on your Fire Stick.
FileLinked serves as a repository of various apps and files. In our case, we will use FileLinked to access the necessary files for installing Apple Music on the Fire Stick.
Remember to exercise caution when downloading files from FileLinked. Stick to trusted sources and verify the integrity and safety of the files before proceeding with the installation.
With FileLinked installed on your Fire Stick, you are now ready to move on to the next step of the installation process.
Step 5: Open FileLinked
Now that you have successfully installed FileLinked on your Fire Stick, it’s time to open the app and explore its features. FileLinked serves as a platform to access various files and apps, including the necessary files for installing Apple Music on your device.
To open FileLinked and get started, follow these steps:
- On the home screen of your Fire Stick, navigate to the “Your Apps & Channels” section.
- Scroll down and locate the FileLinked app icon.
- Select the FileLinked app to open it.
Upon opening FileLinked, you will be presented with a user-friendly interface that showcases different repositories or stores containing files and apps. These repositories are usually identified by unique codes or names.
To proceed with the installation of Apple Music, you will need to enter a specific code for the repository that contains the required files.
Make sure to find a trusted and reliable source for FileLinked codes. These can be found on various websites, forums, or online communities dedicated to Fire Stick and app installations. It’s important to use codes from reputable sources to ensure the authenticity and safety of the files you will be downloading.
Once you have obtained the FileLinked code for the repository containing the Apple Music files, you can enter it within the FileLinked app and begin the installation process.
Remember, FileLinked provides access to numerous files and apps, but it’s essential to exercise caution and only download files from trusted sources. Do your research and check the reputation and reliability of the repository before proceeding with the installation.
With FileLinked now open on your Fire Stick, you are one step closer to enjoying Apple Music on your device. Let’s move on to the next step and enter the FileLinked code to download and install Apple Music.
Step 6: Enter FileLinked Code
Now that you have FileLinked open on your Fire Stick, it’s time to enter the FileLinked code that corresponds to the repository containing the necessary files for installing Apple Music. This code will grant you access to the specific files required to enjoy Apple Music on your Fire Stick.
Follow these steps to enter the FileLinked code:
- Within the FileLinked app, locate the option to enter a code. This is typically a designated field or box where you can type in the code.
- Using the on-screen keyboard, carefully enter the FileLinked code associated with the repository containing Apple Music. Ensure that the code is entered accurately to avoid any errors.
- Once you have entered the code, double-check to make sure it is correct.
- After confirming the code, select the “Continue” or “Enter” button to proceed.
Entering the correct FileLinked code will grant you access to the repository and allow you to download the necessary files for installing Apple Music.
It is crucial to obtain FileLinked codes from reliable sources to ensure the integrity and safety of the files you are downloading. Research trusted websites, forums, or online communities dedicated to FileLinked codes and verify the authenticity of the codes before entering them into the app.
With the FileLinked code entered, you are one step closer to completing the installation process and enjoying Apple Music on your Fire Stick. Now, let’s move on to the next step and download and install Apple Music using FileLinked.
Step 7: Download and Install Apple Music
Now that you have successfully entered the FileLinked code corresponding to the repository containing Apple Music, it’s time to proceed with the download and installation process. The following steps will guide you through the process of downloading and installing Apple Music on your Fire Stick.
Follow these steps to download and install Apple Music:
- After entering the FileLinked code, the repository associated with Apple Music will be displayed on the screen.
- Within the repository, browse through the available options until you find the Apple Music app. It is often labeled with the Apple Music logo or the app’s name.
- Select the Apple Music app to initiate the download process.
- Once the download is complete, the installation process will automatically commence. Proceed by selecting the “Install” button.
- Wait for the installation process to finish. This may take a few moments.
- After the installation is complete, you will be presented with a confirmation message indicating that Apple Music has been successfully installed on your Fire Stick.
- At this point, you can choose to delete the downloaded installation file to free up storage space on your device.
It’s important to note that the download and installation process may vary depending on the repository and its specific setup. However, the general process described above should apply in most cases.
Remember to only download files and apps from trusted sources to ensure the safety and integrity of your device.
With Apple Music successfully downloaded and installed on your Fire Stick, you are just a few steps away from enjoying a vast library of music. Let’s proceed to the next step to set up and sign in to your Apple Music account.
Step 8: Open Apple Music
Now that Apple Music is installed on your Fire Stick, it’s time to open the app and explore the world of music right at your fingertips. Opening Apple Music will allow you to access your personalized music library, playlists, and discover new songs and artists.
Follow these straightforward steps to open Apple Music on your Fire Stick:
- On the home screen of your Fire Stick, navigate to the “Your Apps & Channels” section.
- Scroll down or use the search function to locate the Apple Music app.
- Select the Apple Music app to open it.
Upon opening Apple Music, you will be greeted with a visually appealing and user-friendly interface. Here, you can find various sections such as “For You,” “Browse,” “Radio,” and more.
Take your time to explore the app and familiarize yourself with its features. Apple Music offers a vast music library, personalized recommendations, curated playlists, and the ability to create your own playlists.
With Apple Music, you can stream your favorite songs, listen to artist-curated playlists, and discover new music across various genres. The app also provides access to exclusive content and live radio stations.
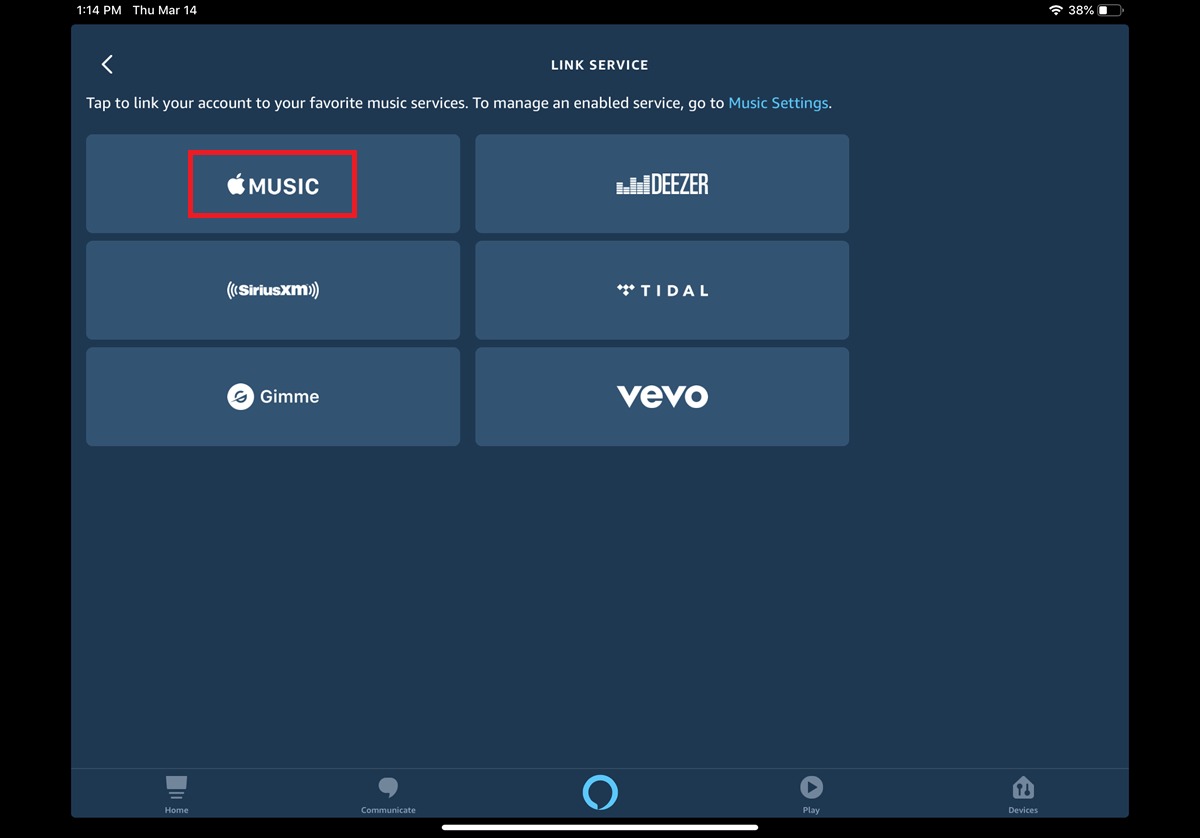
If you already have an Apple Music subscription, you can sign in to your account and access your personal music library, playlists, and preferences on the Fire Stick.
It’s worth noting that using Apple Music on the Fire Stick requires a stable internet connection to ensure uninterrupted music playback. Make sure you have a reliable Wi-Fi or Ethernet connection to enjoy a seamless music streaming experience.
With Apple Music now open on your Fire Stick, you are ready to sign in and personalize your music experience. Let’s move on to the next step and sign in to your Apple Music account.
Step 9: Sign in to Apple Music
To fully access your personalized music library and take advantage of all the features Apple Music offers, you need to sign in to your Apple Music account on your Fire Stick. Signing in will allow you to sync your music, playlists, and preferences across all your devices.
Follow these steps to sign in to your Apple Music account:
- Open the Apple Music app on your Fire Stick. If you haven’t installed it yet, refer to the previous steps on how to download and install Apple Music.
- On the Apple Music app’s home screen, use the navigation buttons to highlight the “Sign In” option and select it.
- A new screen will appear, prompting you to enter your Apple ID and password.
- Using the on-screen keyboard, carefully enter your Apple ID and password. Ensure that you enter the correct login credentials to successfully sign in.
- After entering your Apple ID and password, select the “Sign In” or “Continue” button.
Once you have successfully signed in, you will have access to your personalized music library, playlists, recommendations, and other features available on Apple Music.
If you don’t have an Apple Music subscription yet, you can sign up for one directly within the Apple Music app on your iOS device or via iTunes on your computer. Follow the prompts to set up your Apple Music subscription and enjoy a wide variety of music on your Fire Stick.
Keep in mind that Apple Music requires a stable internet connection to stream music smoothly. Ensure that your Fire Stick is connected to a reliable Wi-Fi network or Ethernet for uninterrupted music playback.
With your Apple Music account signed in and ready to go, you can now delve into the limitless world of music and enjoy your favorite songs, curated playlists, and discover new tunes on your Fire Stick.
Step 10: Enjoy Apple Music on Fire Stick
Now that you have successfully installed and signed in to Apple Music on your Fire Stick, it’s time to sit back, relax, and immerse yourself in the world of music. With Apple Music, you have access to a vast library of songs, personalized playlists, and exclusive content, all conveniently accessible on your Fire Stick.
Here are a few tips to help you make the most of your Apple Music experience on your Fire Stick:
- Explore the “For You” section: Apple Music uses advanced algorithms to curate personalized playlists and recommendations based on your listening habits. Check out the “For You” section to discover new music tailored to your taste.
- Create your own playlists: Use Apple Music on your Fire Stick to create custom playlists for different moods, occasions, or genres. Simply navigate to the “Library” or “Playlists” section in the app, select “New Playlist,” and add your favorite songs to it.
- Discover new music: Apple Music offers a wide range of curated playlists, radio stations, and exclusive content to help you discover new artists and genres. Browse through the “Browse” or “Radio” sections to find something that piques your interest.
- Use Siri voice commands: If you have a Fire Stick with voice remote or an Alexa-enabled device paired with your Fire Stick, you can use Siri voice commands to control Apple Music. Just hold down the voice button on your remote and say commands like “Play my favorite playlist” or “Play music by [artist name].”
- Download music for offline listening: If you have limited internet connectivity, or simply want to save data, you can download songs, albums, or playlists for offline listening. Tap the three-dots icon next to a song or playlist and select “Download” to enjoy it offline.
Remember to have a stable internet connection to ensure uninterrupted music streaming. Connect your Fire Stick to a reliable Wi-Fi network or Ethernet for the best experience.
With Apple Music on your Fire Stick, you have a world of music at your fingertips. Enjoy your favorite songs, discover new artists, and create memorable playlists as you listen to your favorite tunes on the big screen.